Tools:
Tools I Used:
Air-drying clay – Any will do but just note: if the clay you pick is not white you will need to add a few priming coats of white before you decorate it.
A ruler/rolling pin/ smooth glass cup – To roll your clay out into a thin sheet which you can then cut your shape out of.
Sharp thin knife/ Artist’s scalpel – To cut your clay into the shape you desire.
Acrylic Paints – the colours you require will be up to your own amazing design!
Paintbrushes – I would recommend the smallest brushes you can find as it makes the detail work a lot easier.
Varnish – This is somewhat optional; it will make your charm more durable and water resistant.
Method:
Creating your own clay charms is actually a lot simpler than you might think!
Step 1:
Grab as much clay as you want to work with (I recommend starting off on the smaller side as it goes a long way…). Then you’ll want to roll your clay into a ball between your palms. This will introduce heat into the clay and make it more malleable.
Step 2:
If your clay has a lot of cracks once it’s been rolled into a ball, grab a small dish of water. Just dip your finger into the water and rub it along the cracks in your clay. This is where you need to be mindful of how much water you introduce to the clay as it can mess with the composition of the clay. Once you’ve rubbed the cracks away, give it a few more rolls between your palms to cement everything together.
Step 3:
The third step is going to be rolling your clay out. You’ll want a surface that is clean, smooth and flat for this. Pop your ball of clay onto the surface of your choice and use whatever flat tool you own to press down on the ball of clay until you have an even flat sheet of clay in front of you.
Step 4:
Now that your clay is rolled out, its time to create the shapes you want your charms to be. You can probably get more than 1 clay charm out of the clay sheet depending on how much clay you started out with. If you’re not confident in your carving abilities: I recommend scoring your shape out before you start cutting into the clay.
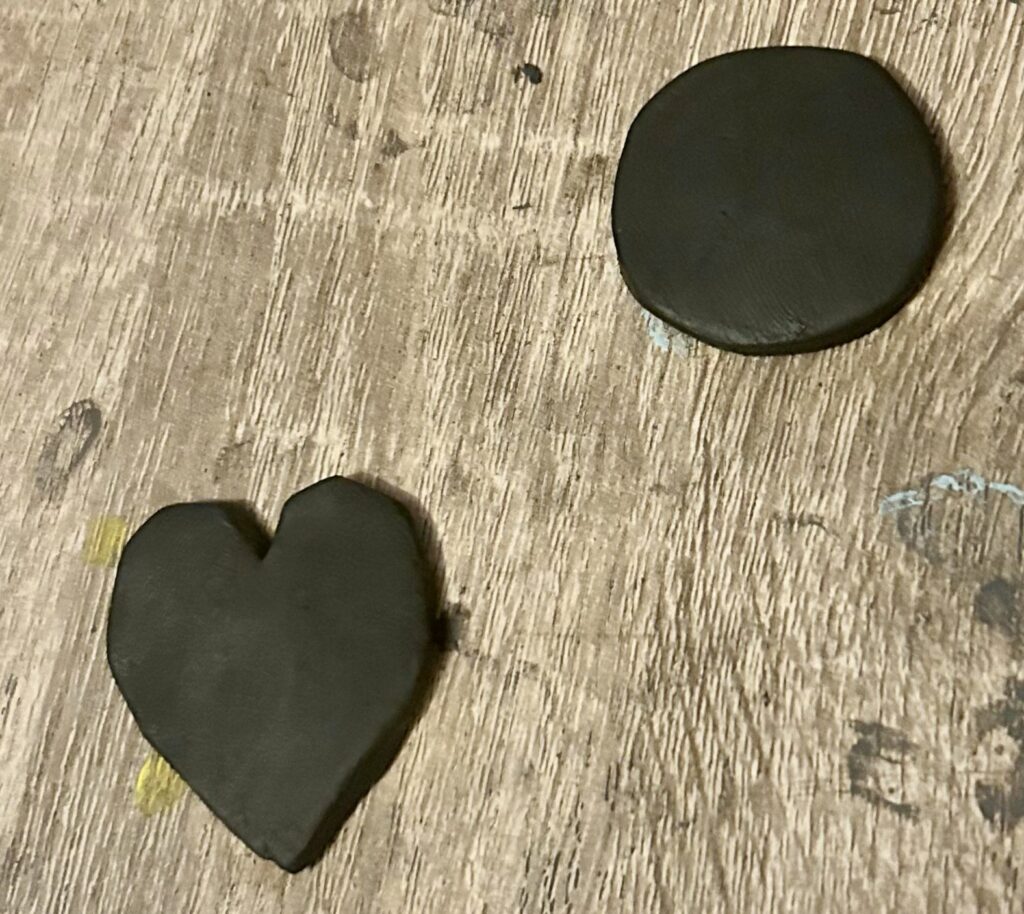
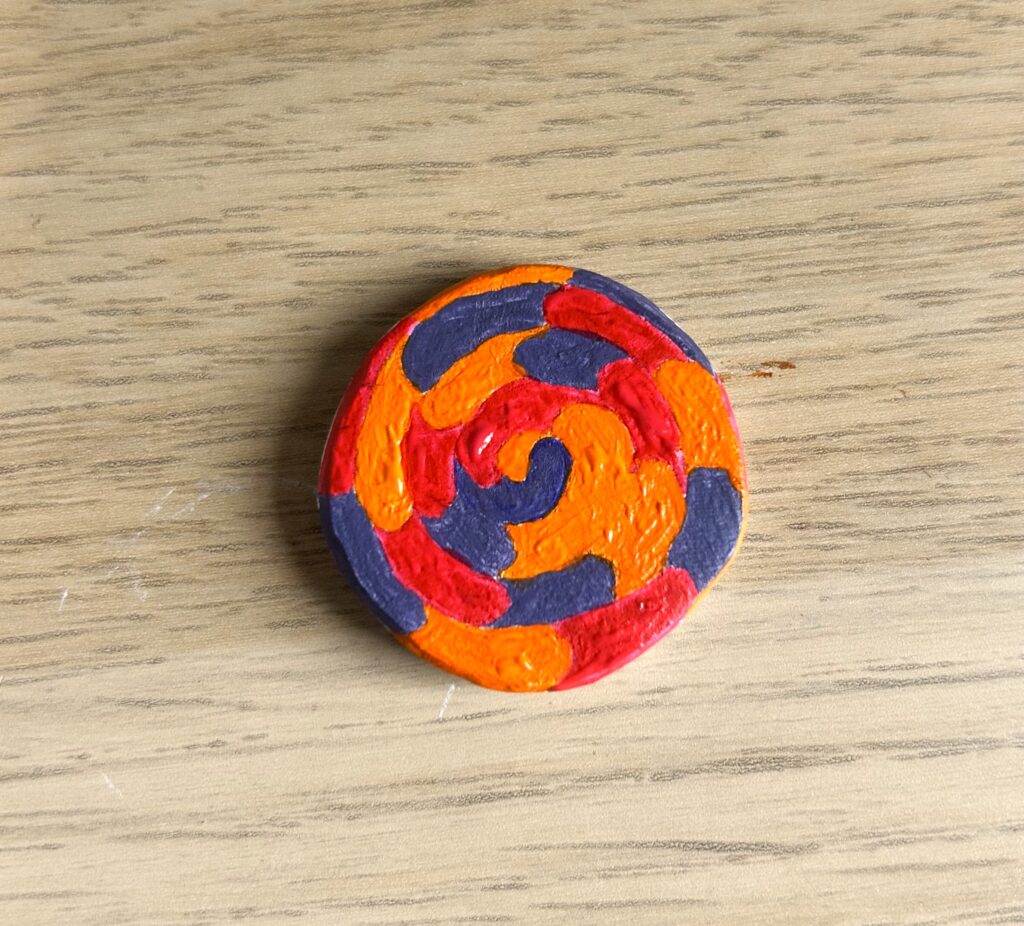
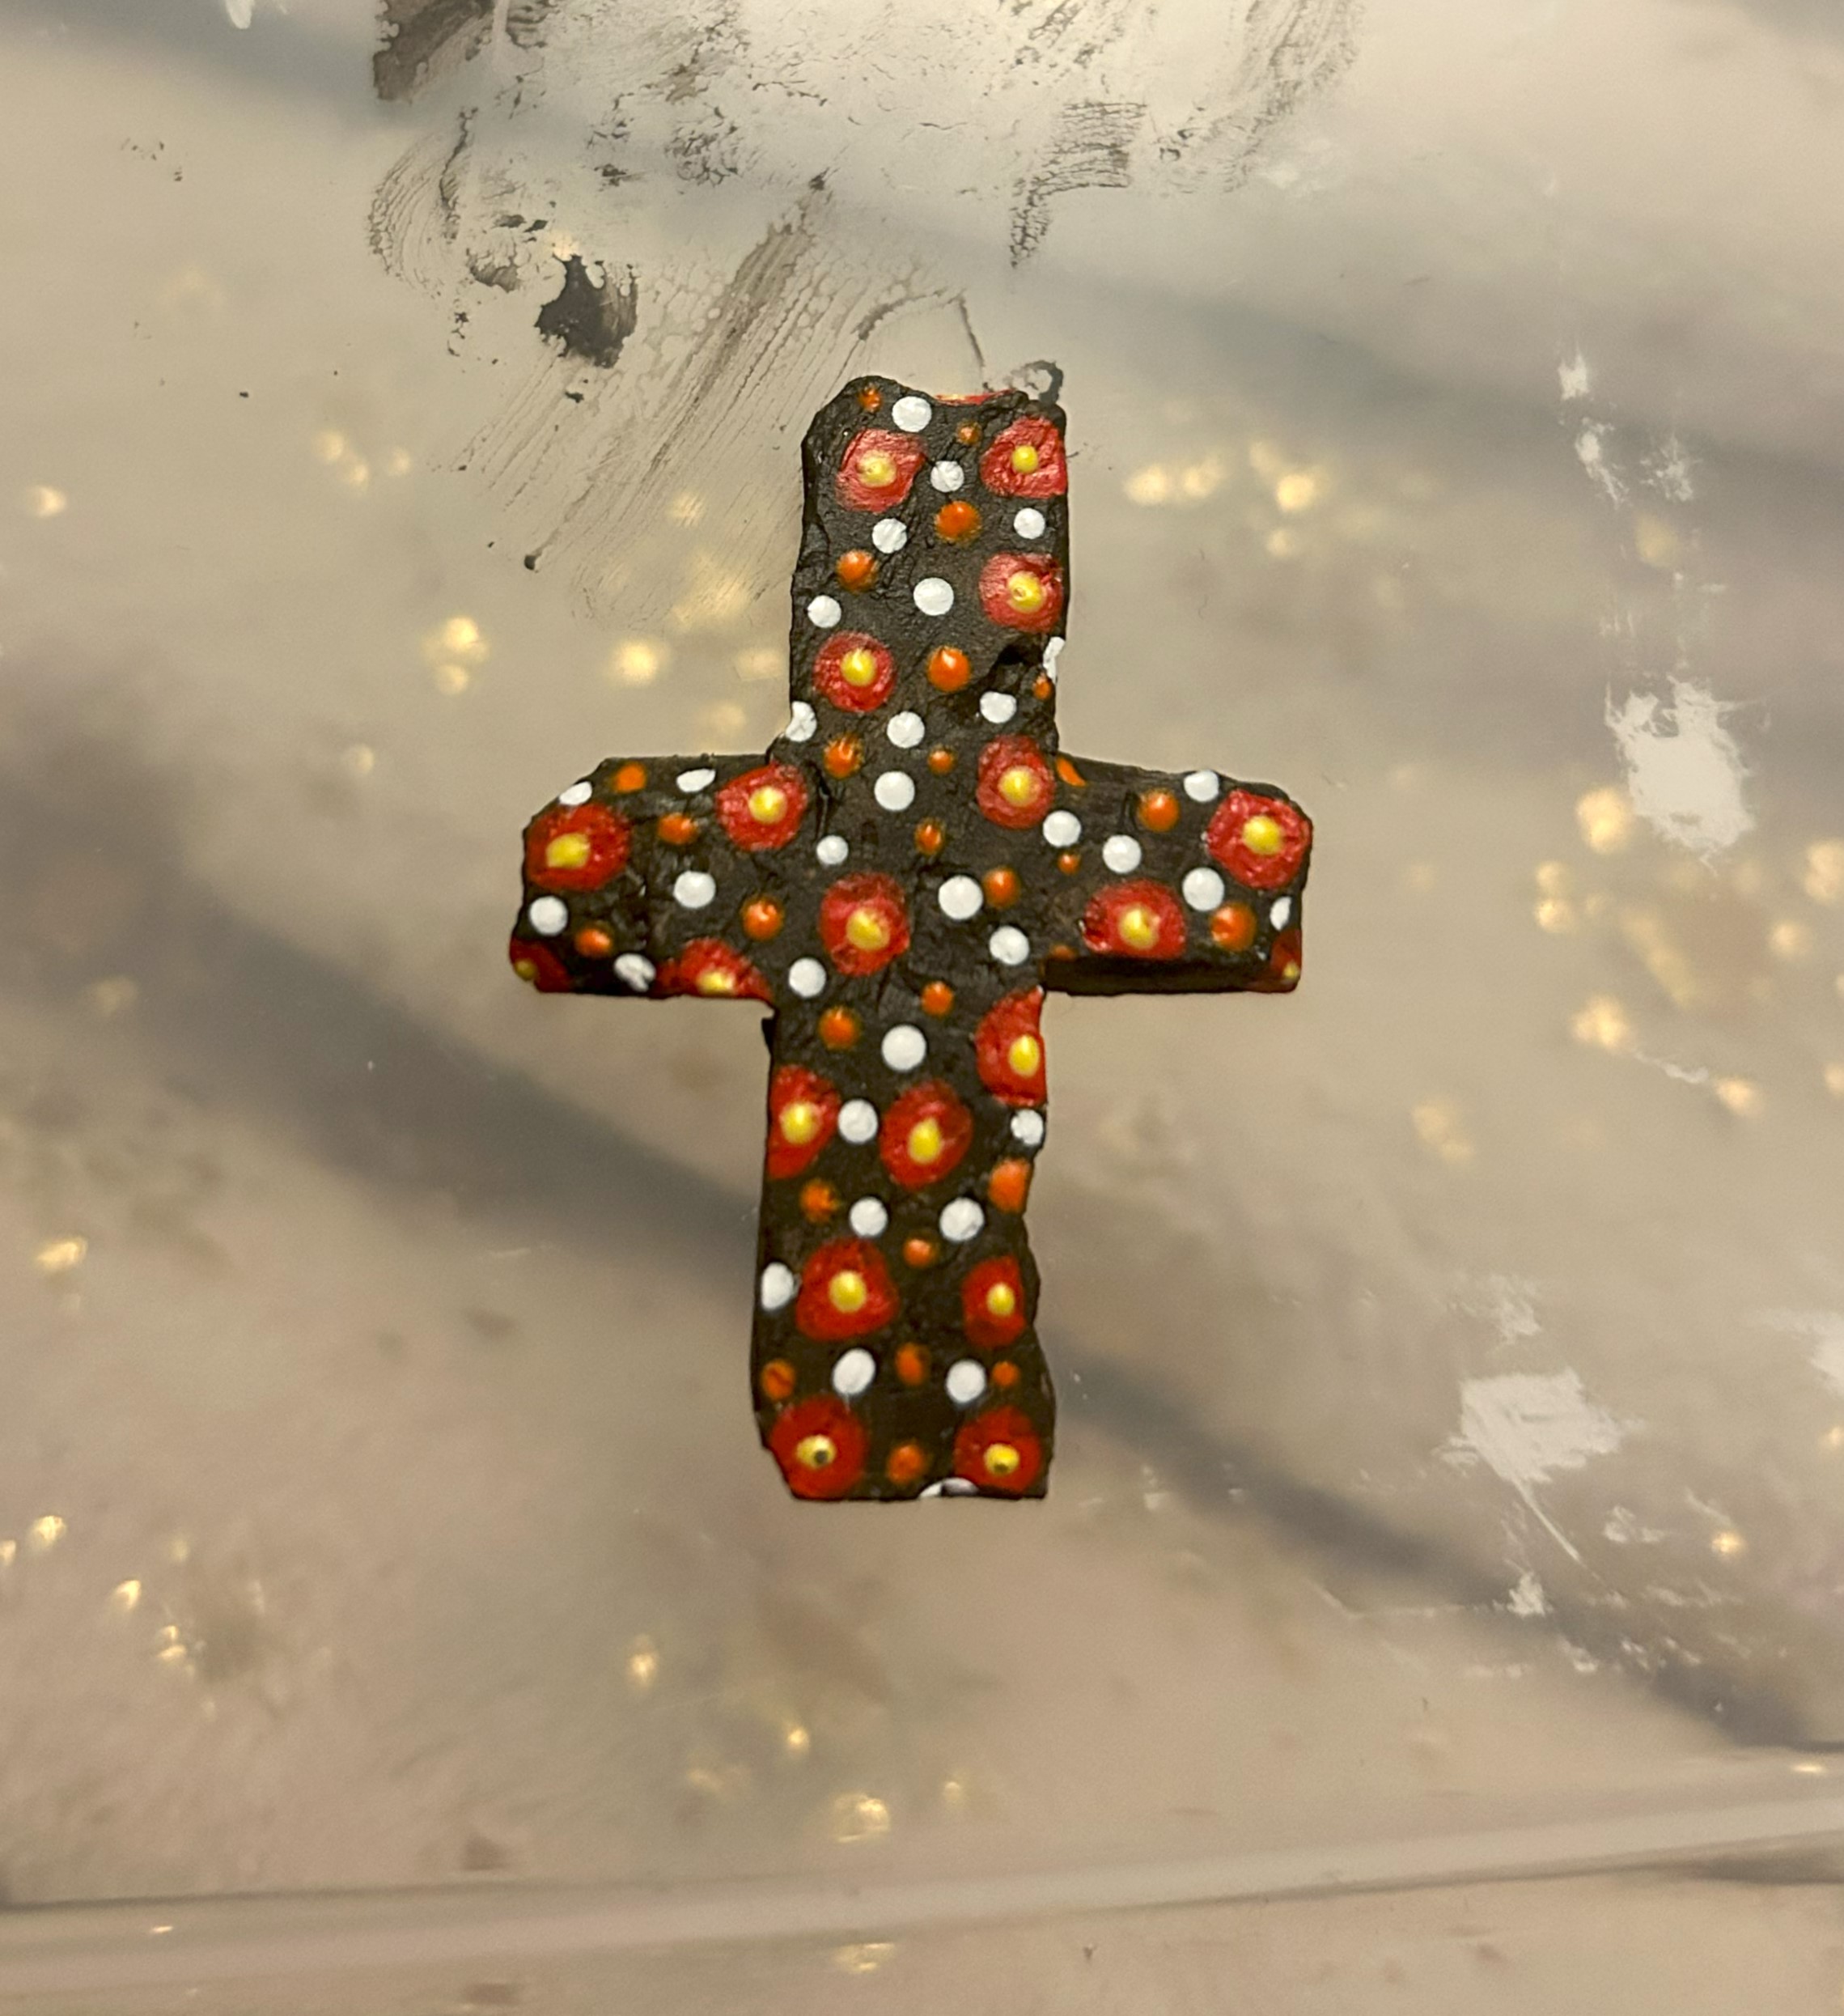
For my clay charms, I cut out a heart, a circle and a cross.
Step 5:
Step 5 is going to be cutting your shapes out of the clay sheet. Use a sharp and thin blade (you can use any knives or sharp items you own: I used an artist’s scalpel) and cut away the shape of your clay charm with the technique of almost an archaeologist excavating a site.
Step 6:
The last step before we let our clay dry is to smooth over any rough edges. To do this, all you’ll need to do is dip your finger into the water you used previously and rub down the edges with your watery finger until it smooths out. Its important that you ensure your clay is smooth on the surface as well as this will make it easier to paint once it’s dried.
Once your clay is smoothed to your preference, leave it to dry for 2 days preferably to ensure the clay is completely dried out.
~Decorating your clay charms~
Step 1:
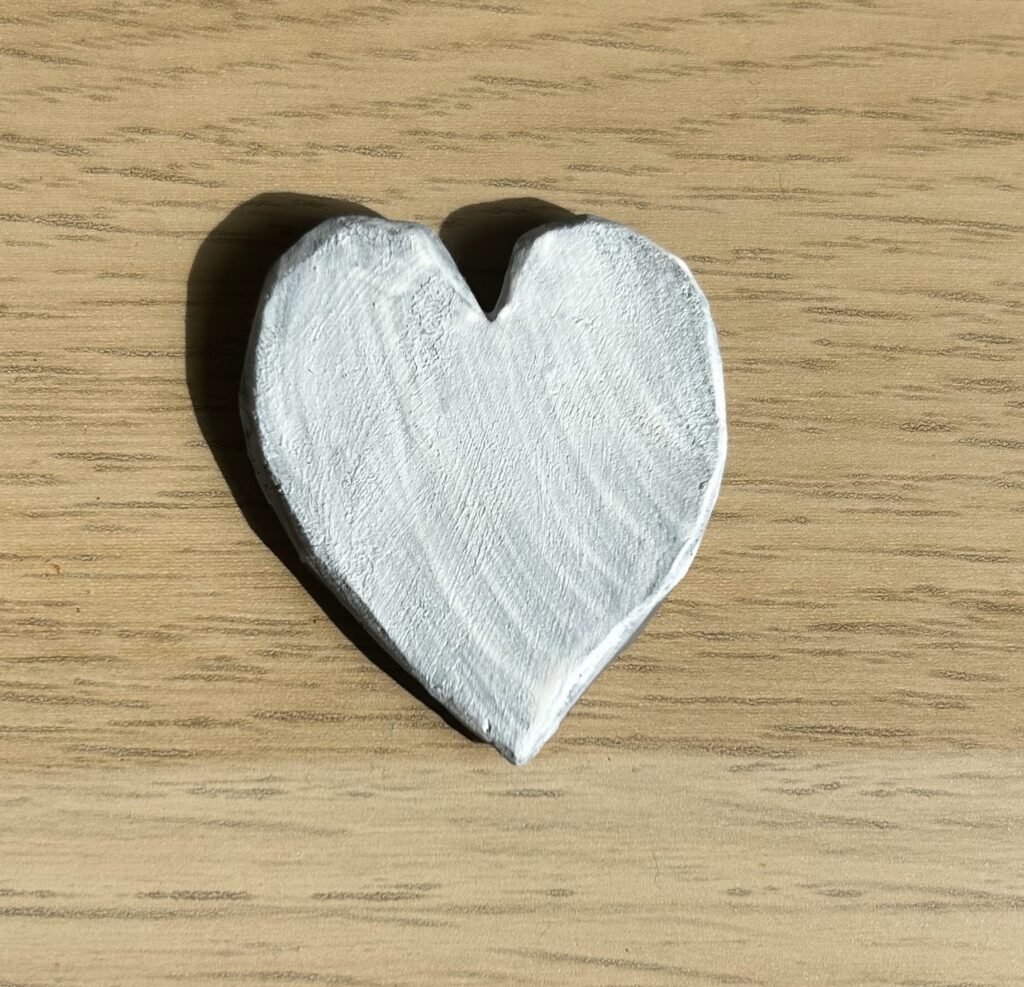
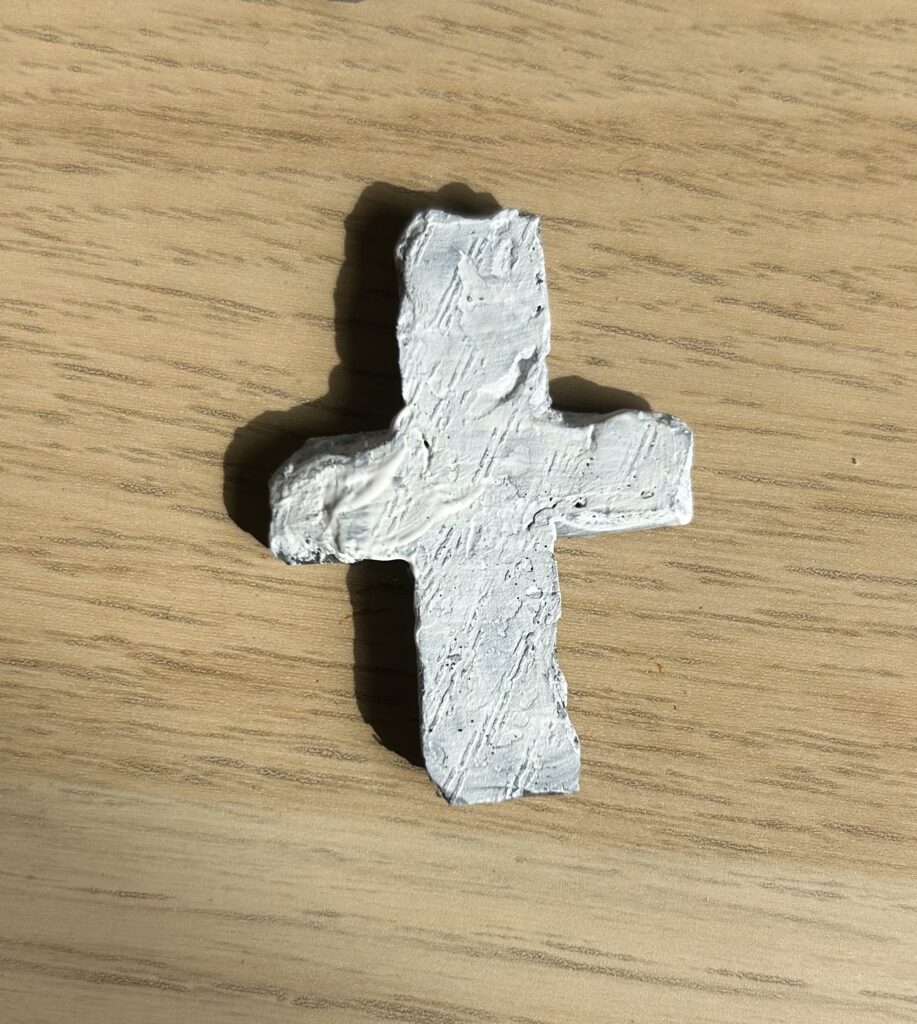
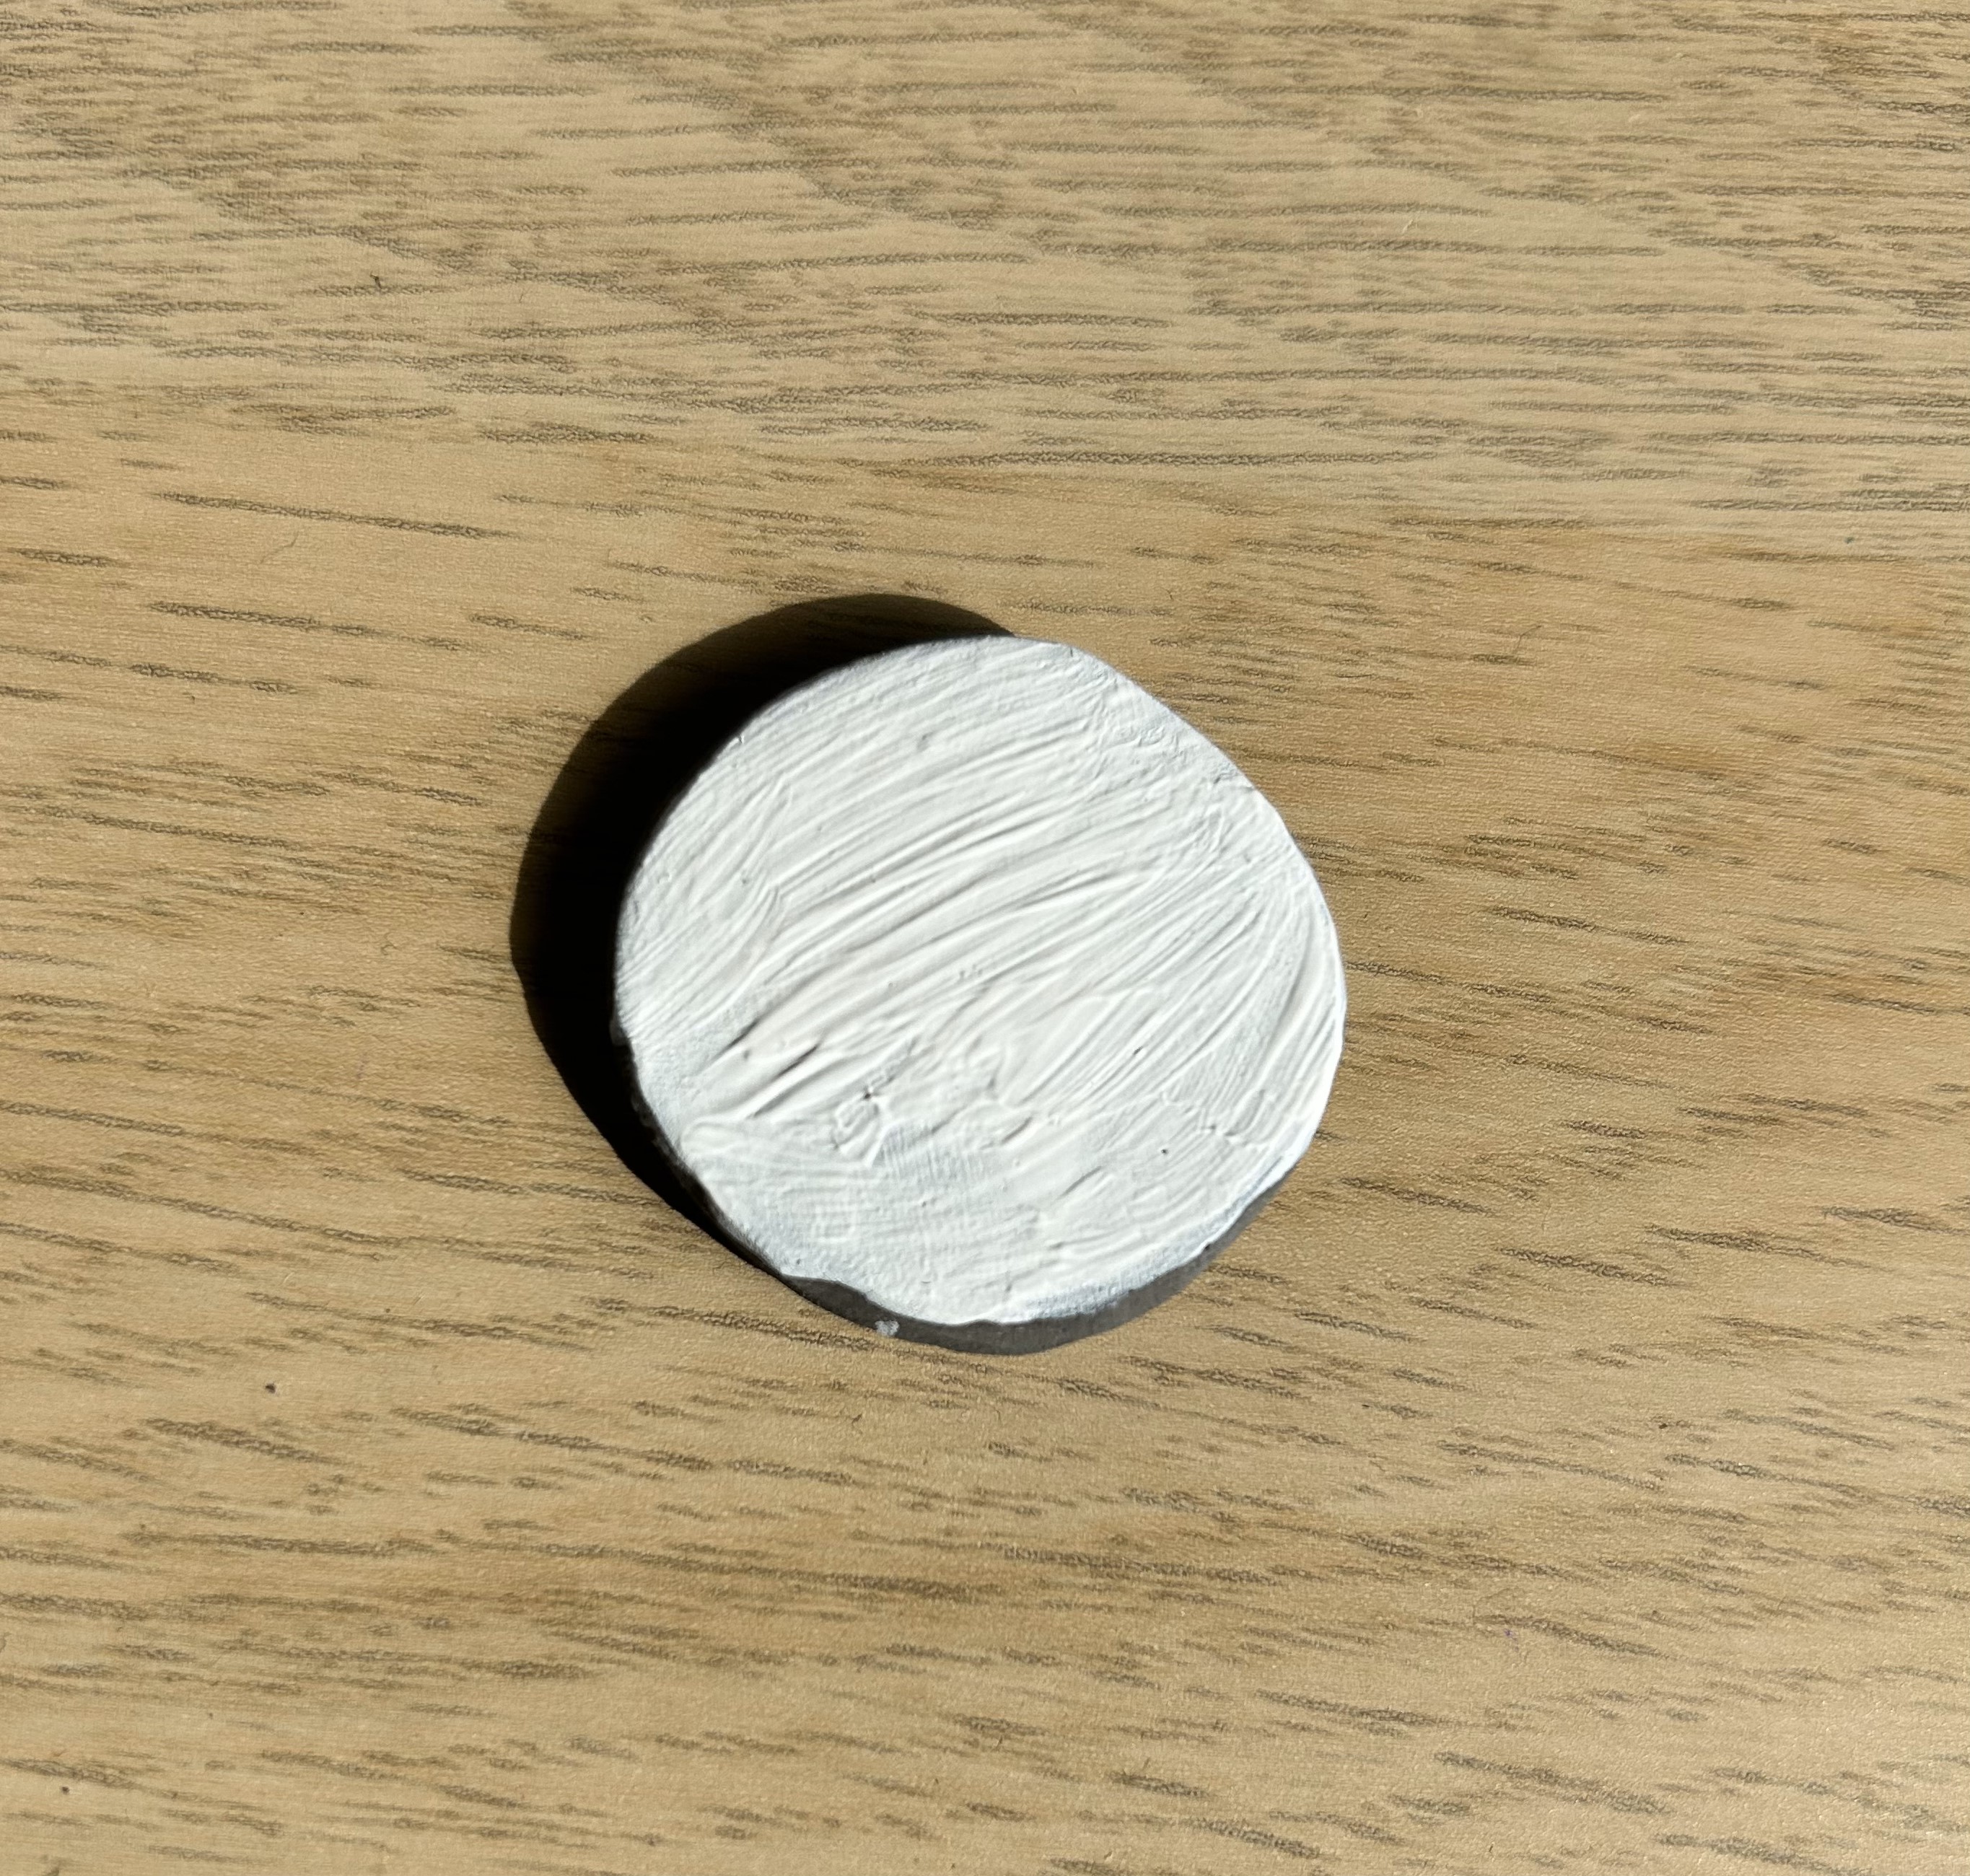
The very first step when decorating your clay charms is to paint your clay with white acrylic paint if it is a colour other than white already. If your clay is already white, then you’re good to go!
Step 2:
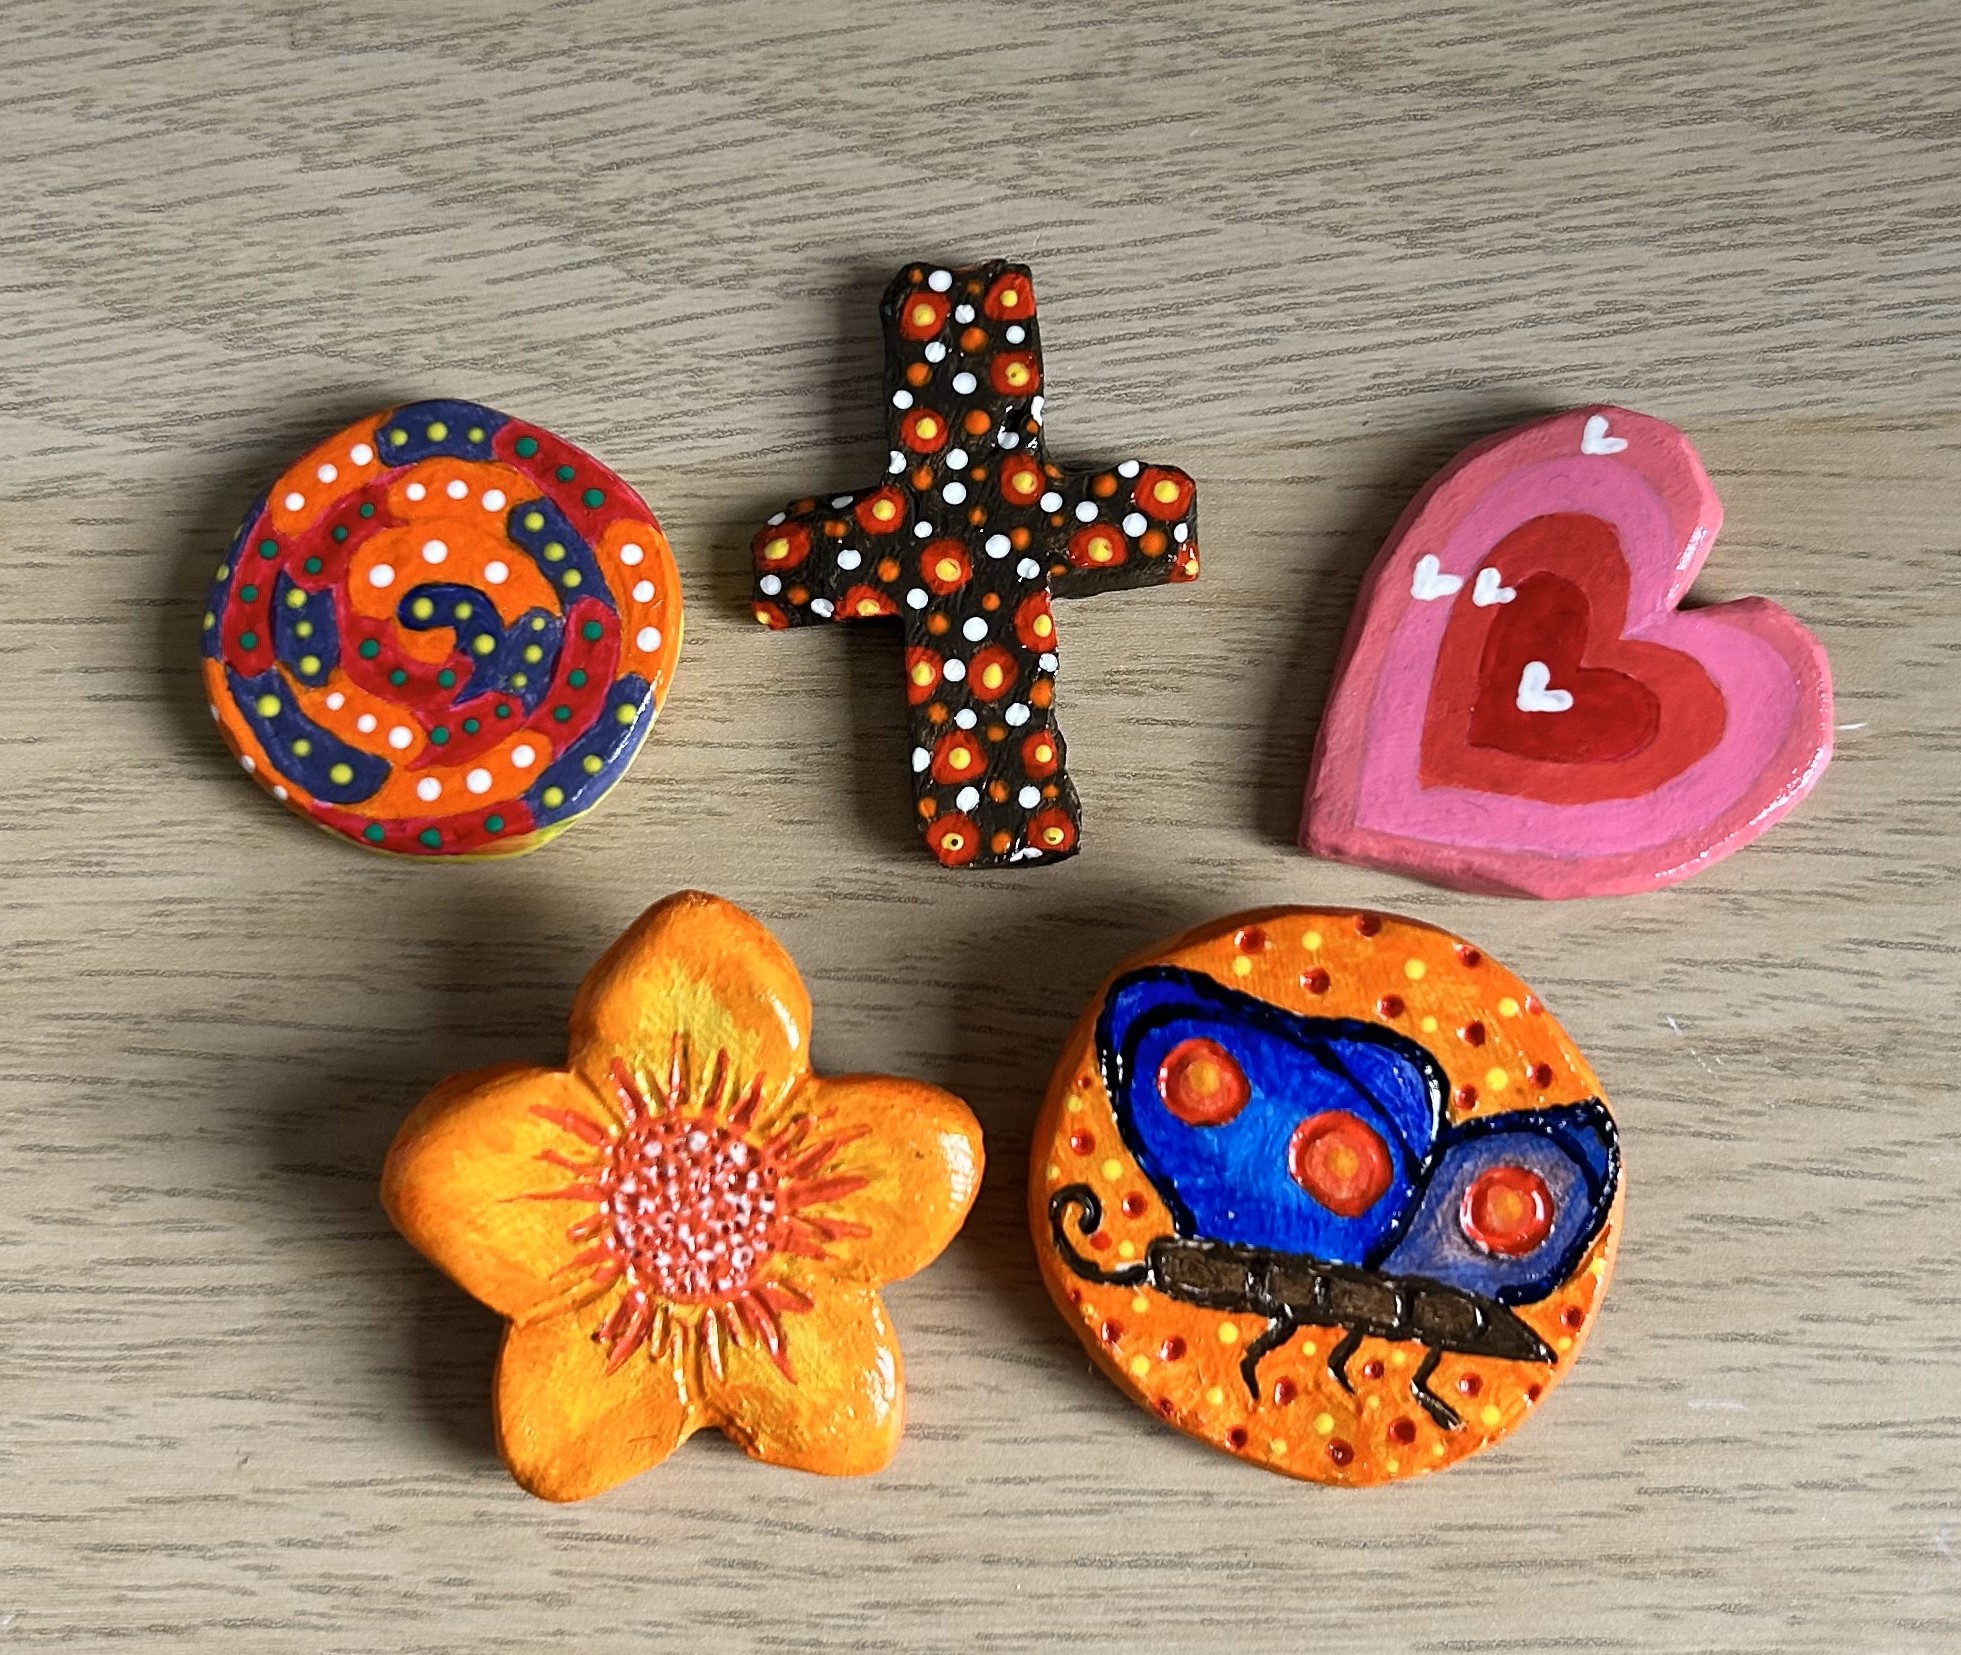
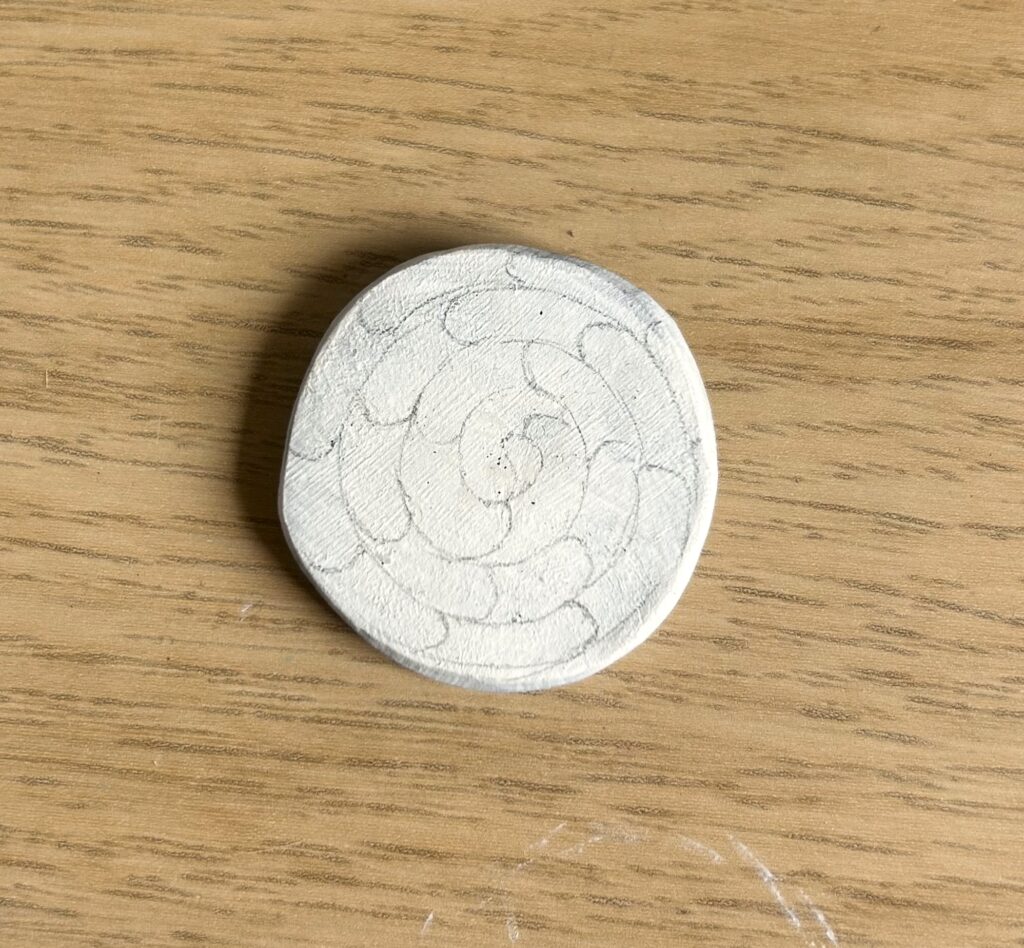
The second step is to engage your creativity and think of a design you want to decorate your clay with. I chose to decorate my clay charms with groovy patterns, swirls and colourful circles. You can make your design as complicated or as simple as you like!
Step 3:
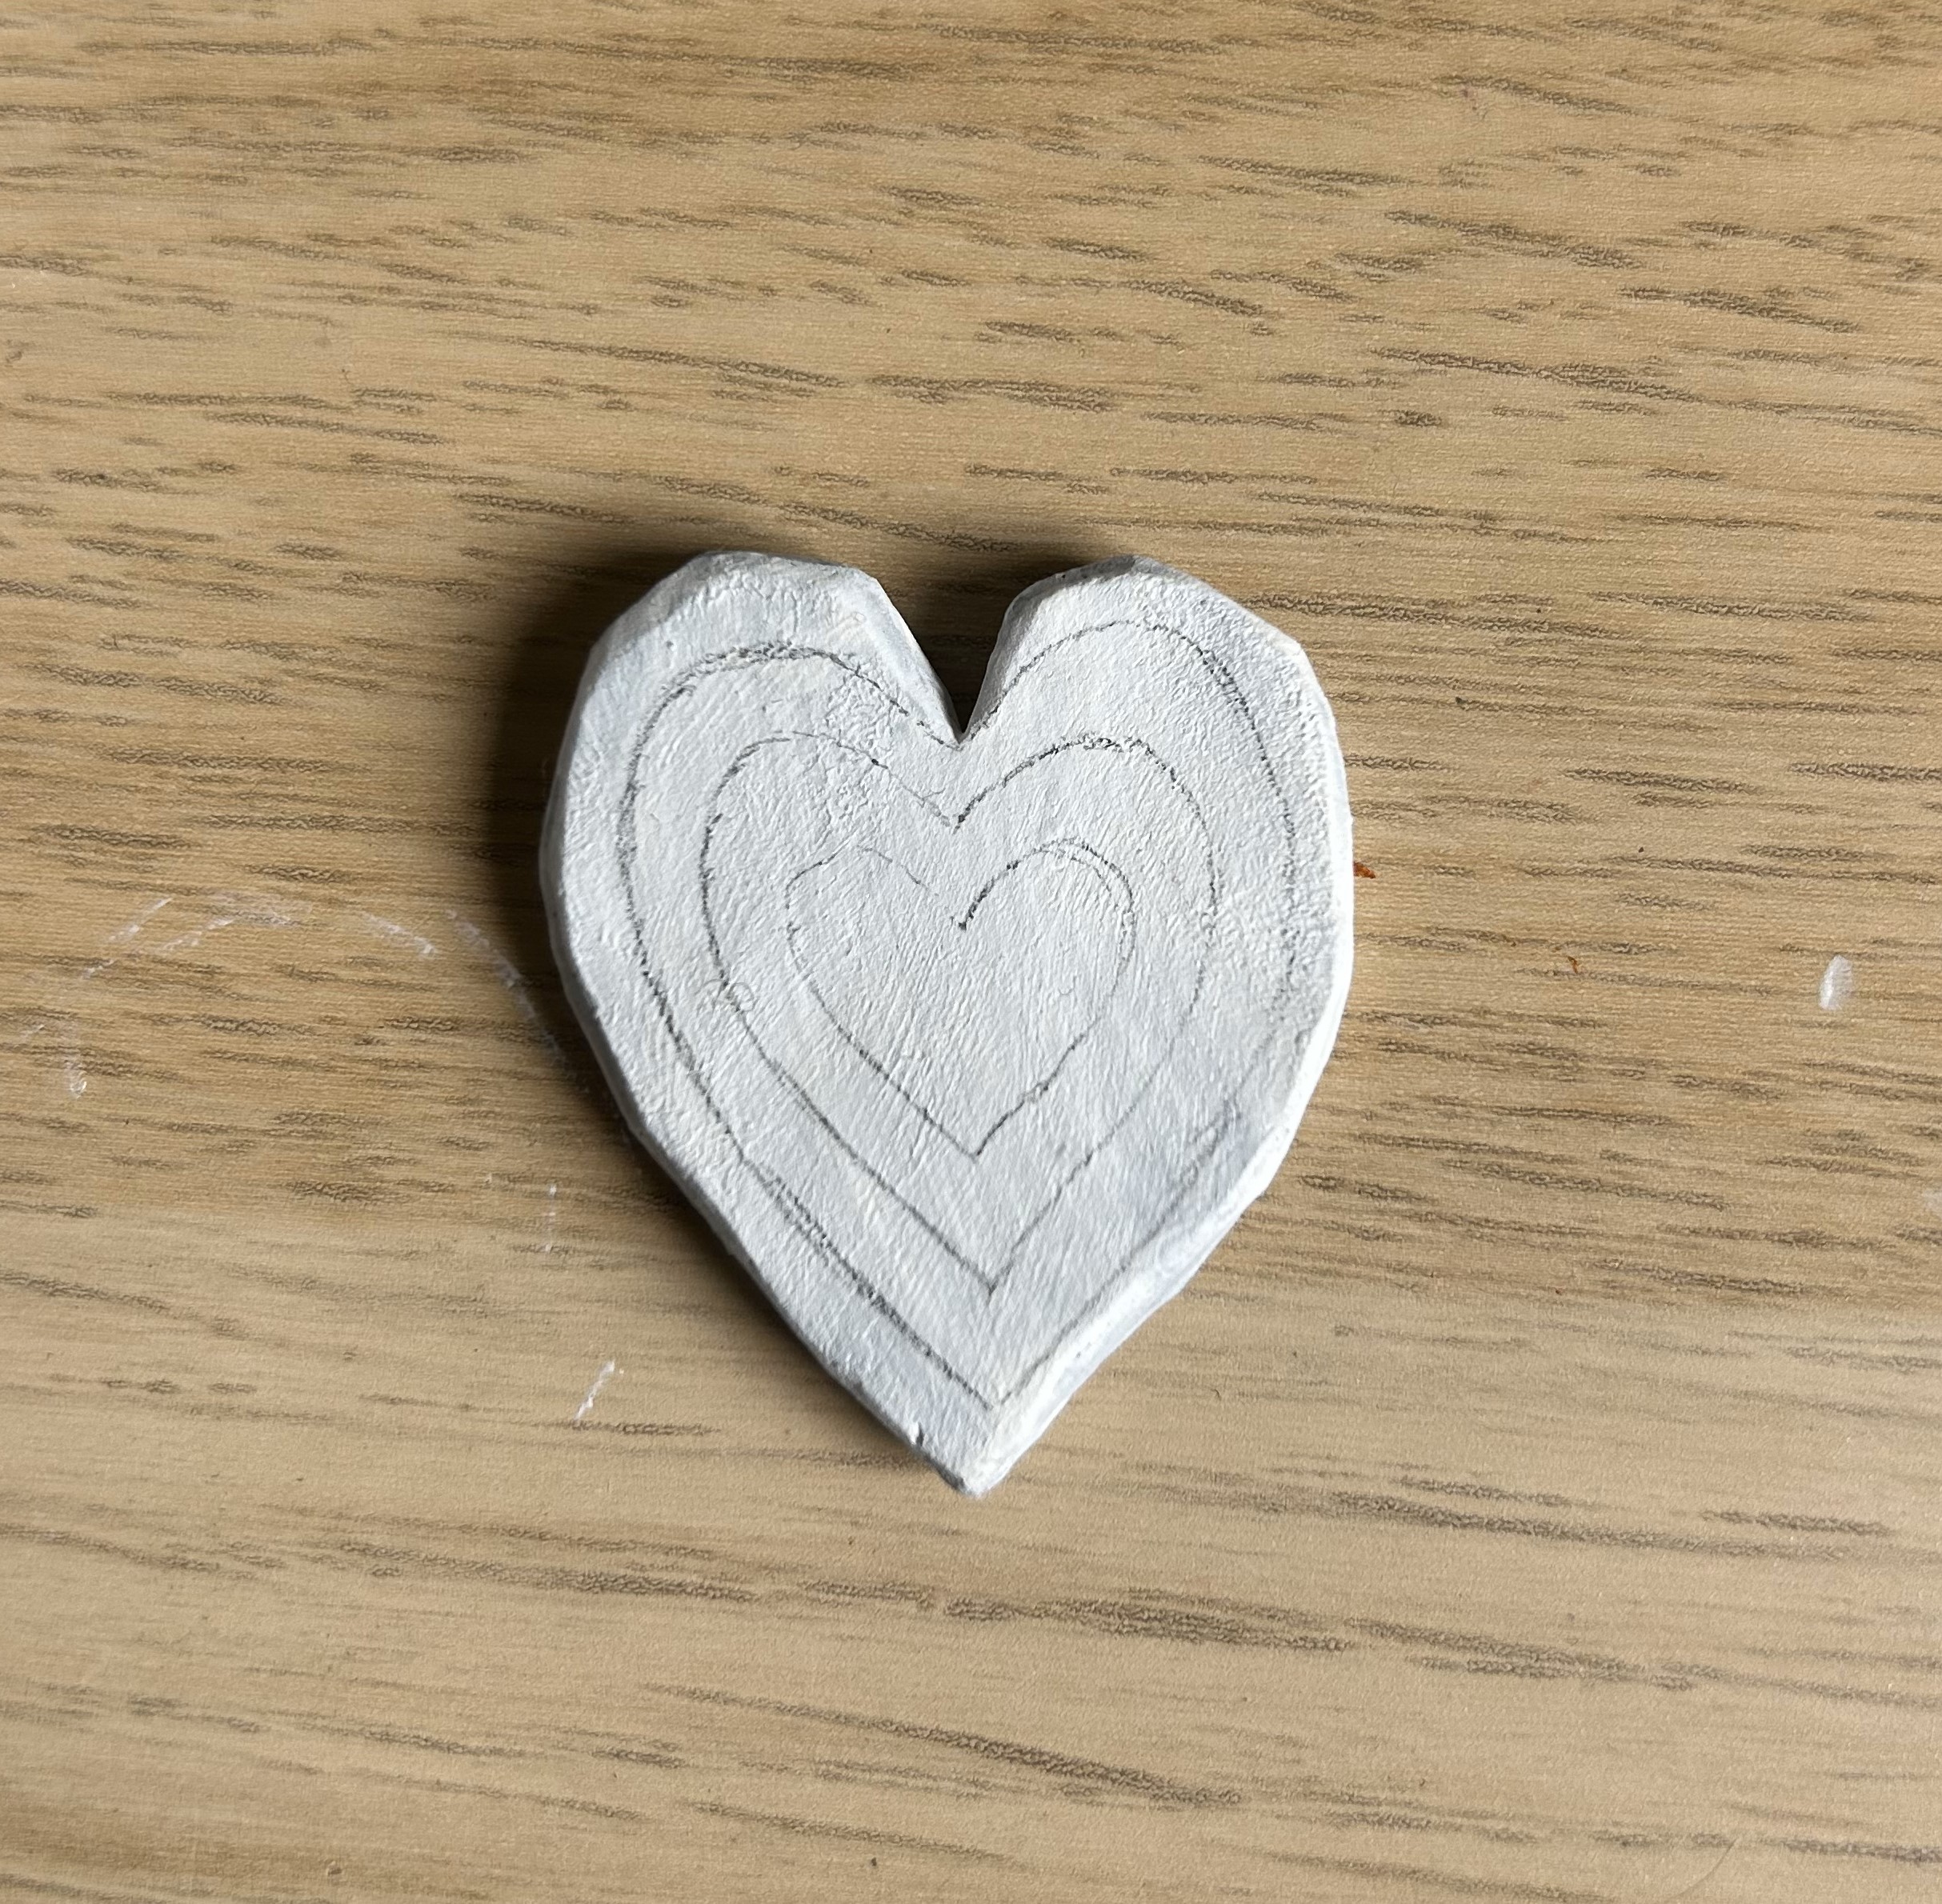
The third step for decorating your clay charms is really helpful if you’re a beginner. Grab a pencil and lightly draw your design onto the clay charm. If your design includes more than one colour I would recommend noting where each colour is meant to go with the first letter of the colour’s name. This will be immensely helpful if you’re like me and forget where everything is meant to go after a while!

Step 4:
Now it’s finally time to paint! So it’s important to only use either clay safe paints or acrylic paints as acrylic paint will create a tiny layer of protection around the paint as it dries, and it will be the most opaque. Now that you have the right paints for the job, grab the smallest paint brushes you have and get to work! The smaller the brush, the easier it will be to control the detail of the charms. Note: acrylic paint does dry quickly so I recommend painting one side of the clay at a time and waiting about 20 minutes before you flip it and work on the other side.
Step 5:
Now that your clay is painted and GORGEOUS! You’ll need to place it somewhere safe to dry fully. I have learned this the hard way but please do not put your wet paint onto any surface as when it dries it will rip the paint off of the clay and it will create patches. So be very cautious about where you put your clay to dry and check that the driest side is set onto the surface.
Step 6:
Now that our clay charms are painted and dried, it’s time to varnish them. Varnishing the clay charms will add a gorgeous shine to them as well as added protection from water and wear and tear etc. Don’t panic if you don’t have a varnish, I will put links to very affordable and well-reviewed varnishes if you want to buy one. You also might not even need a varnish (it all depends on what you want to use your clay charm for).
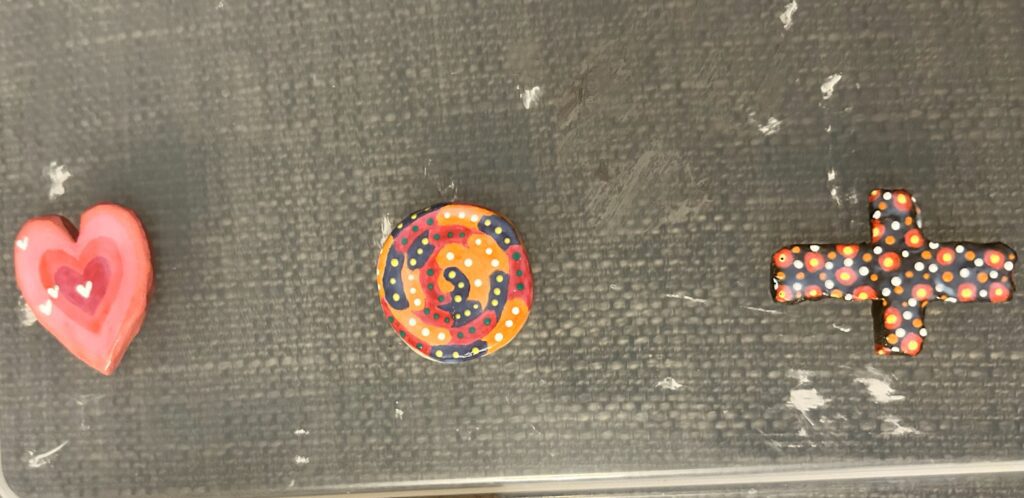
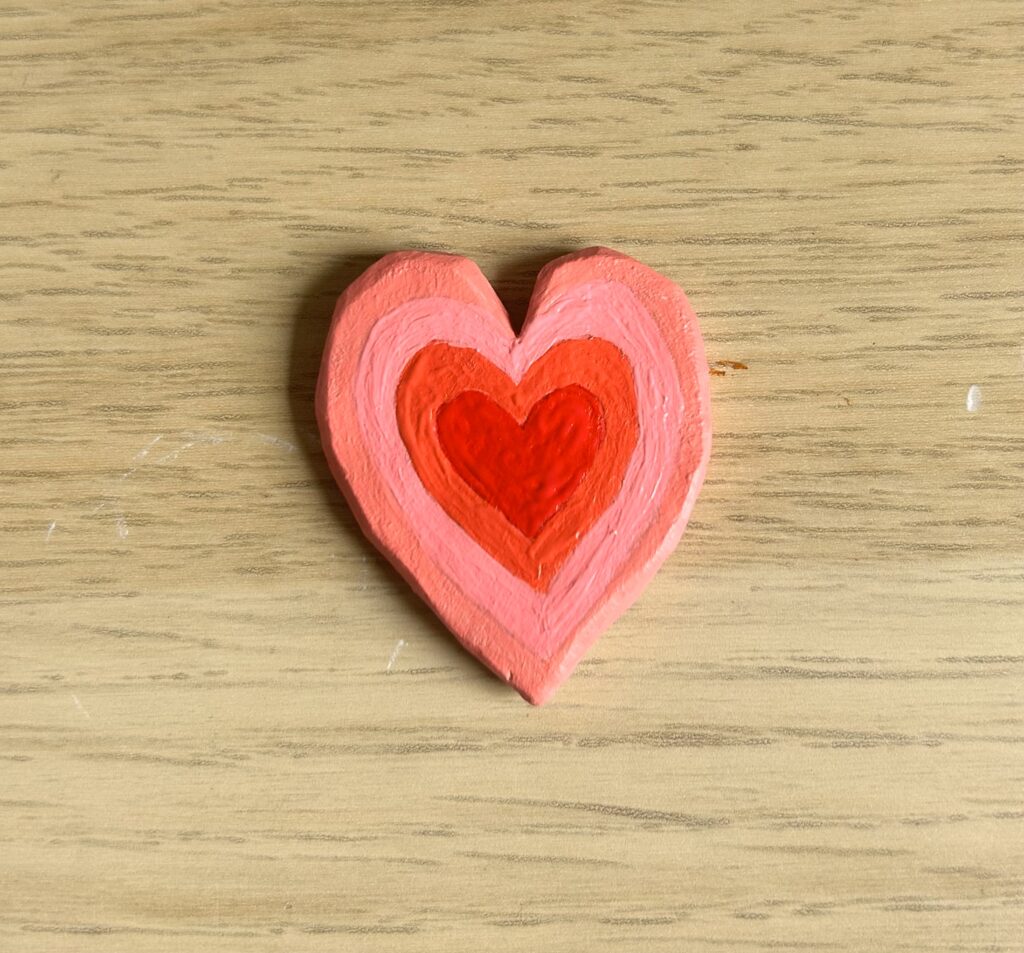
Once the varnish dries fully you’ve got yourself your very own personalized clay charms.
This is how my clay charms turned out and if you like the look of any of them, I’ve put them up onto my Goodies Galore Store!
