If you’re not sure what you want to be for Halloween or you’re wondering what makeup look you could do, look no further! I am starting a series of Halloween themed makeup looks that are super beginner friendly and only require eyeshadow!
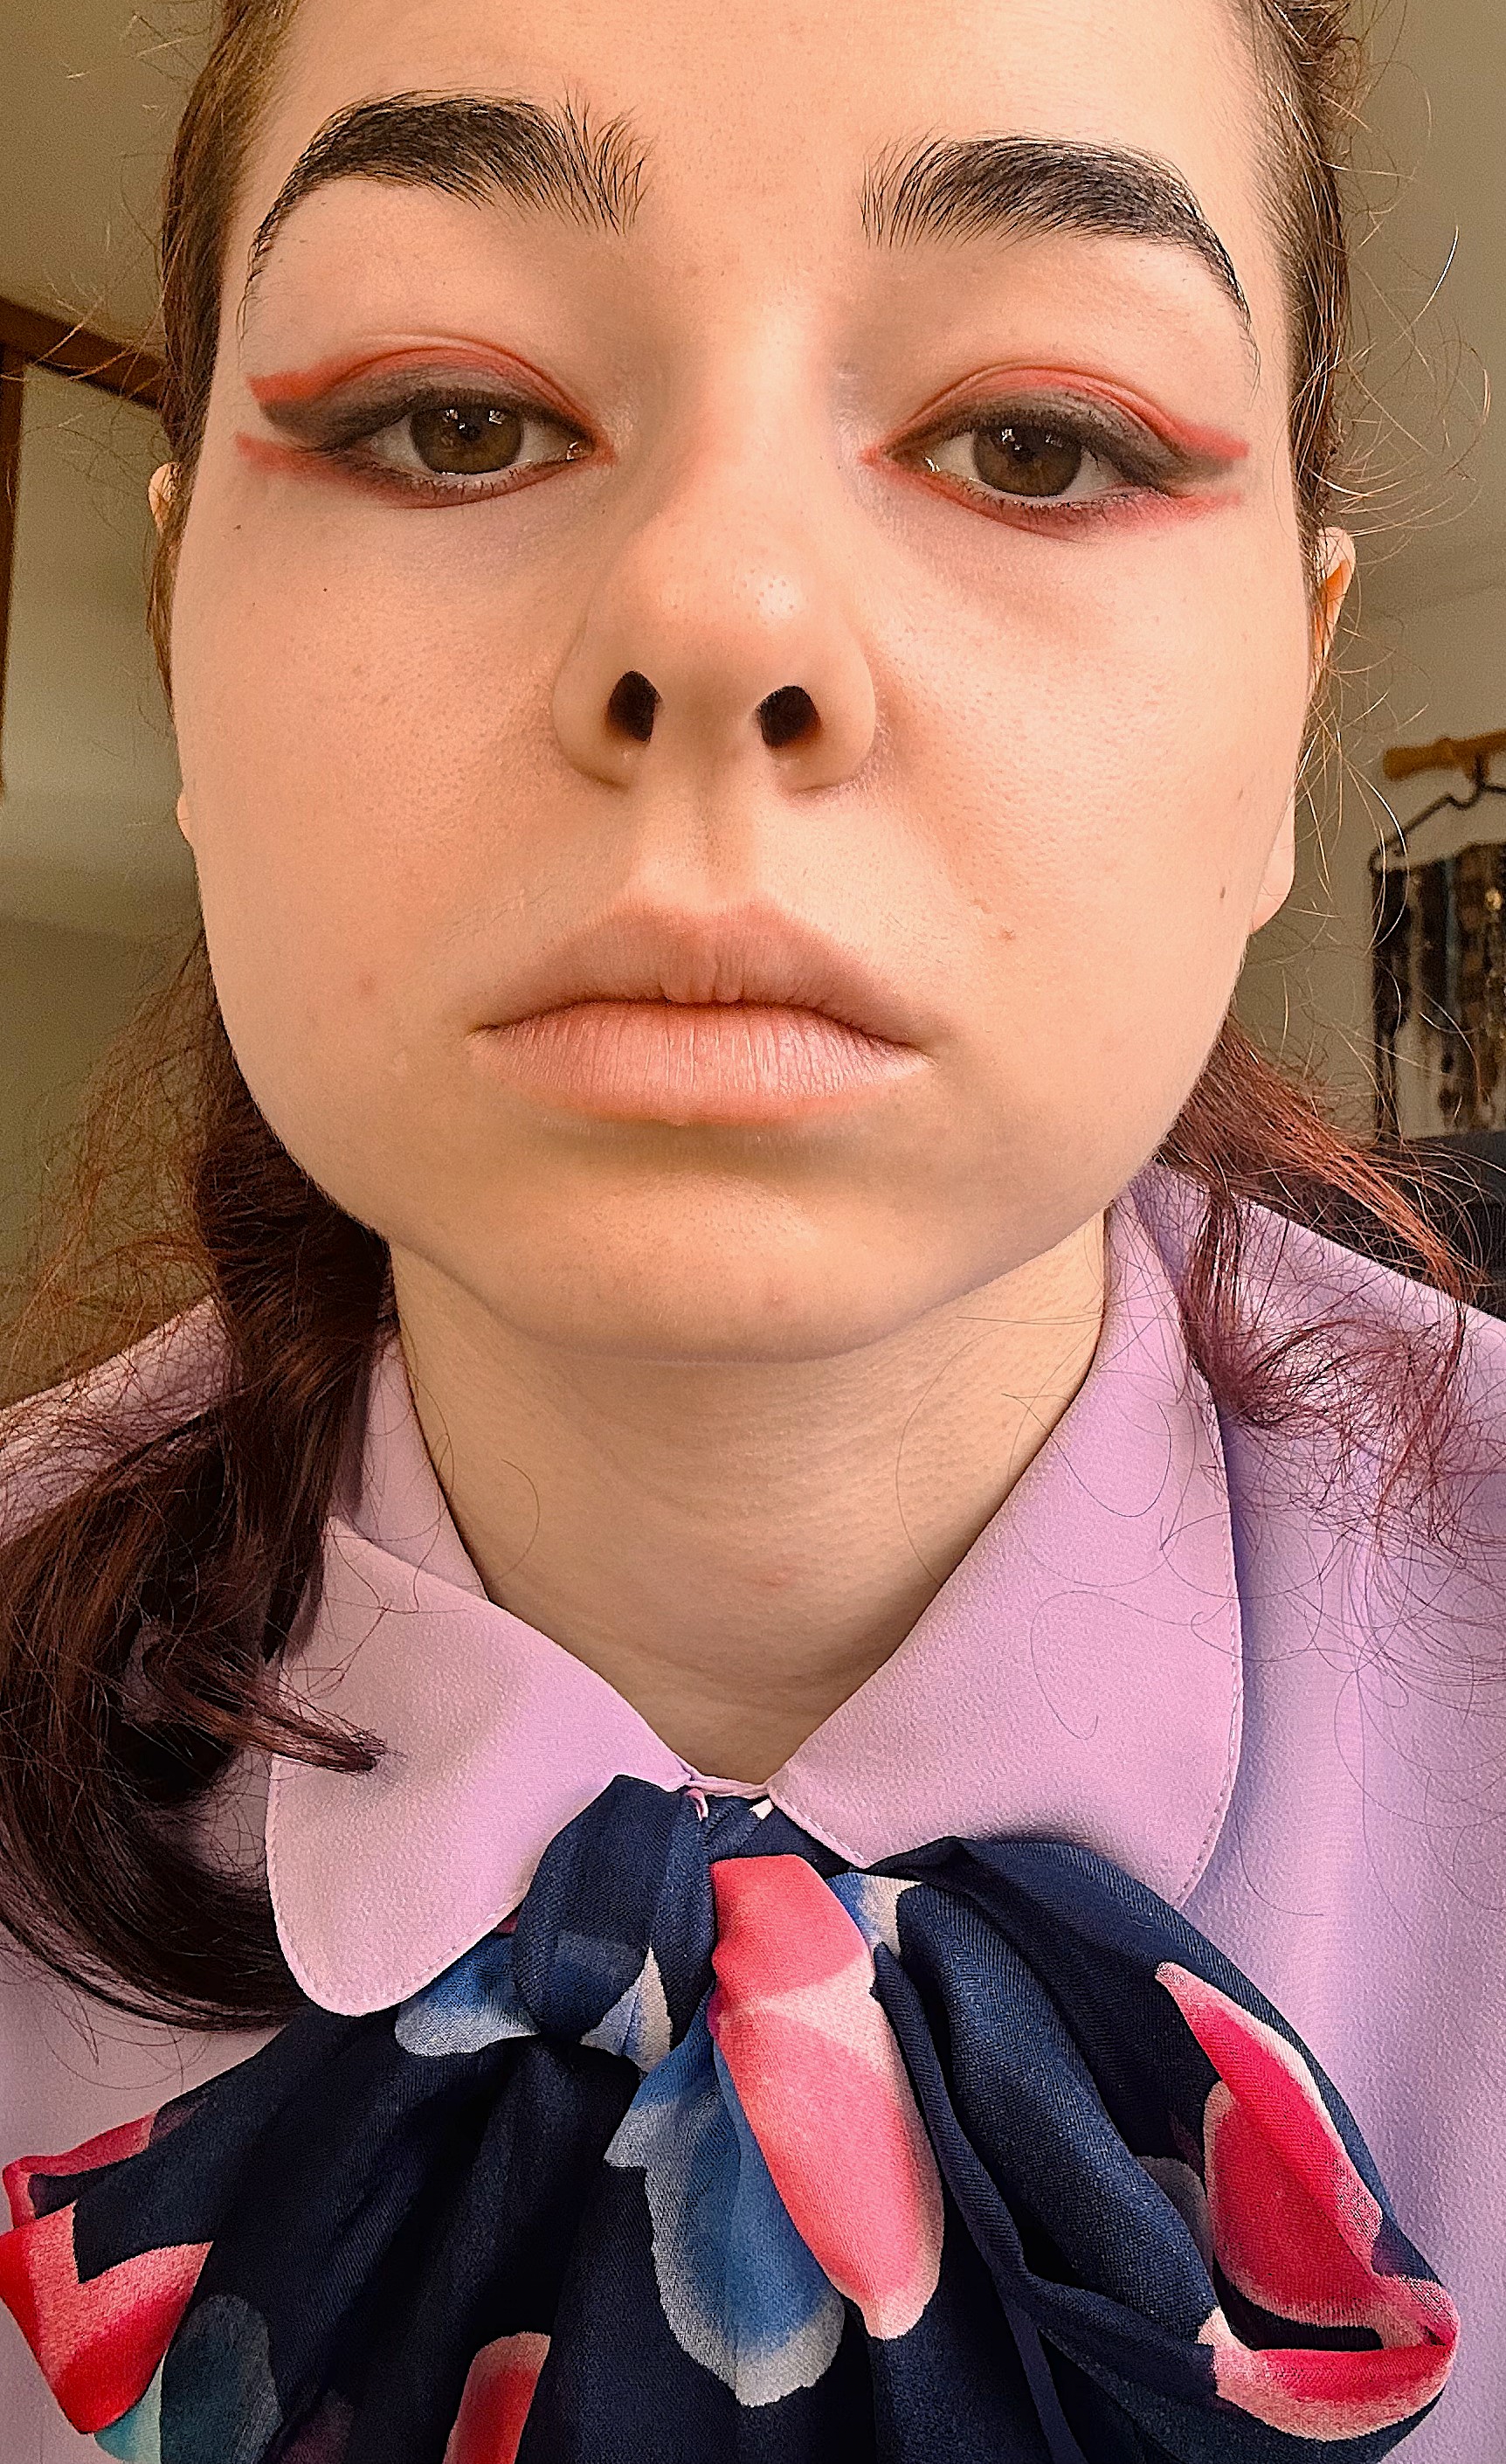
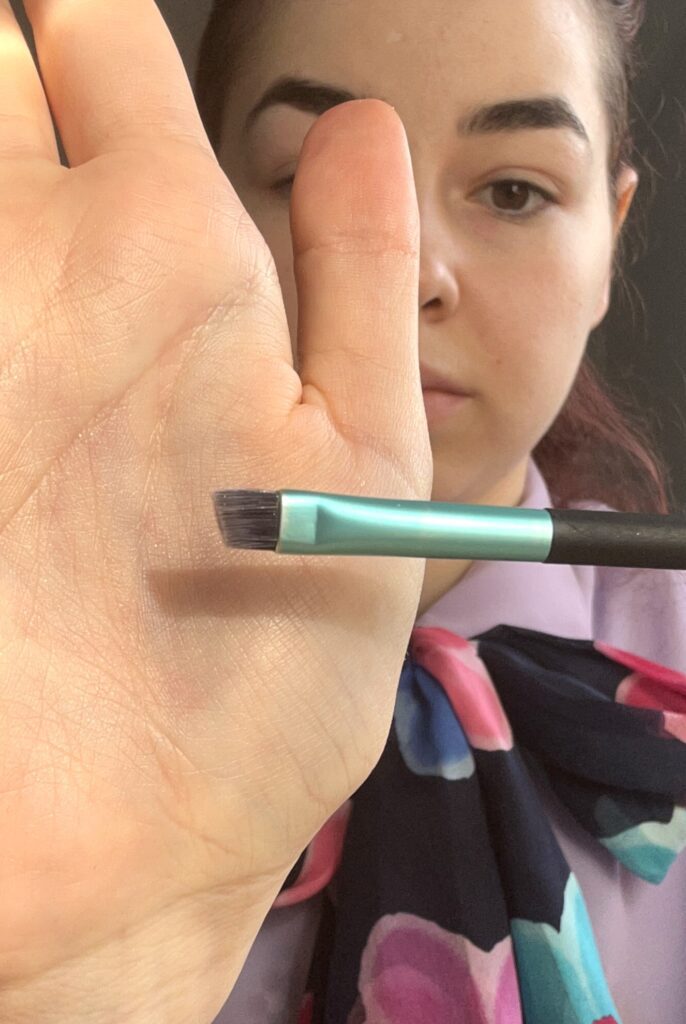
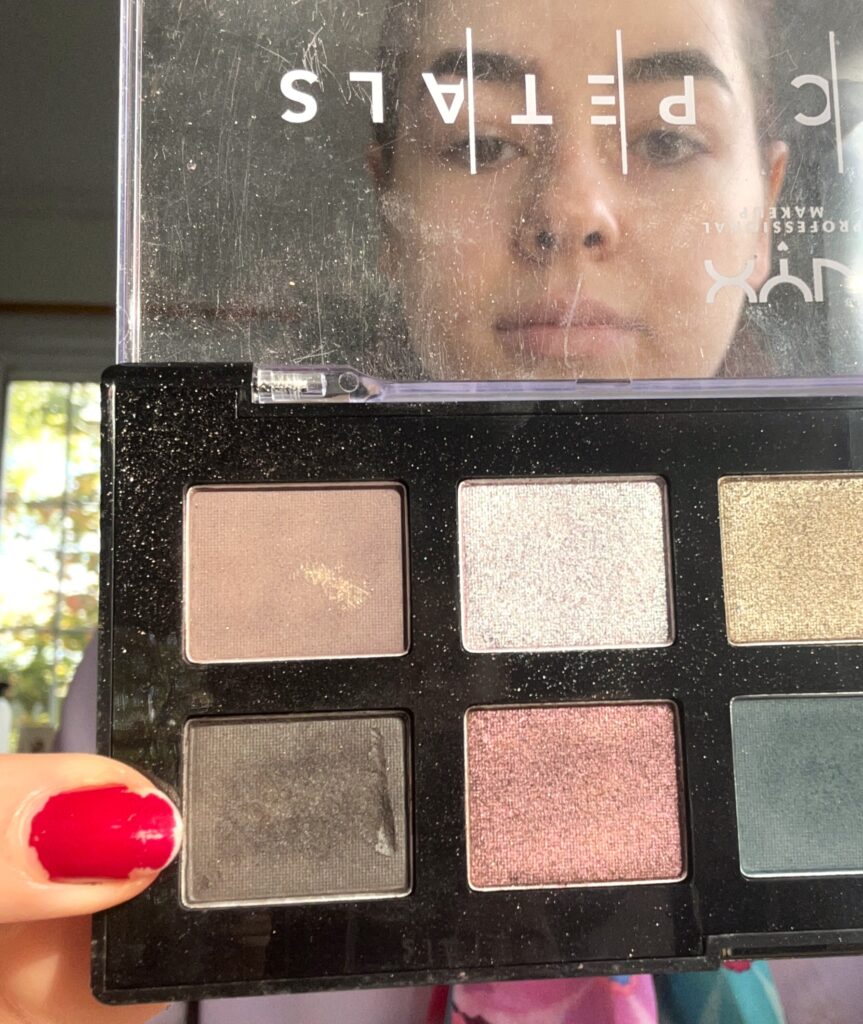
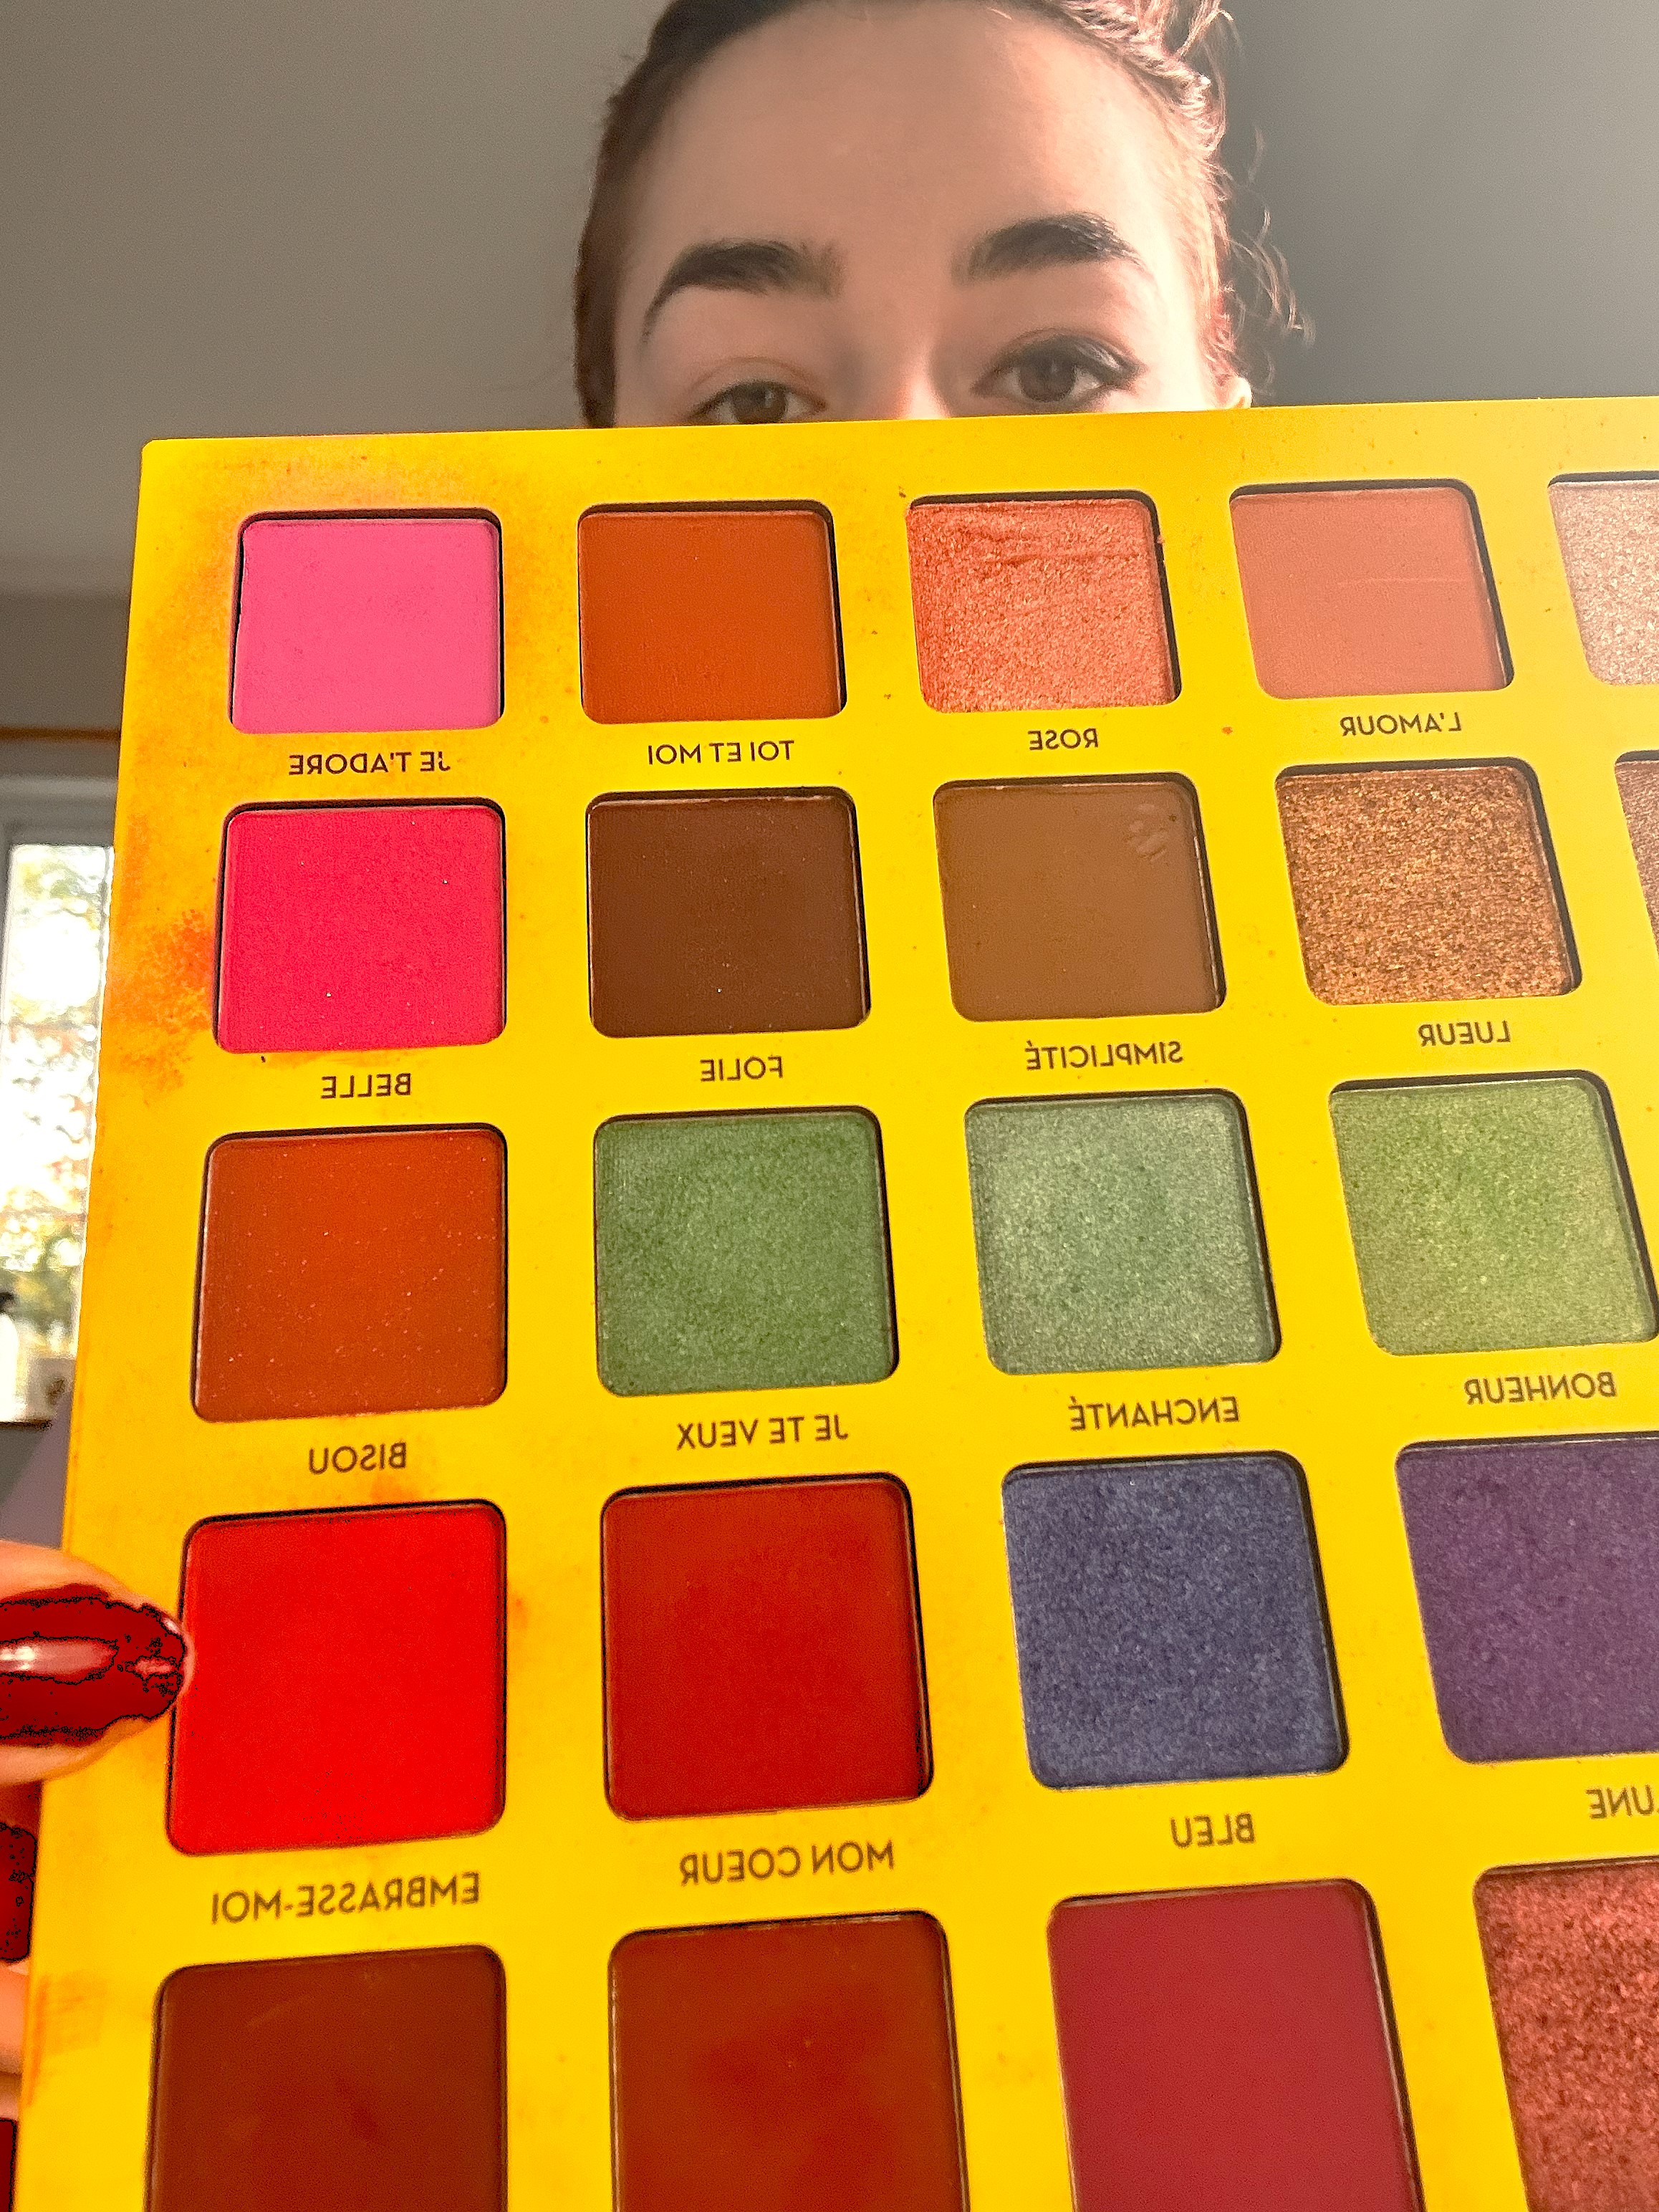
So this blog post will focus on the Vampire Queen Makeup Look. For this entire look, all you need are black and red eyeshadows. Of course, you can change the colours to whatever you want or have in your collection. You’re also going to need a thin flat brush and that’s about it for the tools! I wanted these looks to be super budget friendly as well as super time effective. I know not everyone can get excited about Halloween due to financial worries or lack of time to even focus on anything else but I hope these tutorials will help you to look bomb and keep the stress out of it!
Let’s get into the look!

- Step 1:
To get started, make sure you have your eyelids primed with either a primer of your choice, or you can use some concealer or moisturiser. We just want the lids to be a little tacky, so it grabs onto the eyeshadow pigment better.
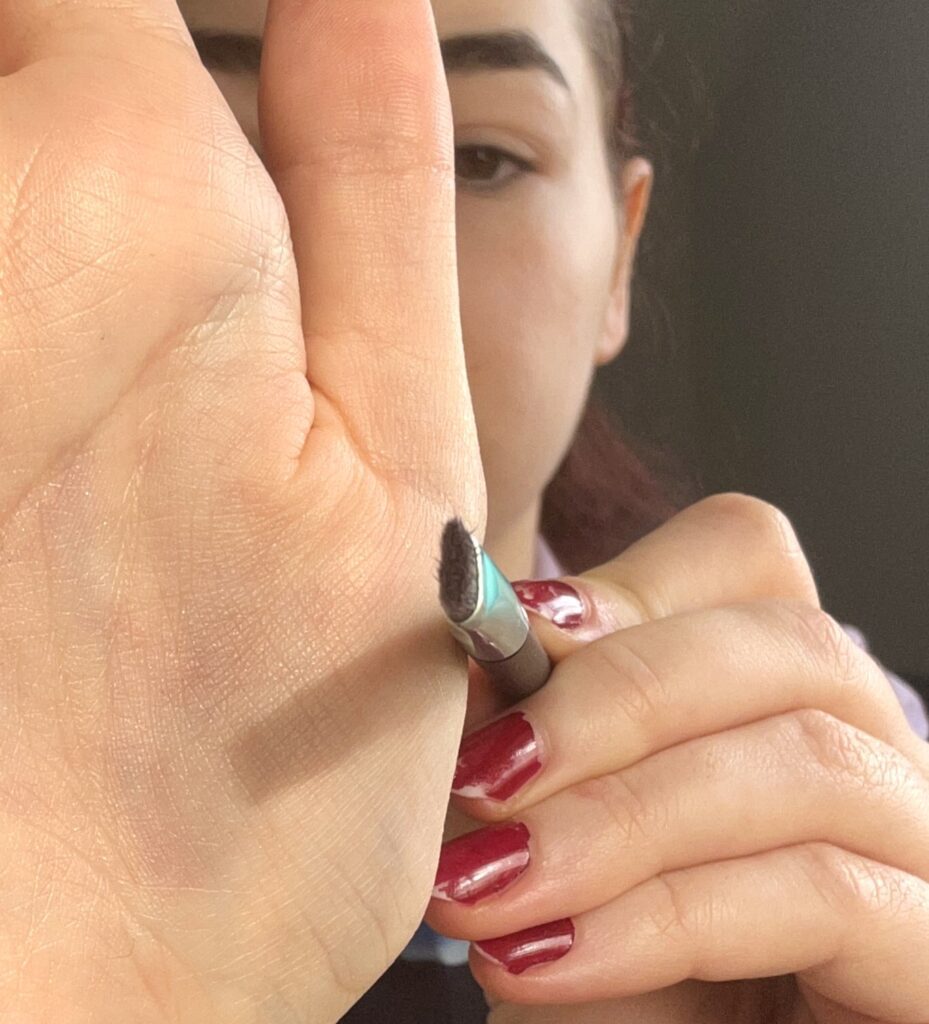
- Step 2:
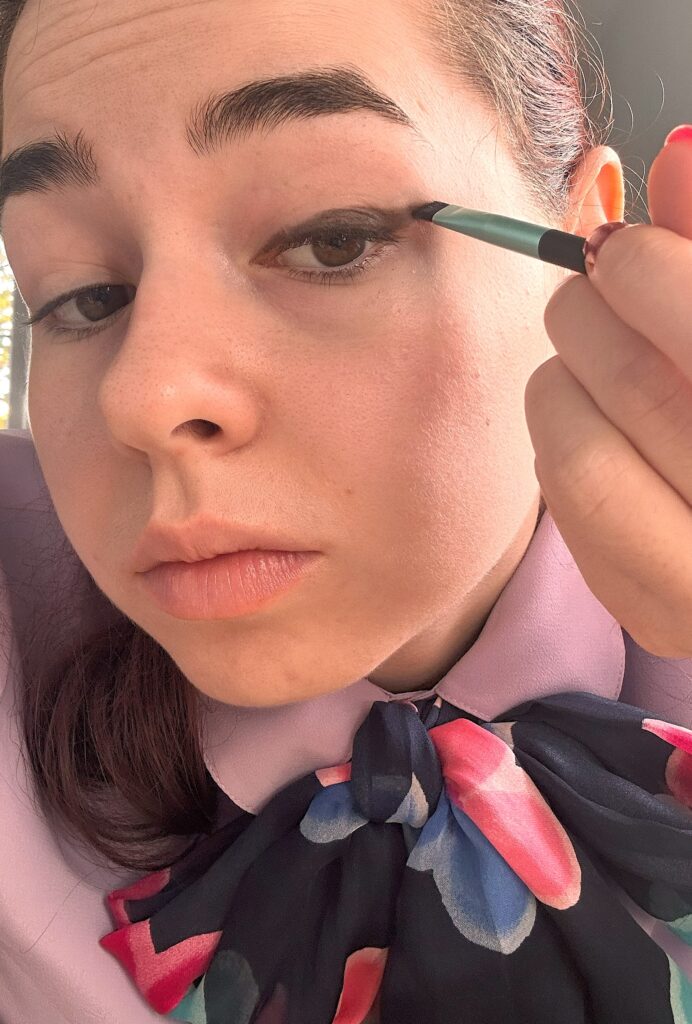
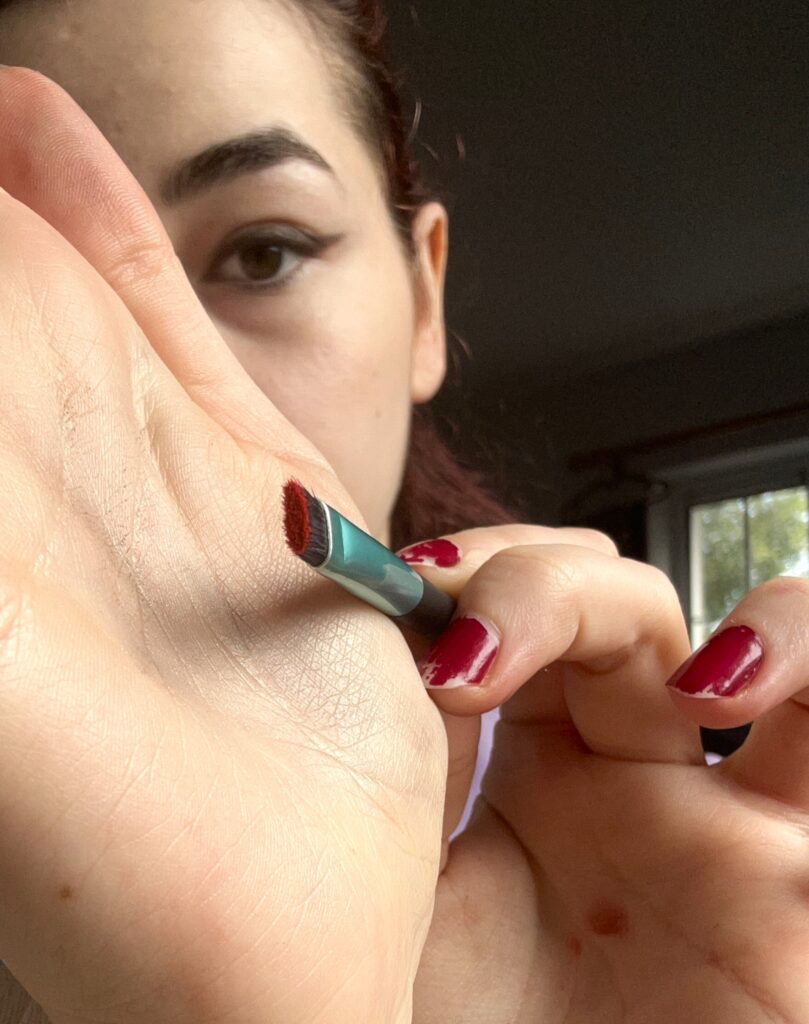
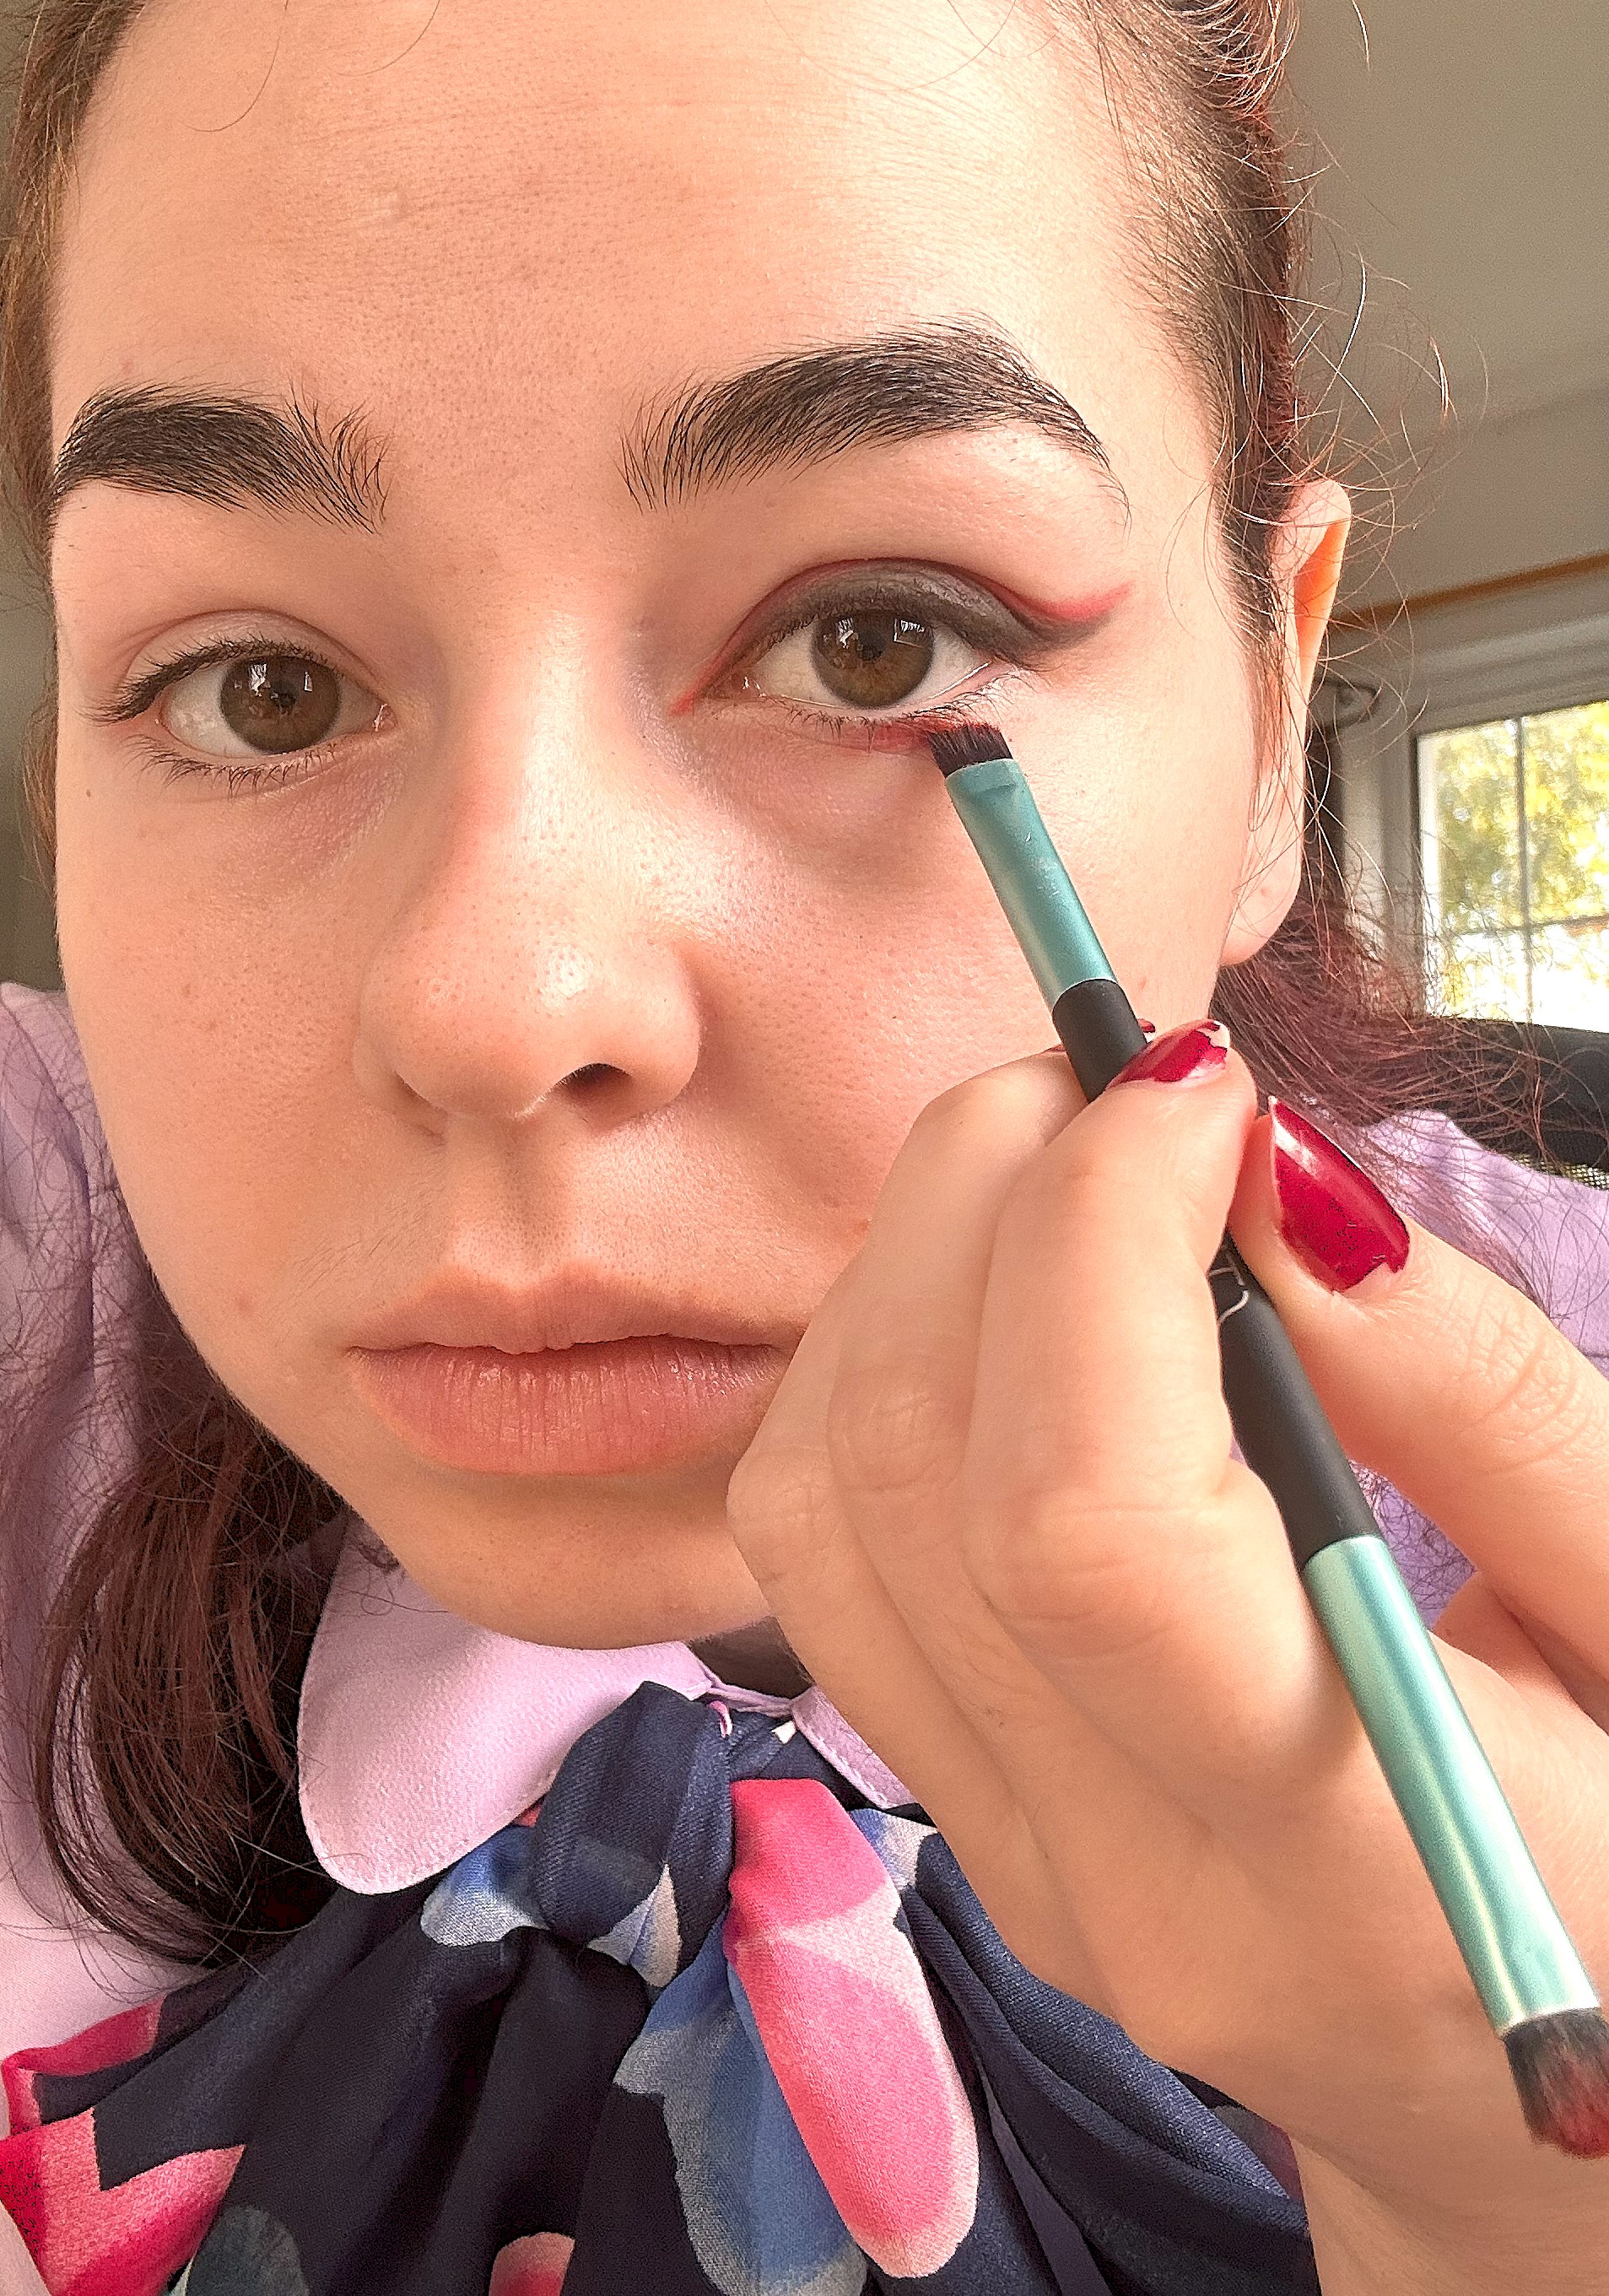
Grab your thin and flat brush and dip it into the black eyeshadow. *You can use eyeliner if you don’t own a black eyeshadow, I just like the smokiness of the eyeshadow. * Once you’ve got enough pigment on your brush, bring it to your lash line and try to keep the eyeshadow concentrated as closely to your lashes as possible so that it creates a liner effect.
- Step 3:
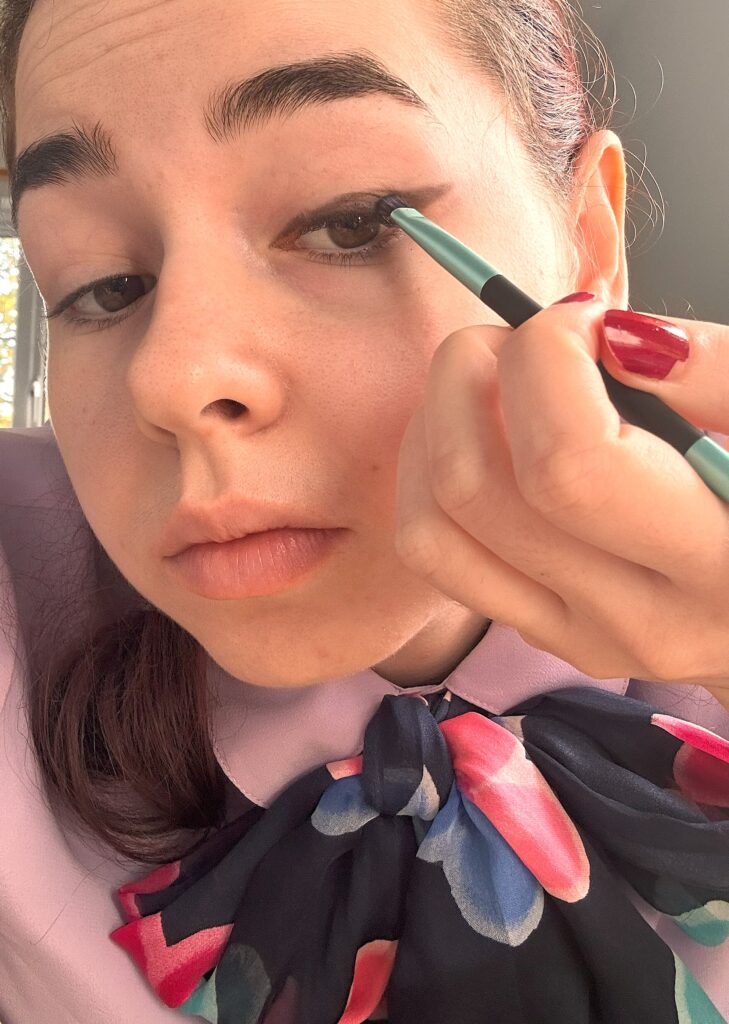
Now that you’ve got your liner effect with the black eyeshadow, you’re going to use the brush again to pull the black shadow out of your eyelid and to a point. This will create a more elongated smoky cat eye.
*If you’re wanting your cat eye to be sharper or if you’ve made a mistake, you can use a cotton bud dipped in either water or micellar water to sharpen the lines*
- Step 4:
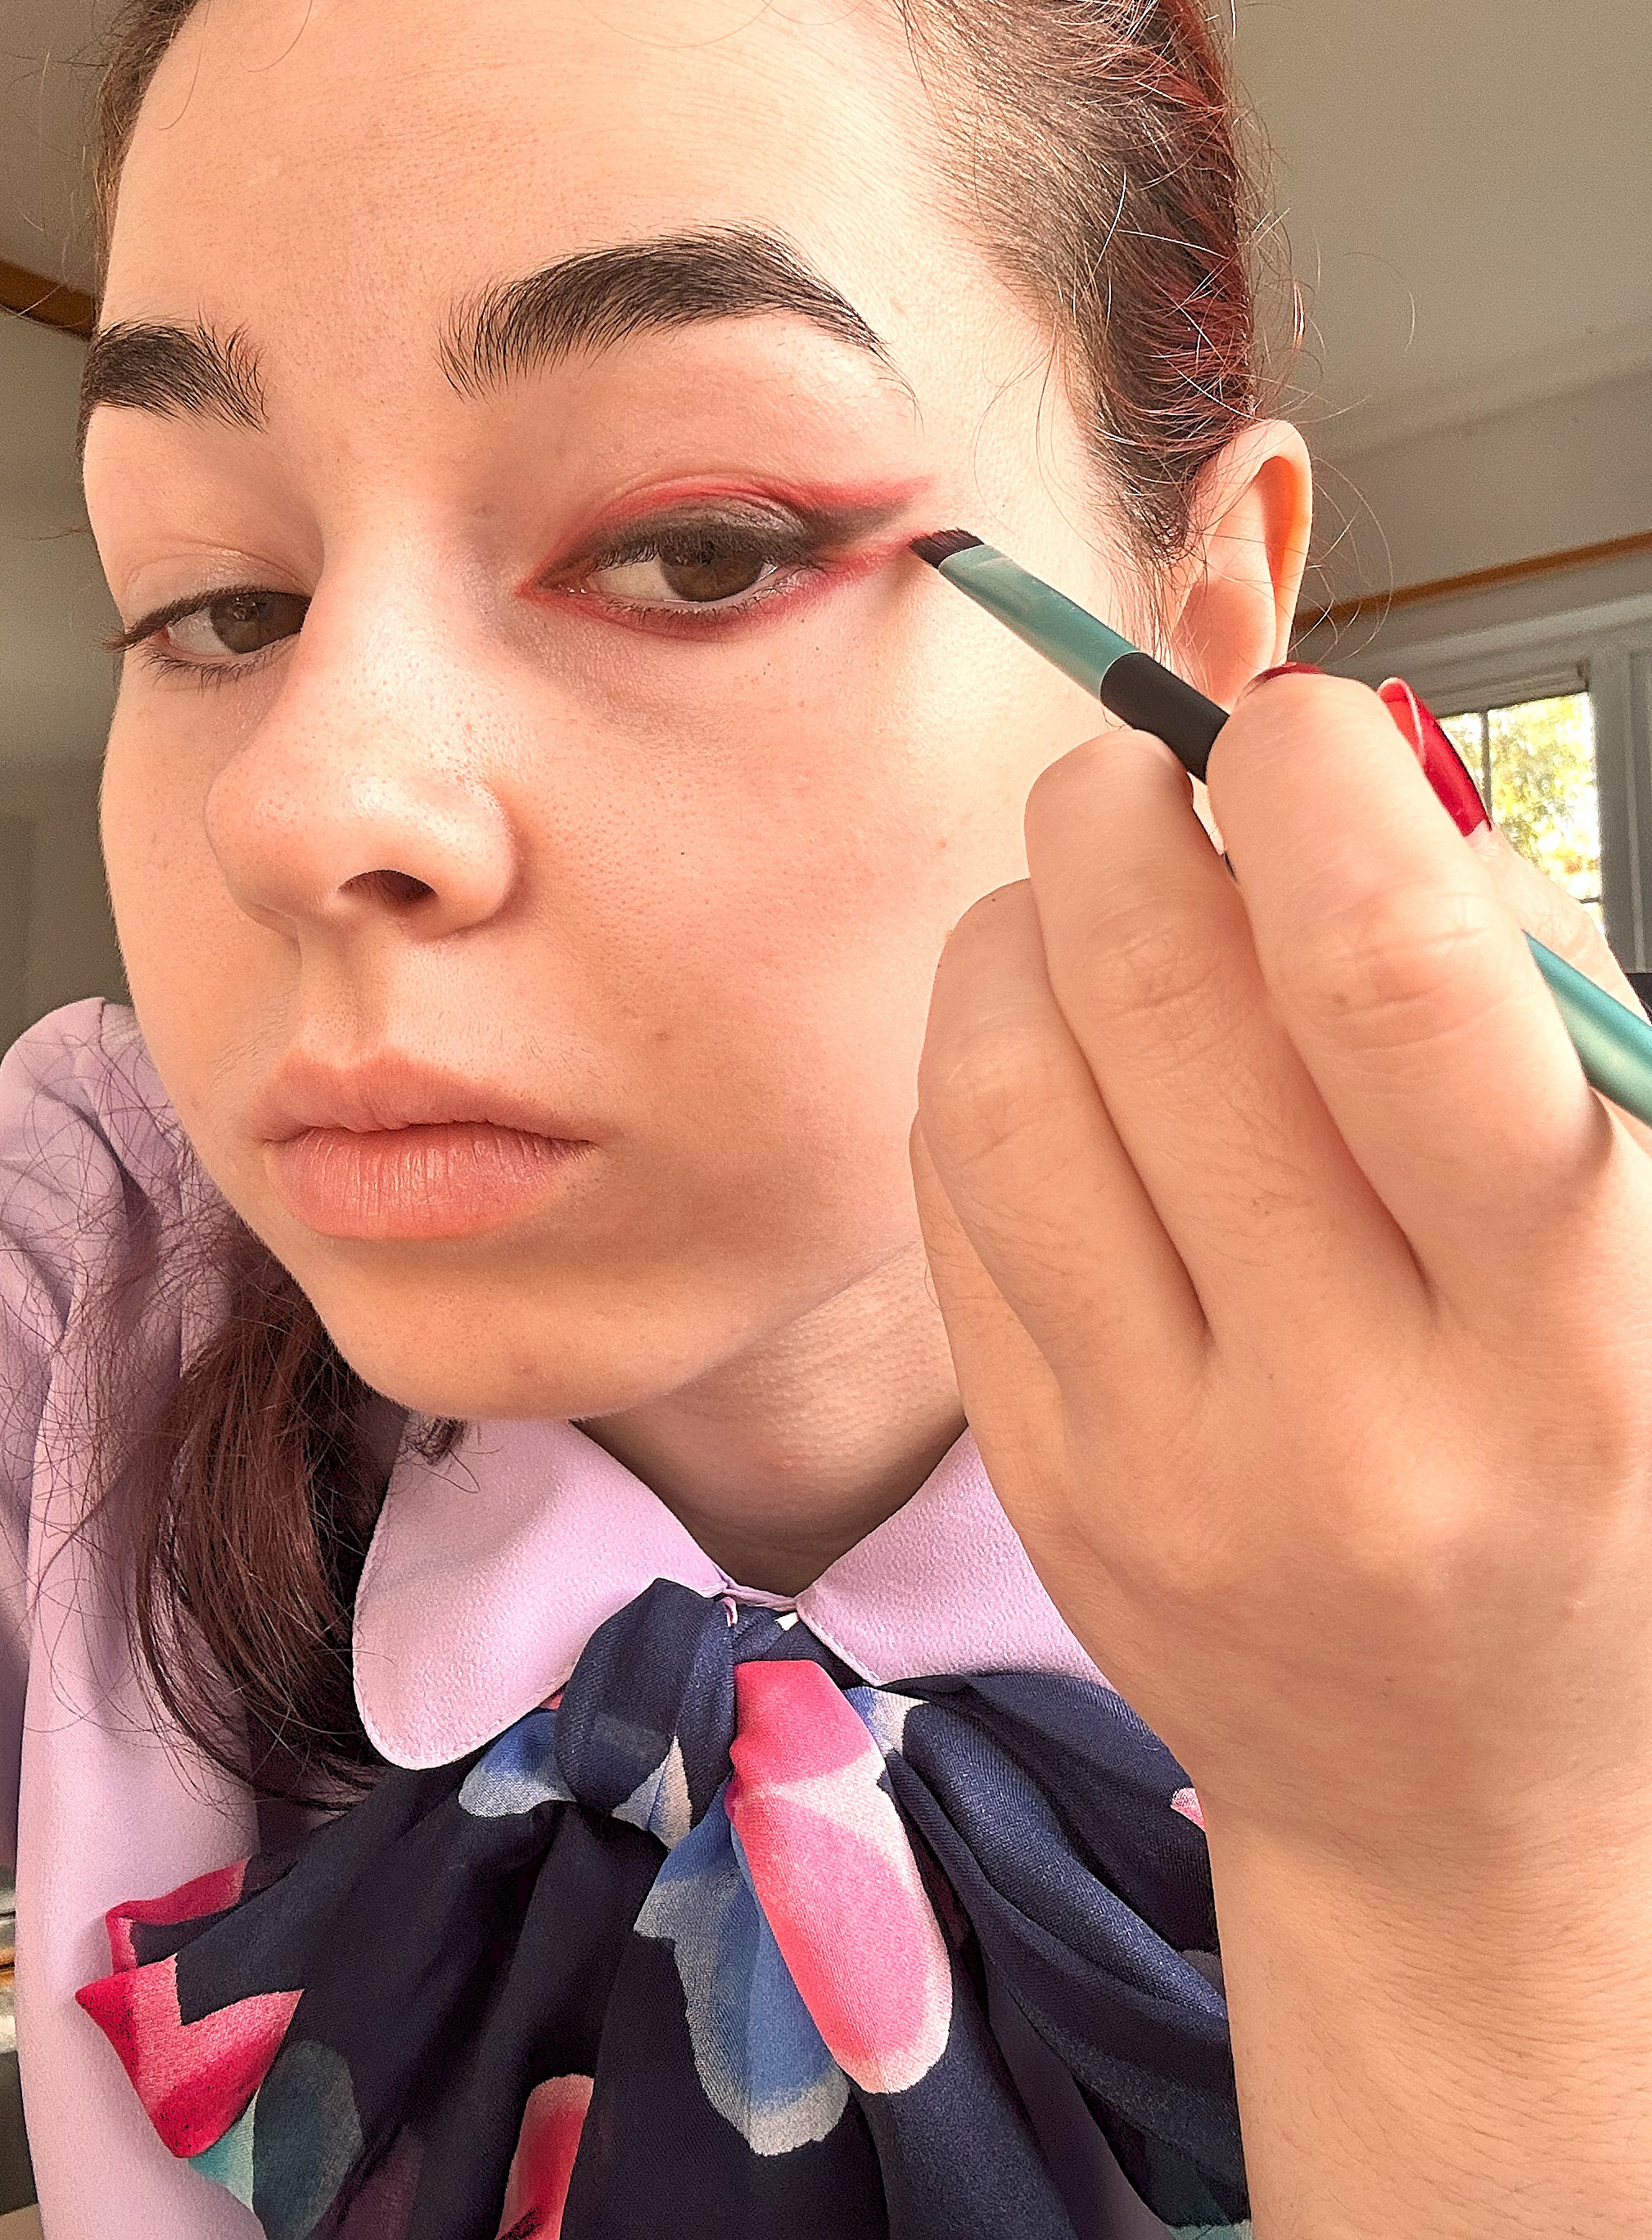
Now we have the base of the look: a smoky cat eye fit for a queen! The next step is to clean your brush with some micellar water/normal water. Once the brush is clean and relatively dry, dip it into the red eyeshadow this time. When you have enough product on your brush, apply it just above the black liner we just made.
- Step 5:
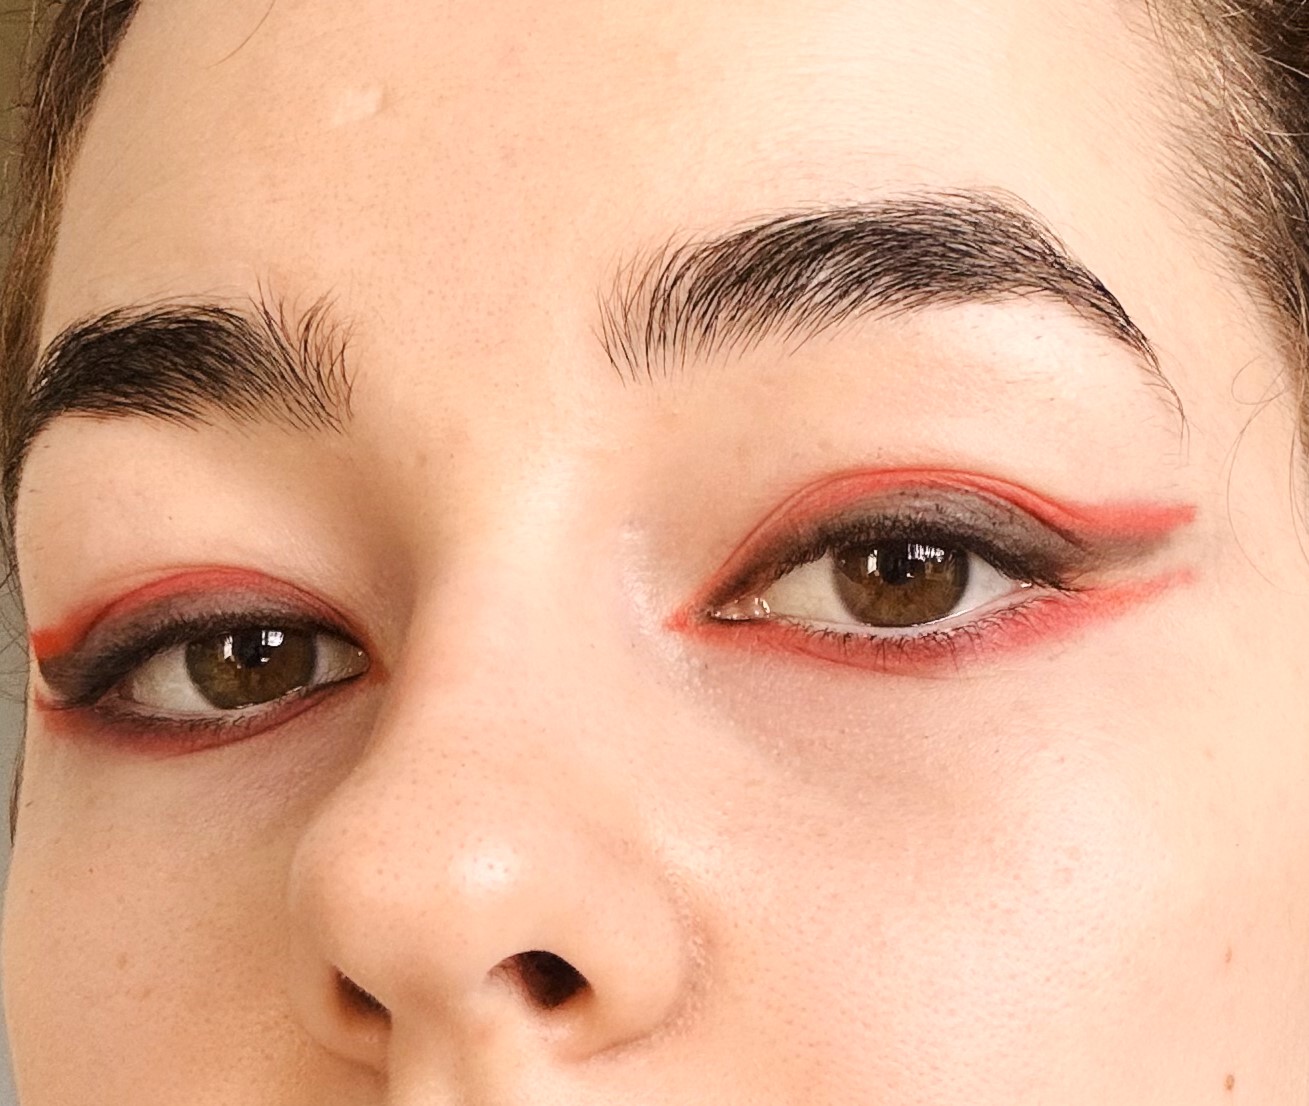
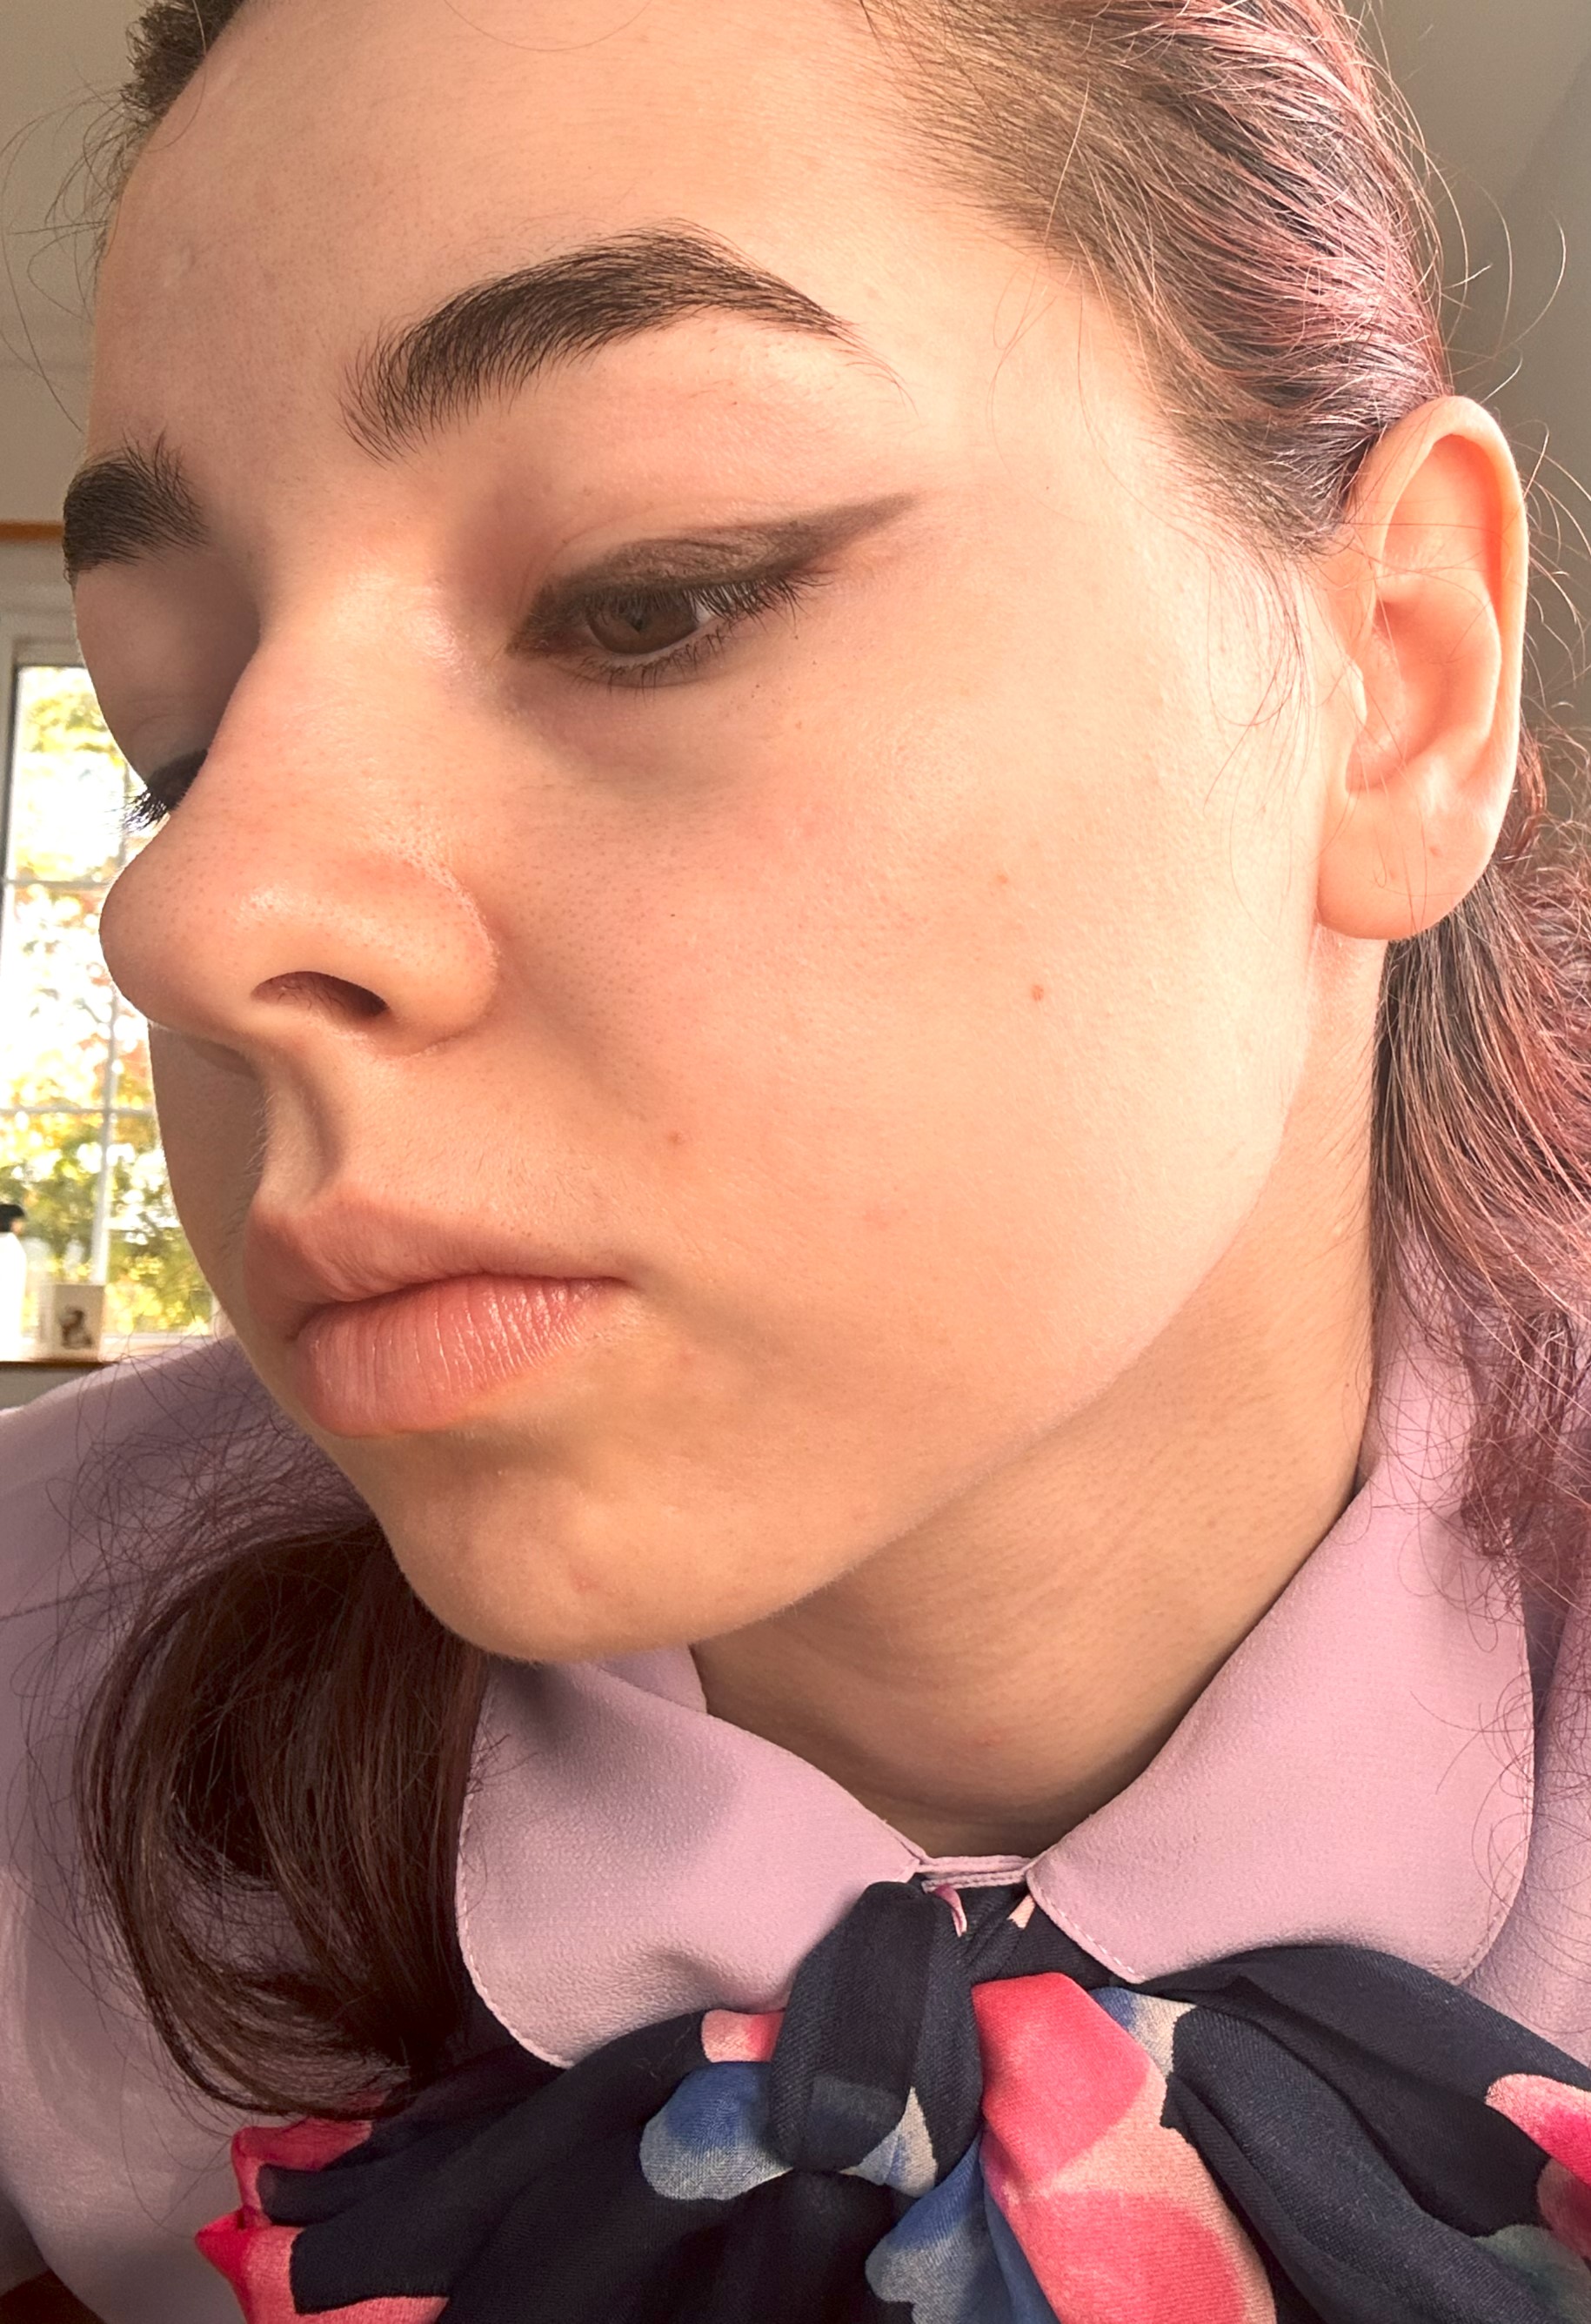
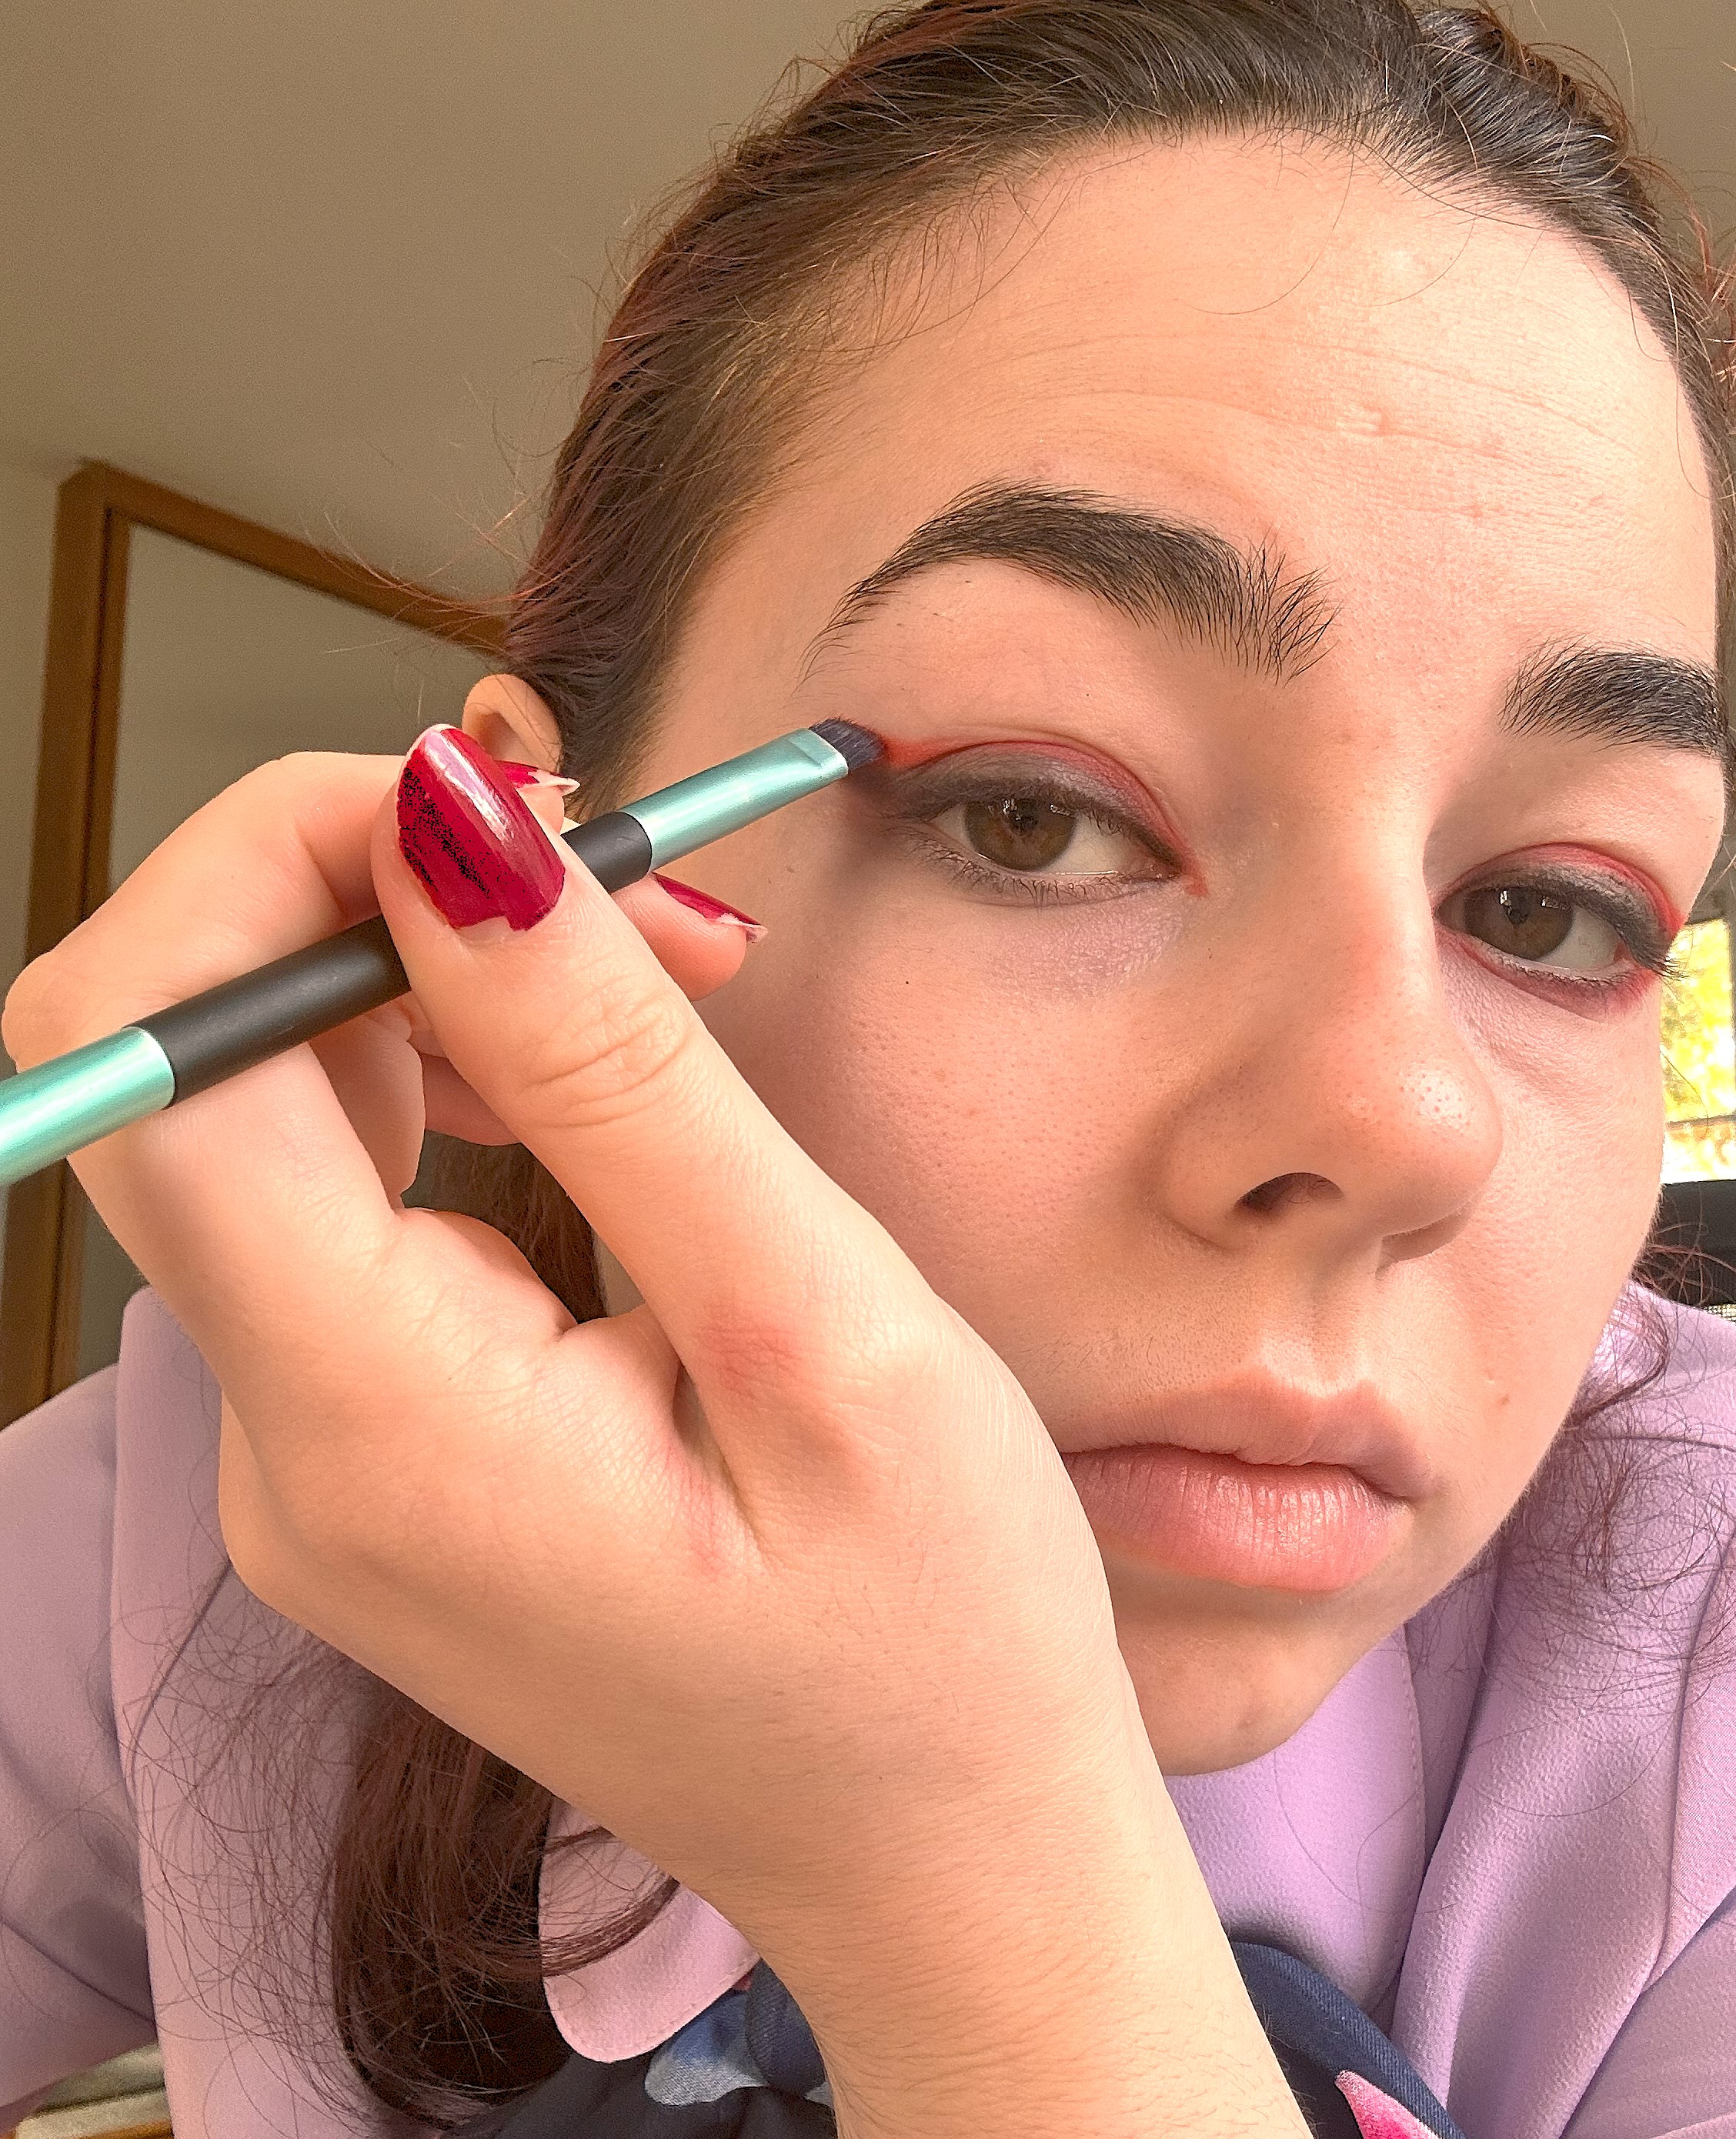
The best way to apply the red eyeshadow is to use the black liner as a guide. You’re just going to follow the black from the inner corner of your eye to the outer cat eye flick at the end. I would also recommend dragging the red eyeshadow a little further than the black. This will create a fierce look with 2 sharp lines coming from your eyes, and it will also help to elongate your eyes and make them look fierce!
- Step 6:
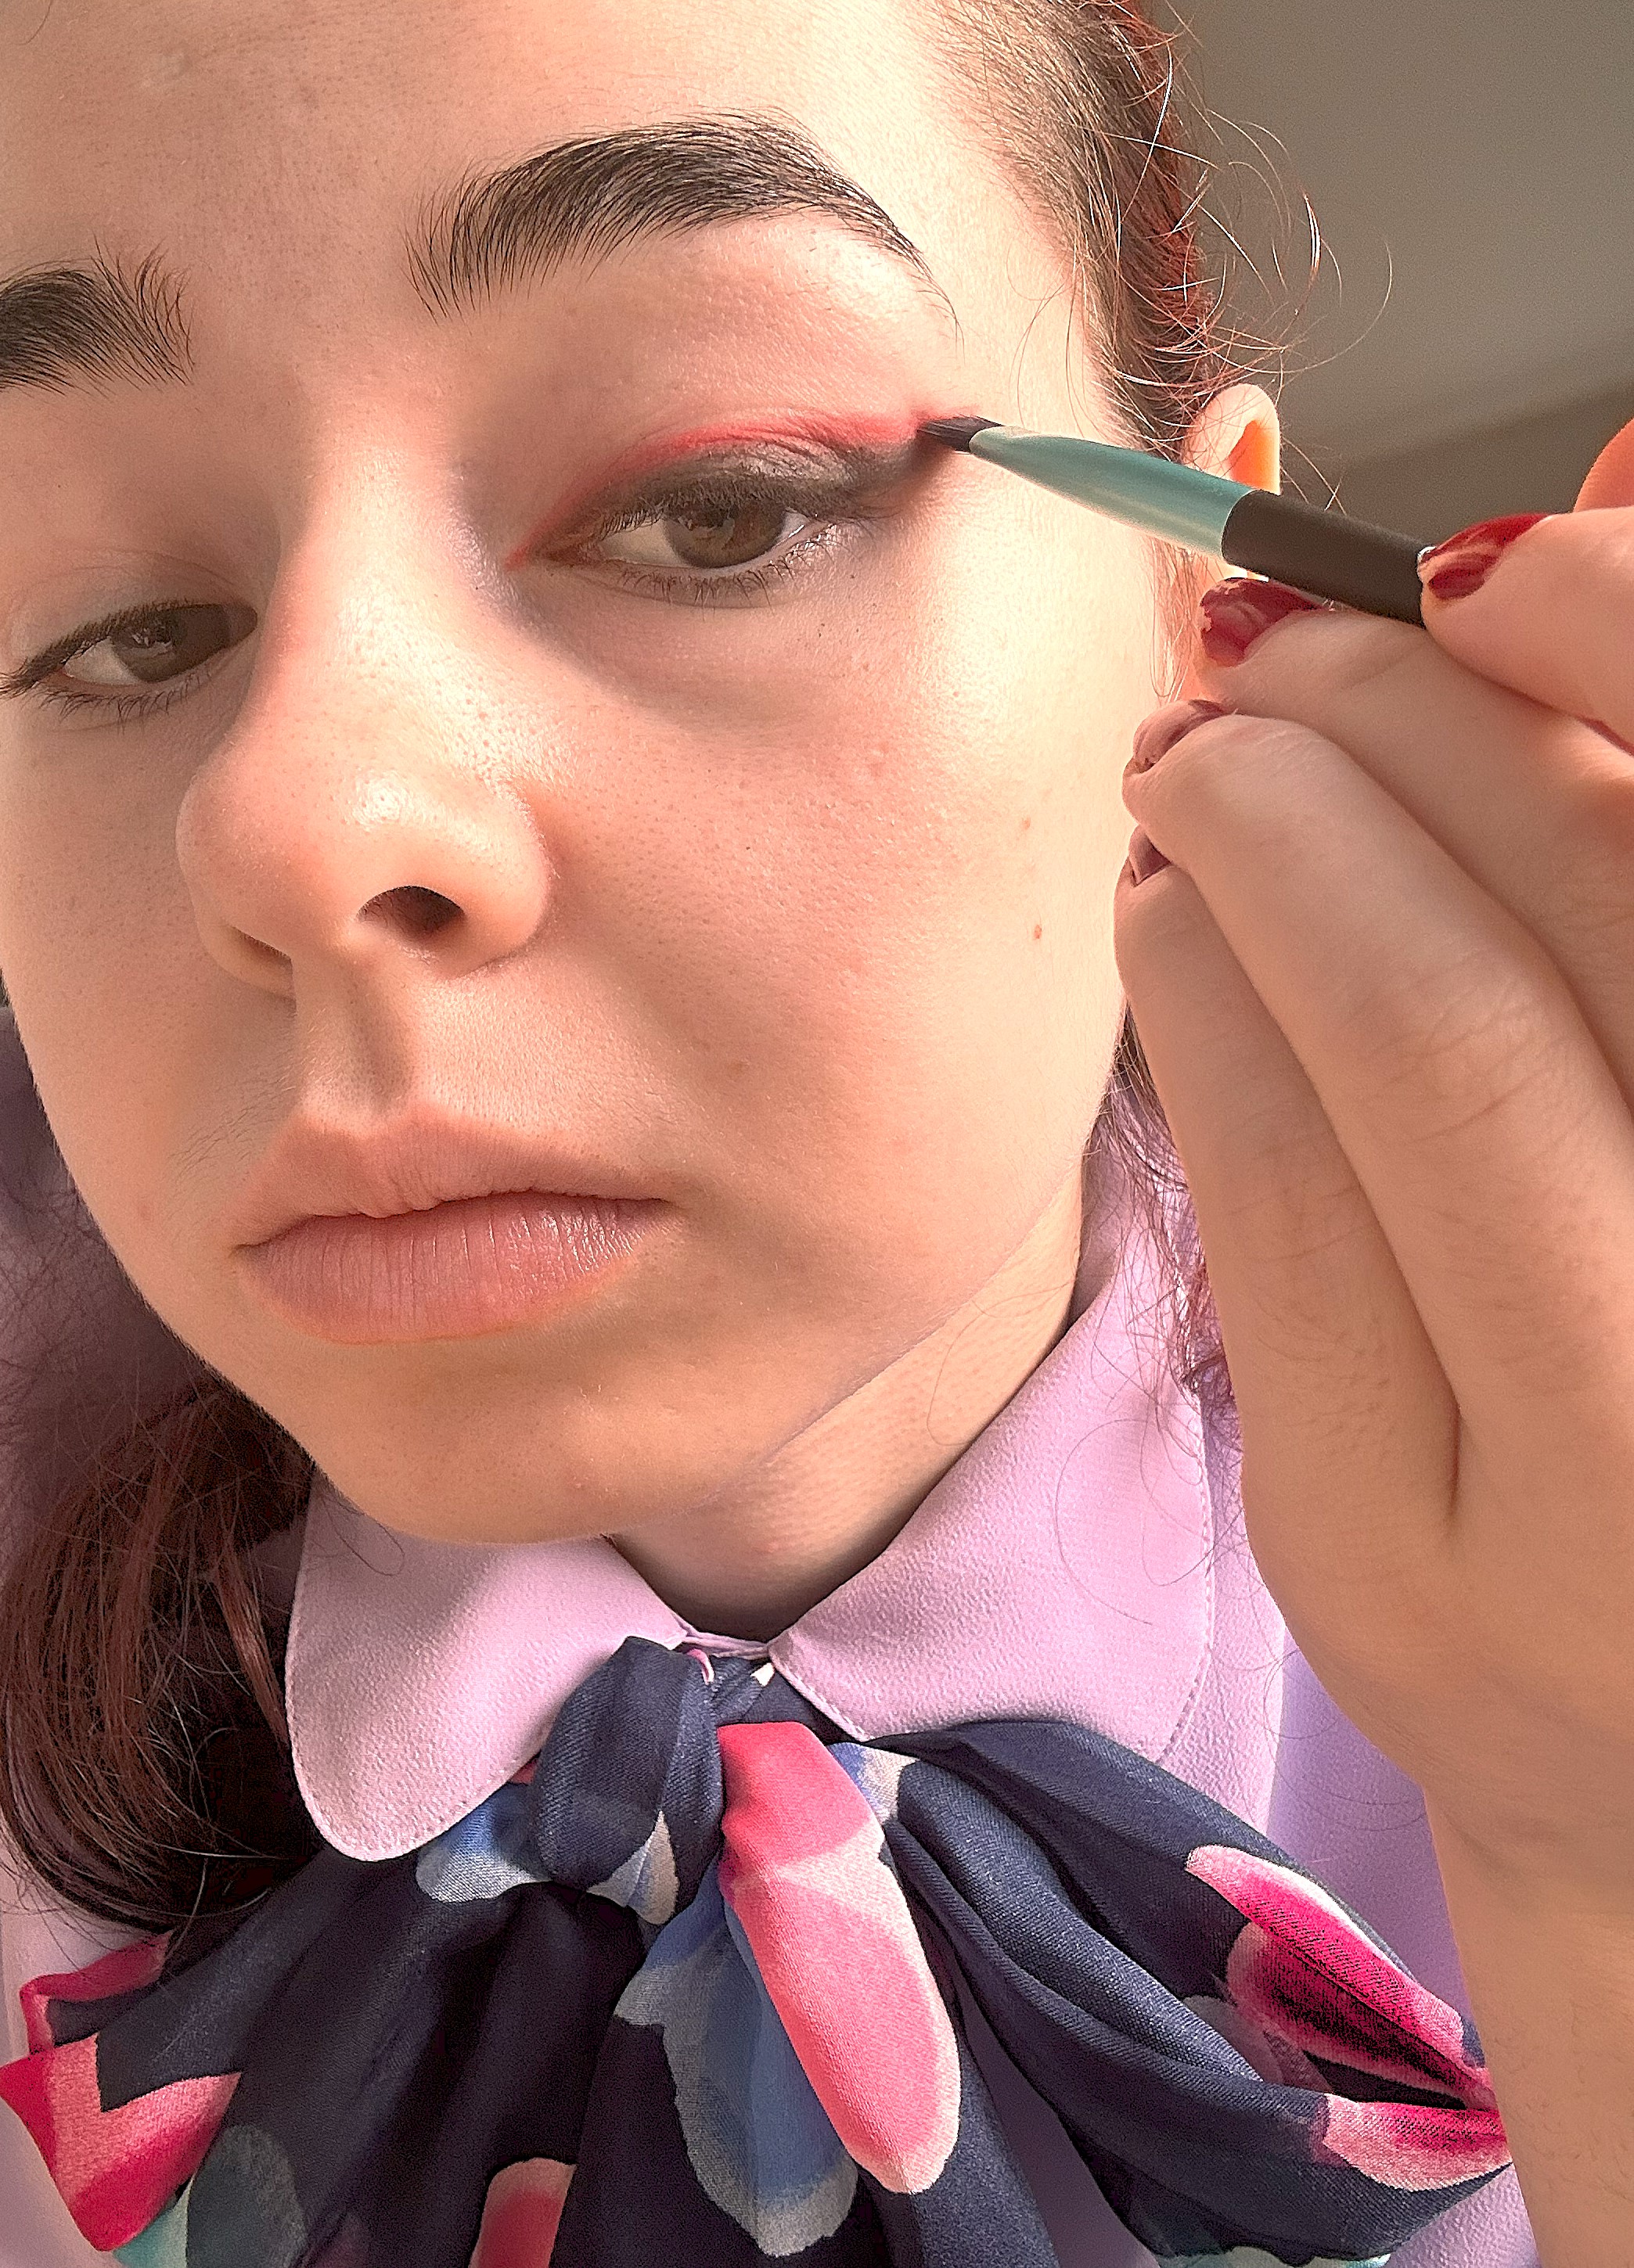
Dip your brush once more into the red eyeshadow and then bring the brush to your lower lash line this time. Drag the brush from the inner corner (you can connect the shadow to the top line of red shadow.) until the end of your outer corner. The drag your brush in a line parallel to the black liner up and out from your outer corner until you have 3 lines coming from your eye. This will make your eyes look even fiercer and it will help the red eyeshadow to look like blood! Perfect for a vampire queen!
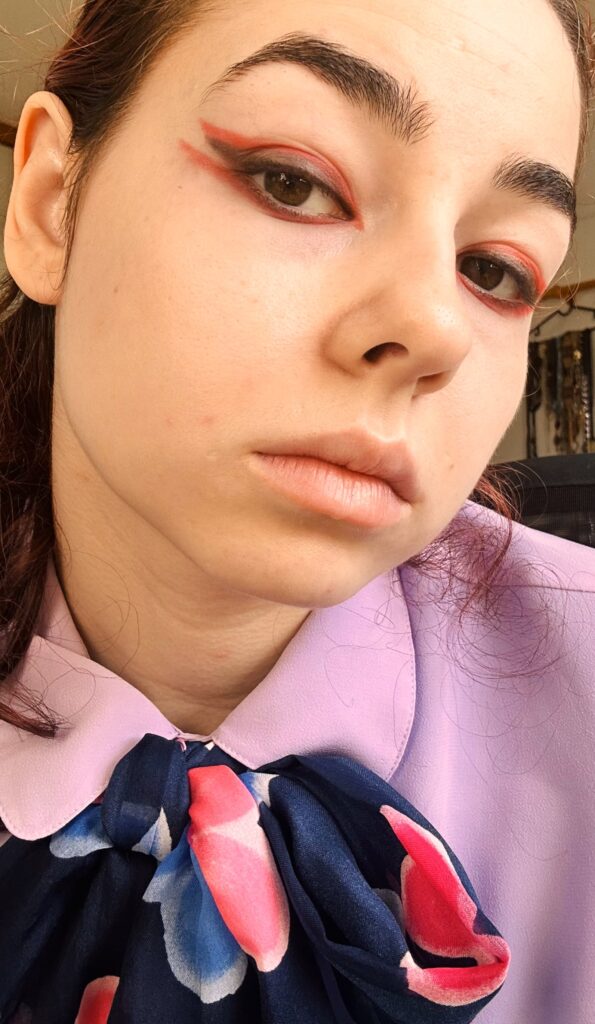
- Step 7:
The next step would be to use a cotton bud to sharpen any of your lines if they need sharpening. Then just grab your favourite mascara and eyelash curler and get to work! Once your mascara is done, you have the perfect Vampire Queen make up look anyone can do and only needs 3 products!