Today’s blog post is all about creating and painting clay cat charms!
So the reason I decided to create clay cat charms is because it’s my close friend’s birthday next week and she is the type of person where if she wants something she’ll just get it for herself. This makes finding gifts for her very trying! So for the past few years I like to come up with handmade and personal gifts that I hope she will enjoy!
Handmade gifts are so great because first of all, its such a lovely thing compressing my knowledge of her personality into a gift that she will hopefully get use out of and it allows me to get better in my abilities. The fact that it usually costs less is also a plus but the money you save shifts into the time you spend perfecting the gift itself.
And to be honest, if you have the time, creating something personal and one of a kind for your friends is maybe even better than a monetary gift. (no shame to those who don’t have the time for creating gifts and choose to buy the best gifts out there!)
So with that in mind, I thought about what she would like or what she loves, and the idea came to me pretty quickly. I am going to make her a pair of earrings that are basically her Cat!
If you’re following on at home you can create really anything you want, you can make the cats or you can make dogs or flowers, etc the world is your oyster.
*Click the link to my next post to see how you can create jewellery with your clay charms!*
Tools Needed
Sharp thin knife (I used a scalpel)
Needle or Pin (to create holes)
The tools to paint the charms once dry:
*I added some links to the products on amazon if you are looking to purchase some of the tools*
Lets get started!
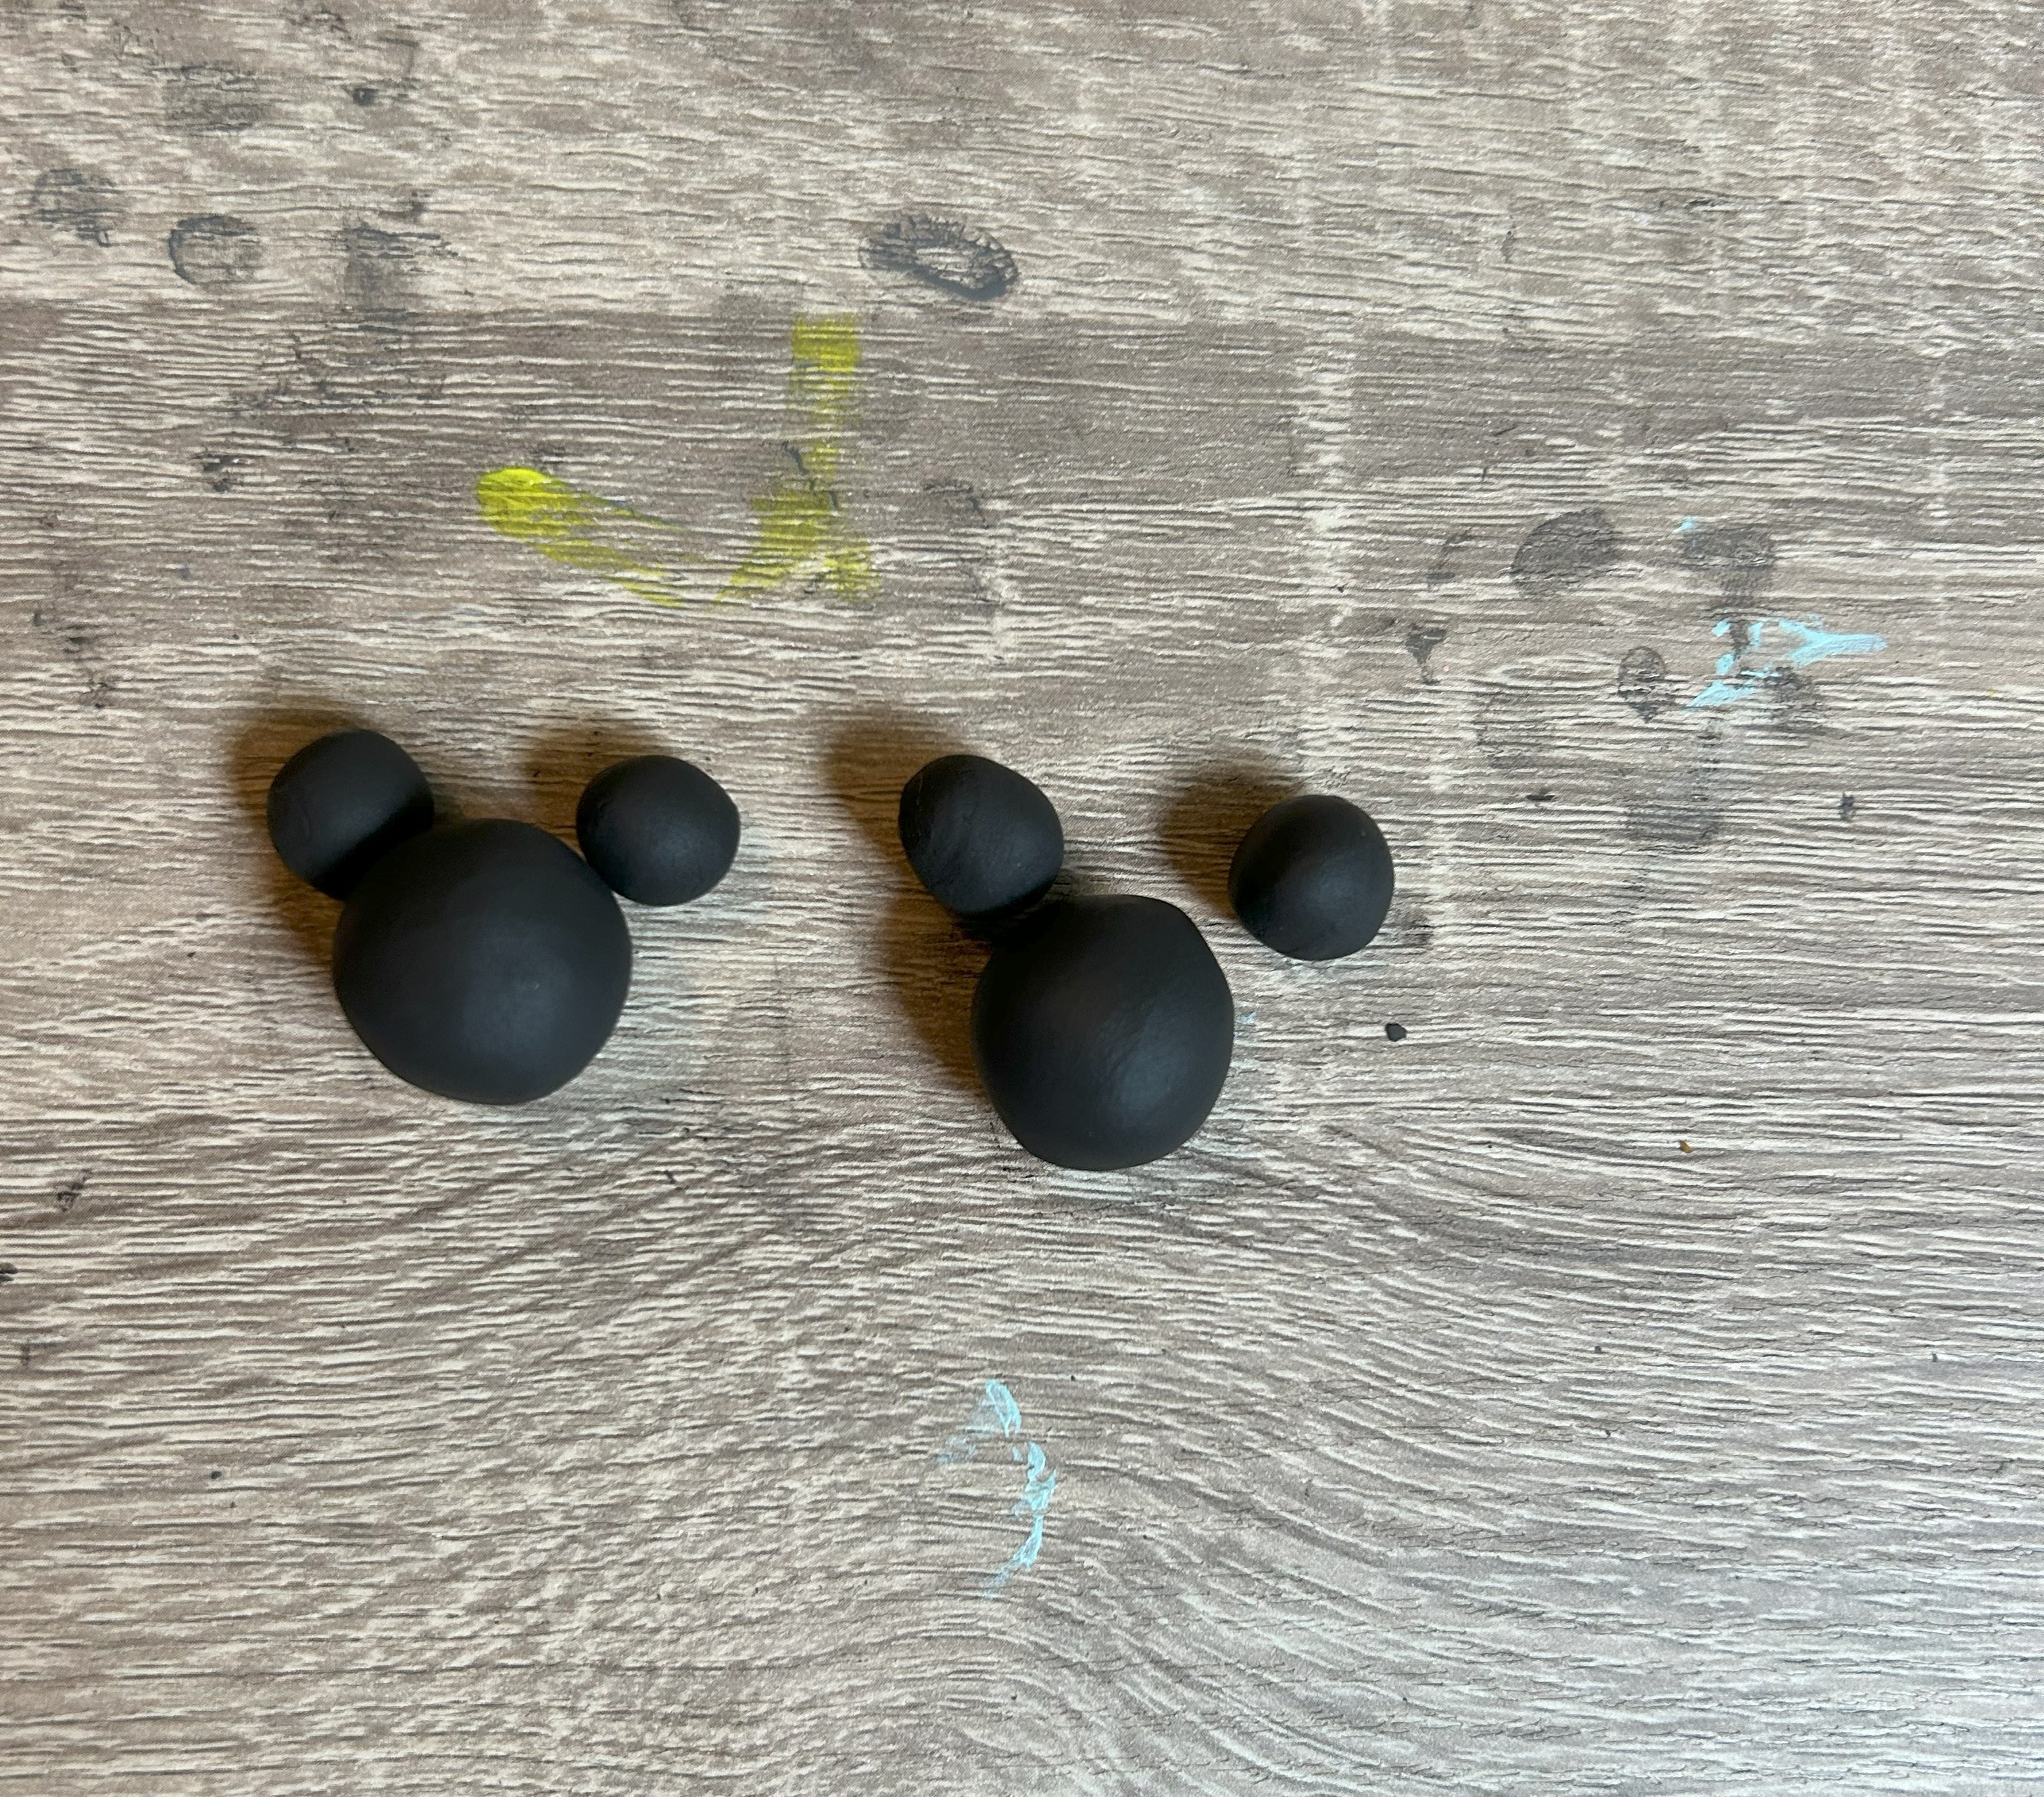
- The very first step is to decide how much clay you want to use. I decided to use only a little and even that ended up being too much. Remember we don’t want our earrings to be too heavy so the smaller the clay charm the better.
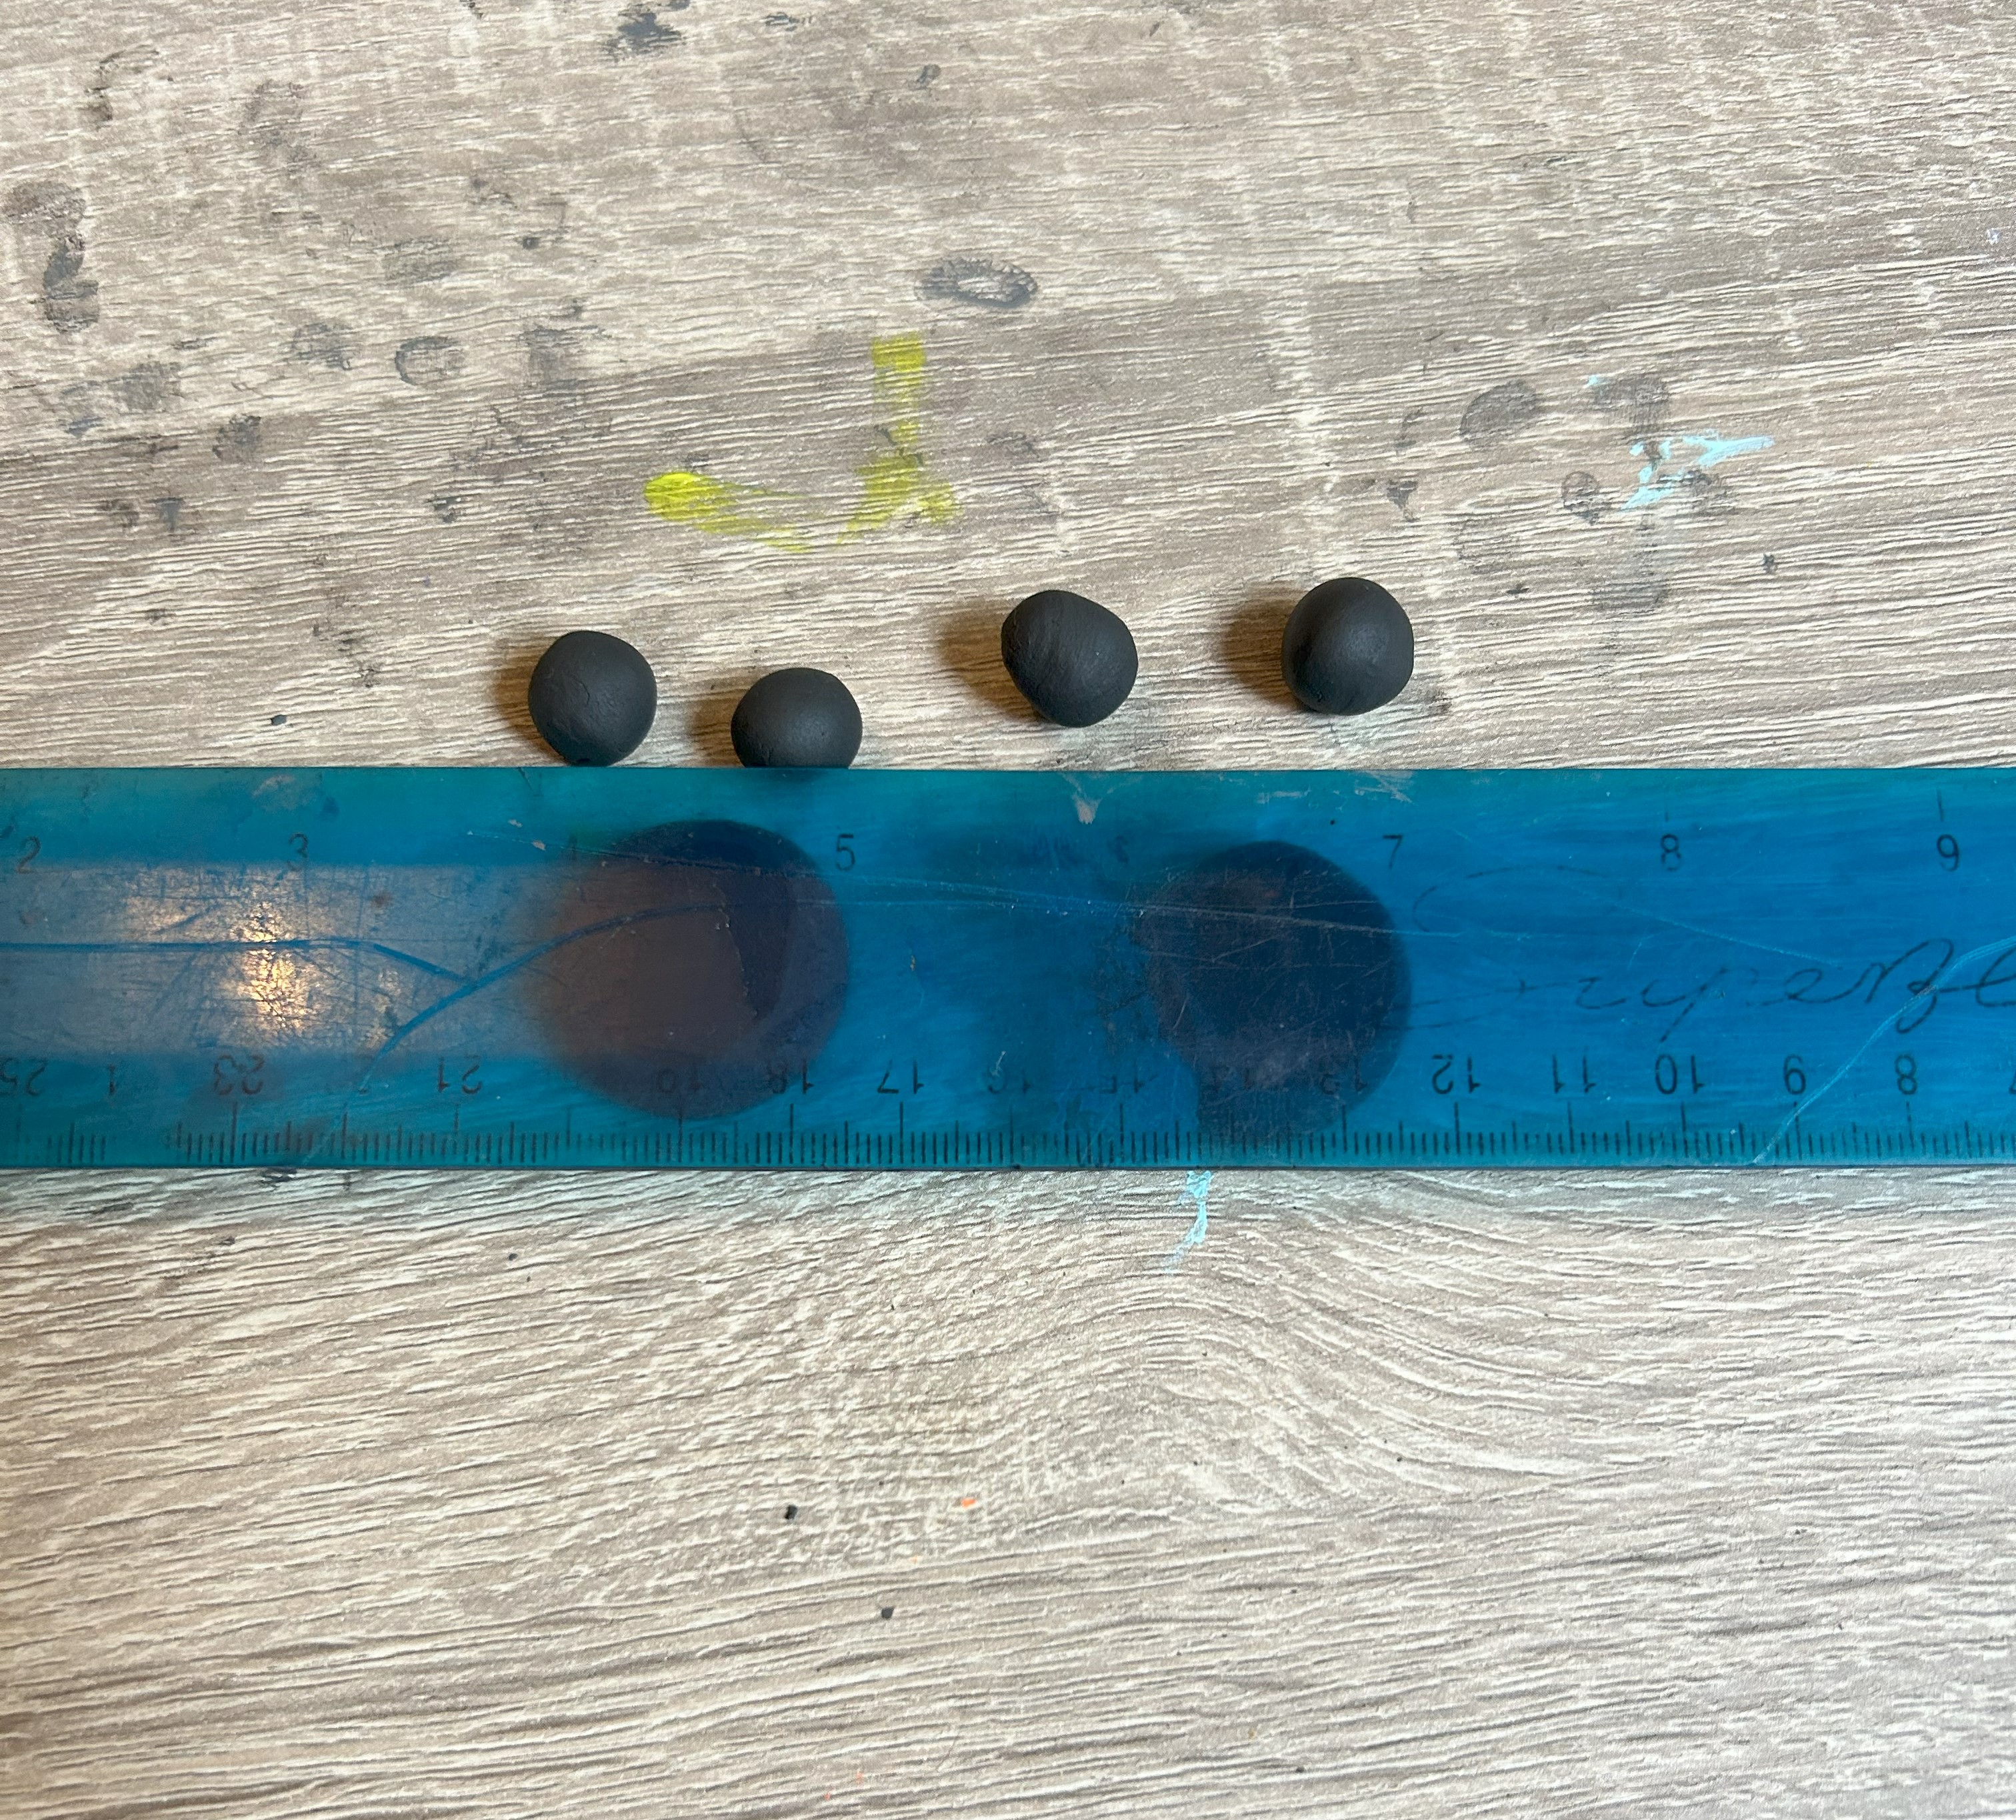
- The next step is to roll the clay between your palms until it comes together into a ball and is smooth all over (you may need to introduce a few drops of water if your clay is cracking). After that you just want to cut your ball in half and now you have 2 pieces of clay to work with.
- The 3rd step is very similar to step 2. Now that you have your 2 sections of clay, you’re going to want to roll those into balls again between your palms. Once they are perfectly round and smooth, you’re going to grab a flat surface (I chose a ruler) and push down on your clay balls evenly until they’re flat enough that you can fit your design in them.
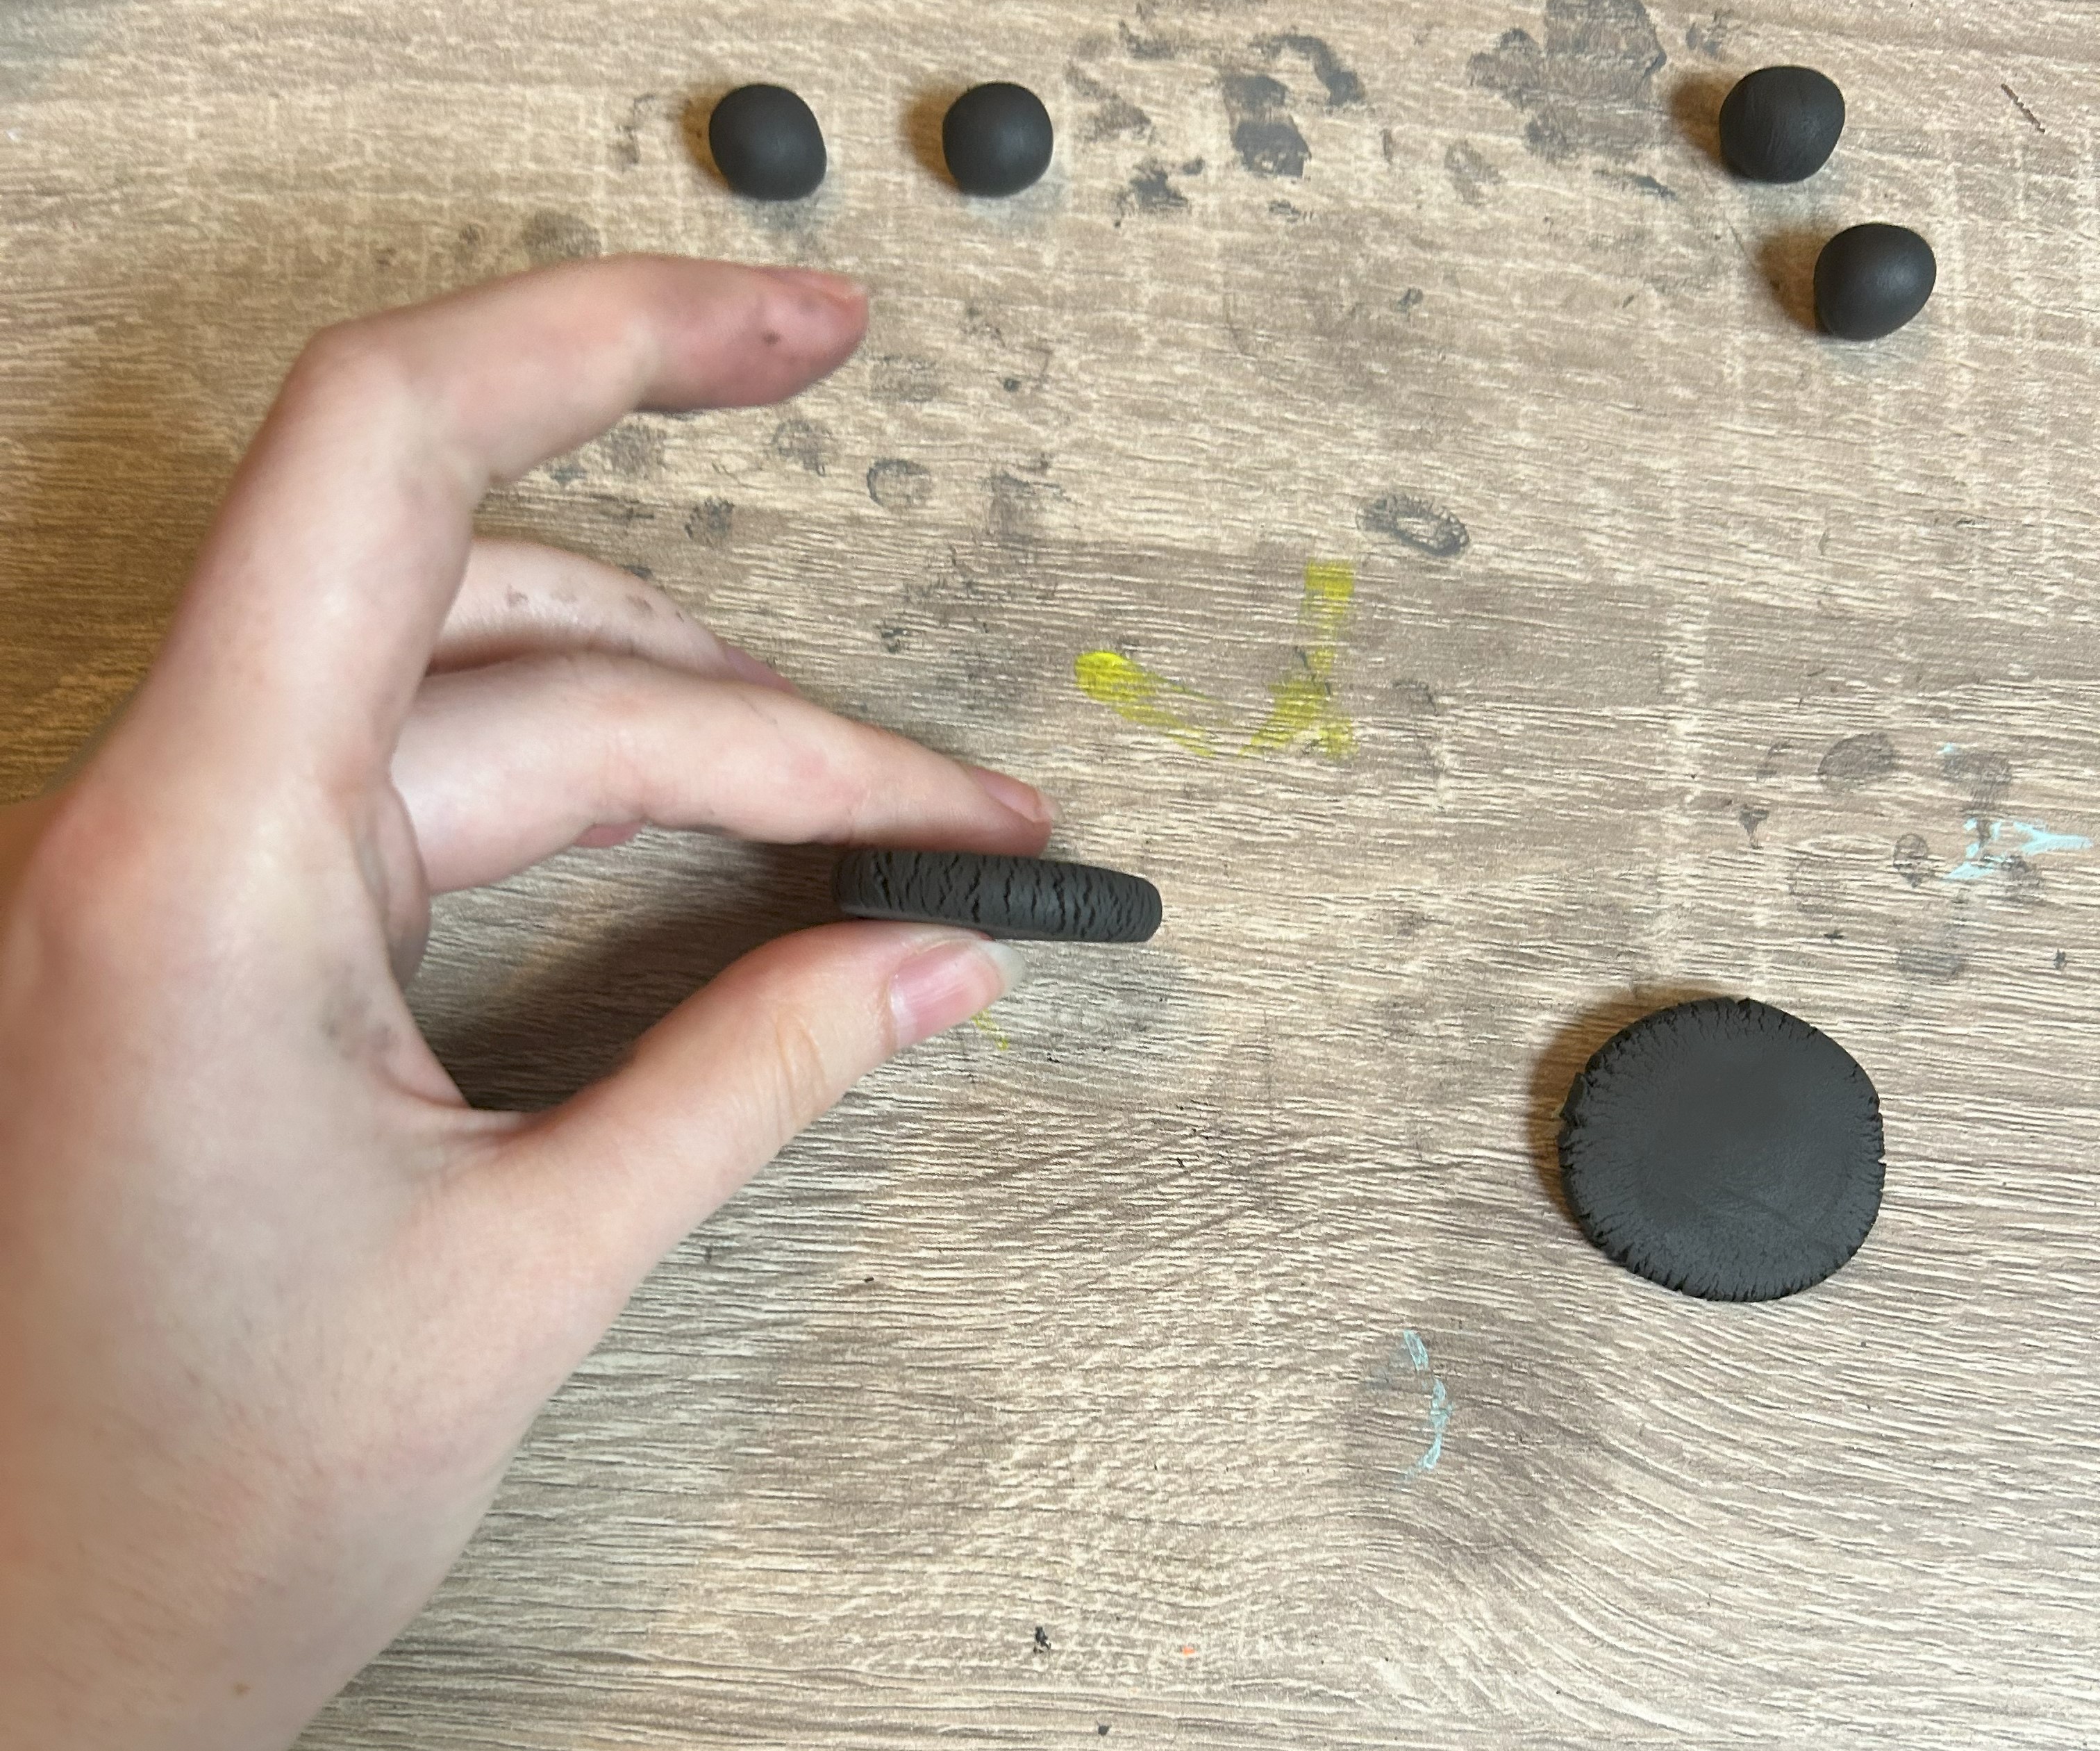
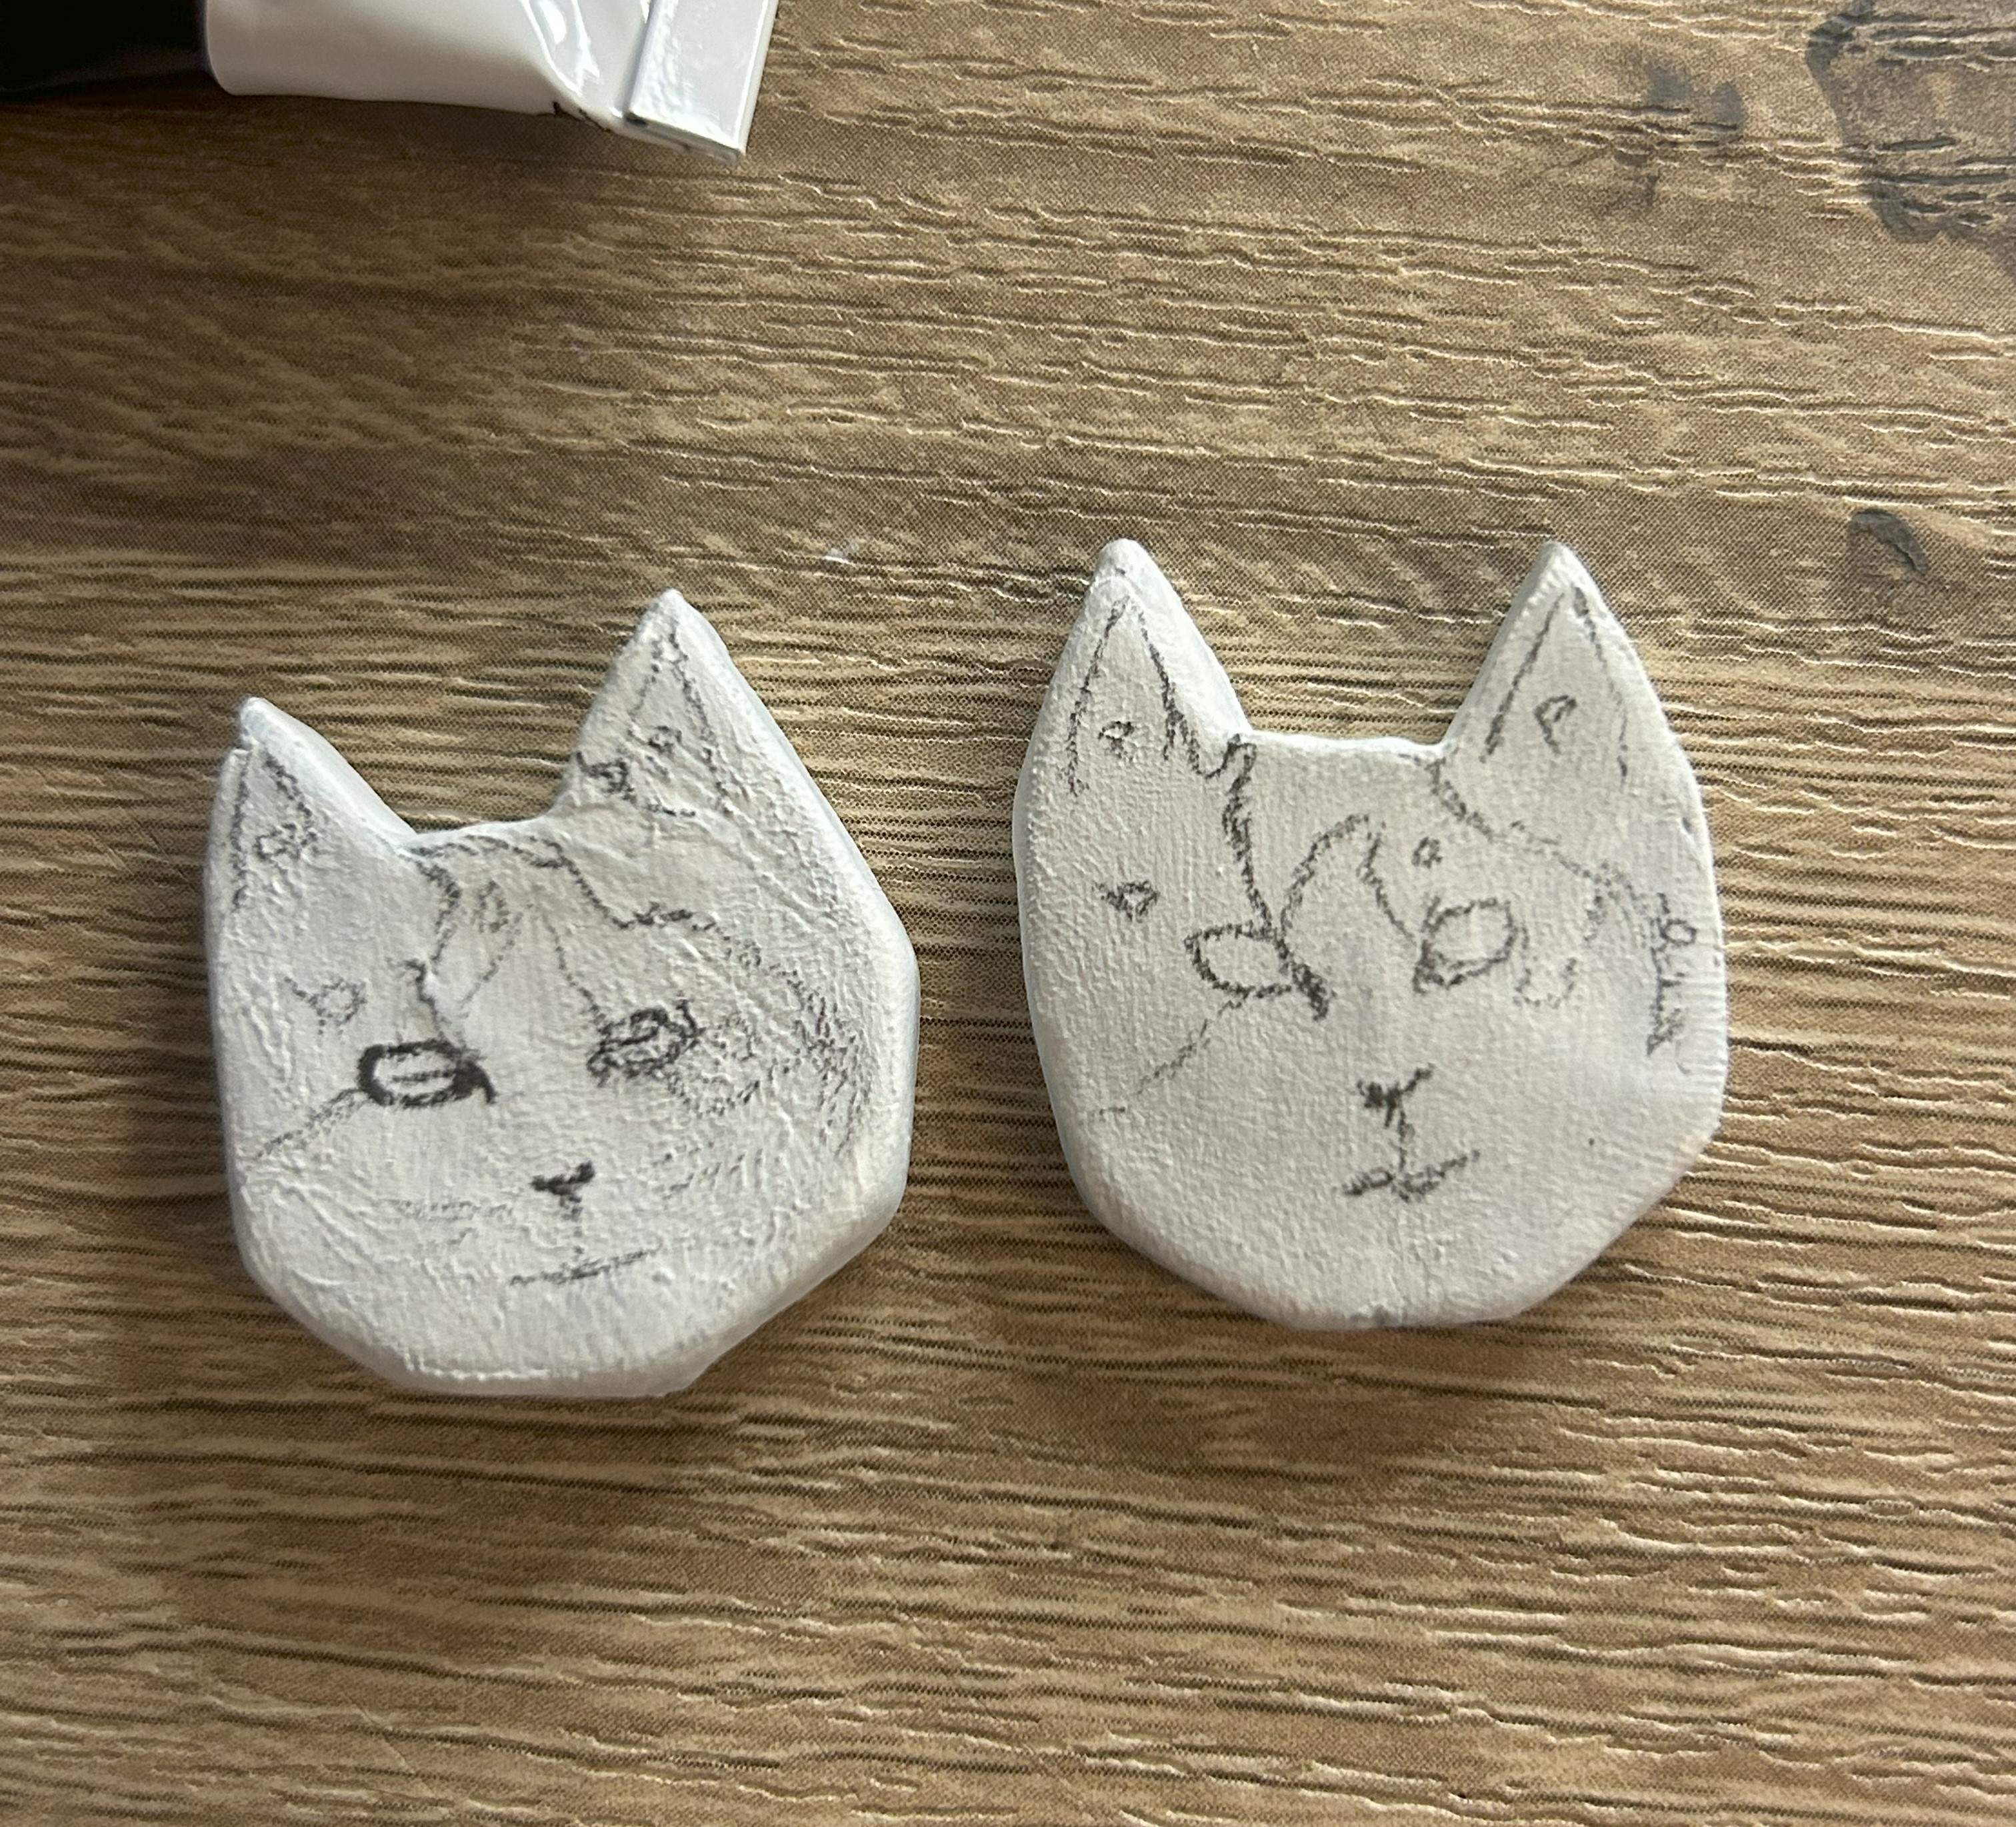
- The next step after we have some flat circular clay discs is to use a pin or a needle to just score the top of the clay into the design you decide on. I obviously went for cat heads for my design.
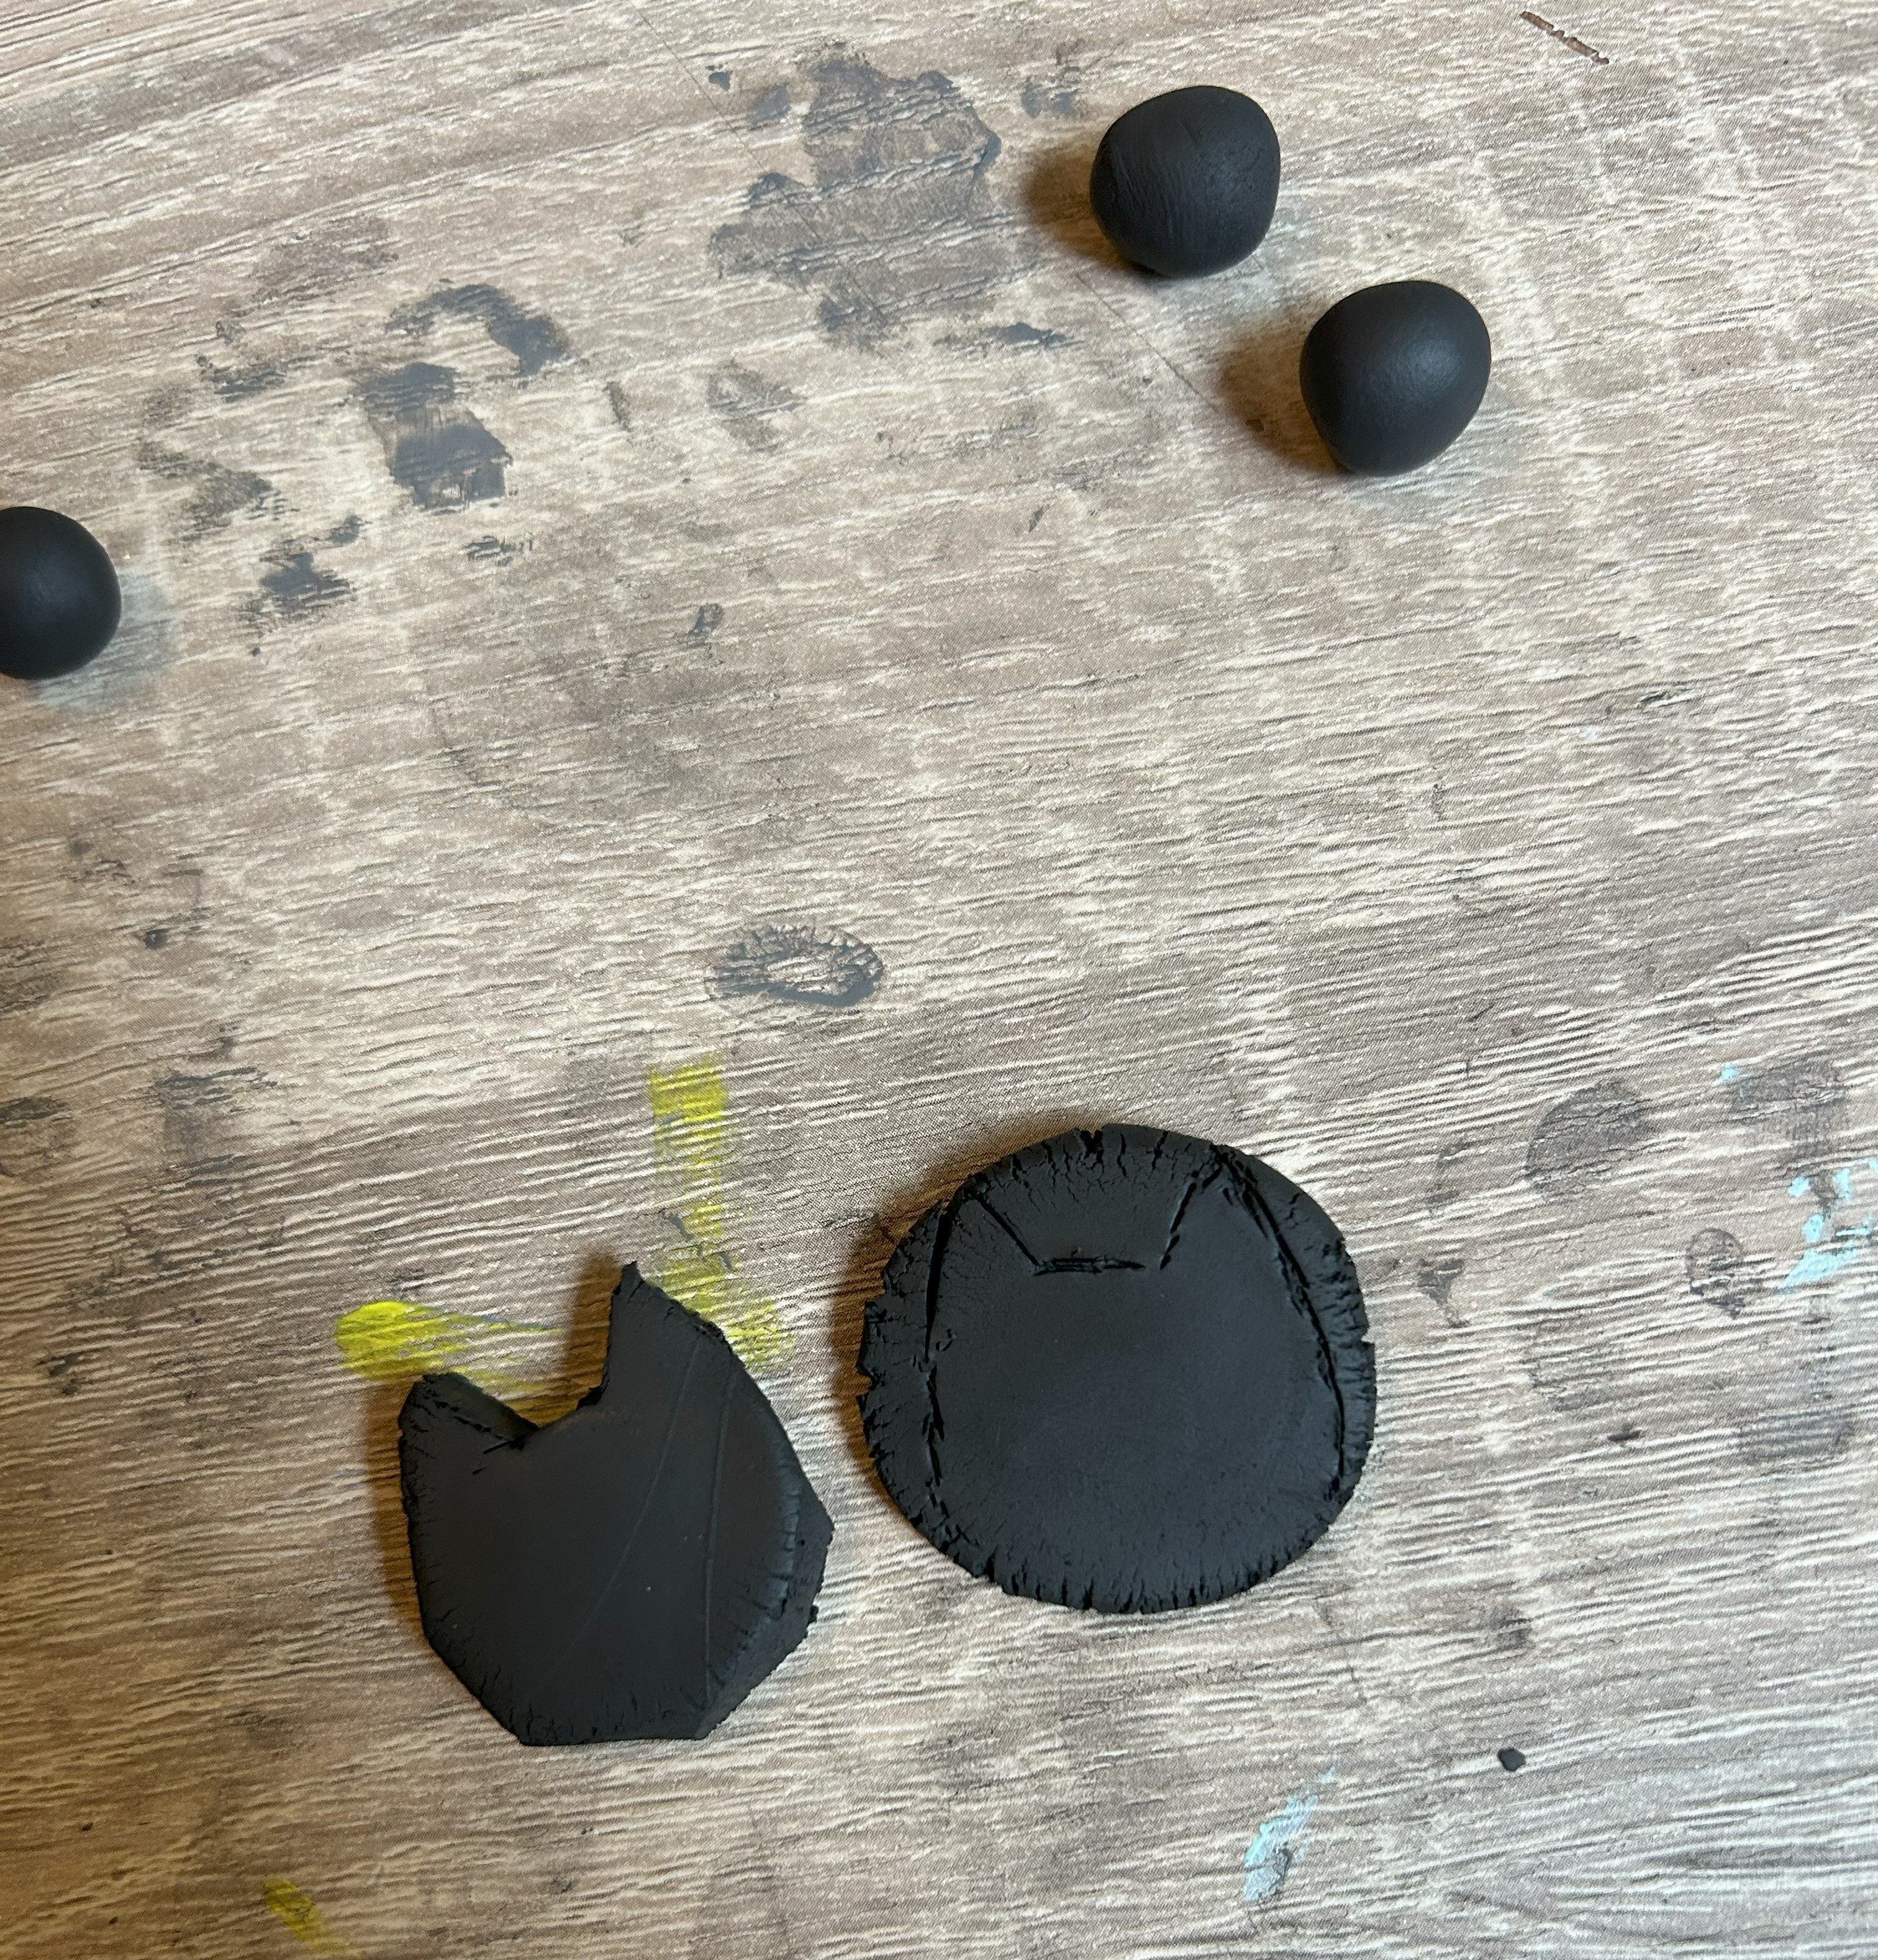
- After your design is scored onto your clay disc, you’re going to want to grab a sharp thin blade (I used a scalpel) and carve around the design you created until you just have your design left.

- Once you’ve carved around your design, you may be left with some rough edges. All you need to do to smooth those down are dip your finger in a little water and run your fingers over the edges and they’ll become smooth and pliable.
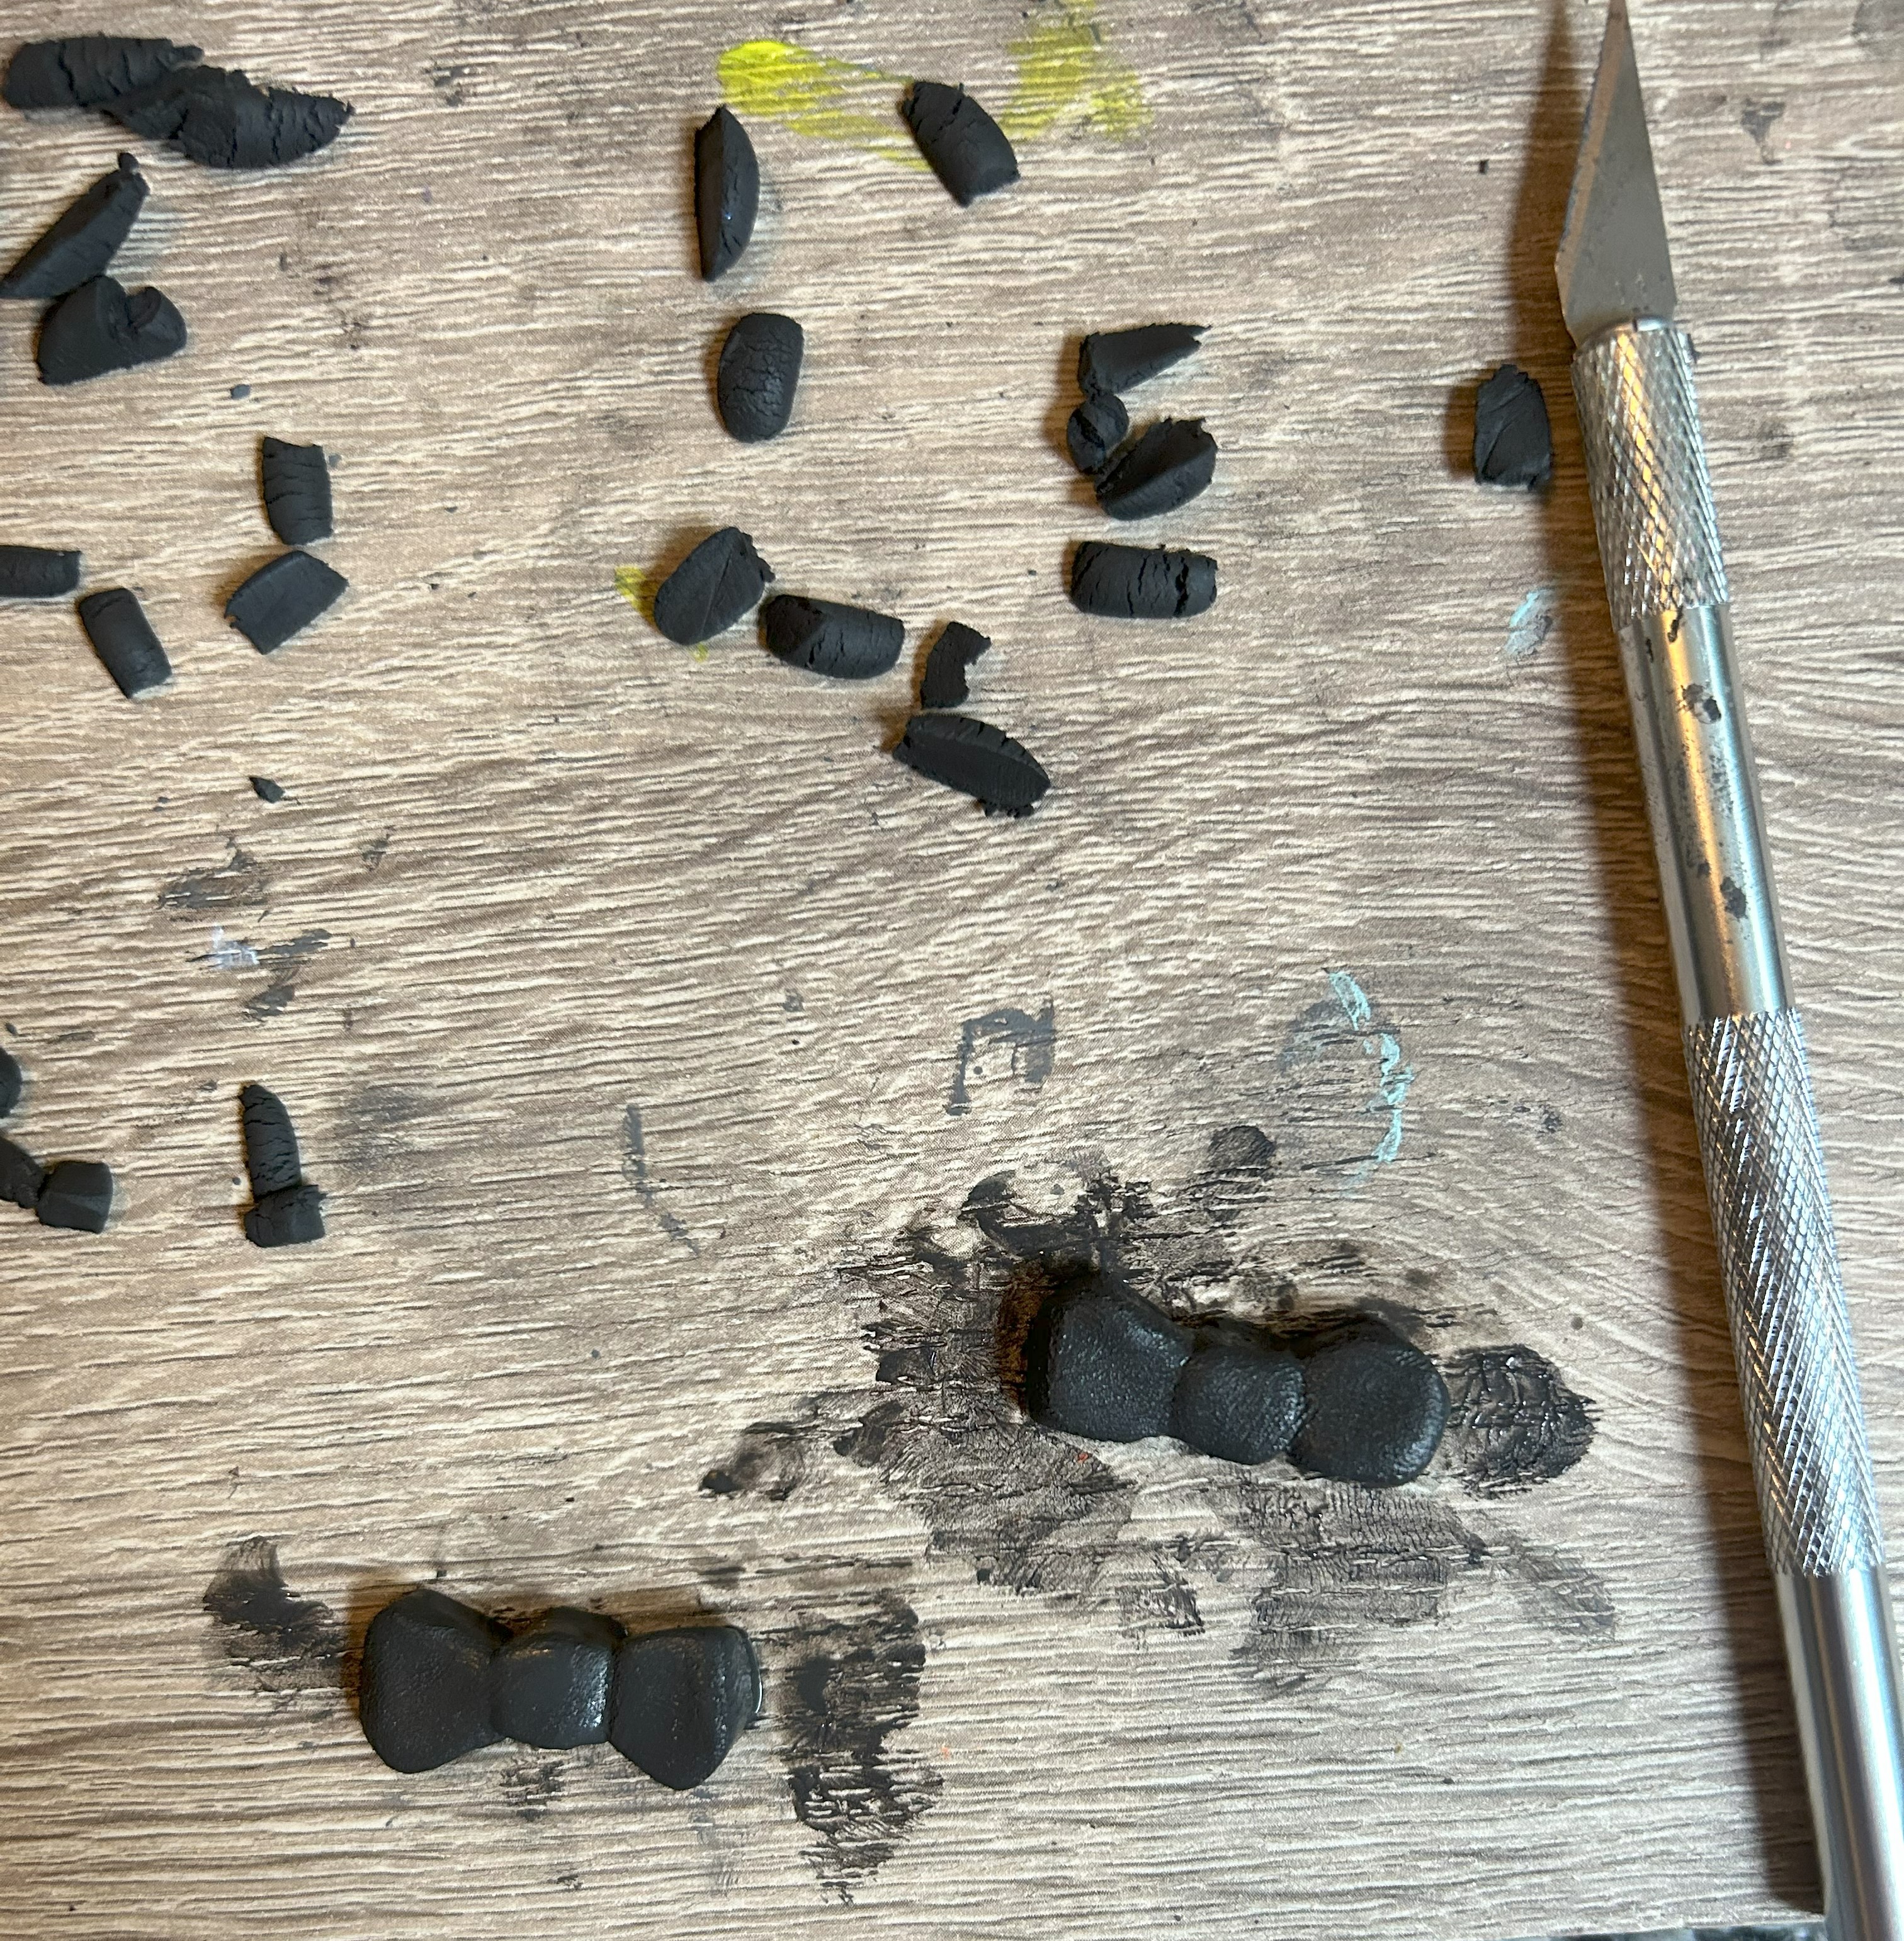
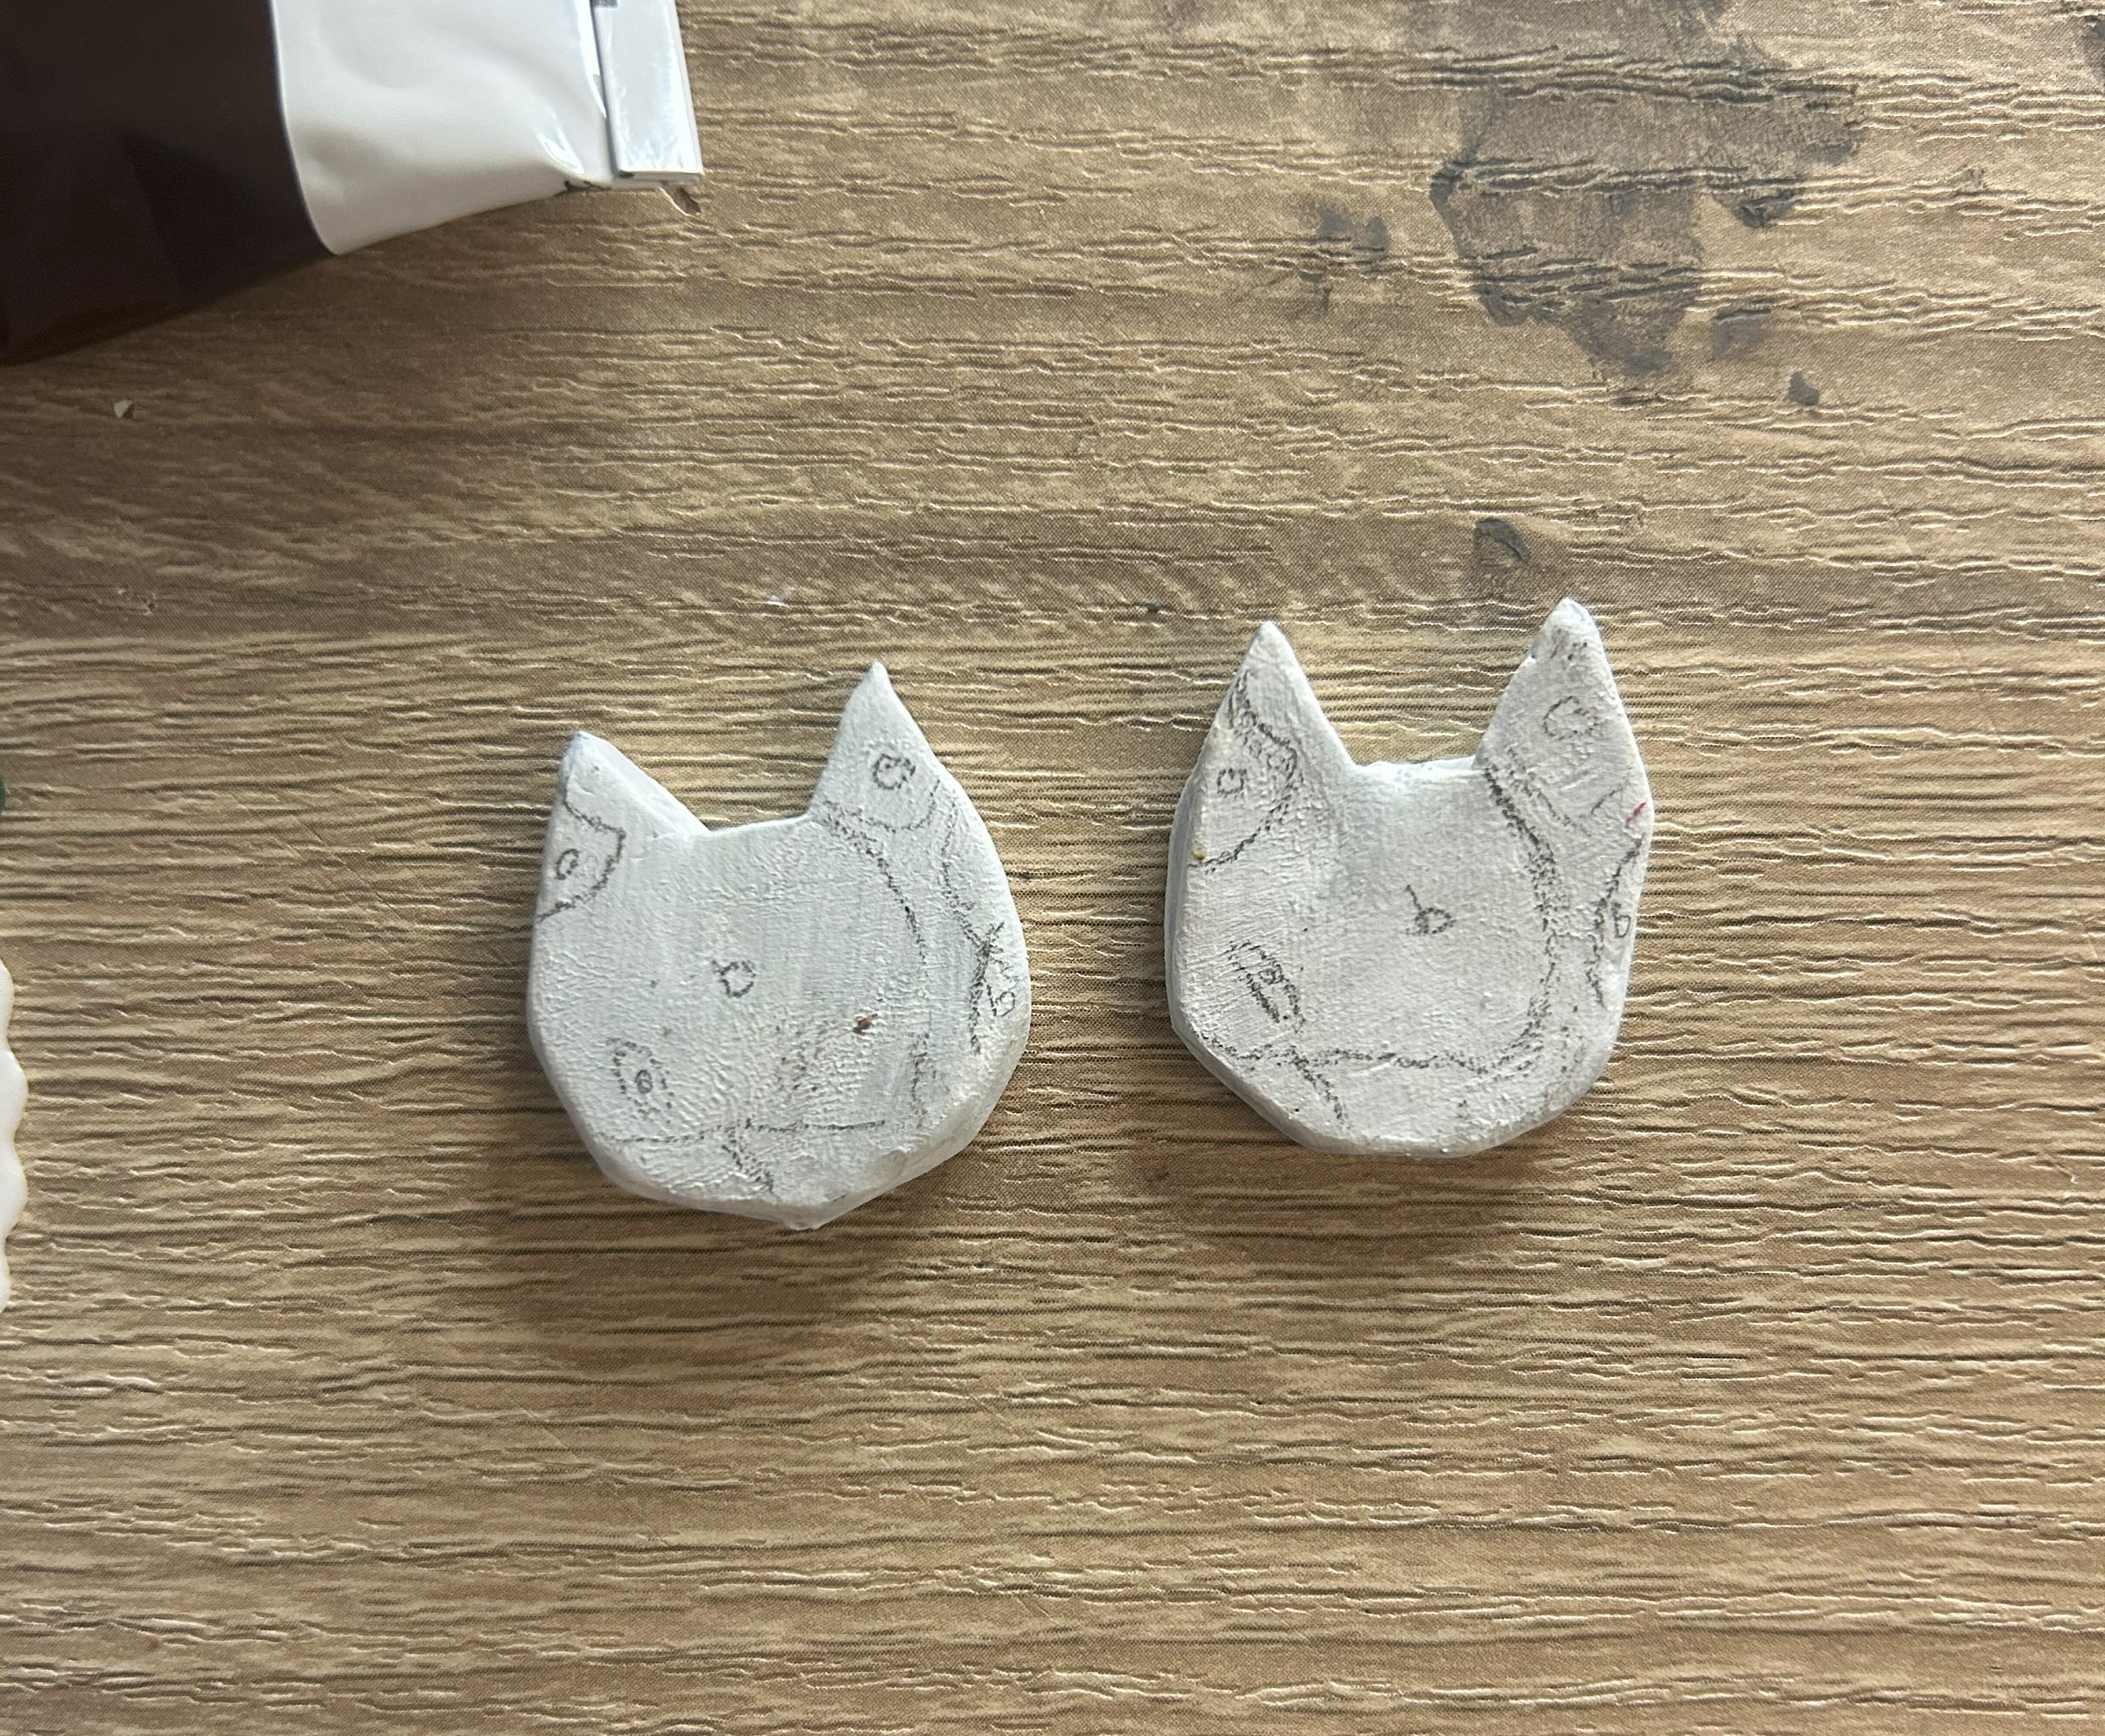
- Once the edges are to your liking its time to pierce the charm with the needle so that we can thread wire through it when we’re making the earrings. I just used a pin for this, and you want to be careful that you go through the middle of the charm otherwise you could split it. (if that happens just smooth it down again with some water)
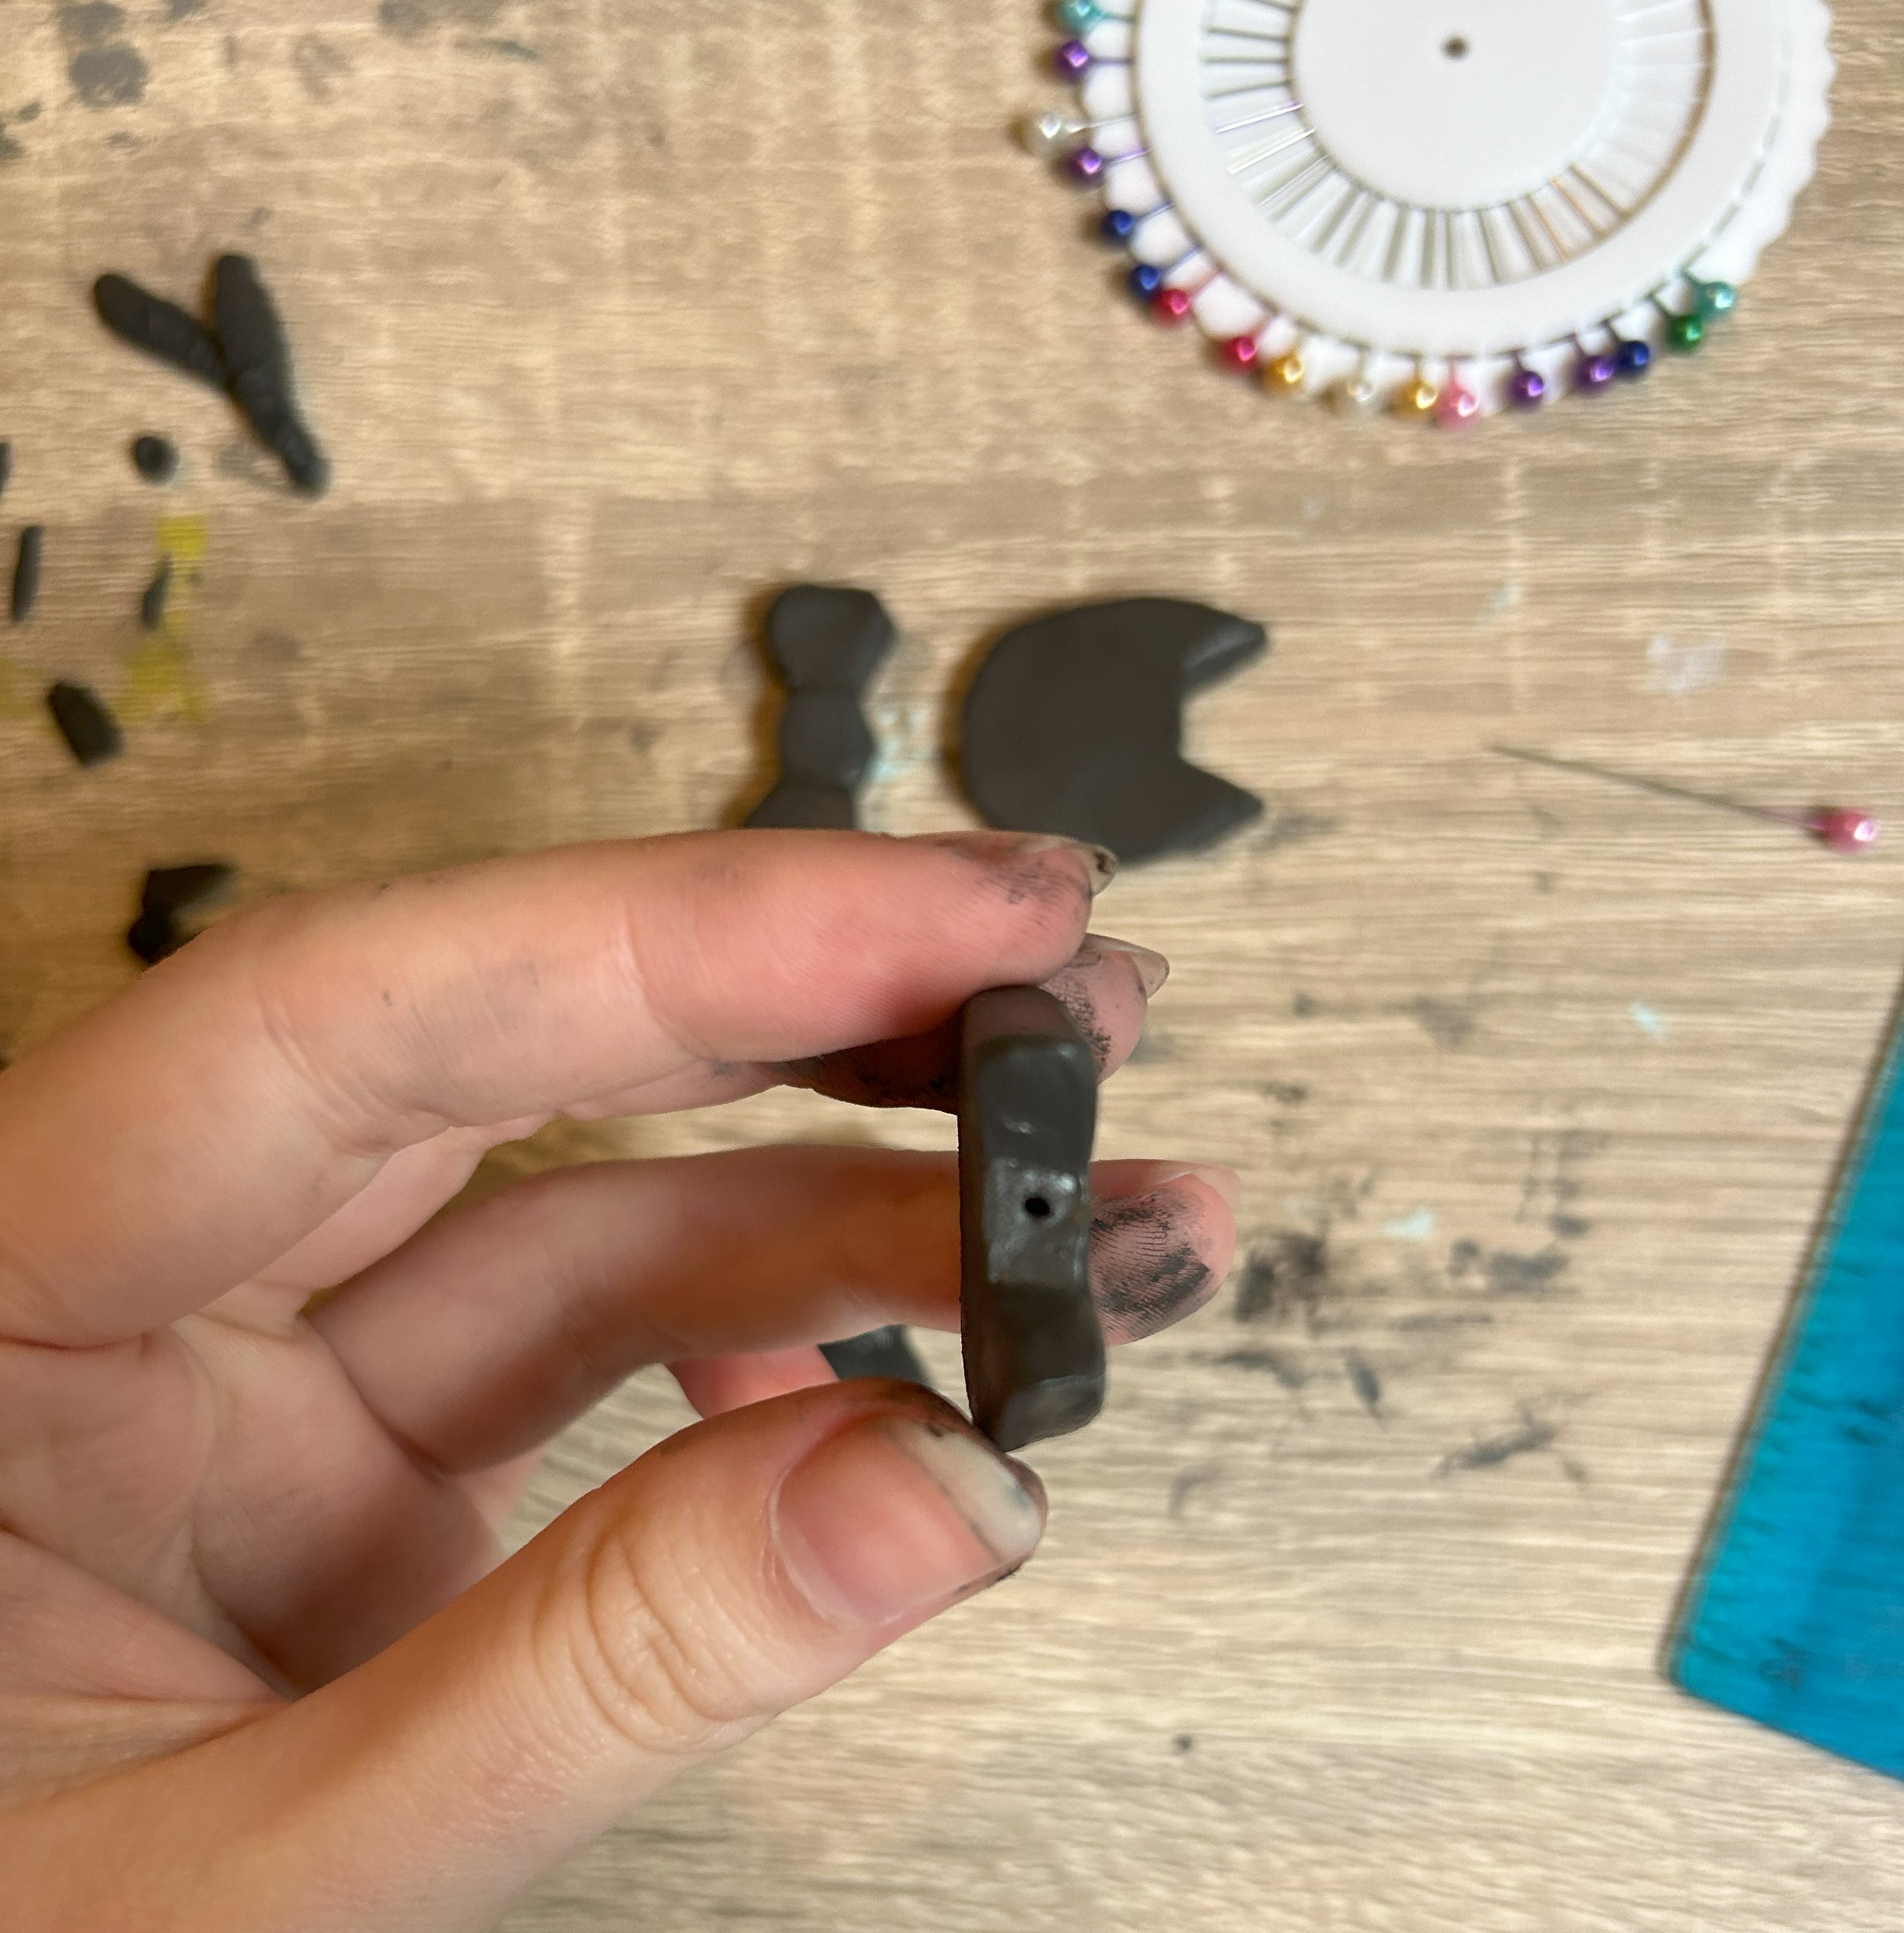
- After you’ve added your holes its time for our clay to dry! I let mine dry for 2 days before I started painting it.
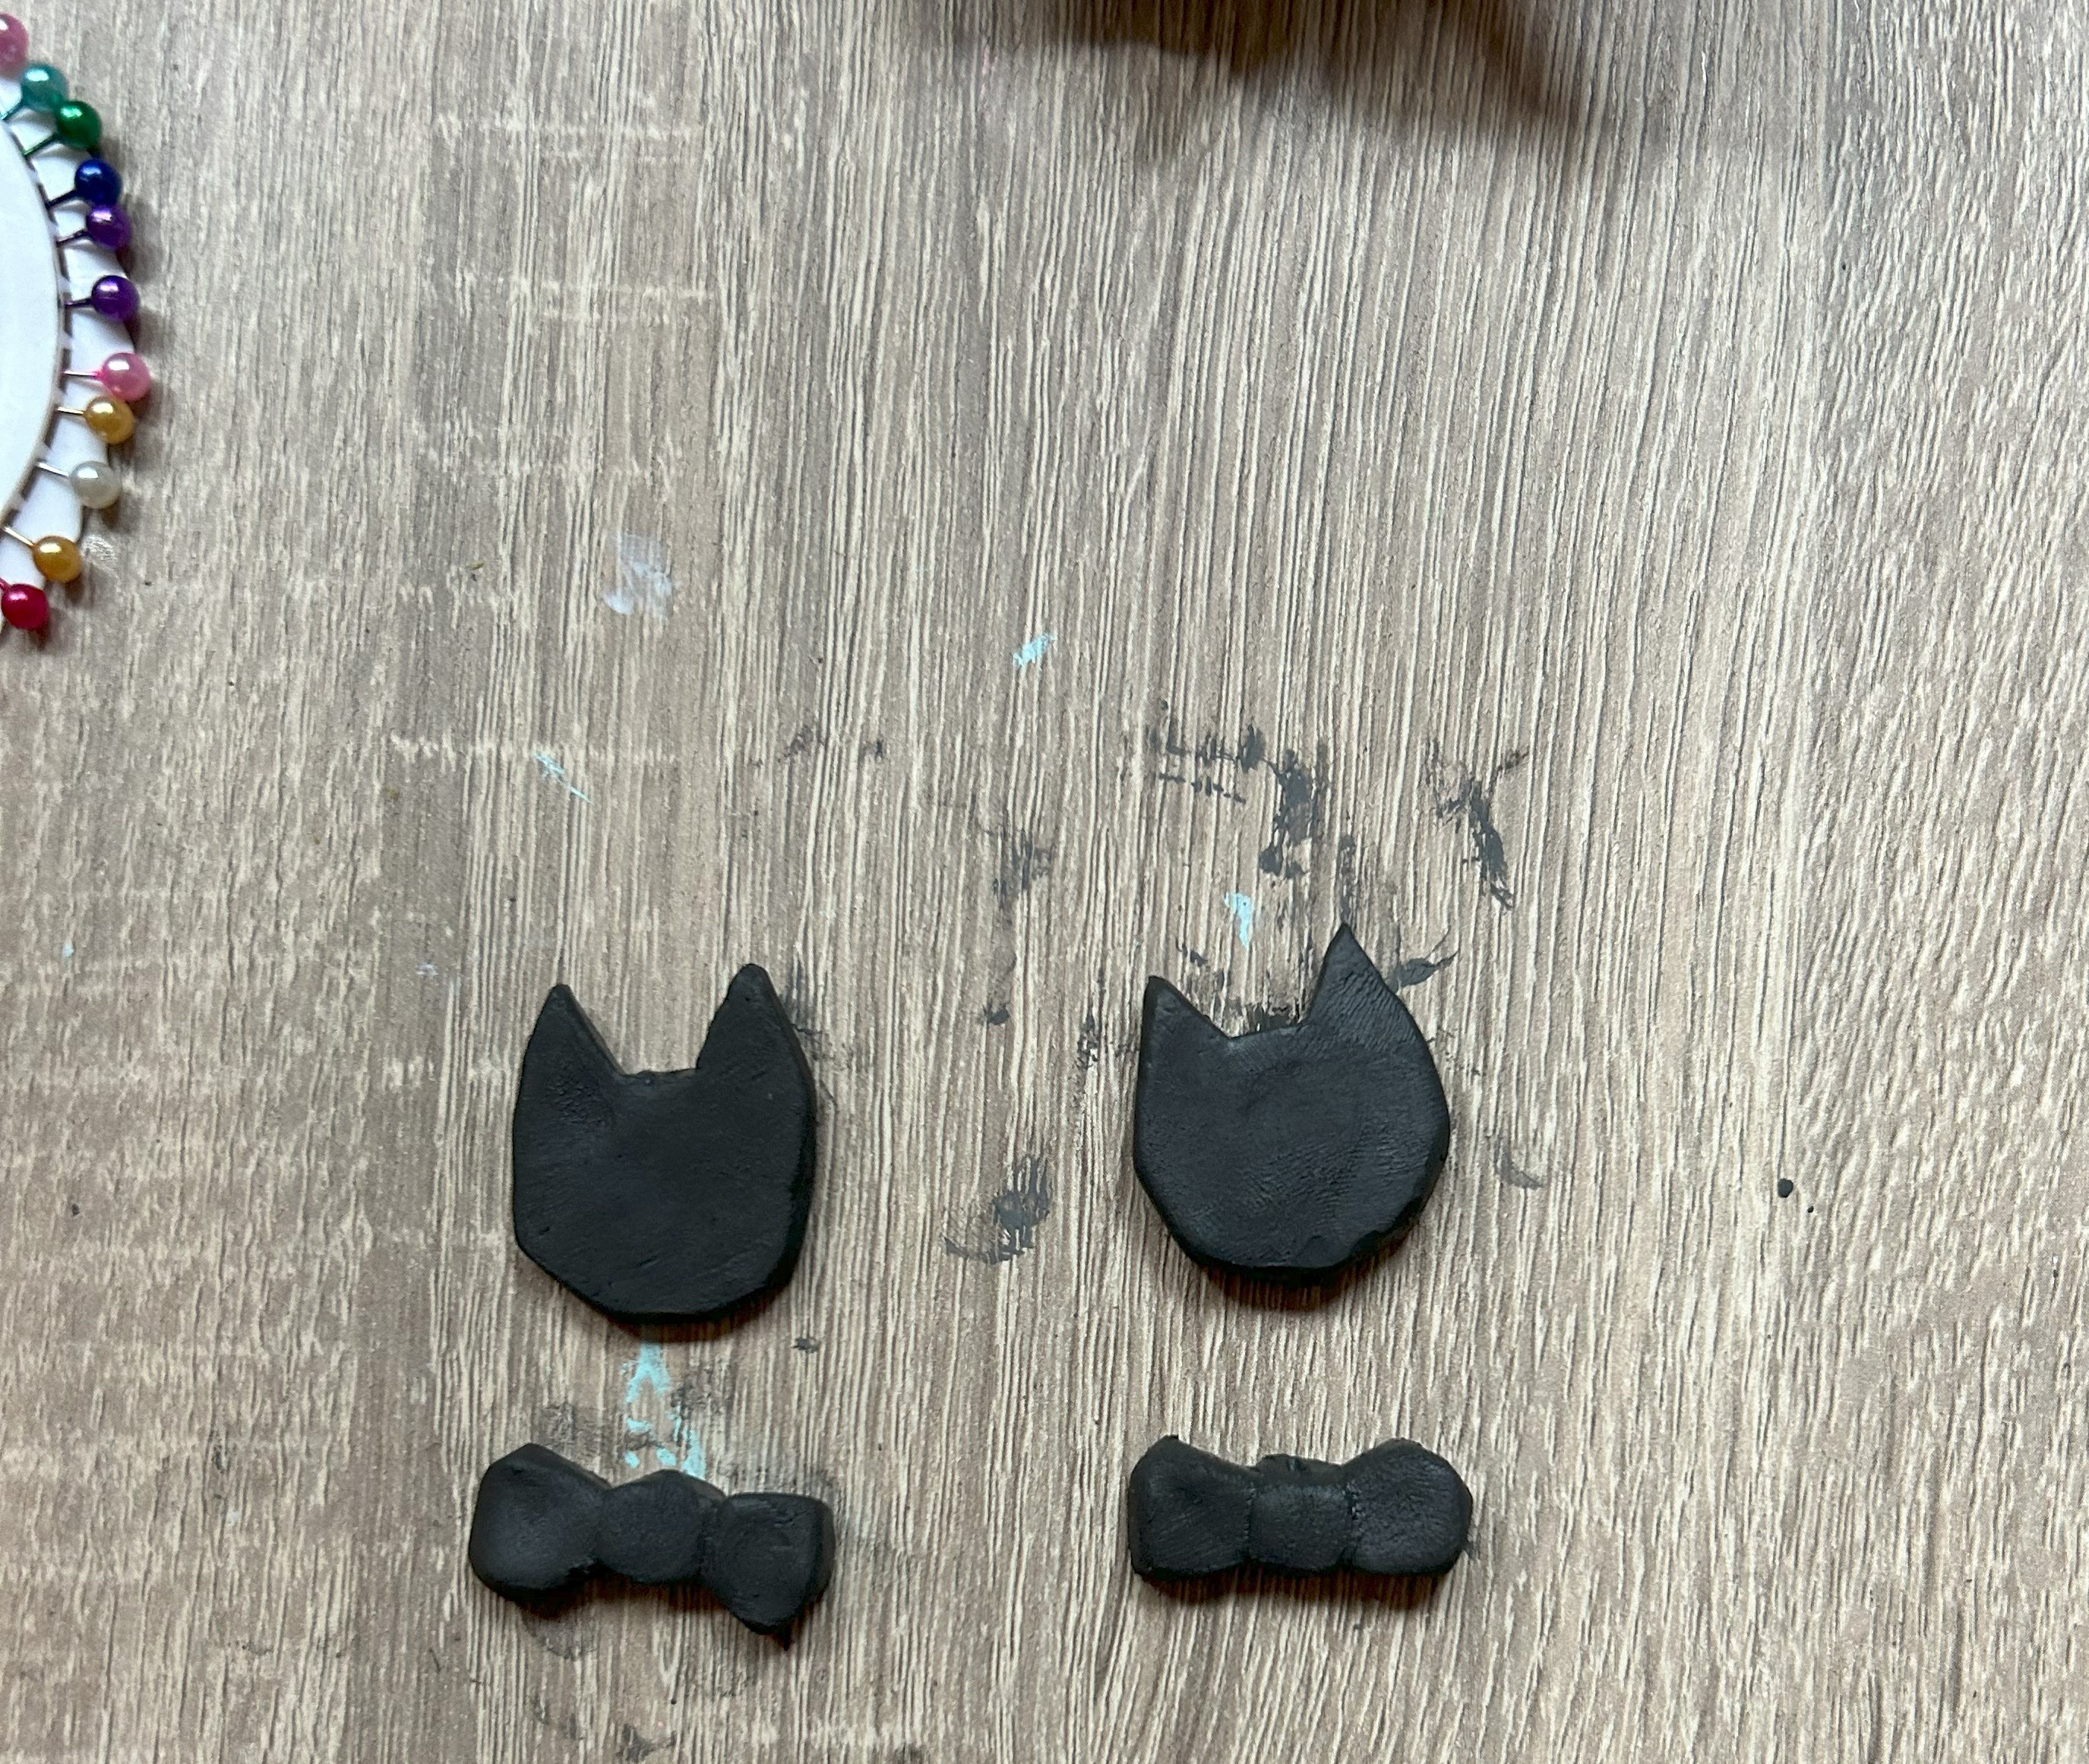
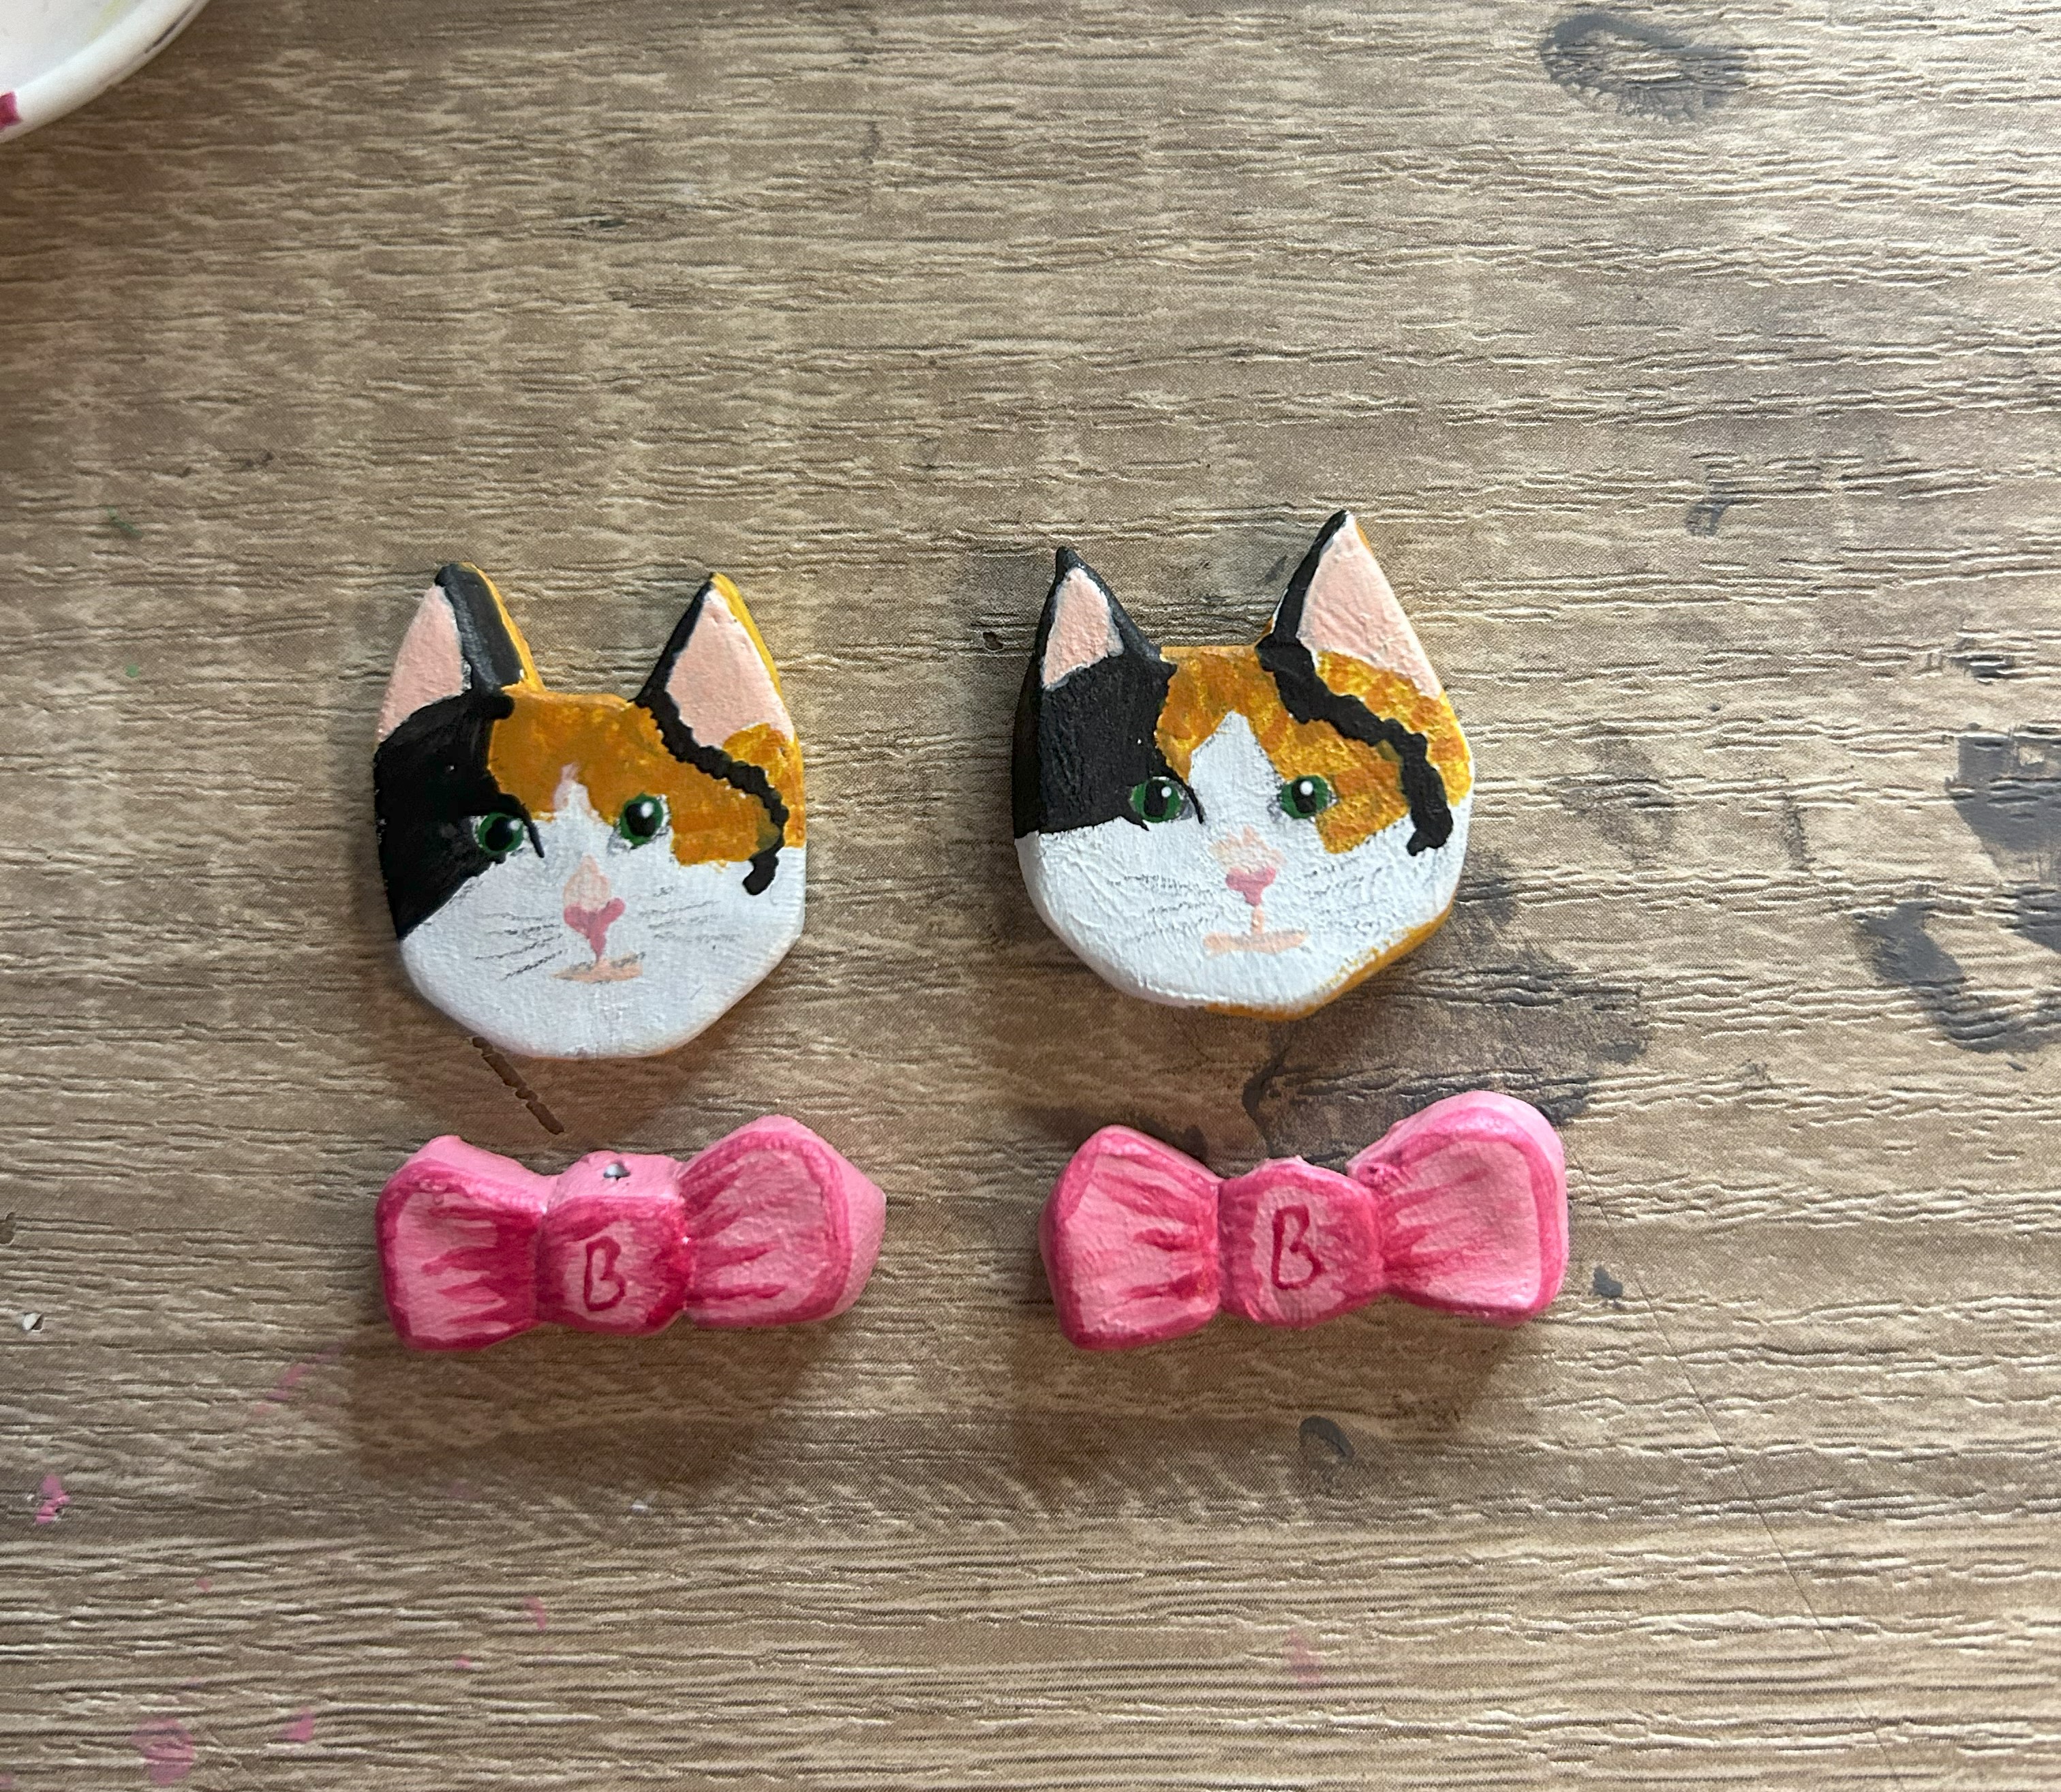
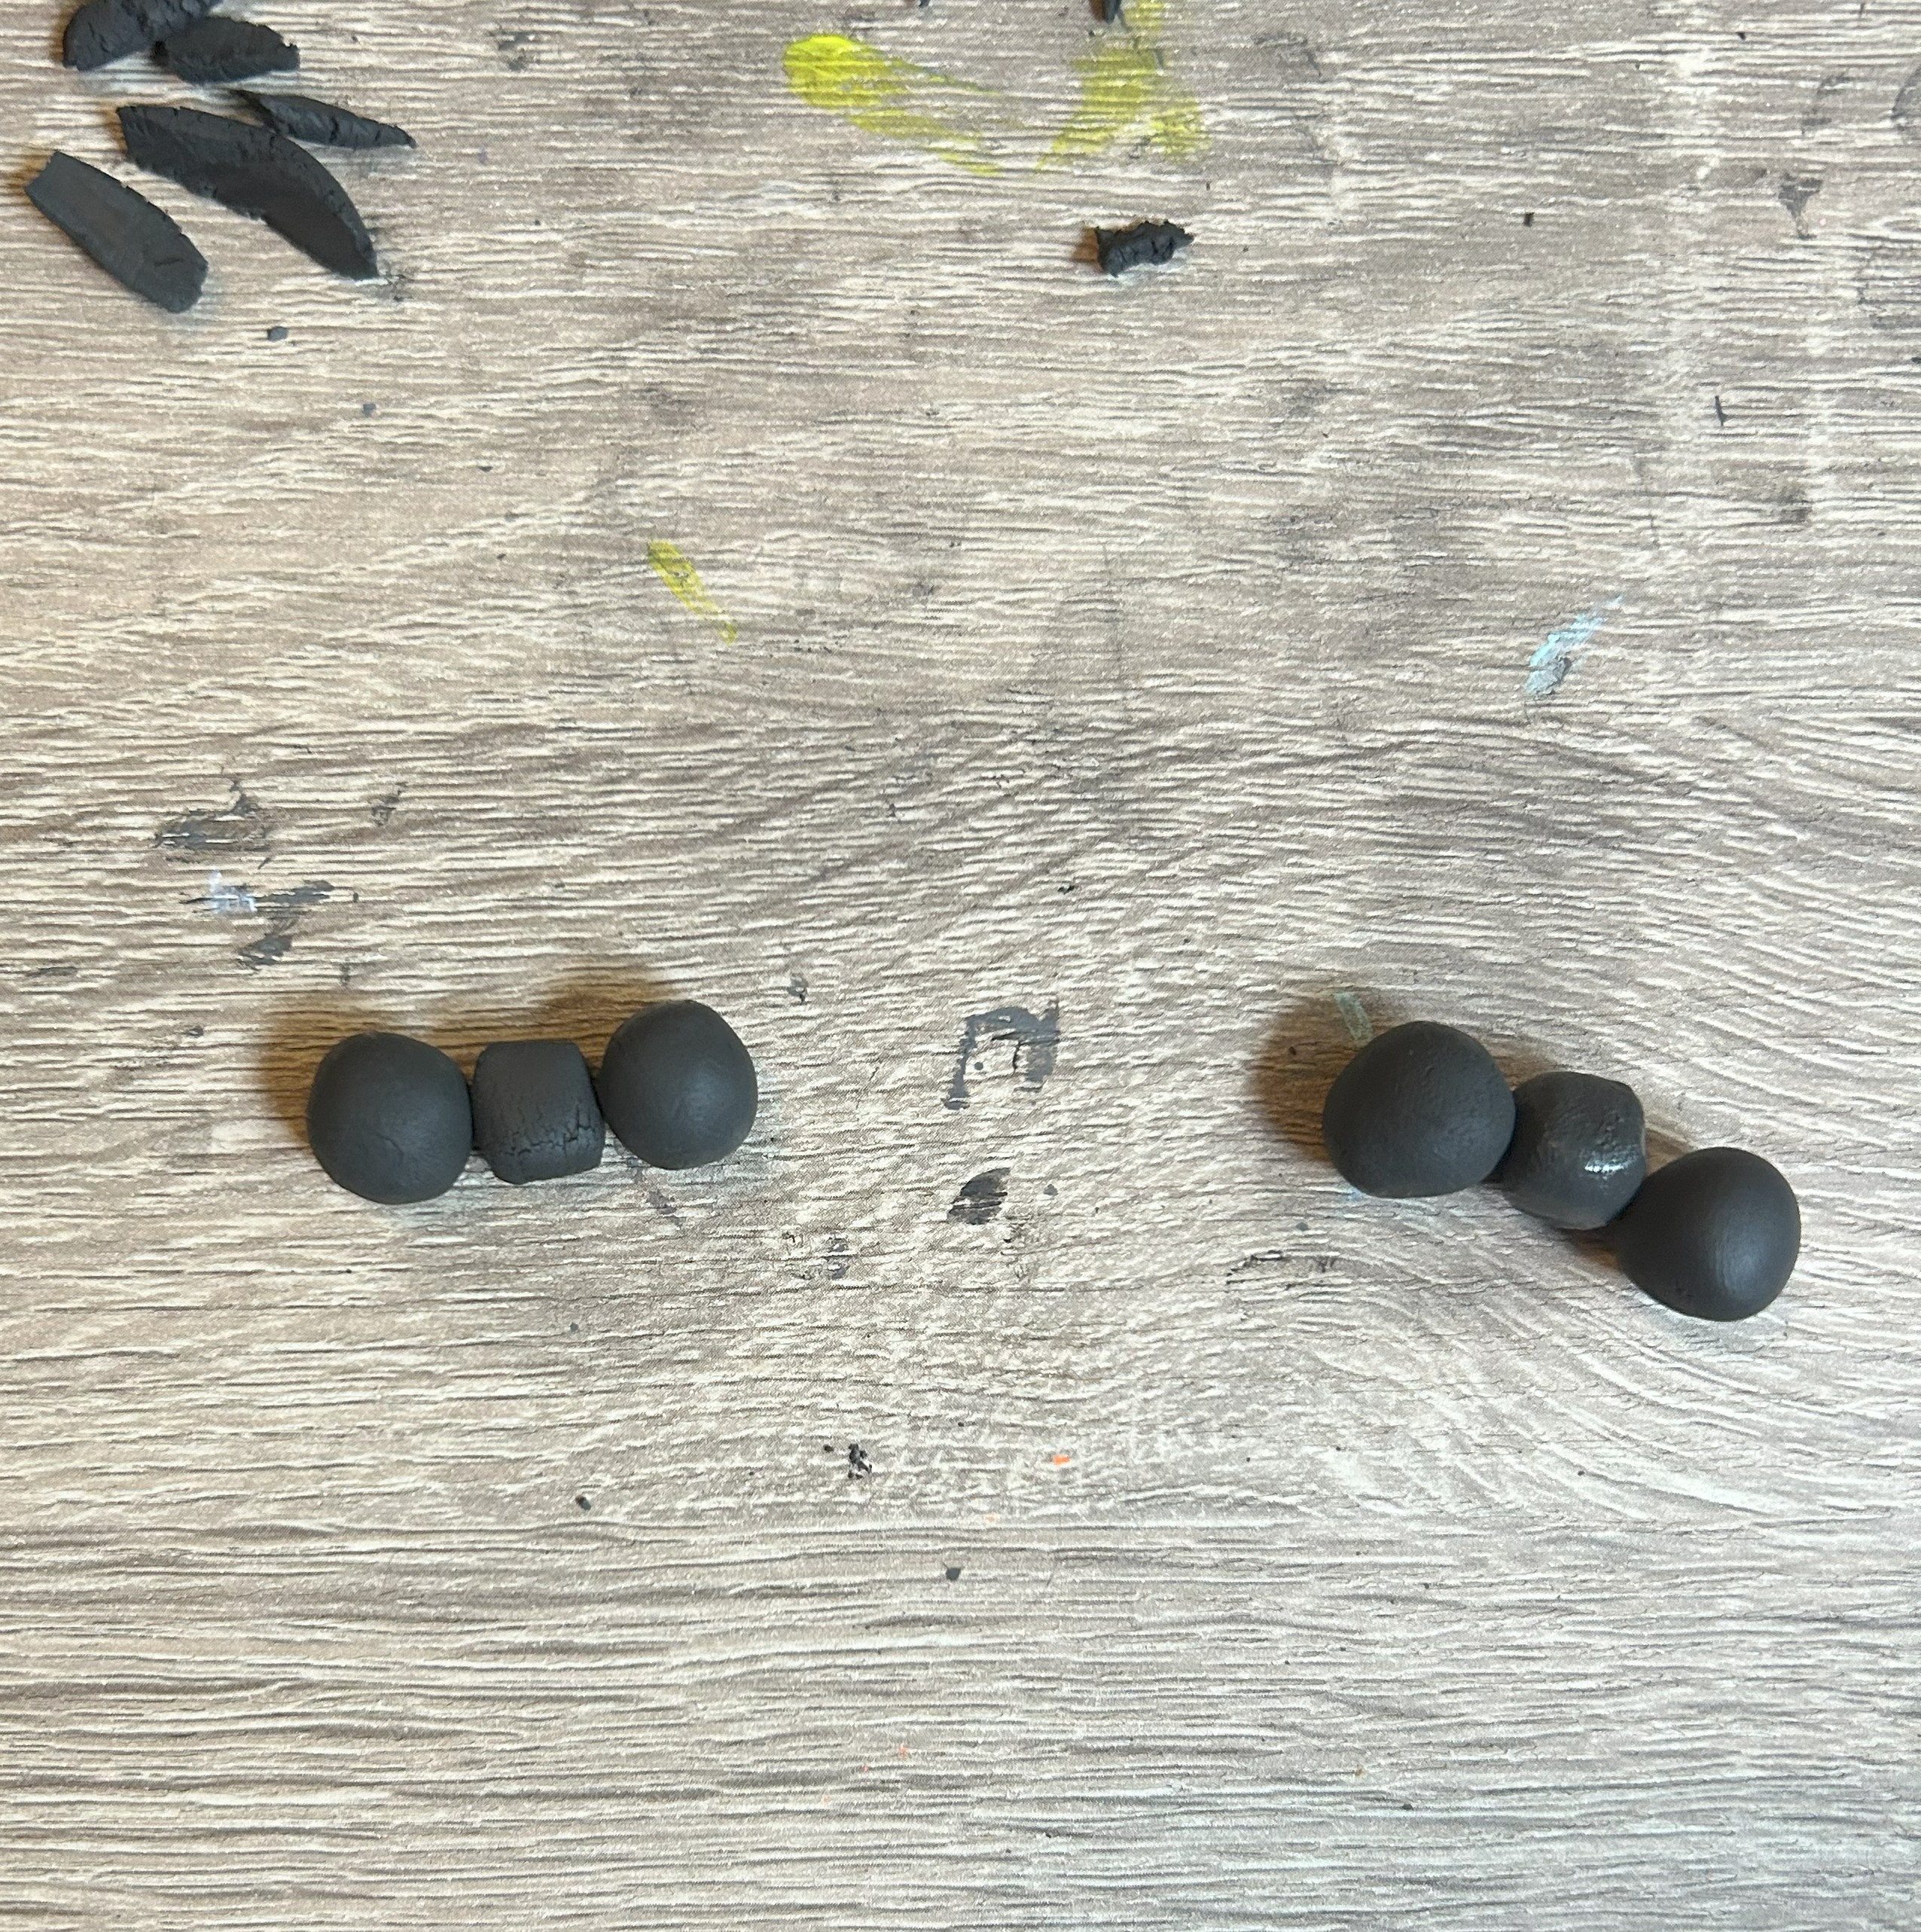
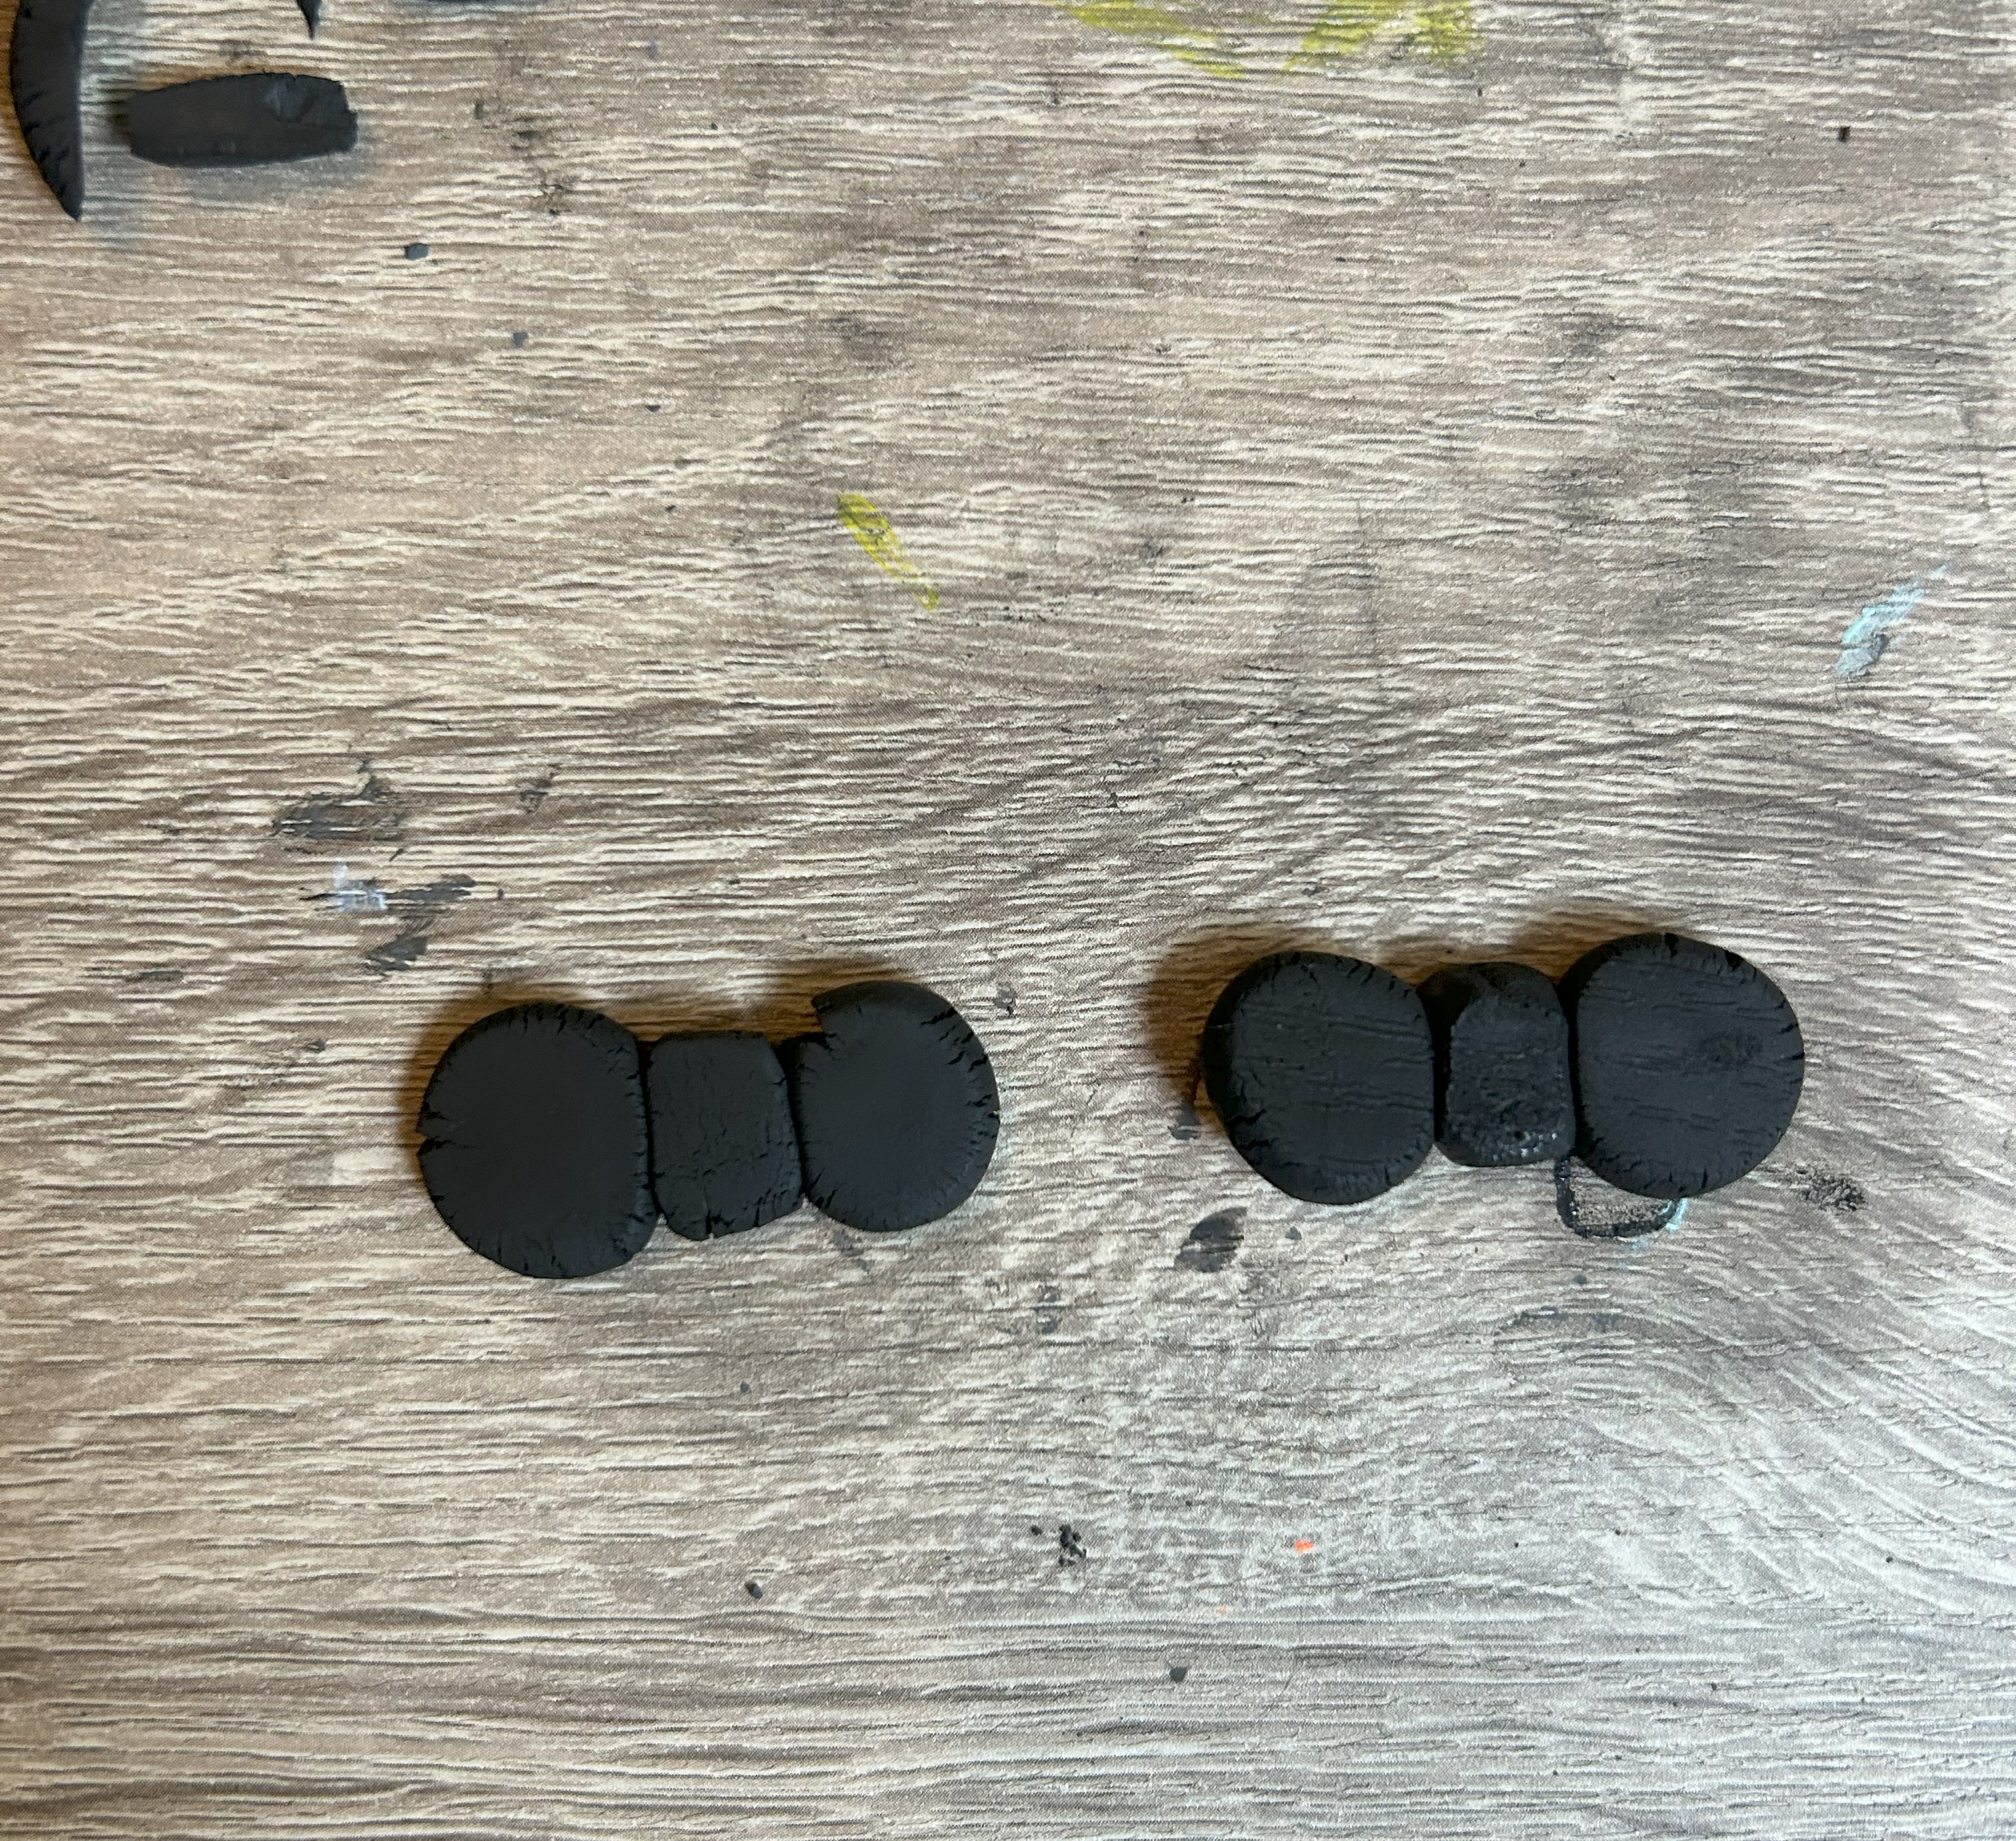
~I also created these adorable little bows that I want to add to the cat earrings and I’m going to add the letter “B” to them because her cat’s name is Binky, and her name also starts with a B. How perfect is that~
Painting our clay charms
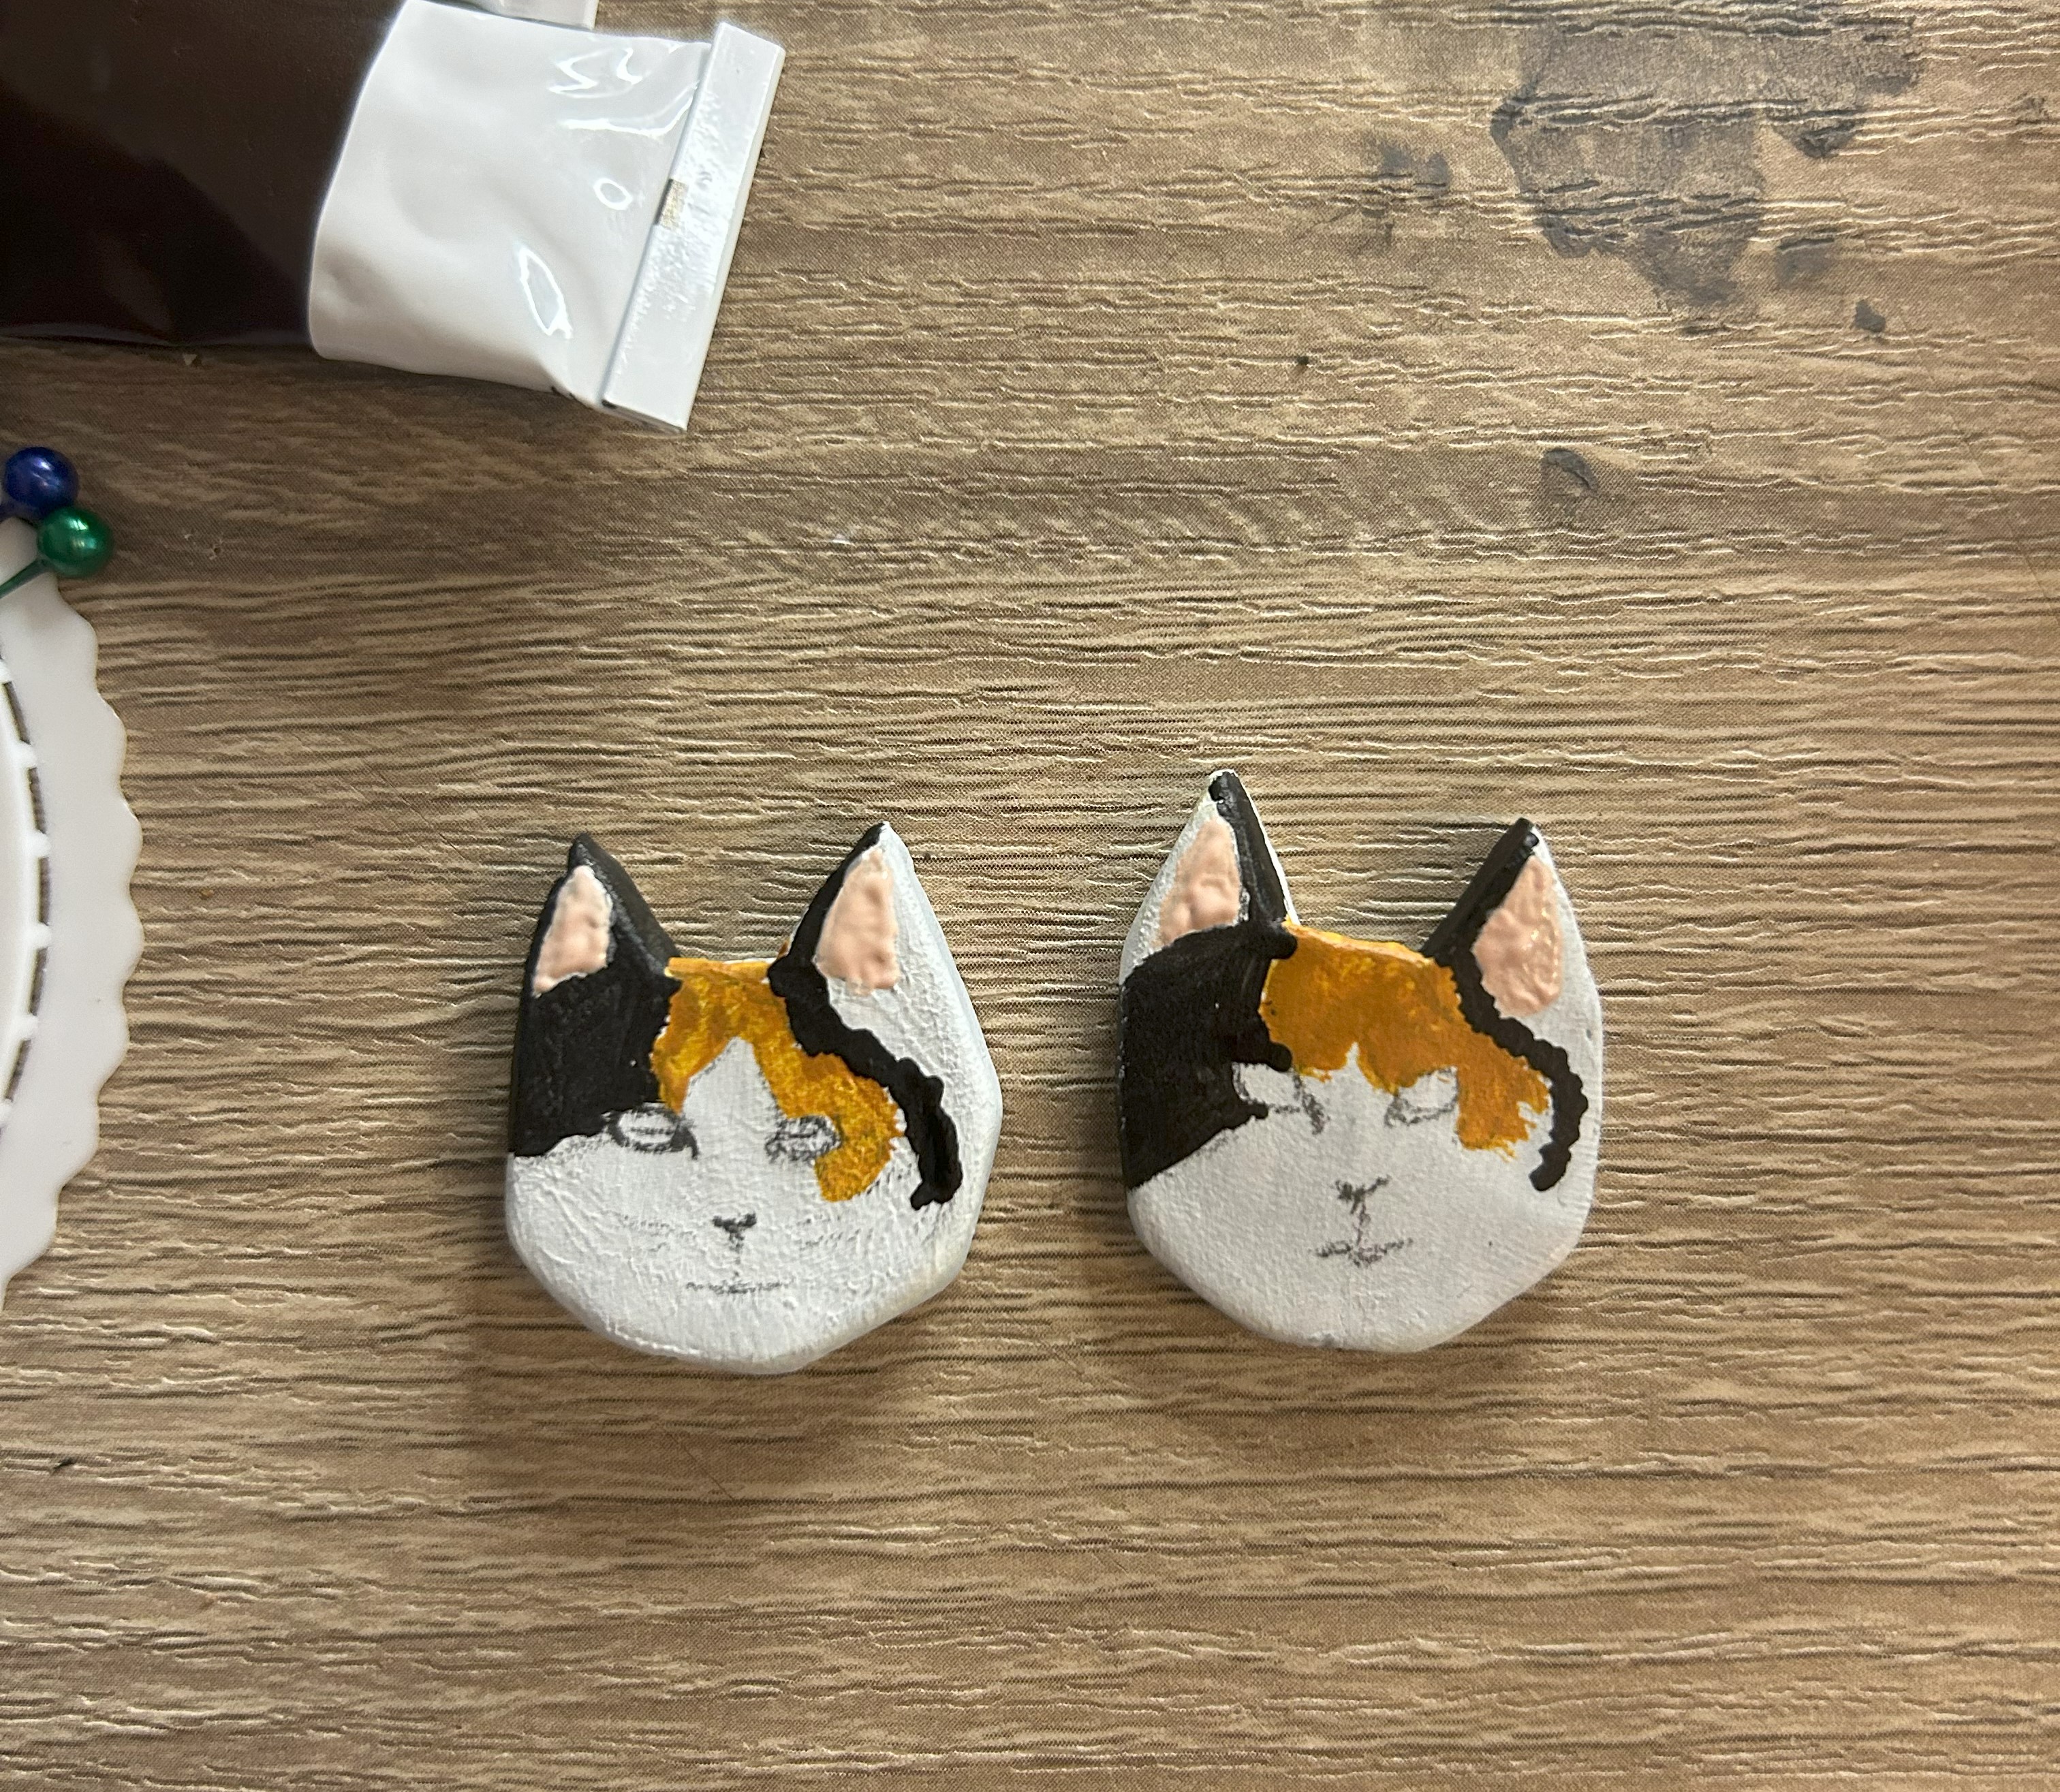
- Once your clay is fully dry, you’re going to want to paint it! The very first thing to remember is that if your air-drying clay is white already then you won’t need to add a primer like me (my clay dries stone grey coloured). For my primer I like to add about 3 coats of white acrylic paint and that usually means I have to add the colours I want the clay to be only once for it to be opaque enough.
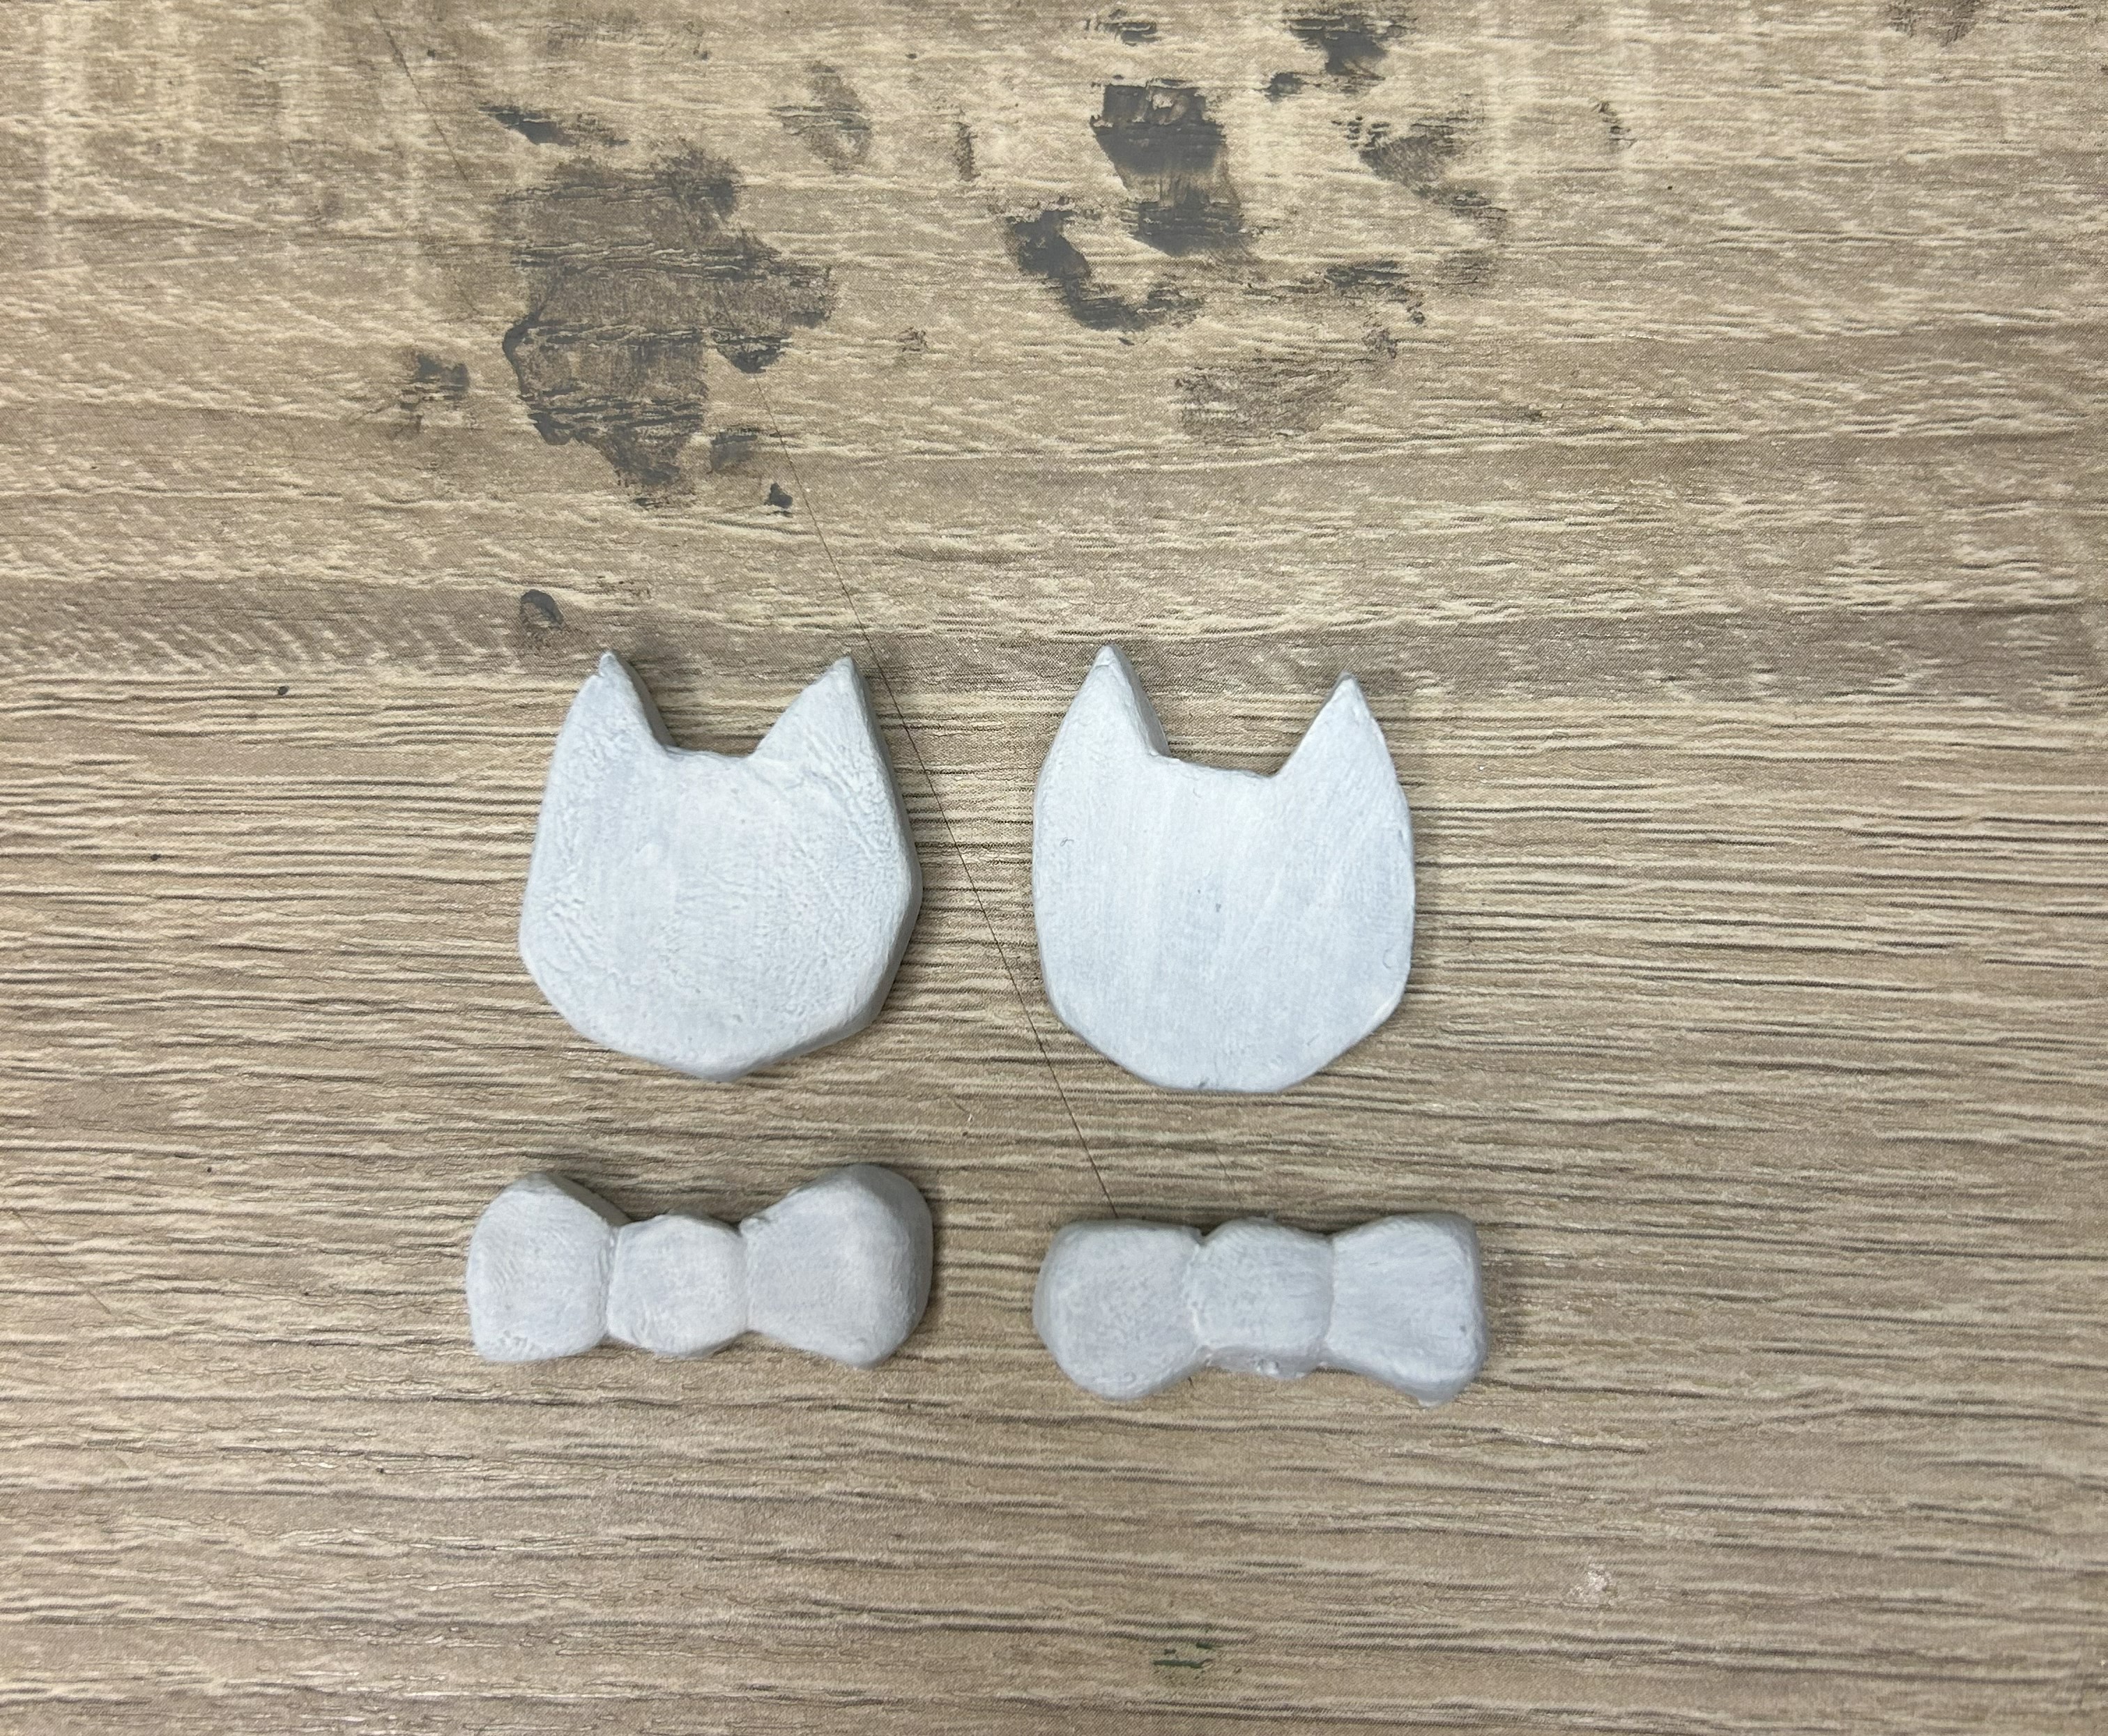
*Remember to add your layers of paint with patience, ideally, you’ll want to wait for your first layer to dry before you start on your next one and only do one side at a time. Otherwise you may put a still wet side on the surface of something else and the paint can peel away when you lift it.*
- Once your charms are primed and ready its time for the decoration! For me, I decided to paint my friend’s cat as accurately as I could get so I found some pics of her cat and drew on the shapes of colour that her cat has. I literally just used a pencil to draw the shapes on the painted clay and it worked!
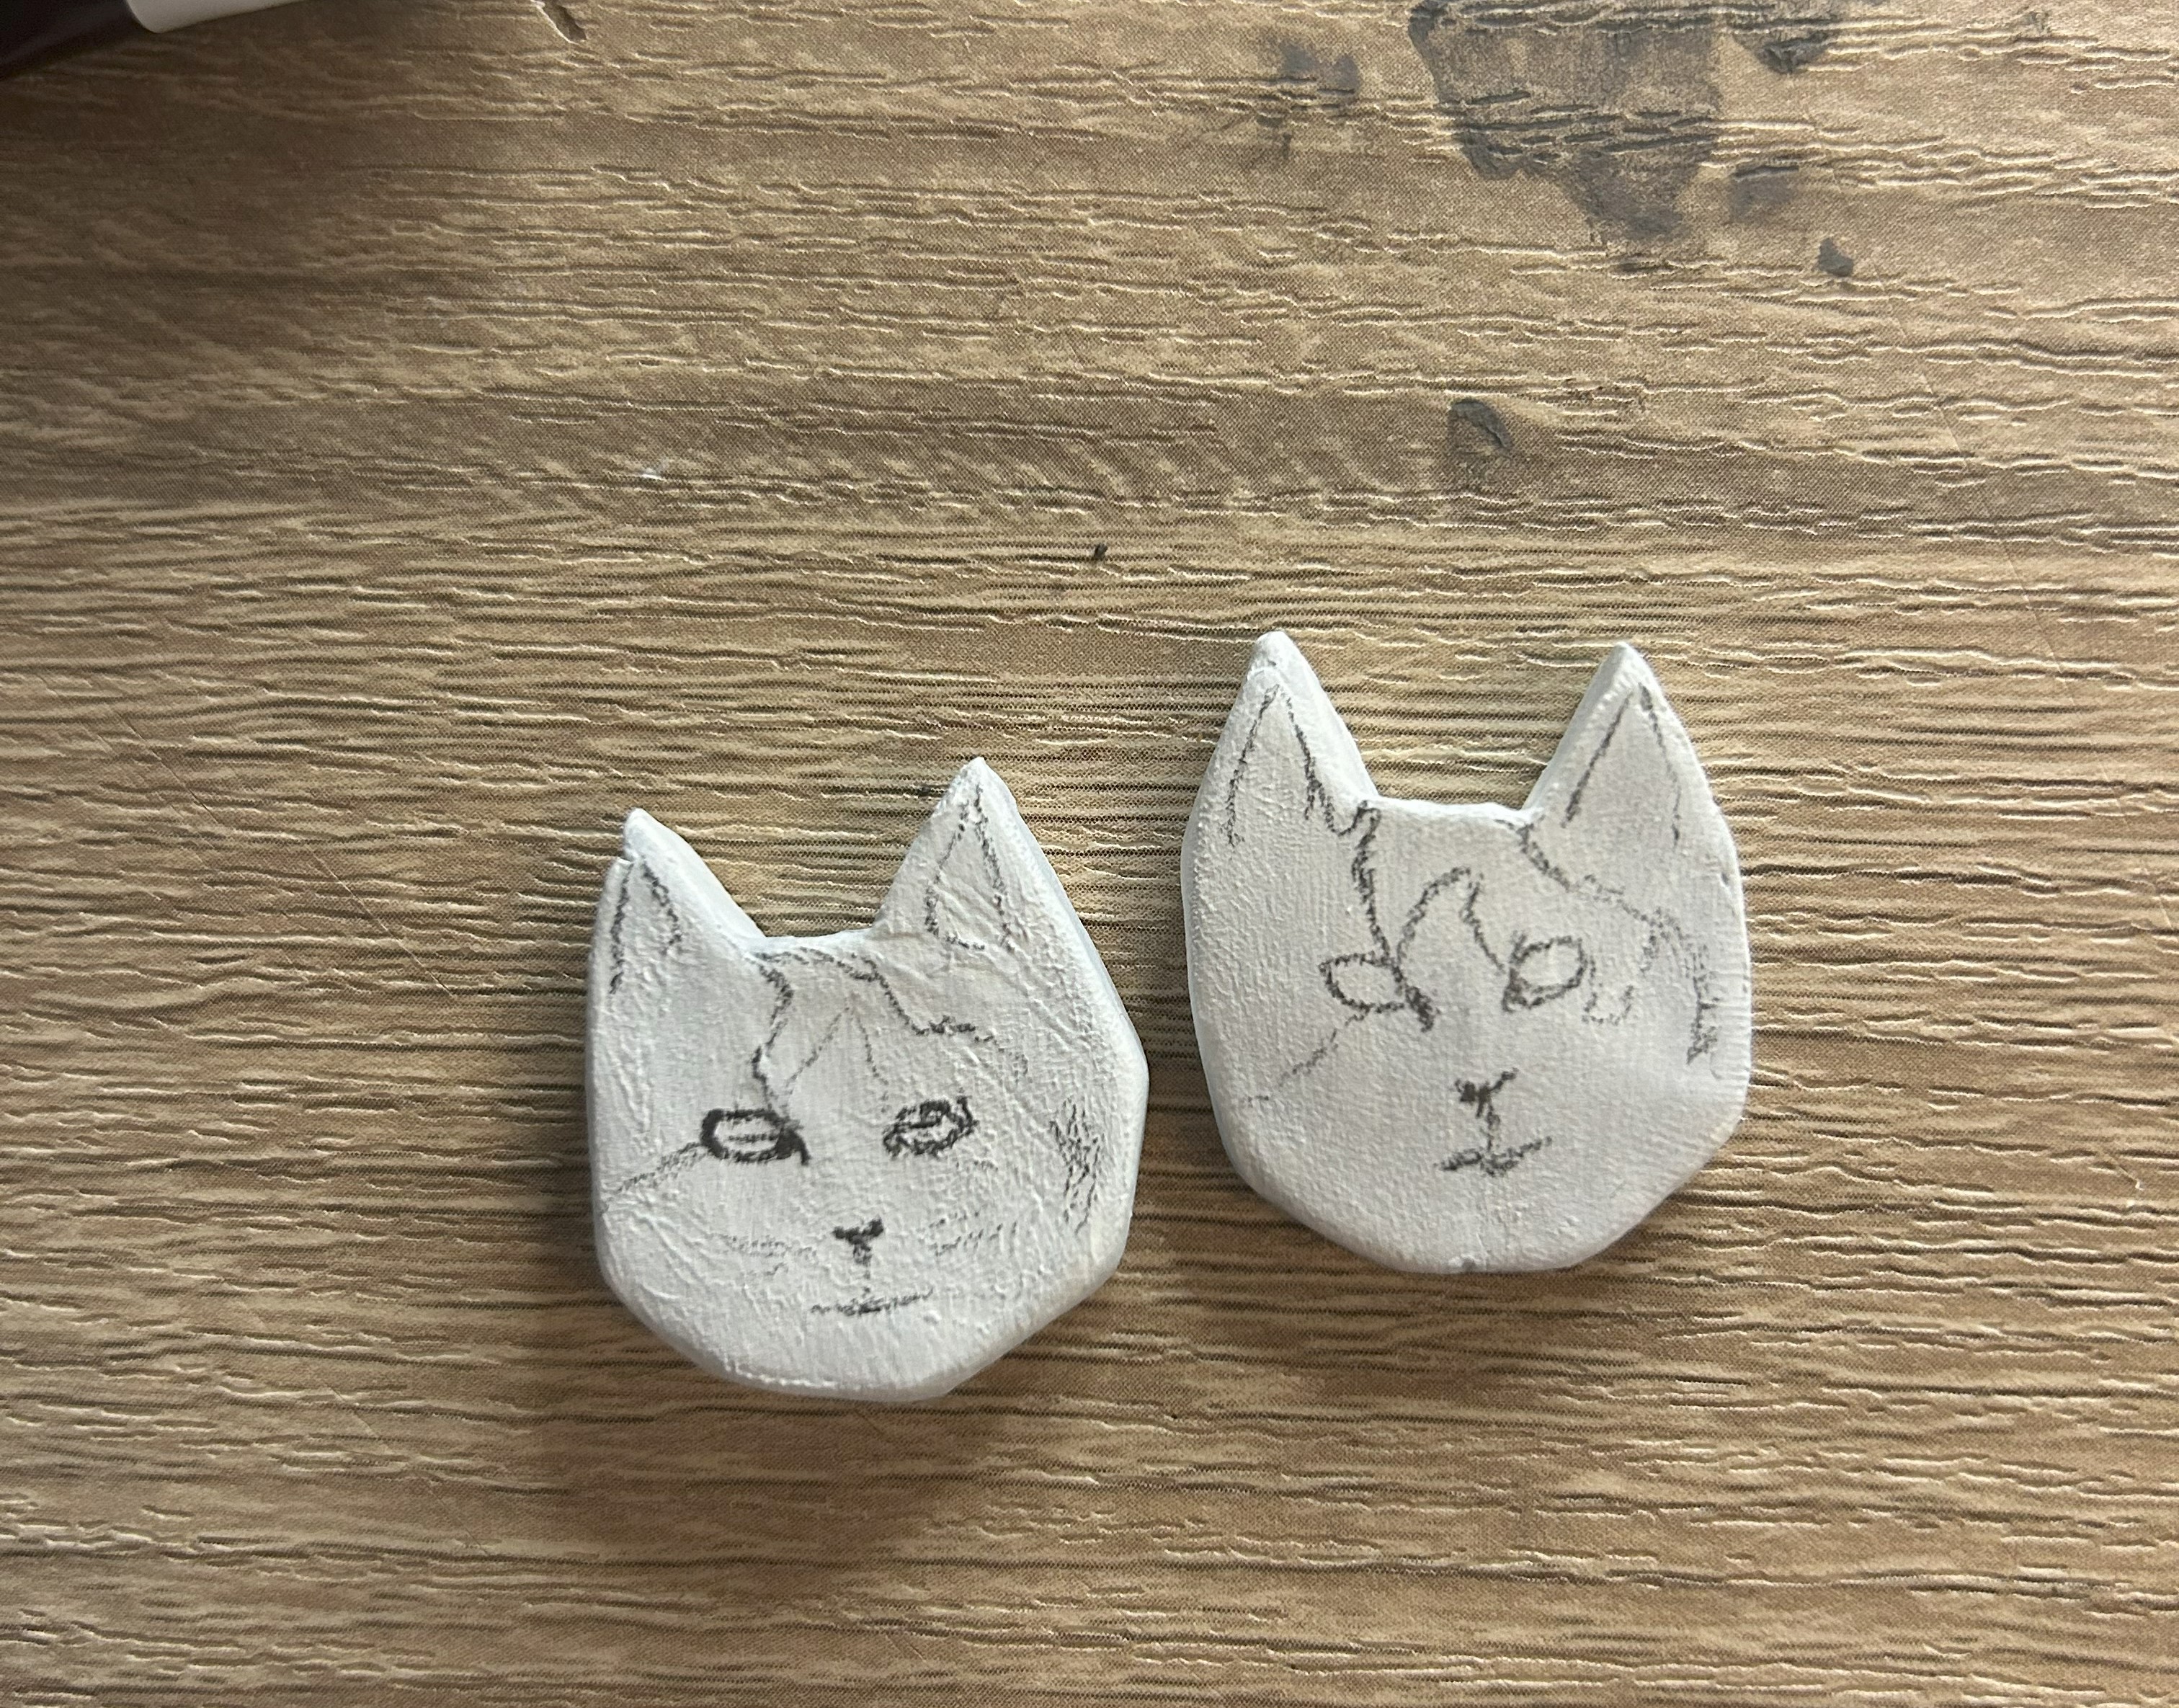
- A really helpful tip for not forgetting your design is to label the sections you’ve drawn. For example, the cat I was painting had 3 main colours on her fur: black, white and orange. So I made sure to add a “b”, “o”, or I left it blank if it was meant to stay white. This made the actual painting of the charms super simple!
- Once your clay charms are painted to completion, you’ll want to leave them to dry for a few hours (this can be less as clay is quite quick to dry but you’ll just want to make sure).

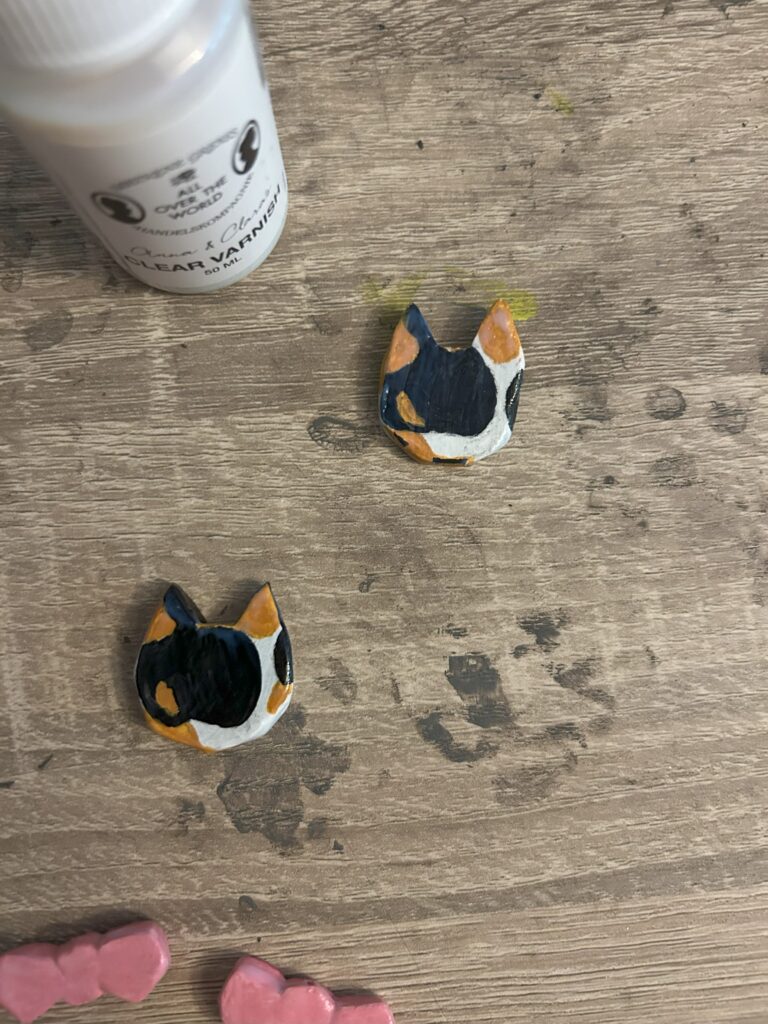
- Now that our clay charms are dry, we can now add our varnish. While the varnish isn’t absolutely vital, it is definitely necessary if you want these charms to become jewellery as it adds a layer of protection from any liquids, bumps and scrapes etc. I added my varnish the same way I added my primer, slowly and carefully. You do not want the charm to get stuck to any surface because the varnish was still drying when you placed it there.
- Now you have your gorgeous charms, check my next blog post to find out how to assemble them into jewellery!