I love a good upcycle and I love to give my clothes a second chance! A lot of the clothes I have upcycled have been clothes that I wore quite a lot when I was younger, and my personal style wasn’t really there yet. Now that I have a grasp on my personal style, I want to be able to repurpose my old clothes into things that I would wear today instead of getting rid of my clothes in order to buy more.
If you would like to be able to repurpose your old clothes into clothes you would happily wear today, keep on reading!
So today I will be putting together 3 up-cycling projects that I think could be useful to most people!
Materials Needed:
Scissors that can cut fabric
Pen/ Pencil to mark
Dressmaker Pins
Iron and Ironing board (or equivalent)
Sewing Machine (only for 1 project)
Hemming Tape (substitute for sewing machine)
The first simple upcycle project:
The first Upcycling Project is simply cropping some jeans!
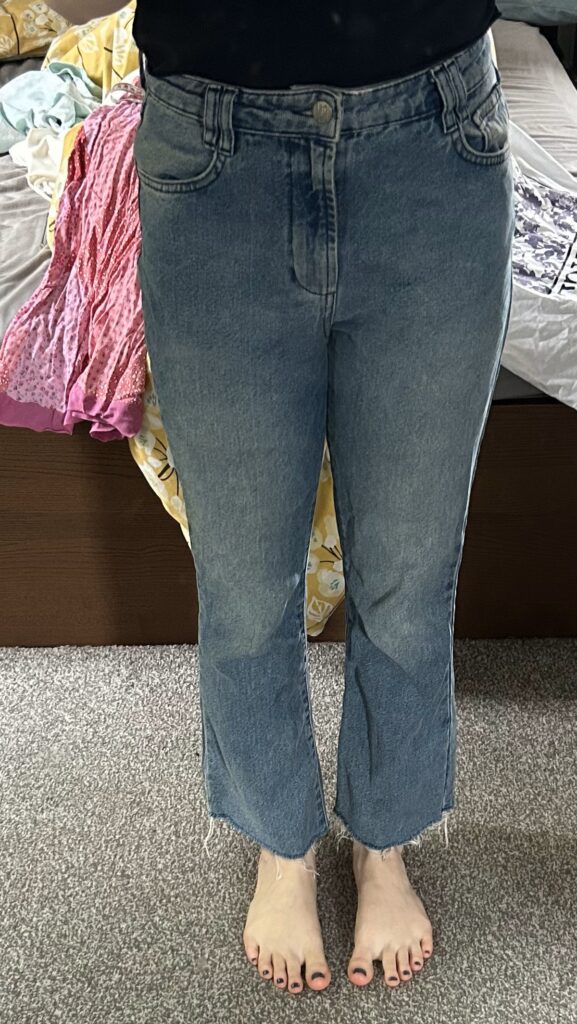
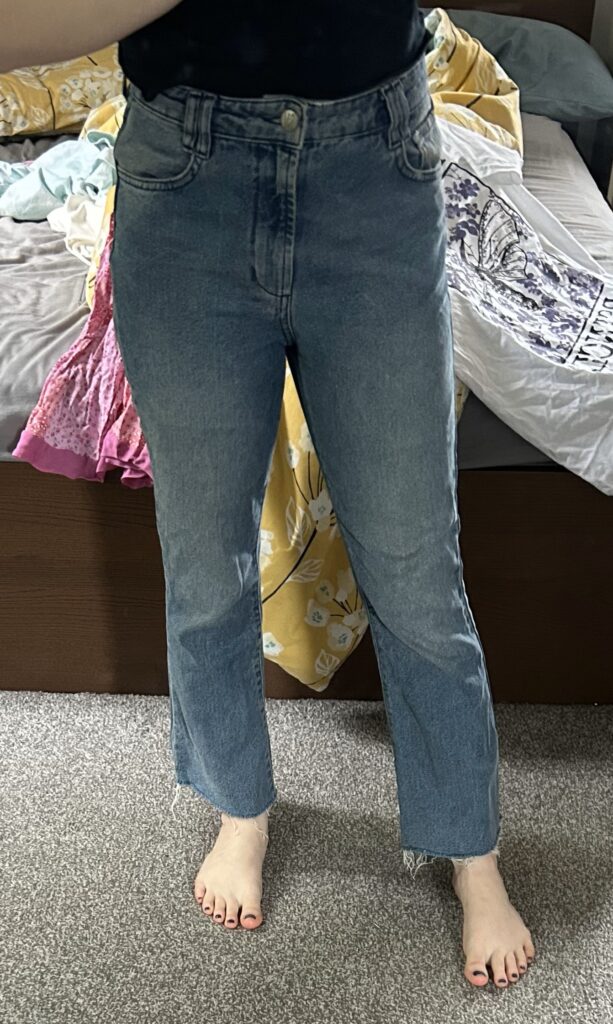
I bought some slight flared jeans at least 5 years ago and I wore them religiously at the time, but I gained a little bit of weight while I worked in a Law Firm office, so I didn’t wear them anymore.
However, I found the jeans in my closet when I had a clear out and I tried them on again and they fit! So I thought, lets make these jeans suit me and my style better! All I wanted to do for these jeans was crop them a bit more, so they made my legs look longer! Luckily for me, the jeans I had were already cutoffs so all I really had to do was cut it a little shorter!
Method:
Step One:
Step 1 is always to try it on and make a note of where you want to make it smaller etc. I tried my jeans on and I just grabbed a pen and made a line on the inside of the fabric where I wanted it to be cut.
Step Two:
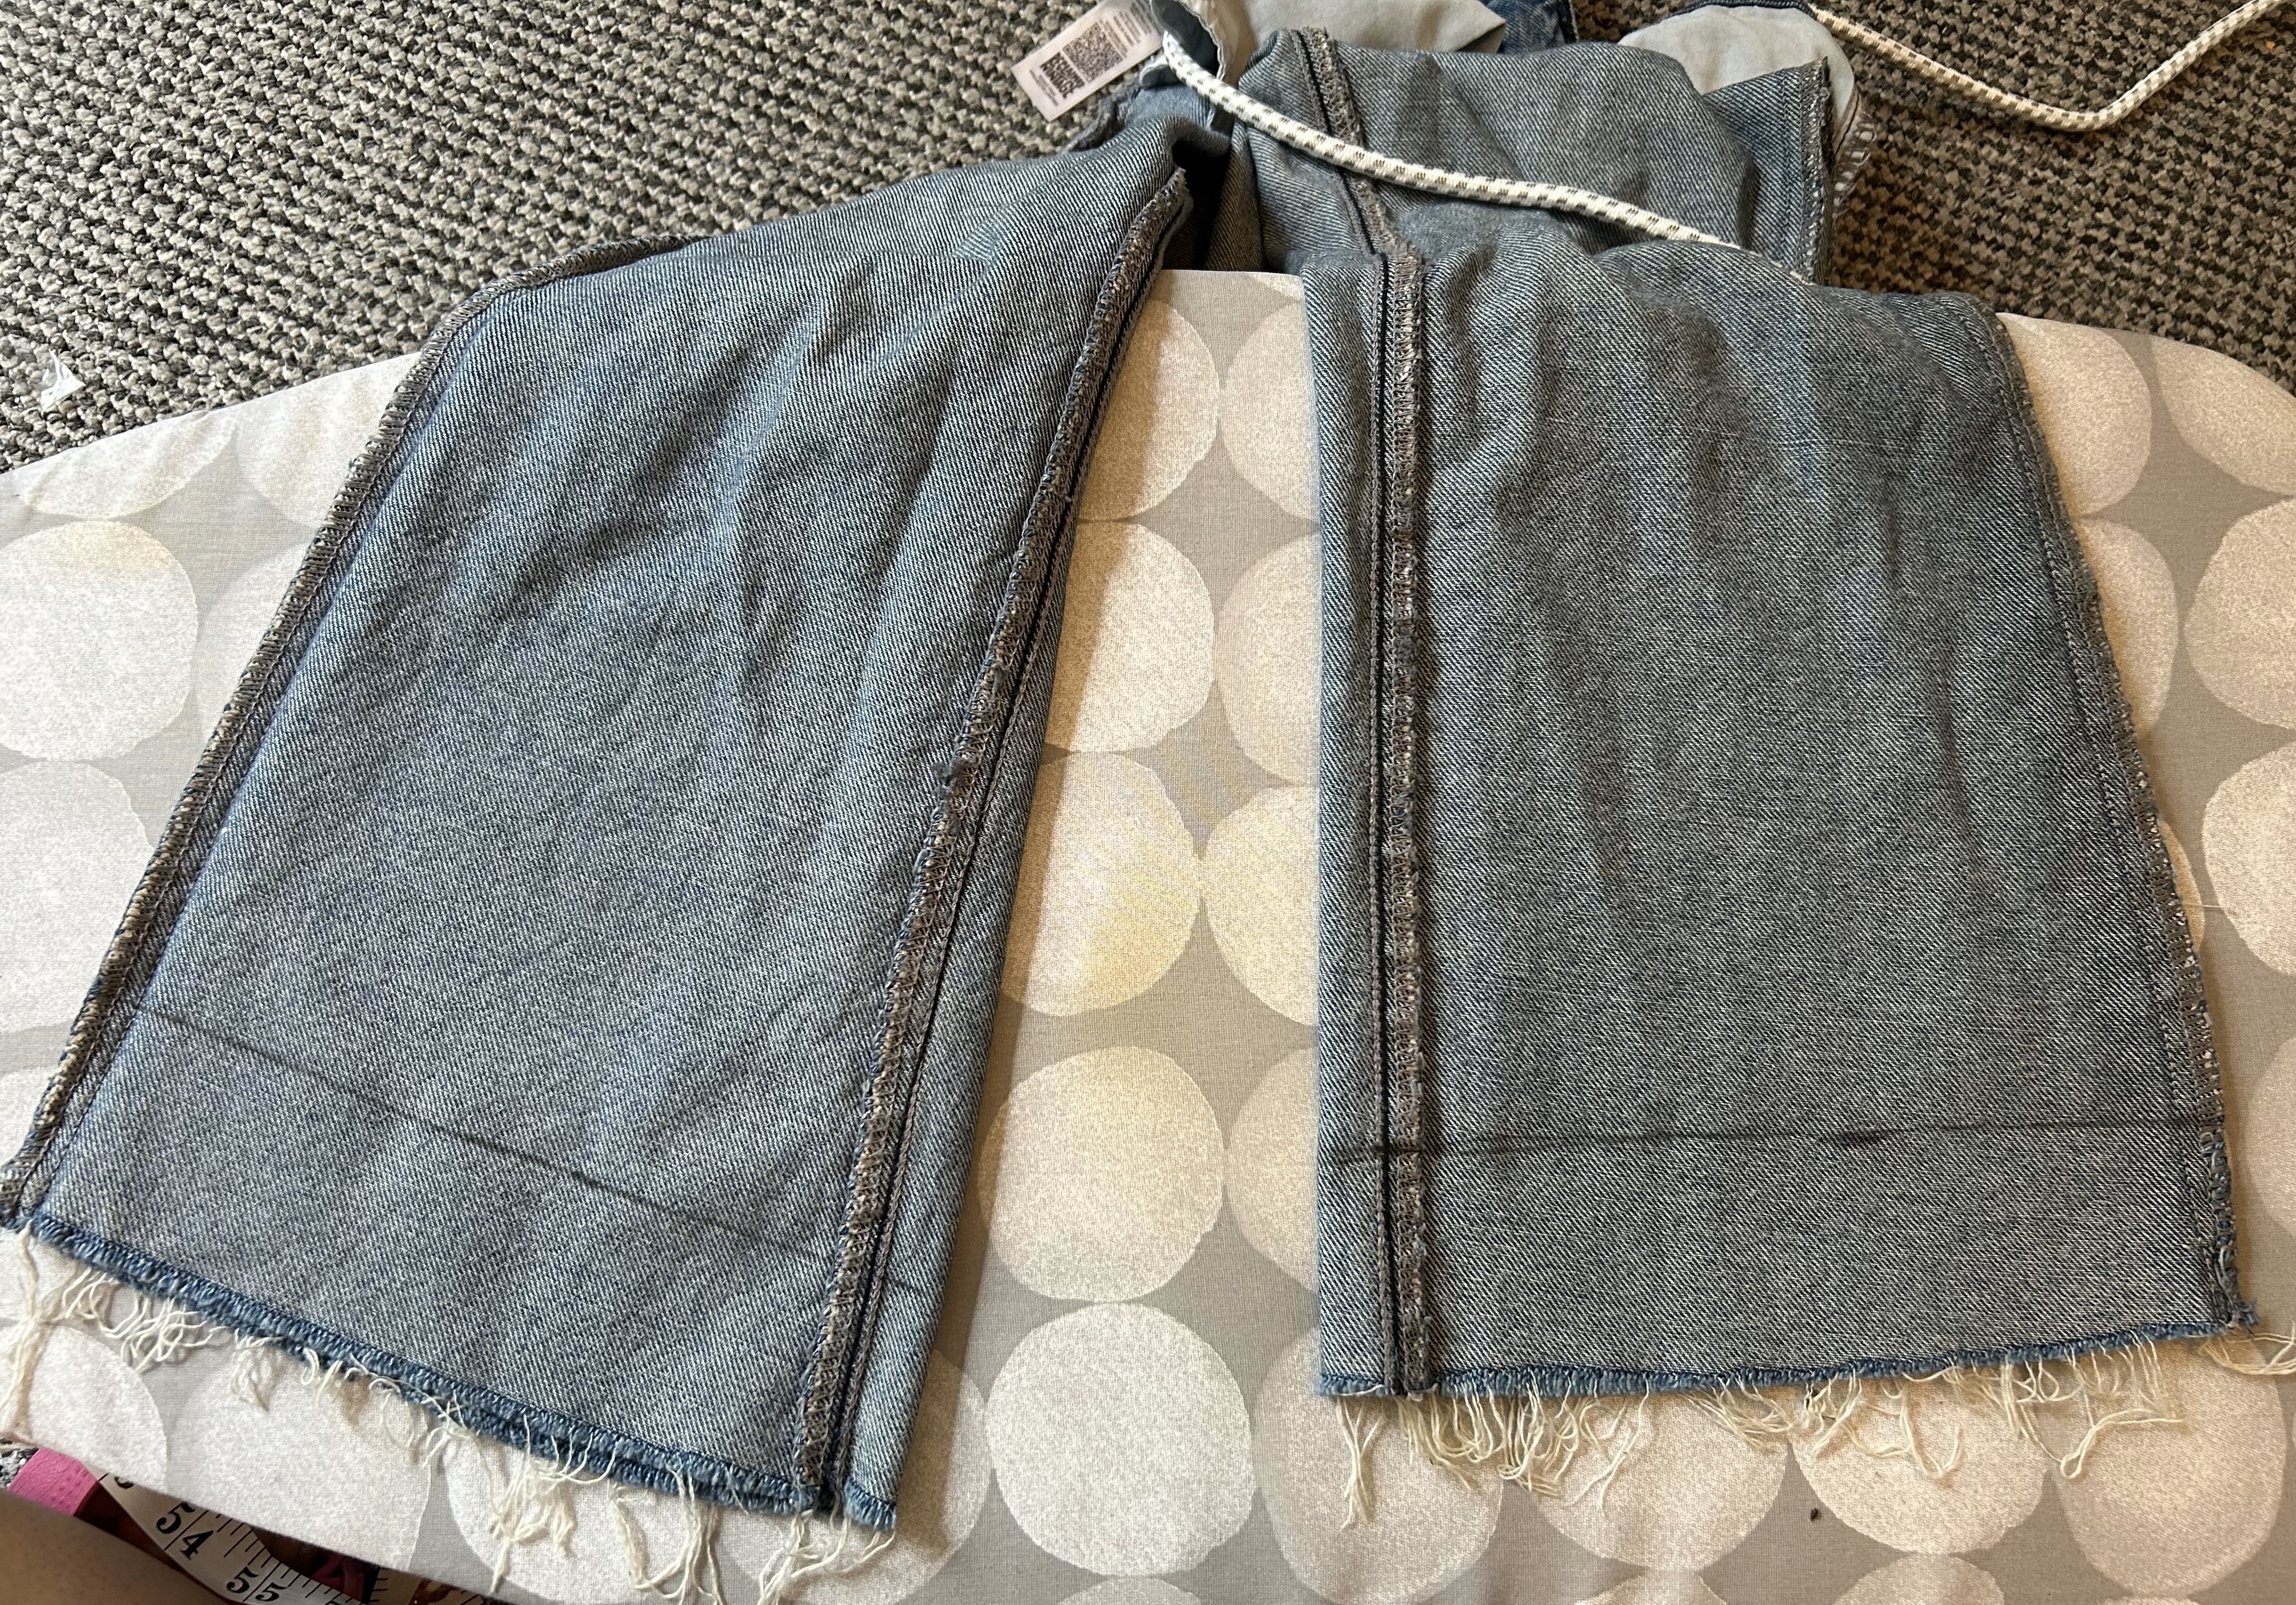
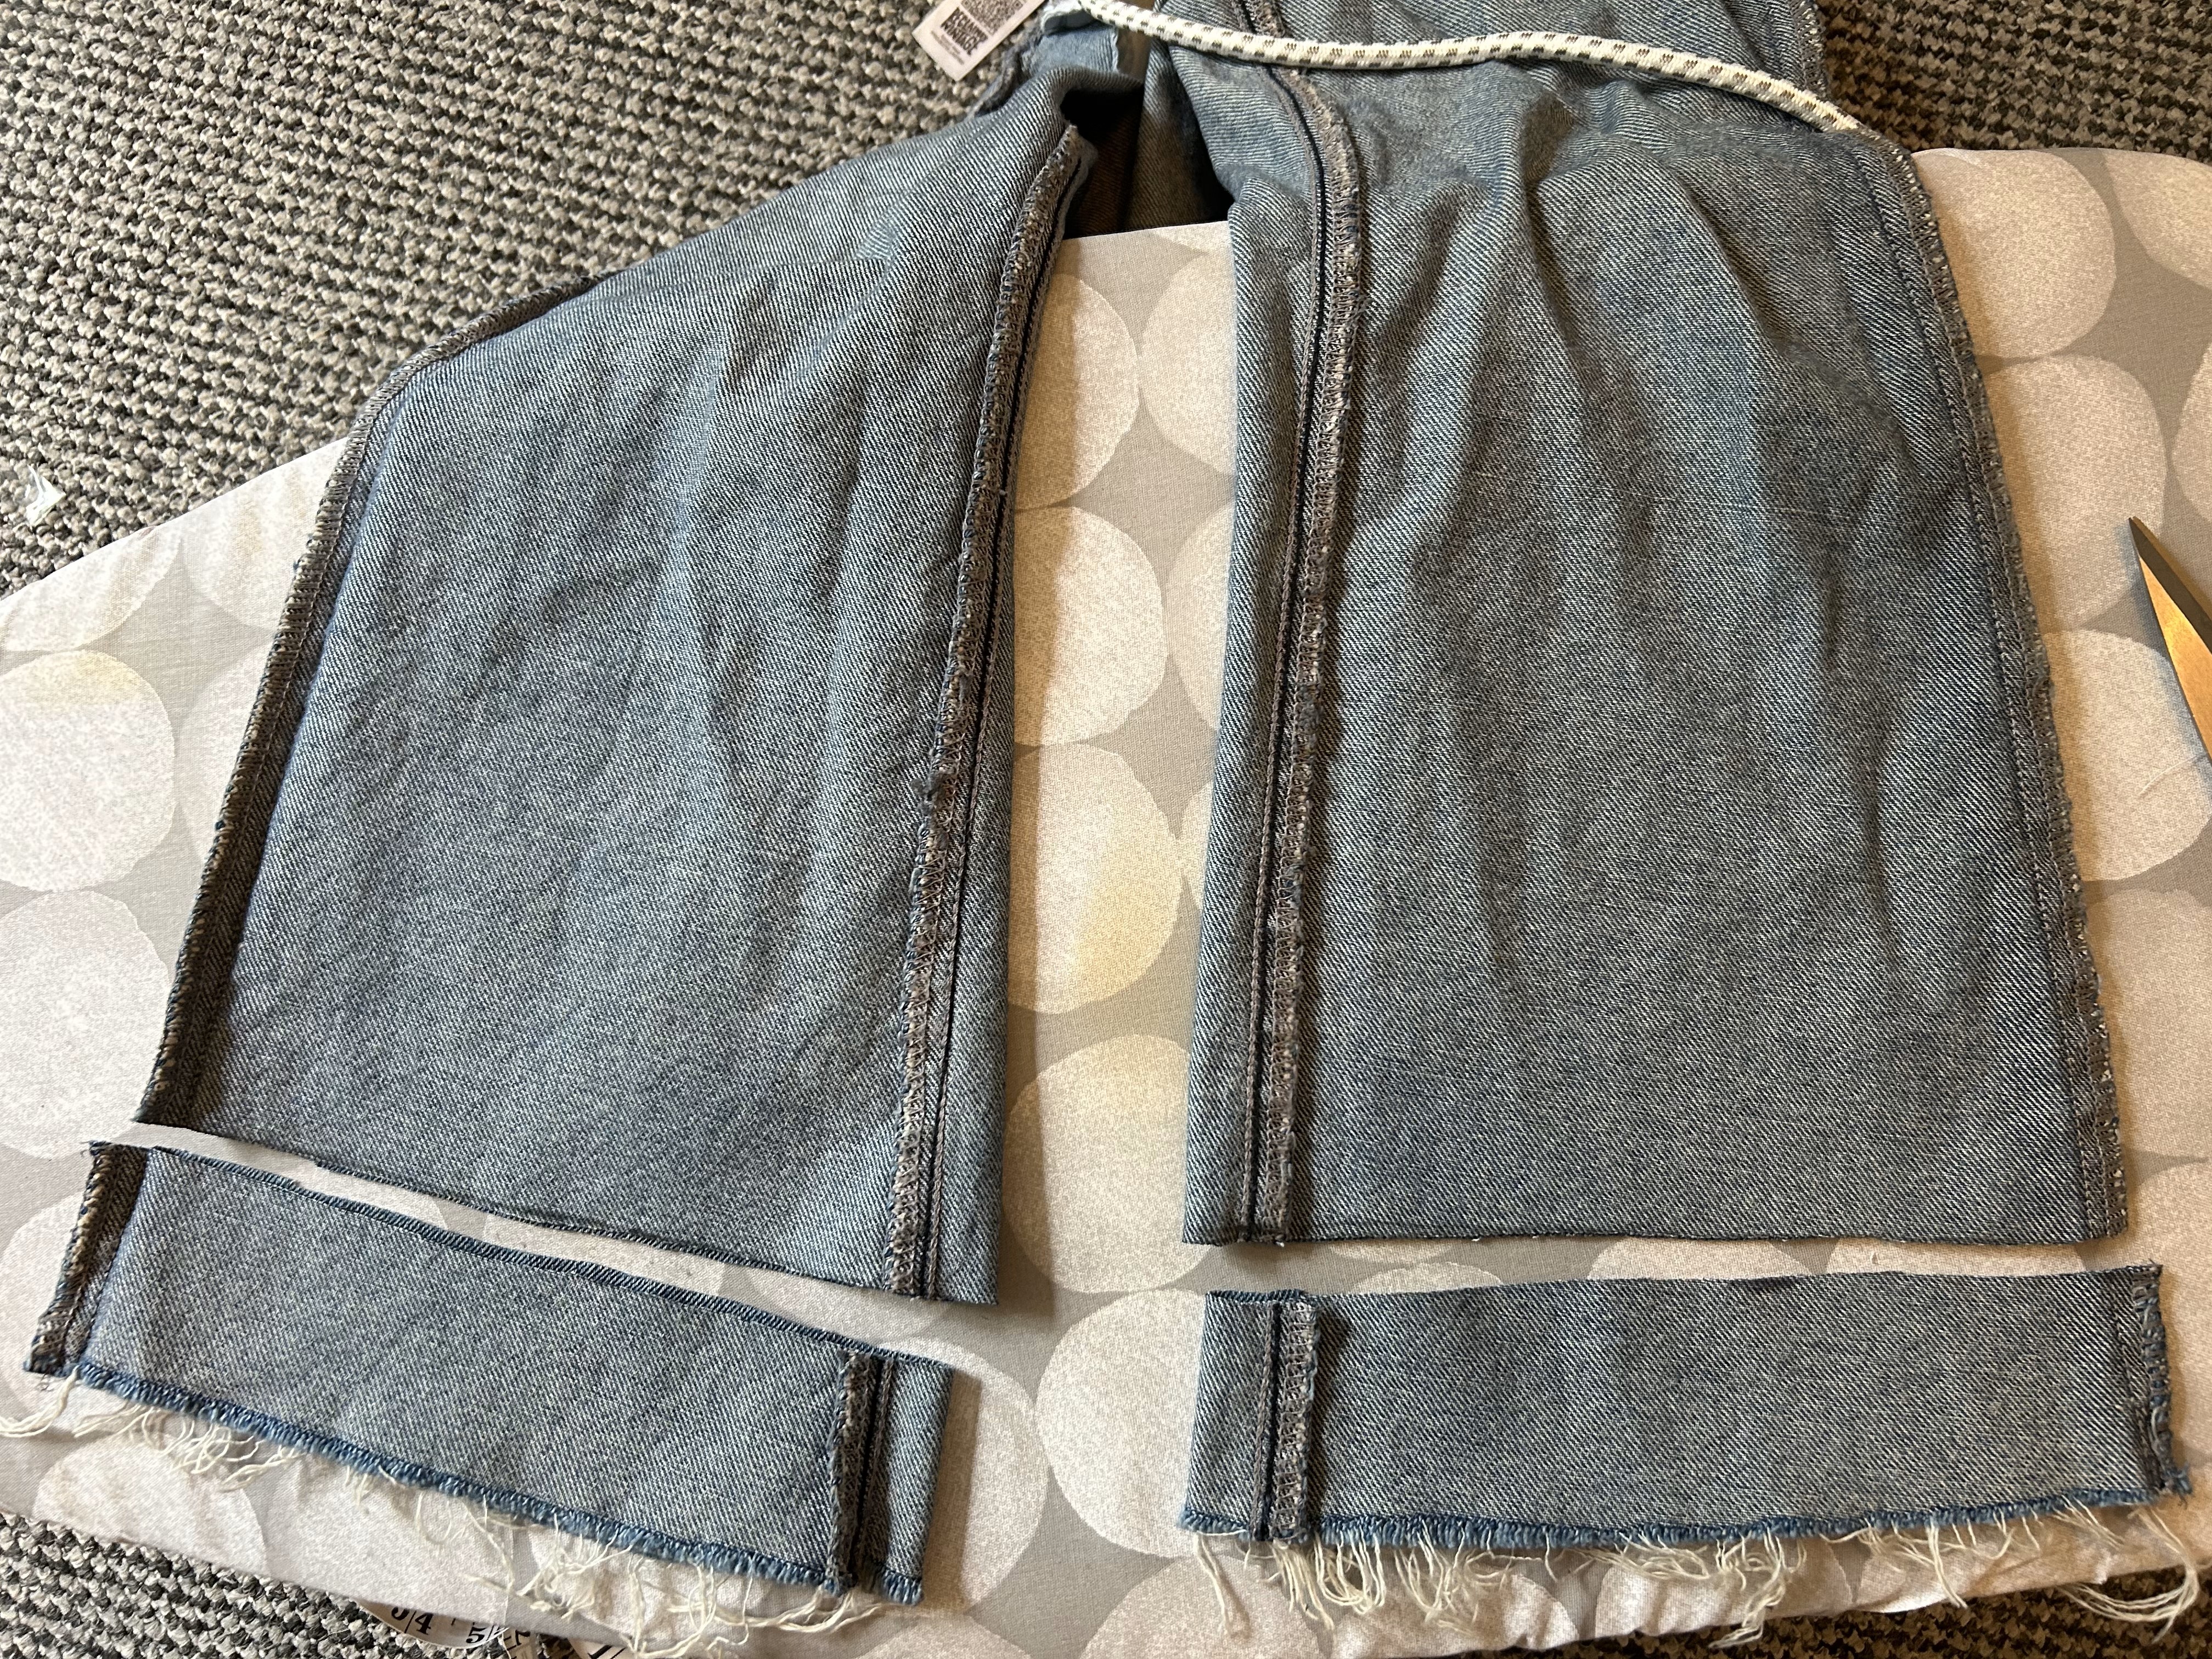
Step 2 is to take the item off, turn them inside out and I like to iron the item flat. Also because my jeans were found at the bottom of my closet, so it definitely needed an iron! Once you have your flat fabric, grab a ruler or anything that has a straight line will work. Next you’ll want to place your ruler like object where you made the line in pen and just complete the line across the way until you have a line along your jean bottoms.
Step Three:
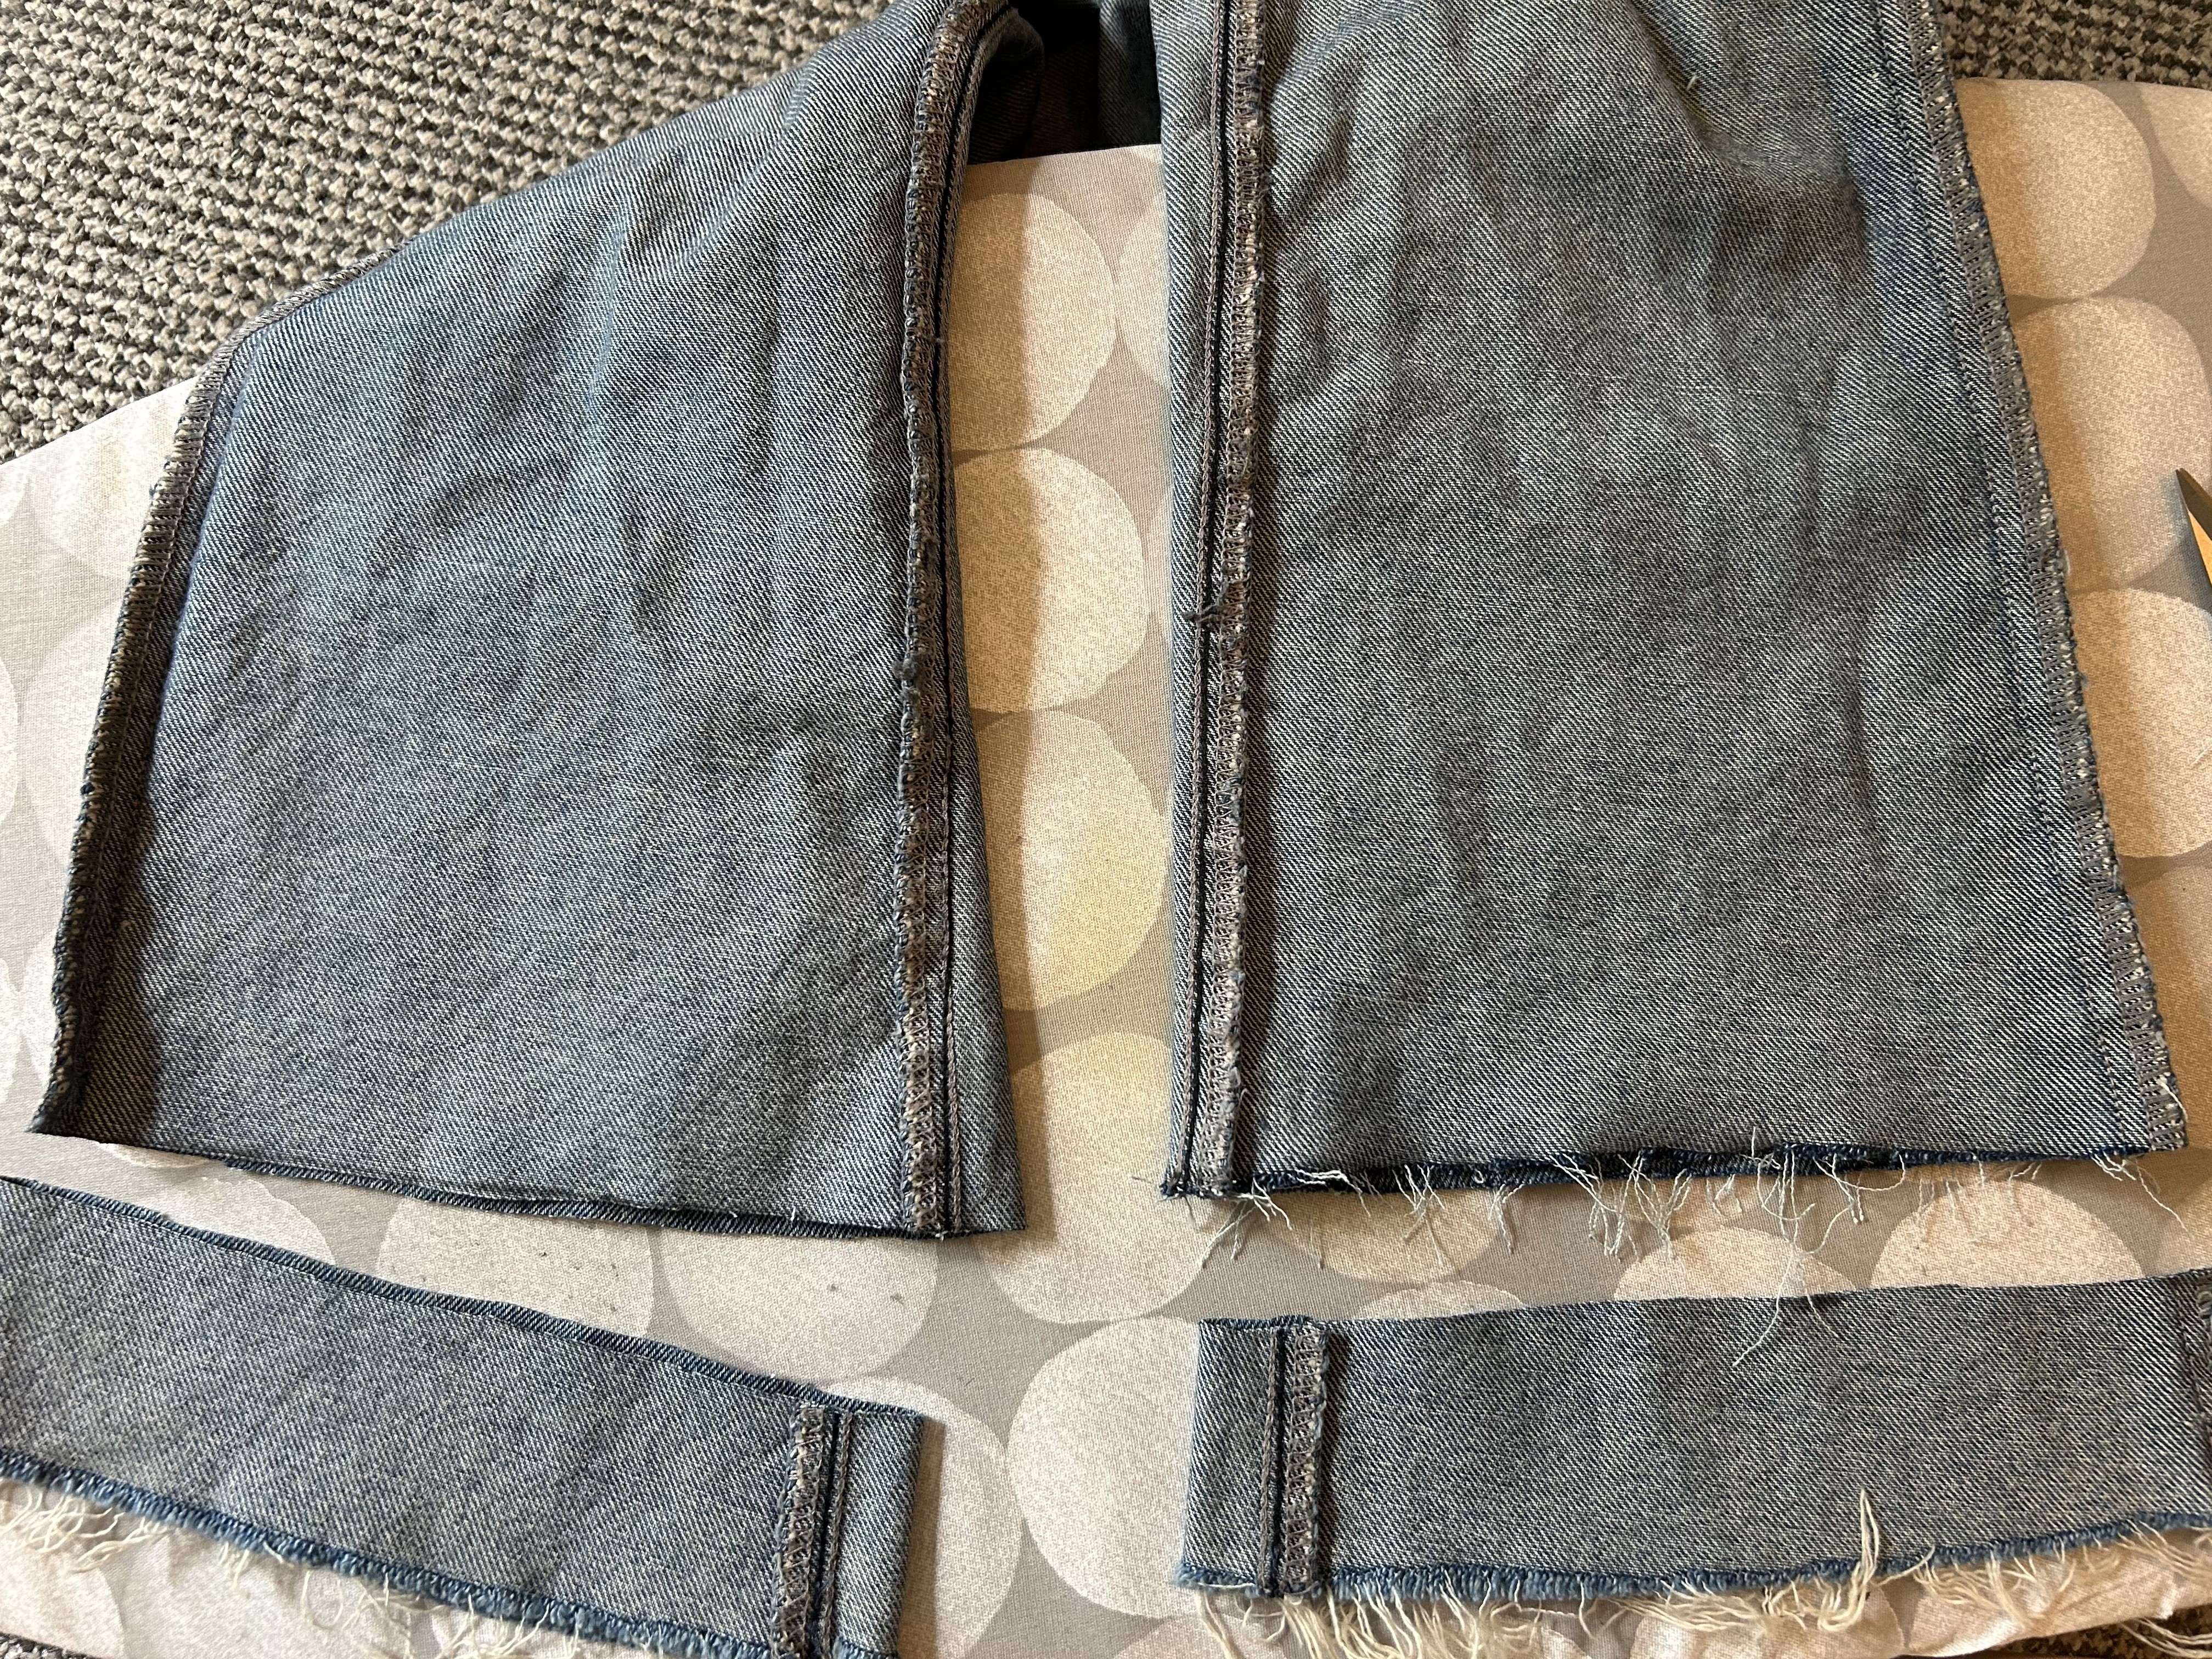
The next step is to grab some scissors and get to work! I literally just used my kitchen scissors because they are my staple, I even cut my hair with them lol. So once you have your scissors, just cut along the lines you made at the bottom of your pant legs.
Step Four:
The last step is optional, but it does make the job look more “professional”. The very last thing I did is to wear away at the bottom of the freshly cut jean legs. The way I did this is just with my nails. All I did was run my nails in the opposite direction of where the thread grain is going and that helps to distress the denim. You can also use your scissors and run the scissors against the grain in the opposite direction it goes. It really shouldn’t take long, and the end result is pretty great!

There you have it!
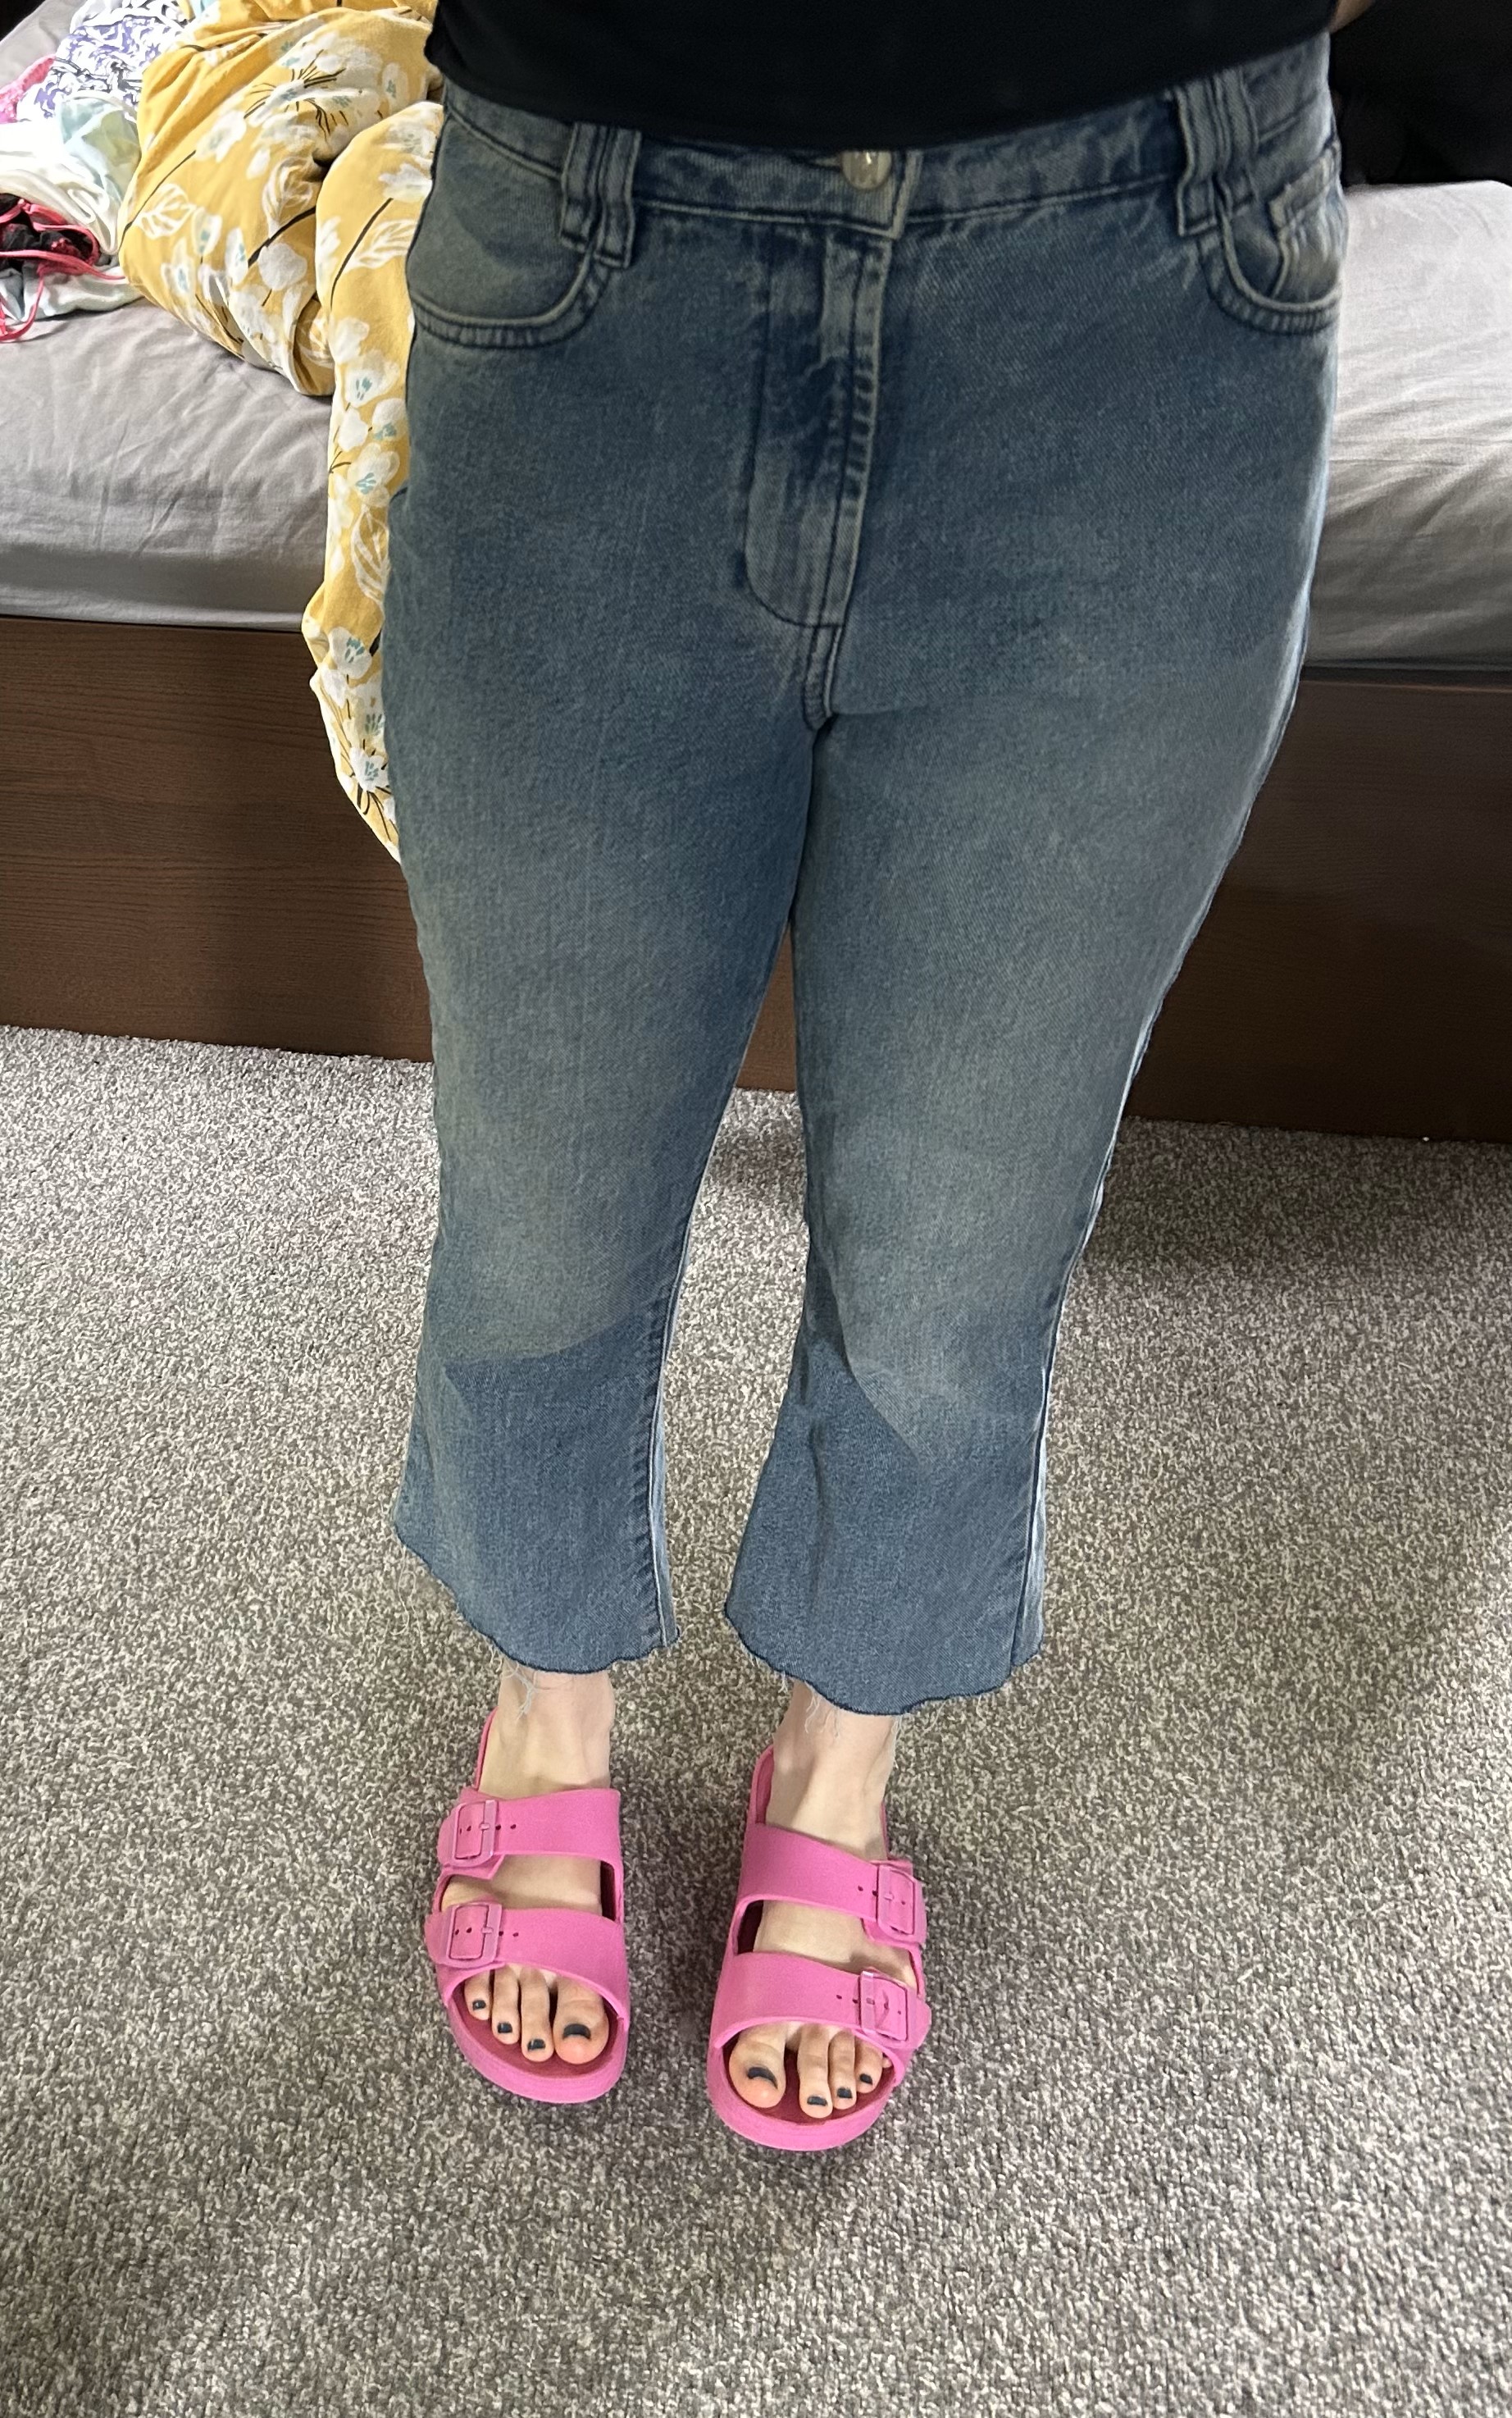
A quick and simple way to crop your jeans with no sewing involved!
The second simple upcycling project!
The second upcycling project is also super simple and requires no sewing!
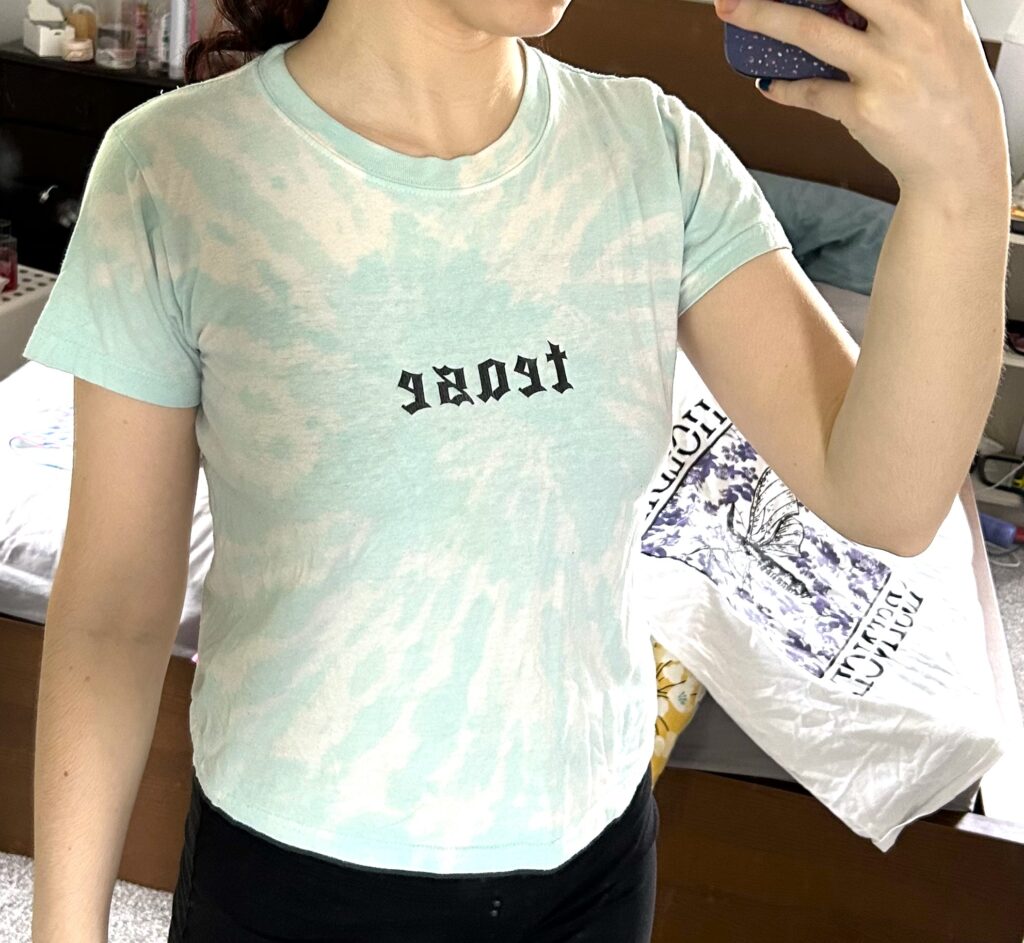
The next item I wanted to upcycle was a simple cotton t-shirt that I also used to wear religiously but it again went to the back of my closet and mind as the years passed. So an upcycle is needed!
Method:
Step One:
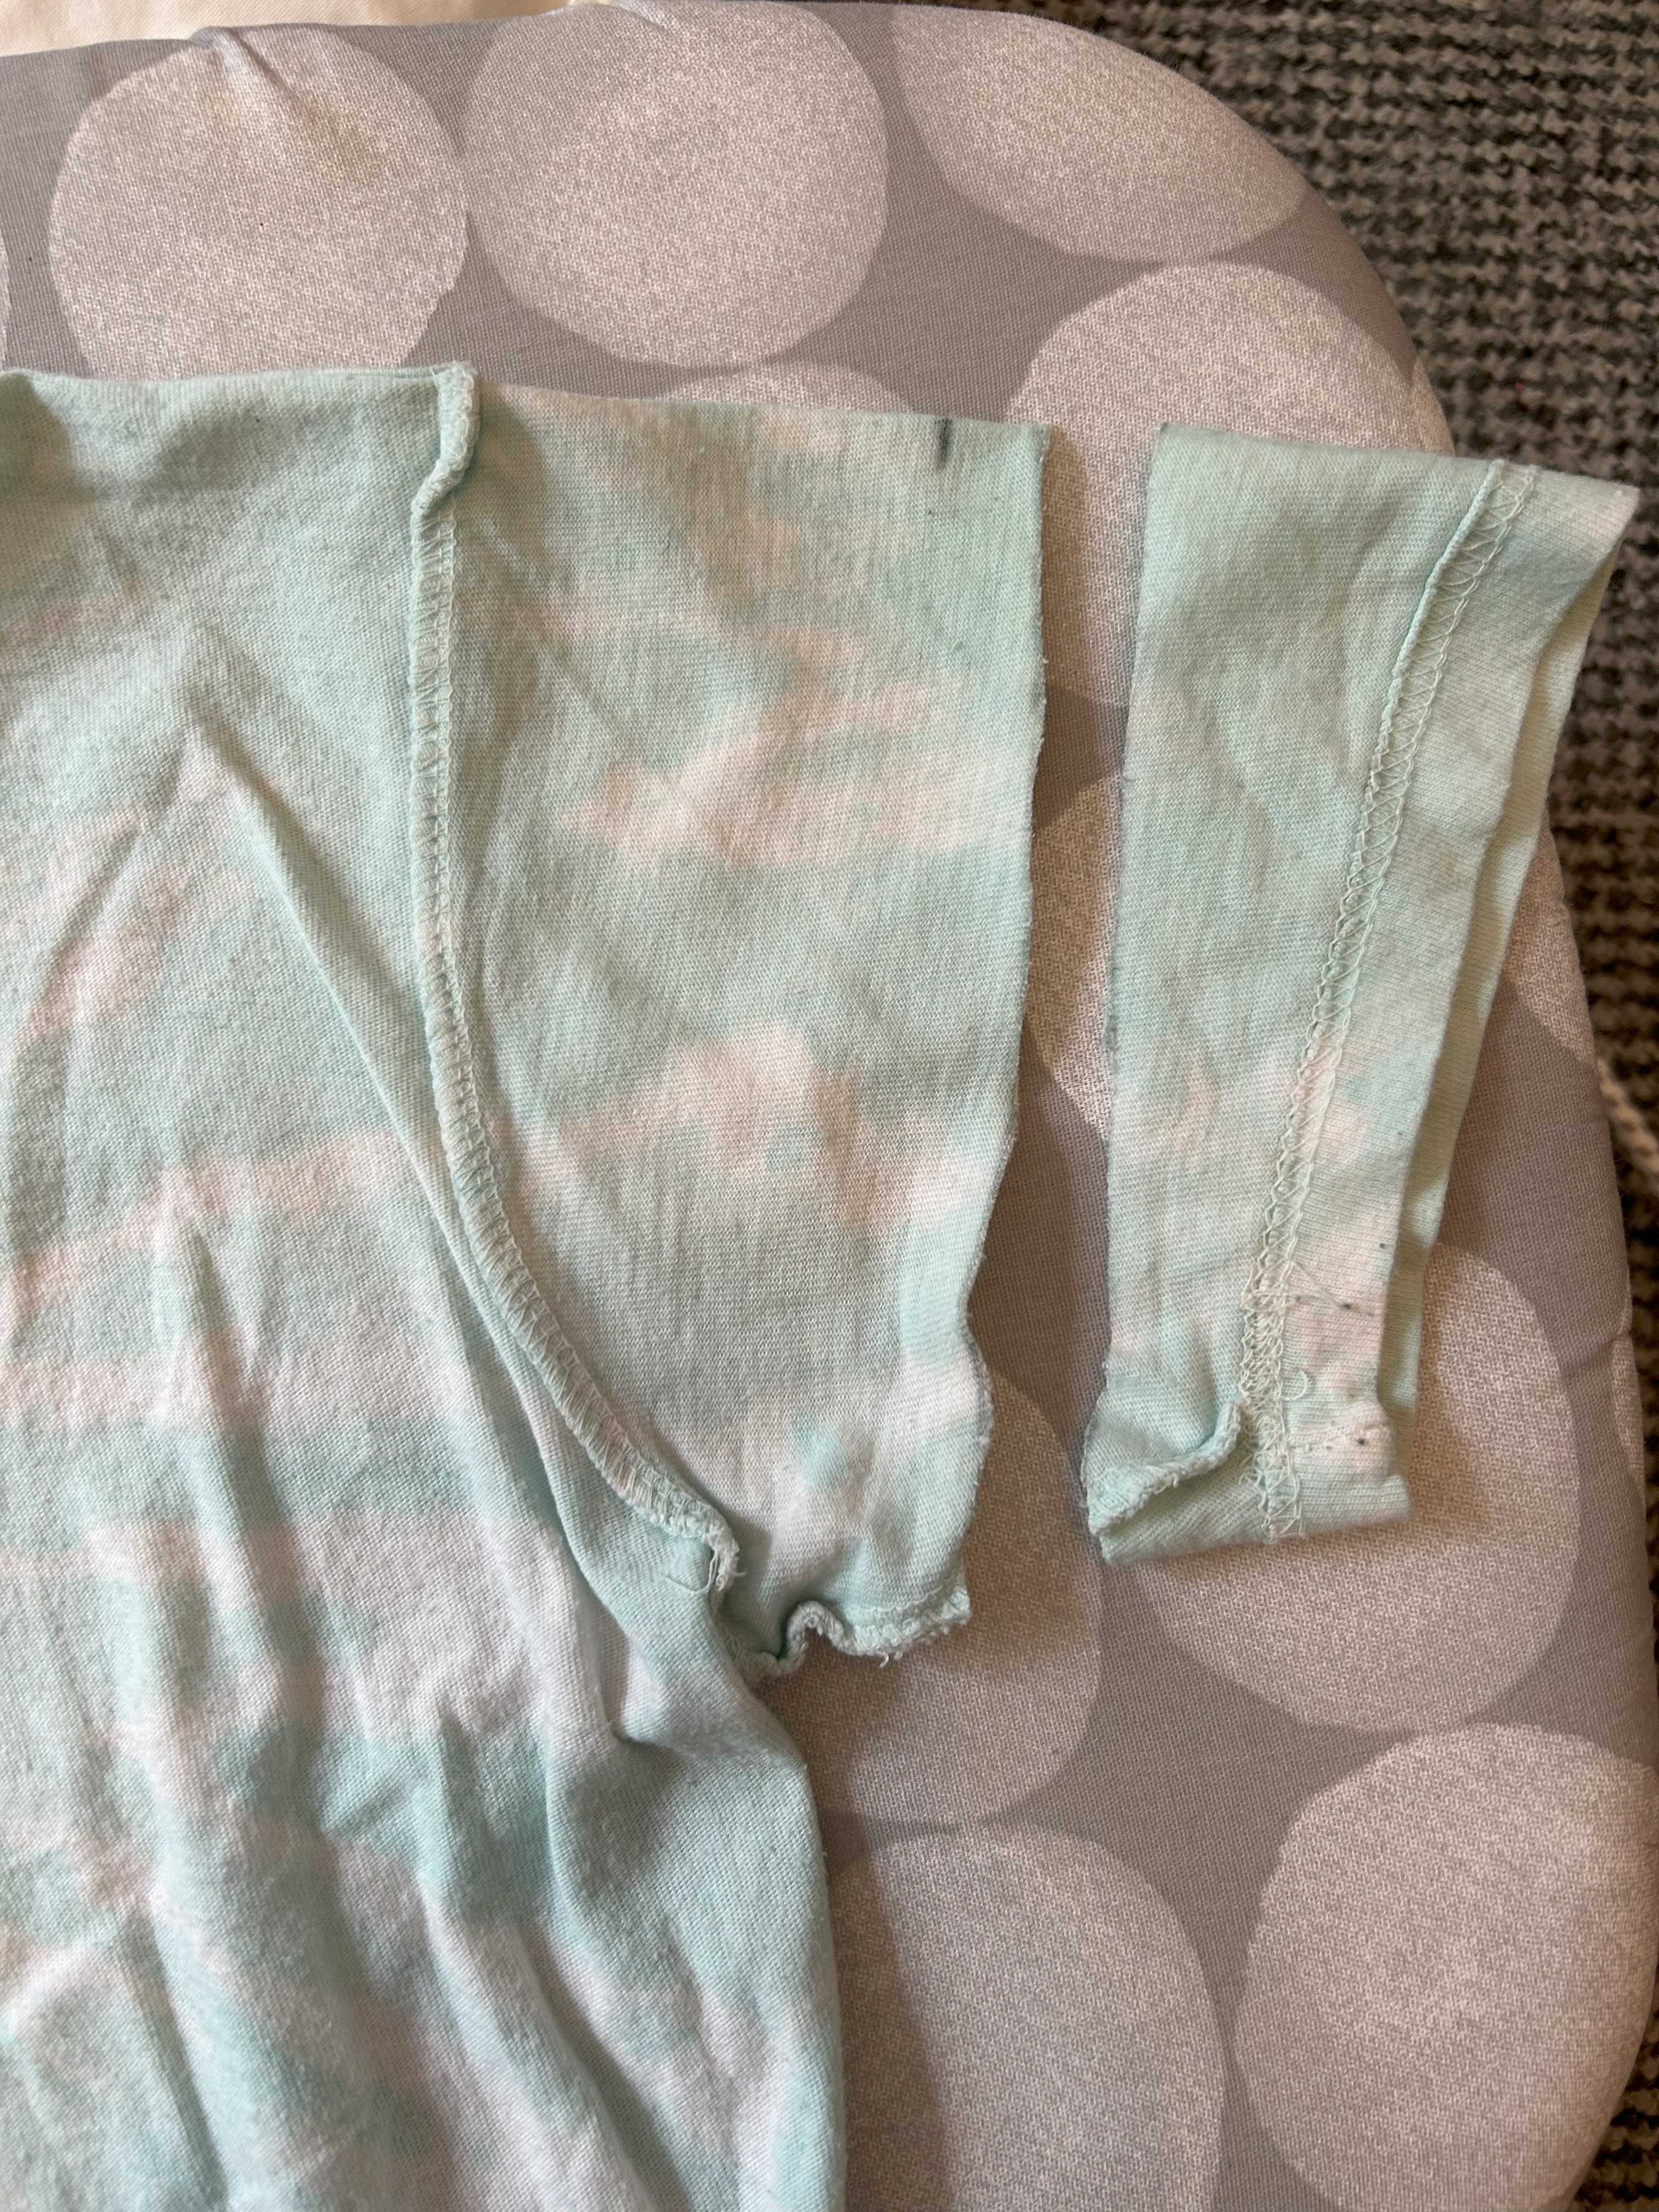
The very first step is again to try it on and make a note of where you want to cut. I made a note of where I wanted to cut on the sleeves in pen (on the inside of course). I also decided to crop the t-shirt as well so I made a note of where I wanted to cut the t-shirt length.
Step Two:
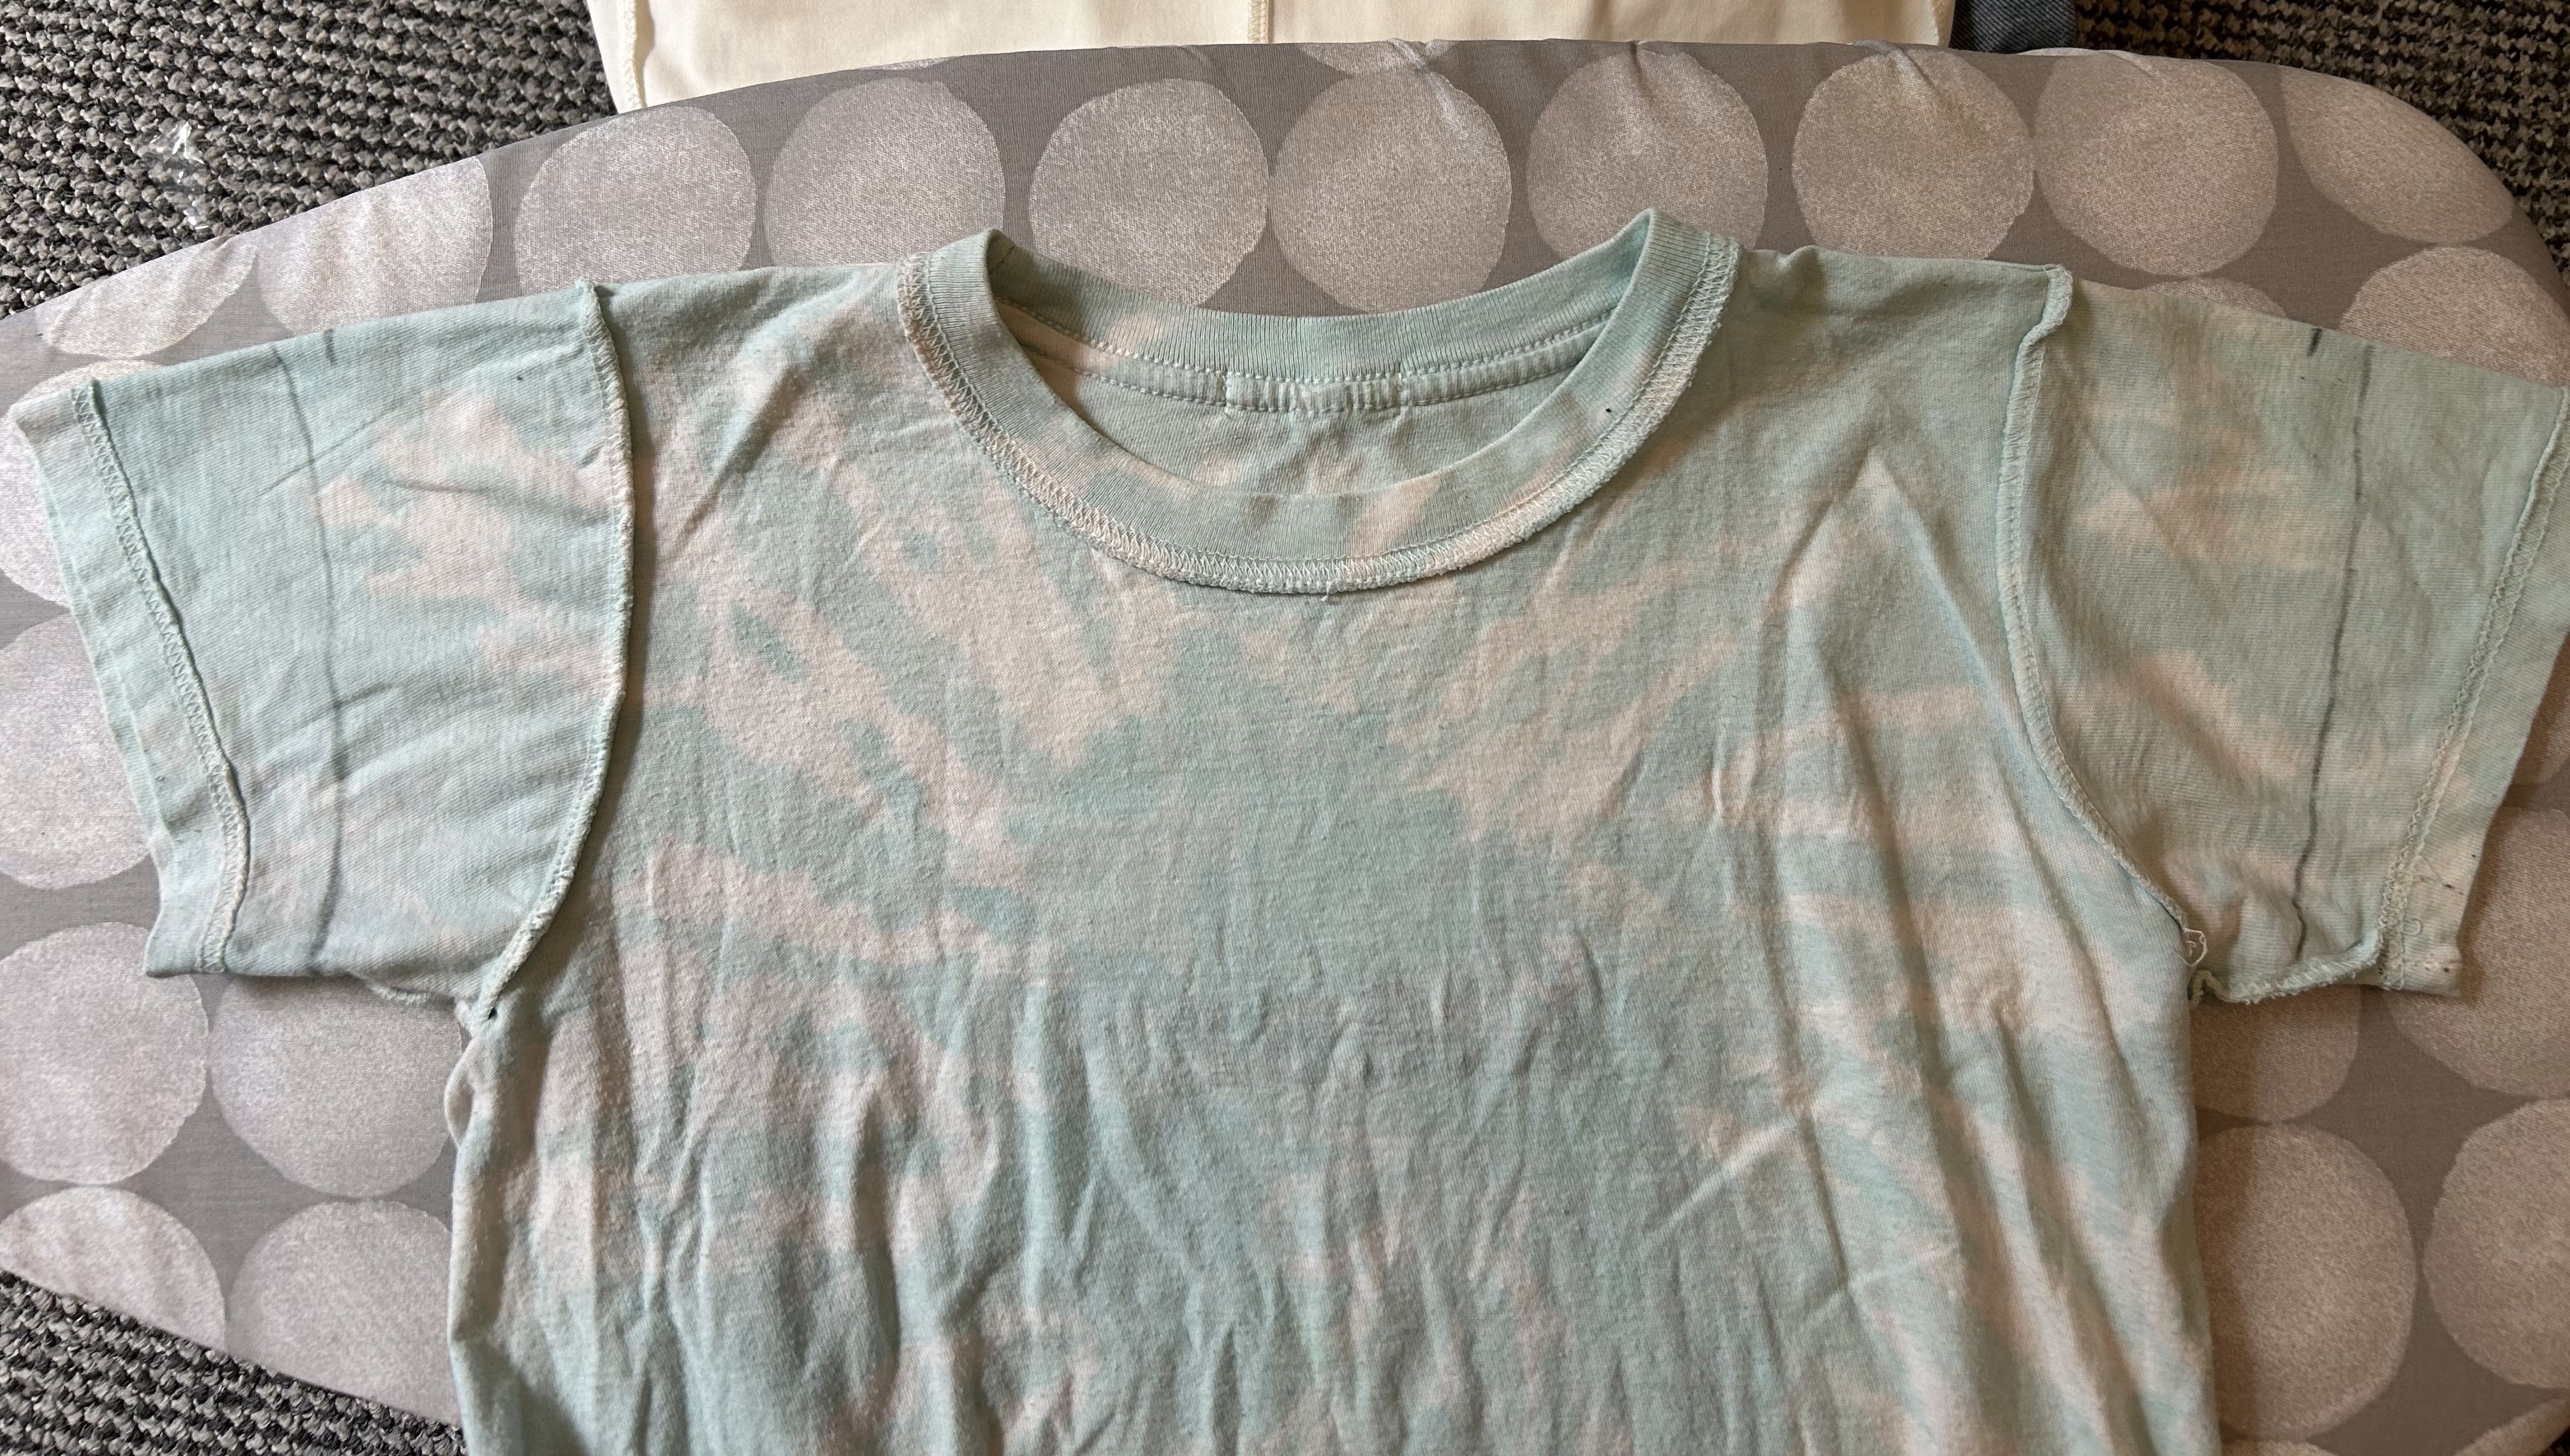
The next step is to turn the top inside out and iron the top as it was also super creased, and you need your fabric to lay perfectly flat if you want your cut to be clean. Once you have your flat fabric, you can finish your line marker with your same ruler/ ruler like tool.

Step Three:
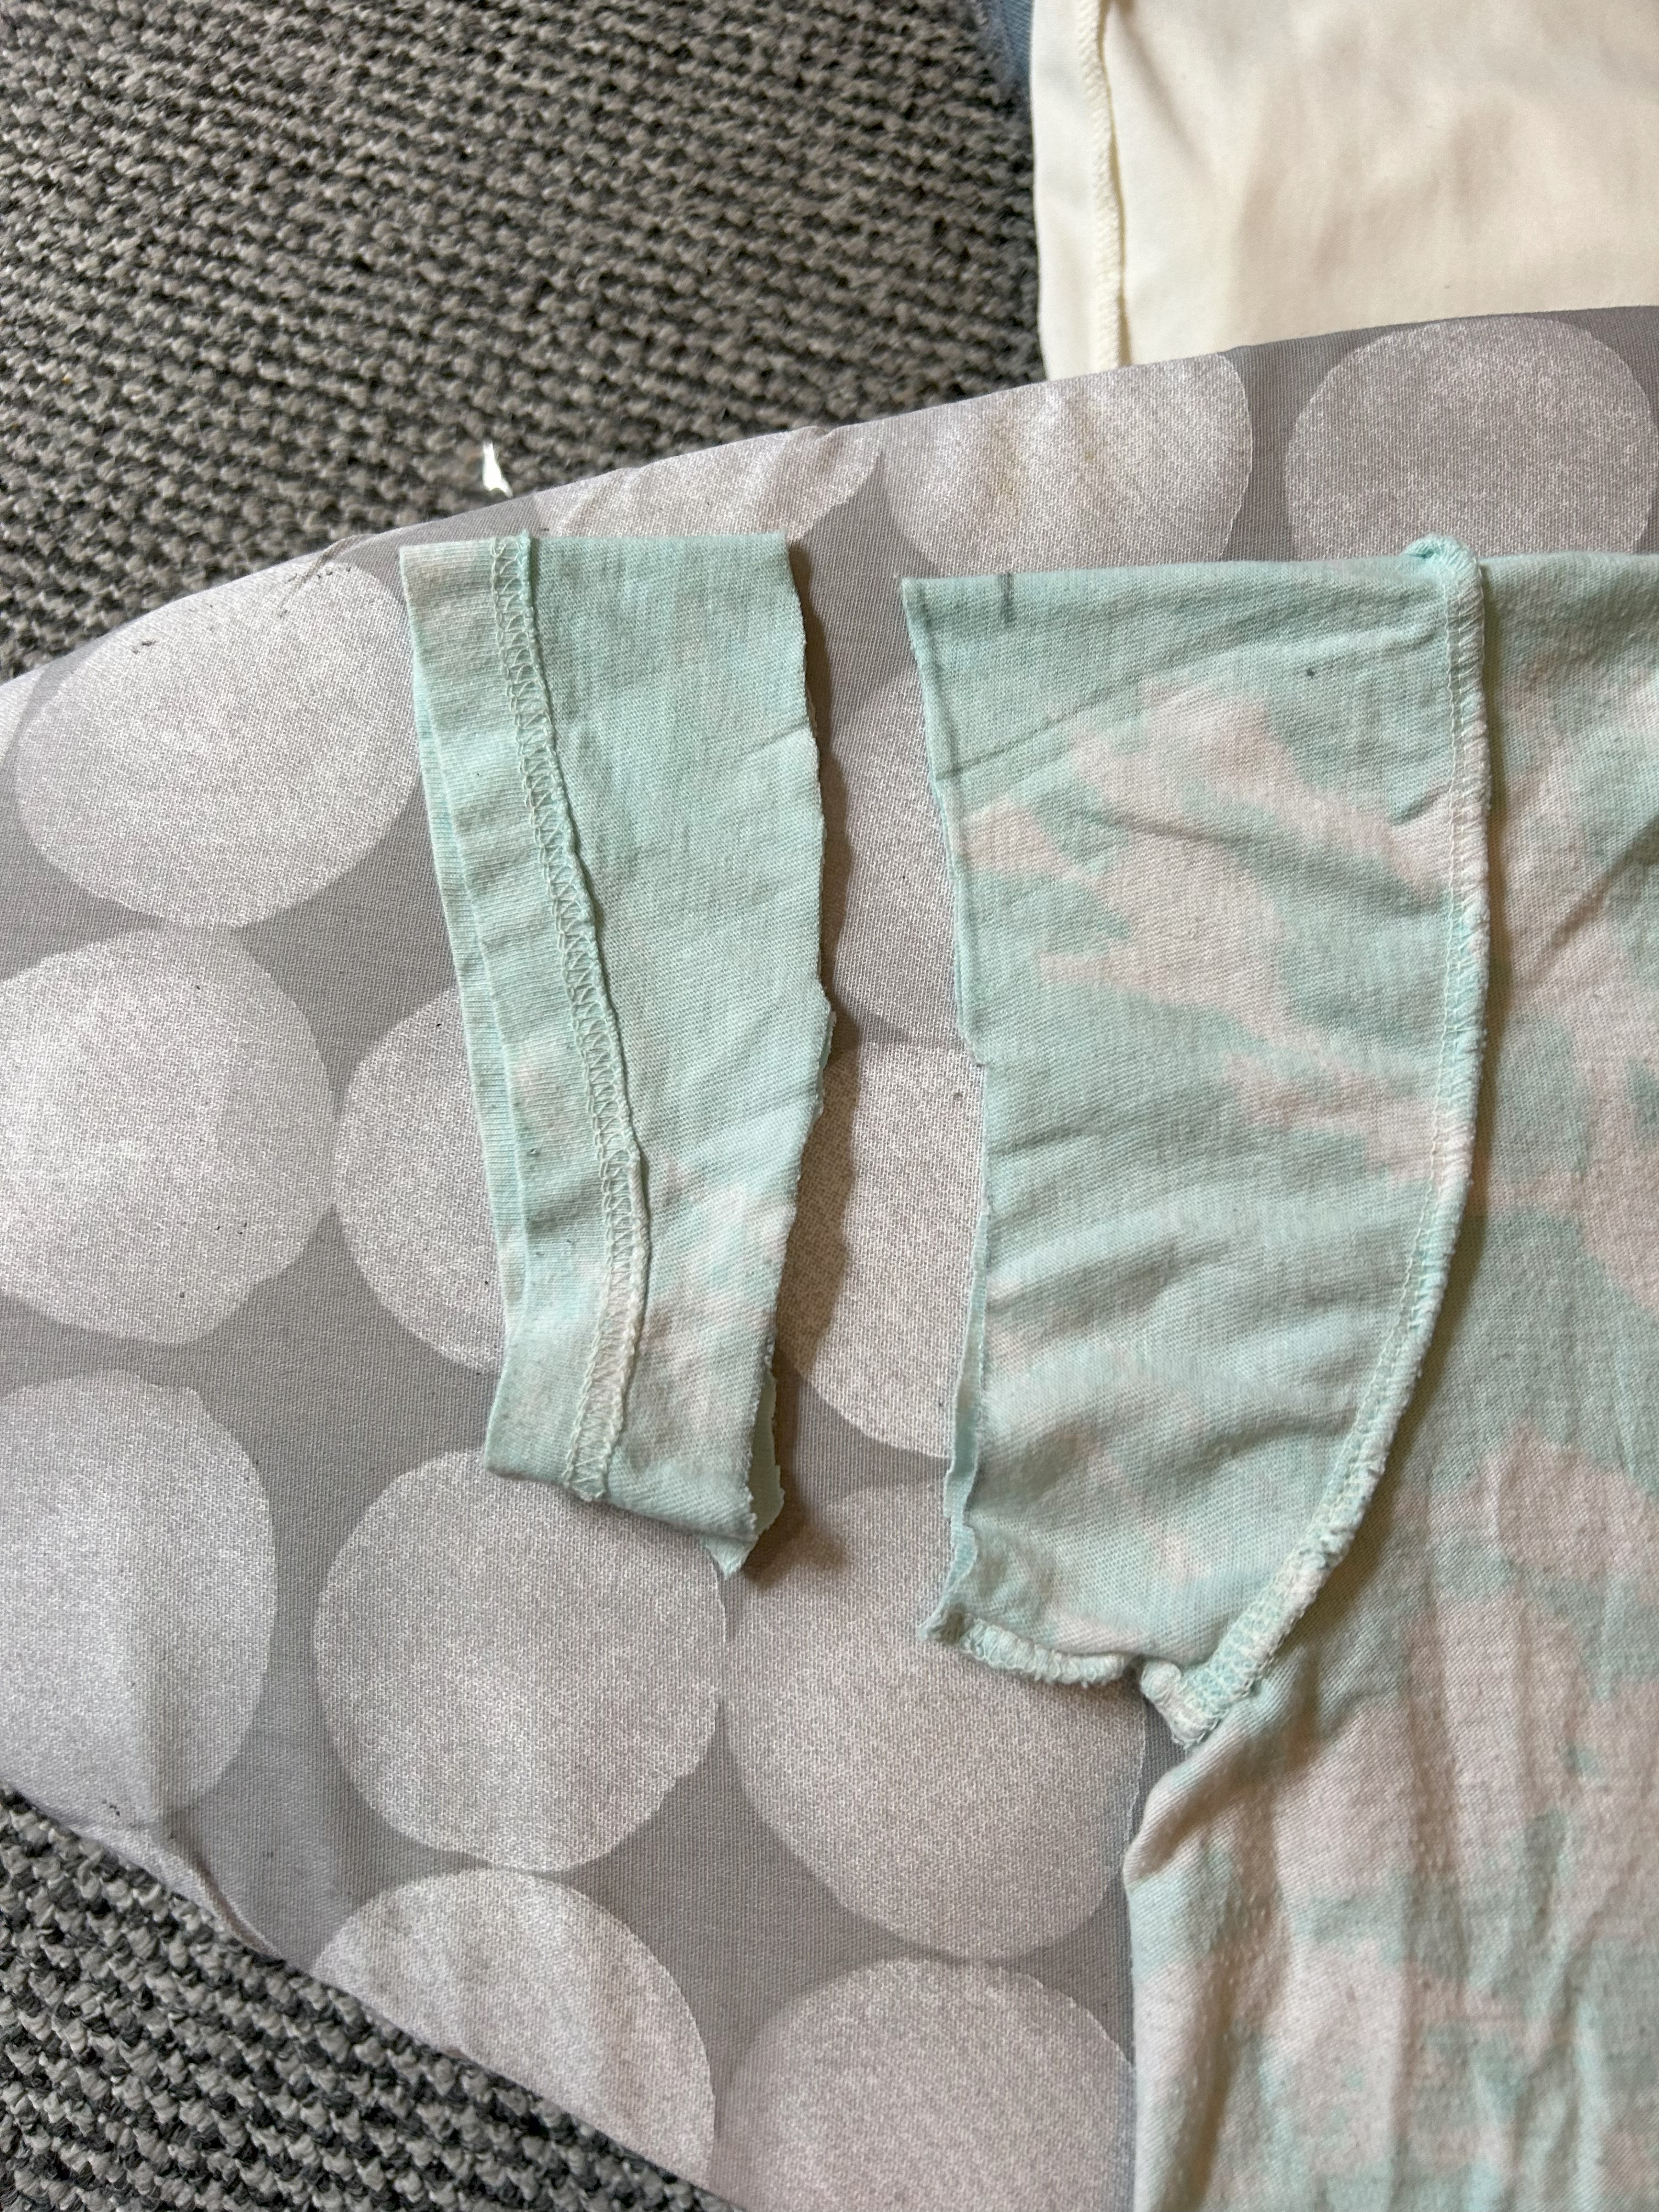
The next step has to be the making the cut! Just use whatever scissors are sharp enough to cut fabric. I again used my kitchen scissors and I cut along the lines I made on both sleeves and the length cropping line.
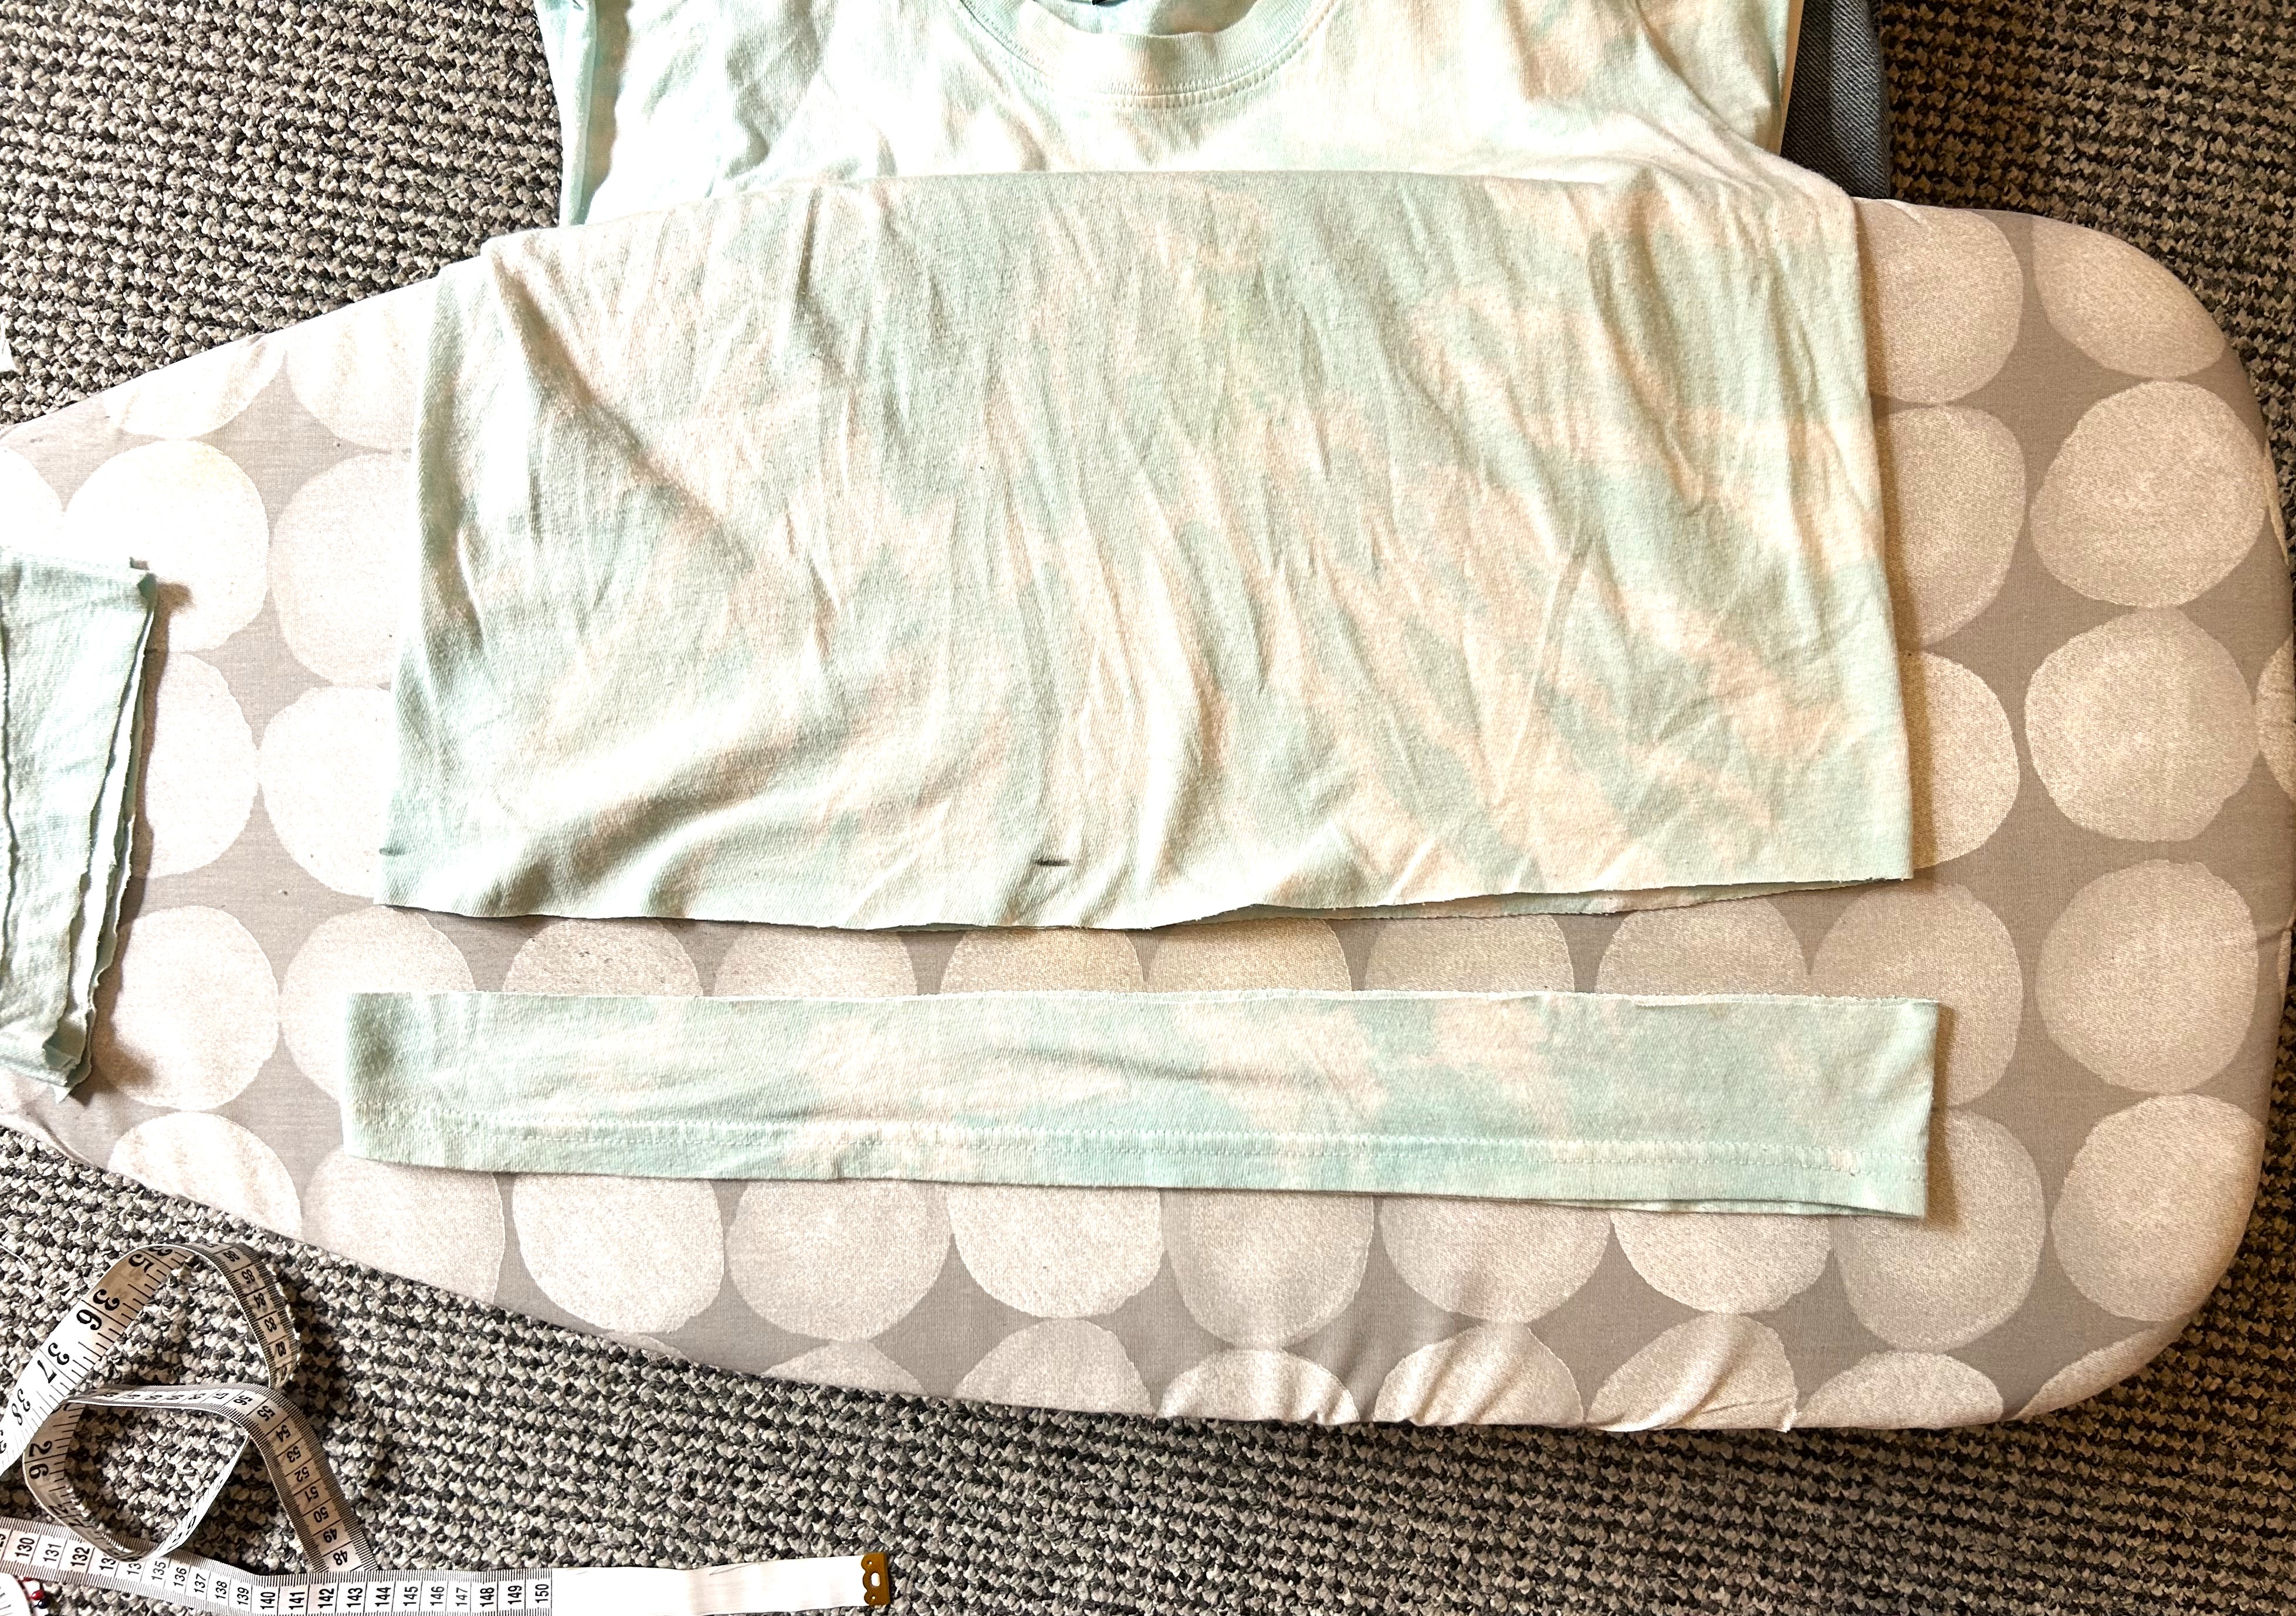
Step Four:
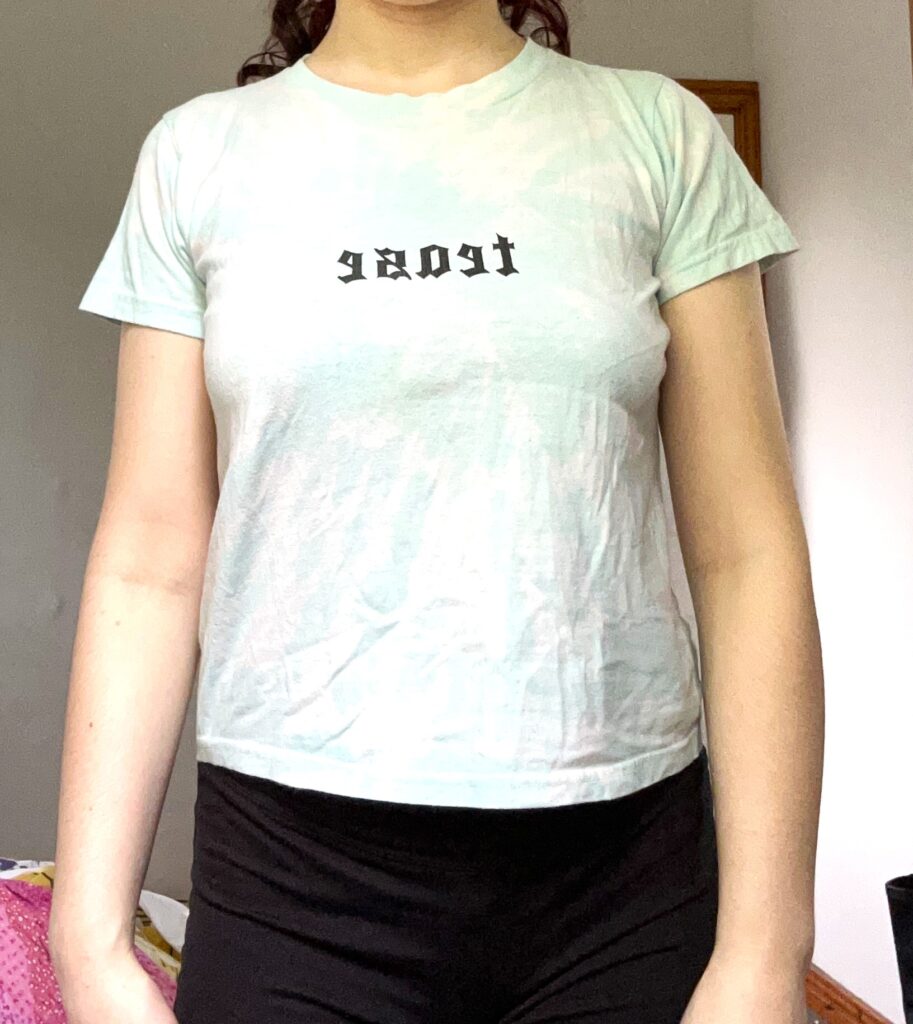
The last step for this upcycling project is to simply pull the fabric apart and watch the magic happen! I realised that the t-shirt’s fabric was able to roll in on itself and I really liked the look of it, so I just pulled on the cut sleeves and bottom of the shirt until it starts to curl in on itself.
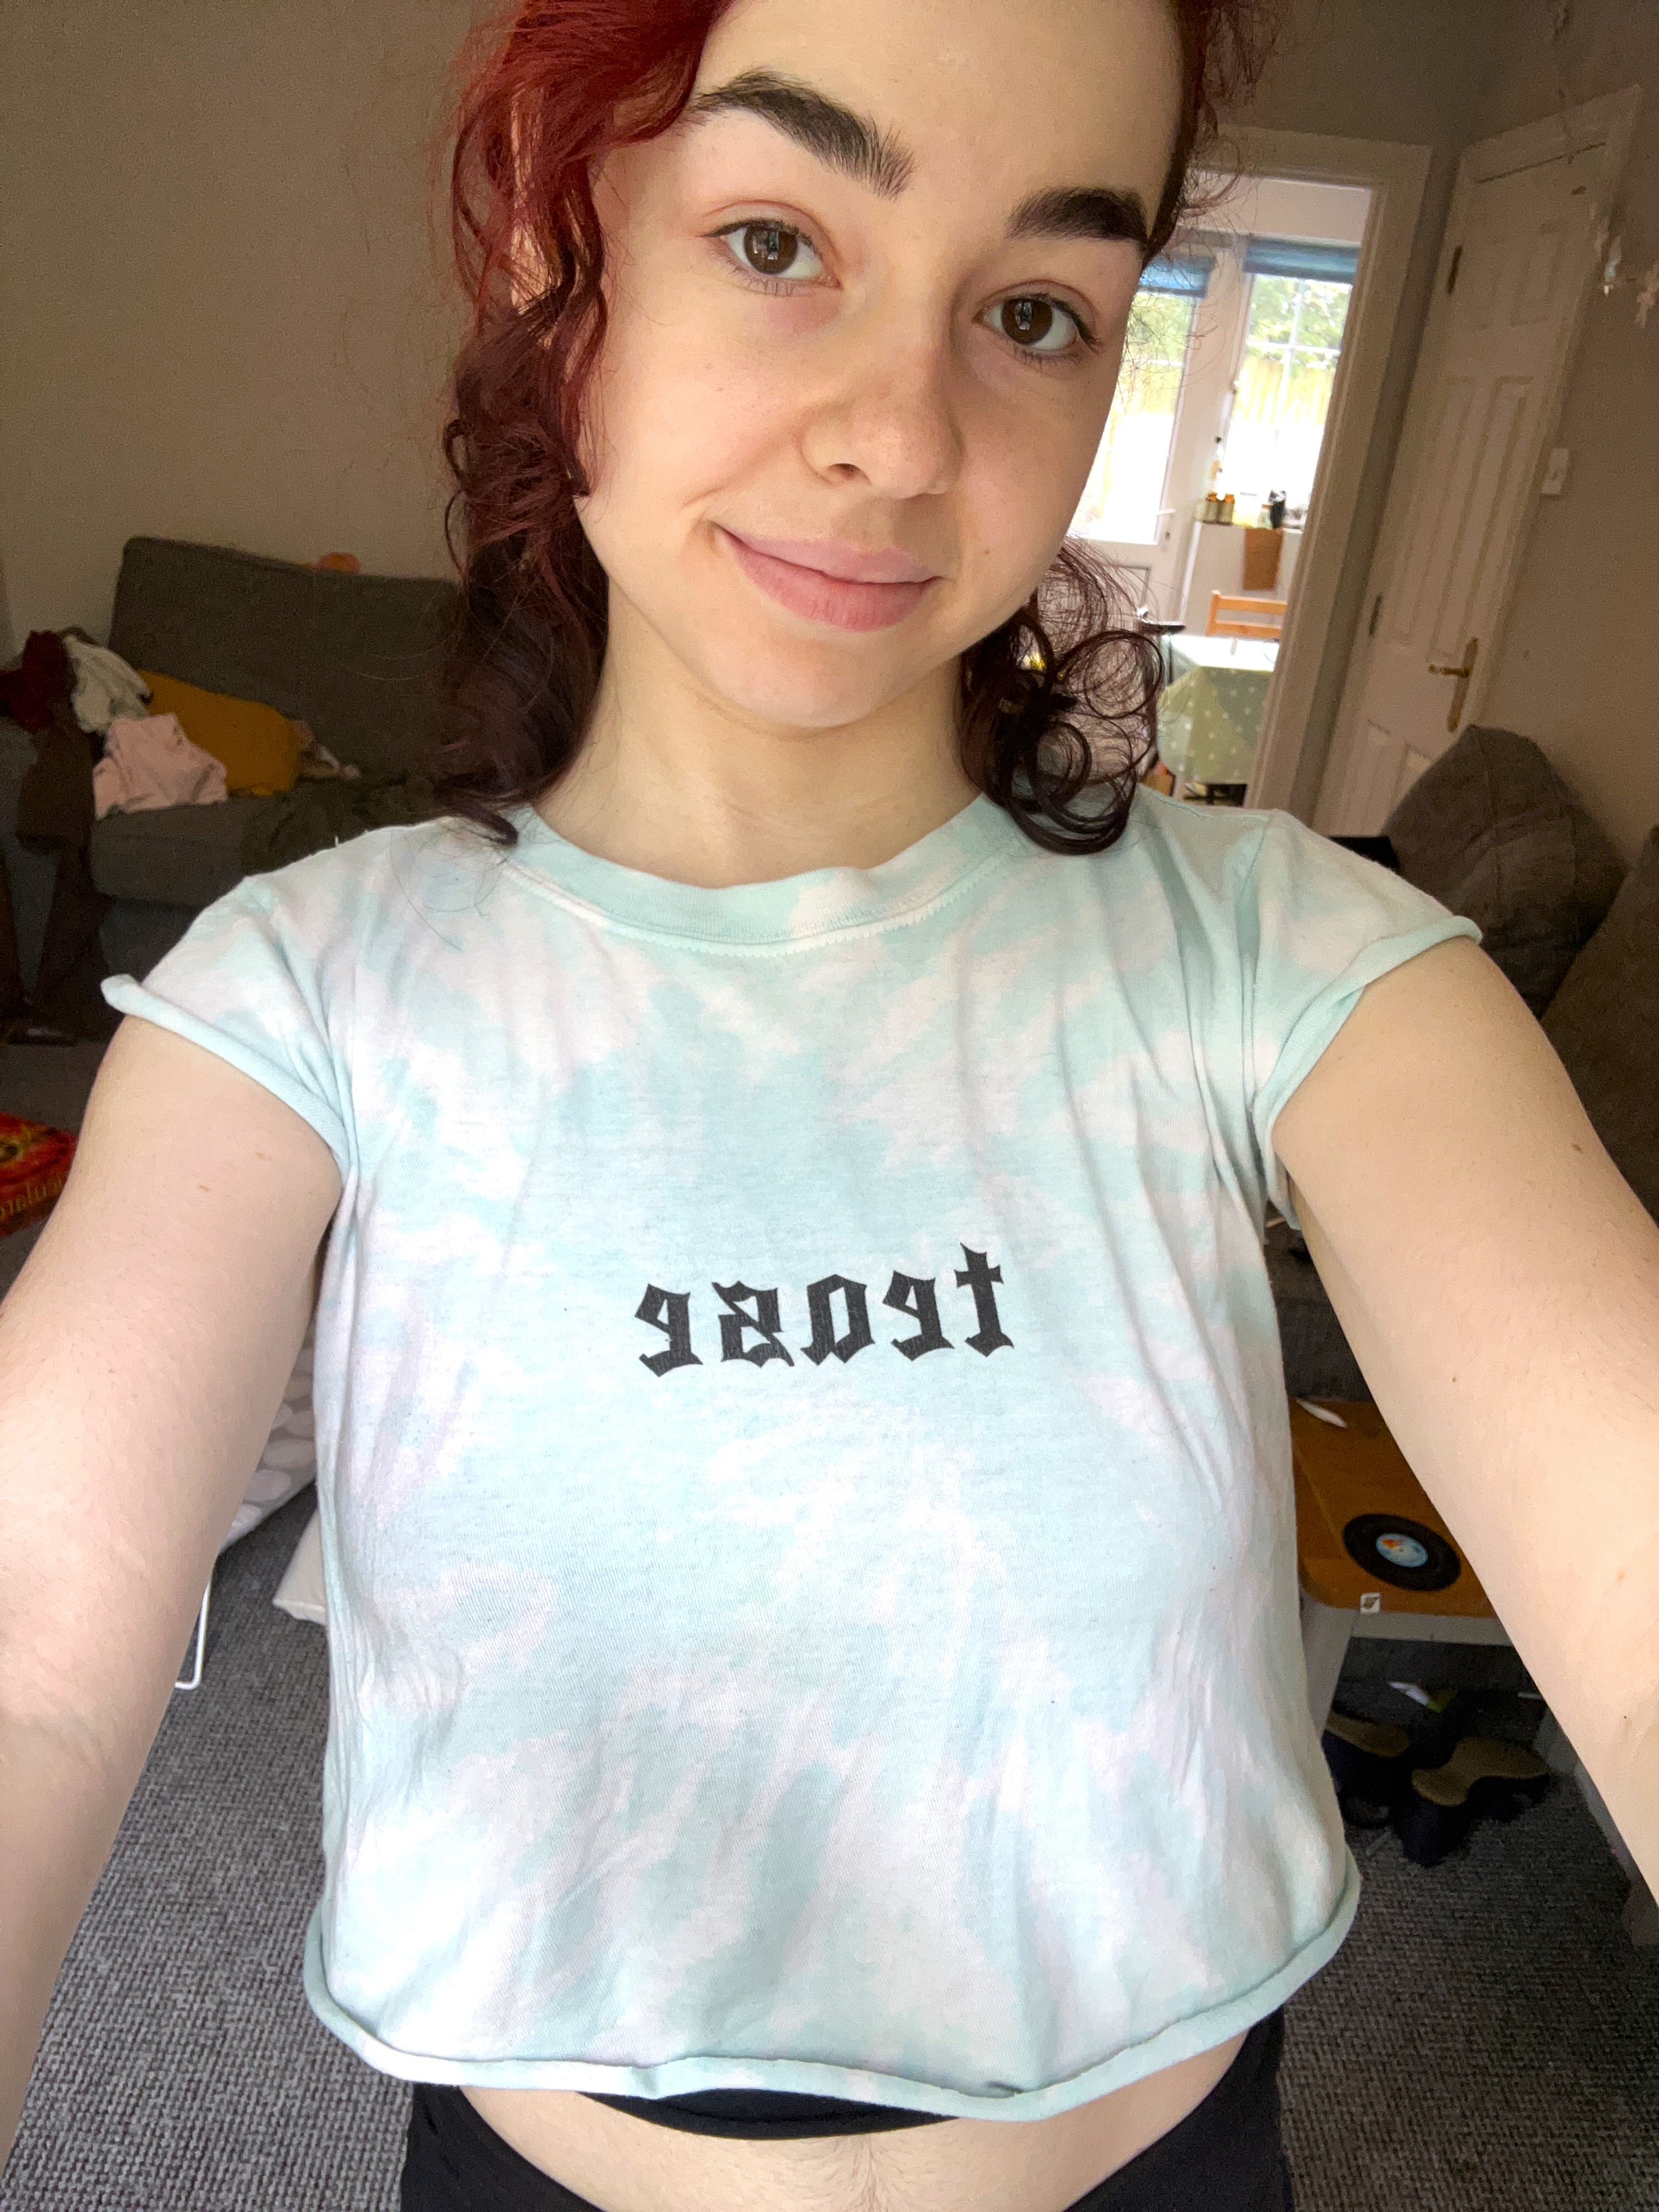
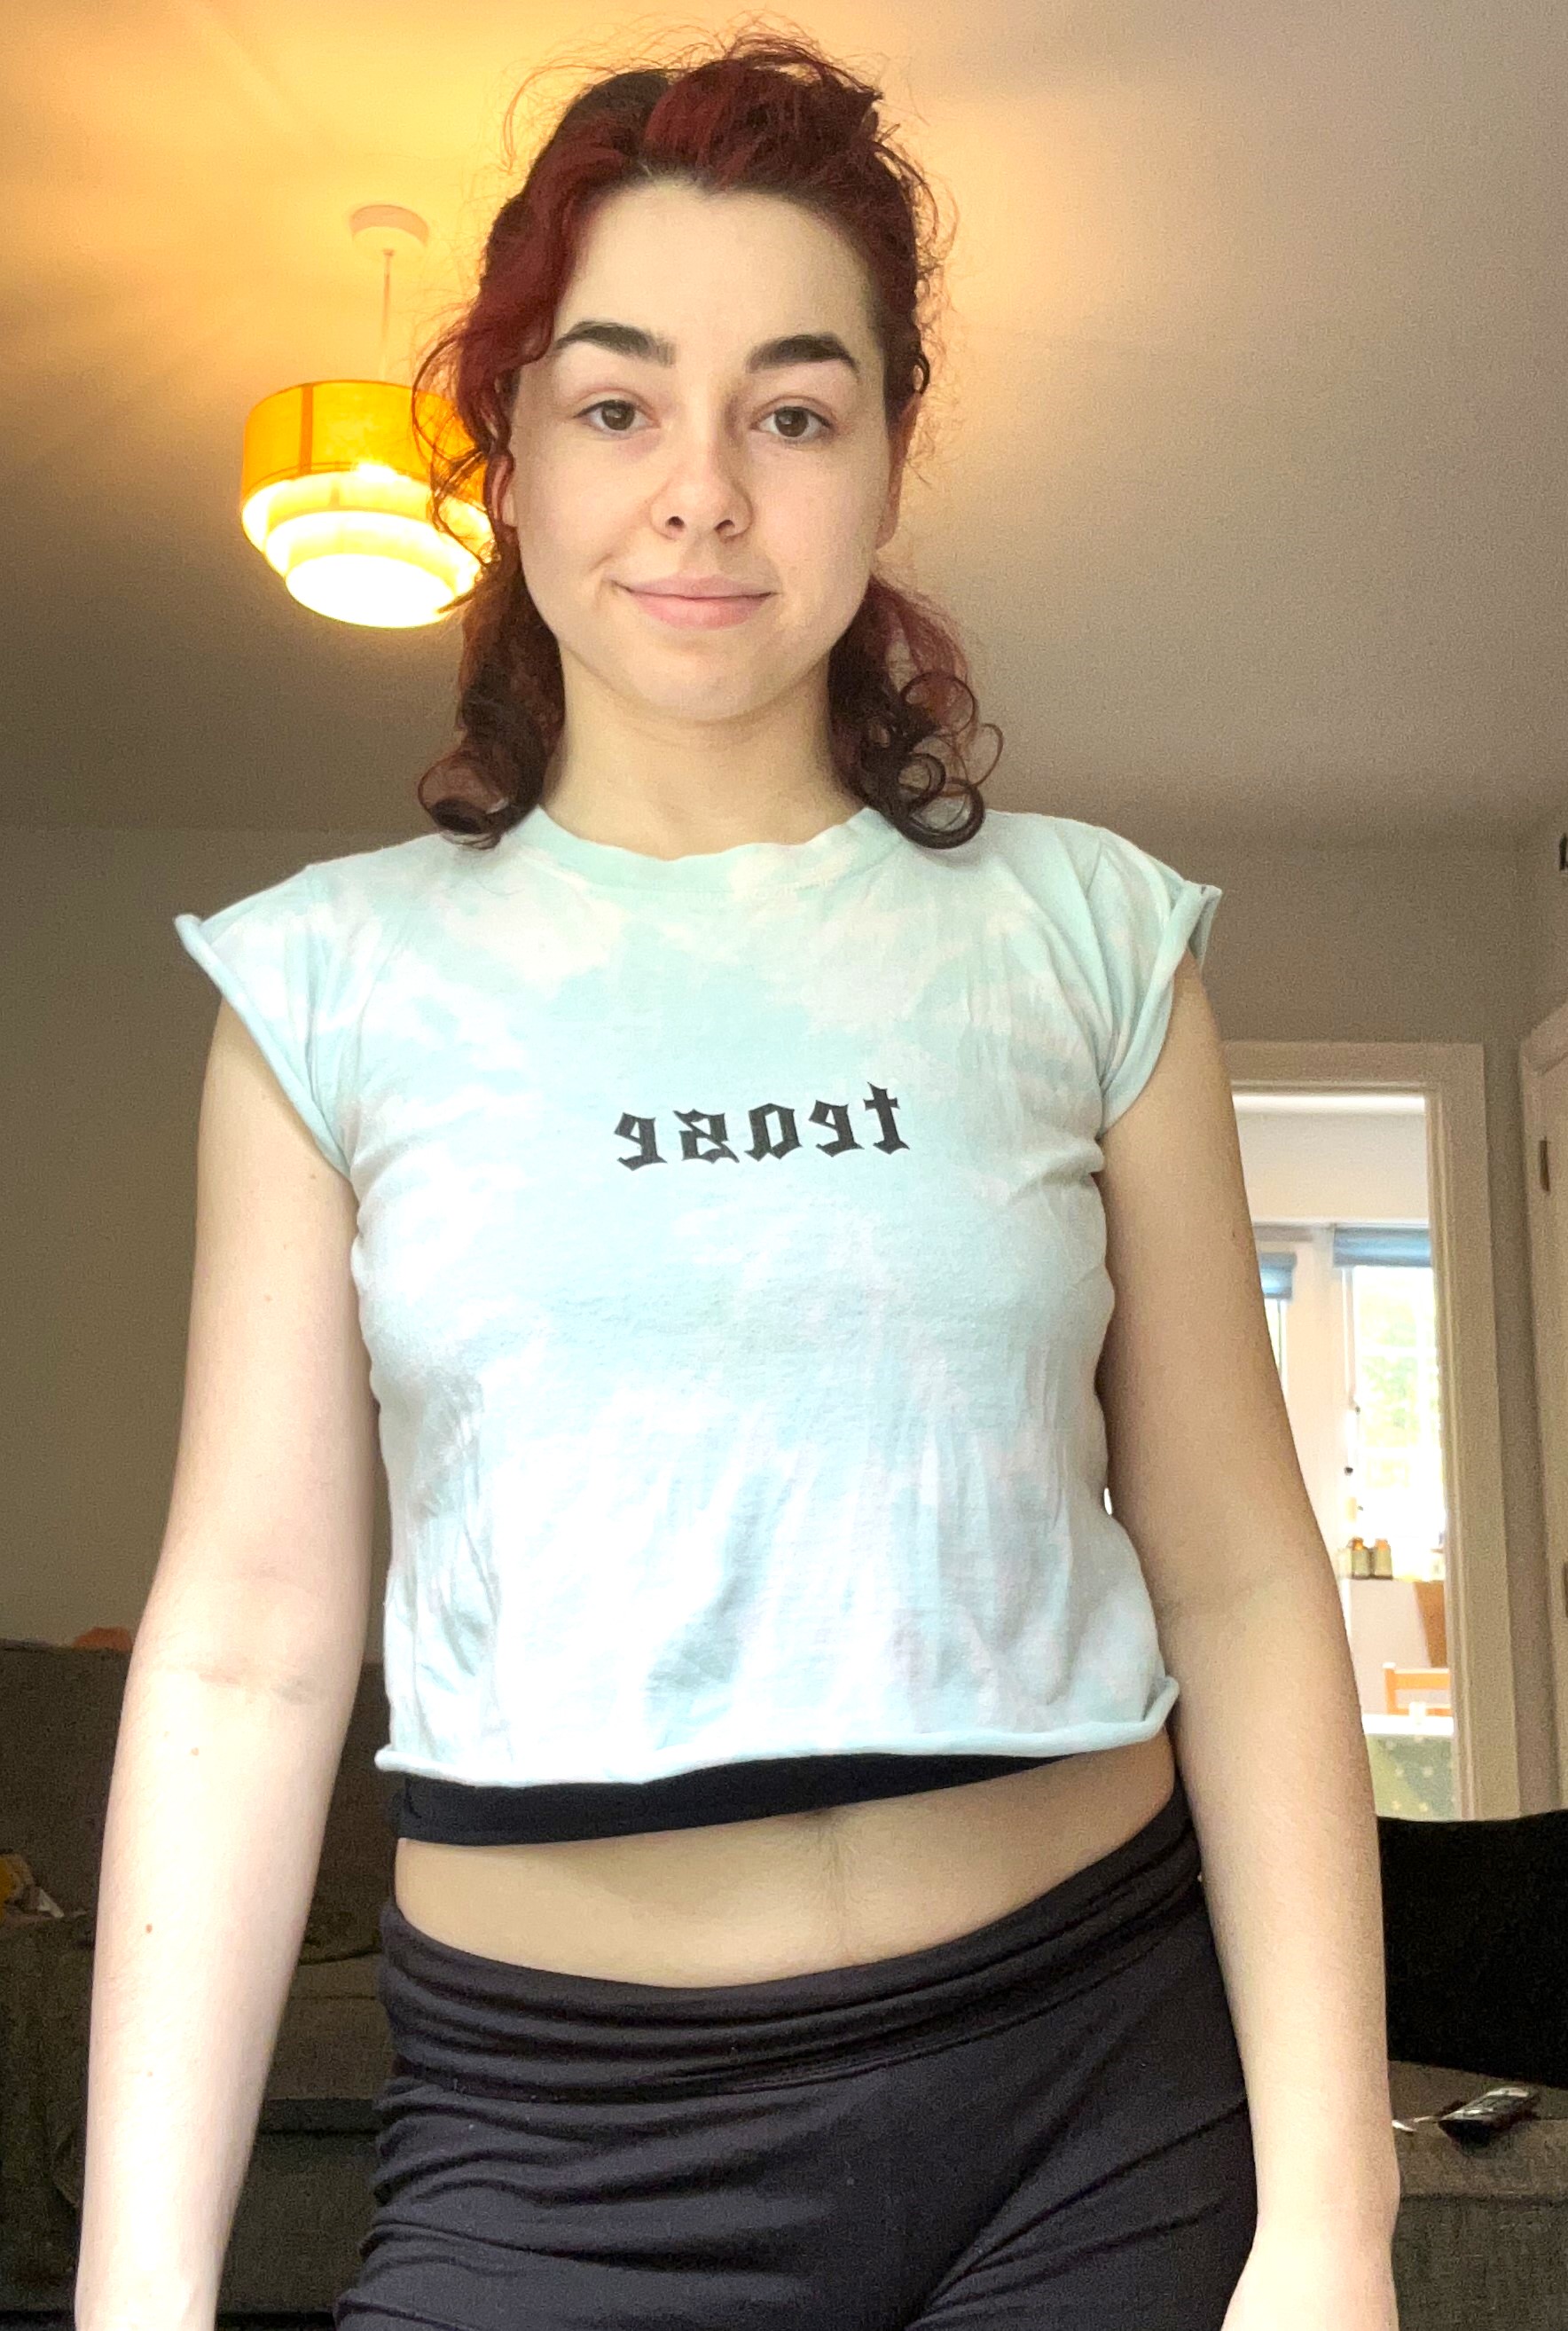
And there you have it! Another super cool upcycled project!
The third and last upcycling project!
The last Upcycling Project is done with a sewing machine but if you don’t have access to a sewing machine, you can hand sew (if you know how to) or you can use hemming tape!
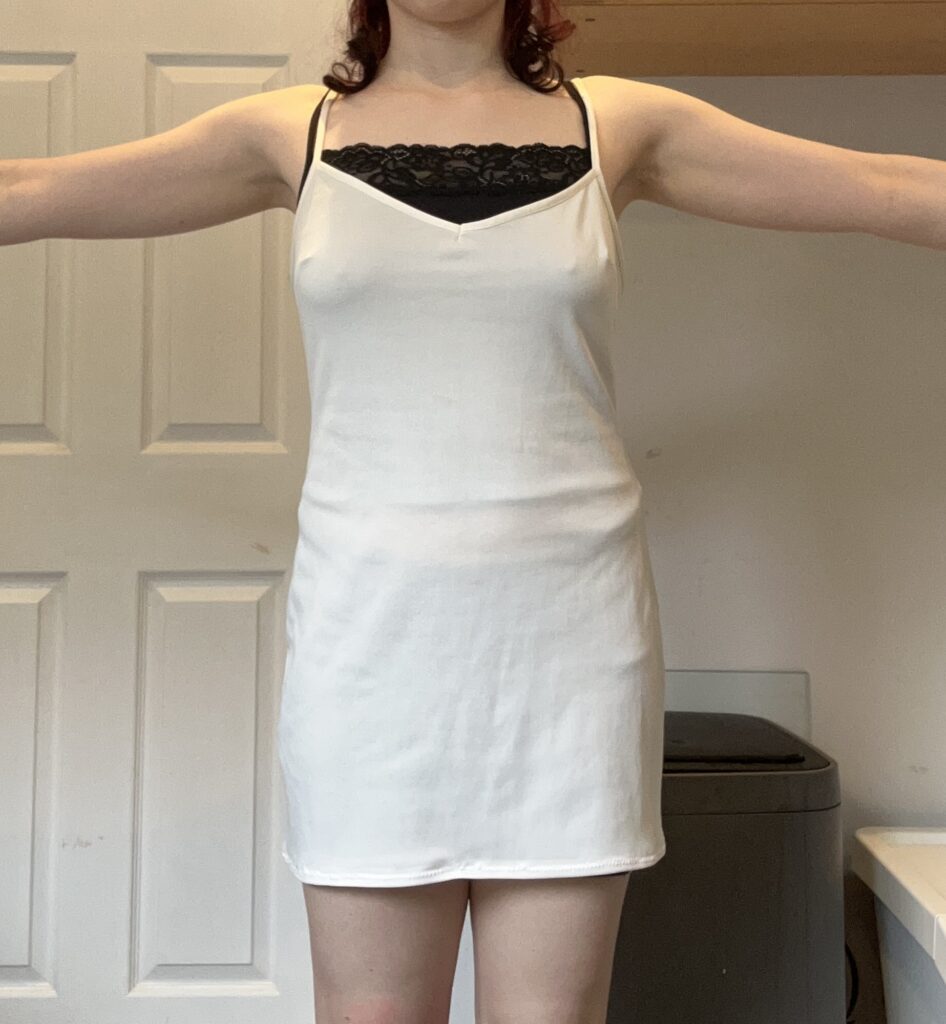
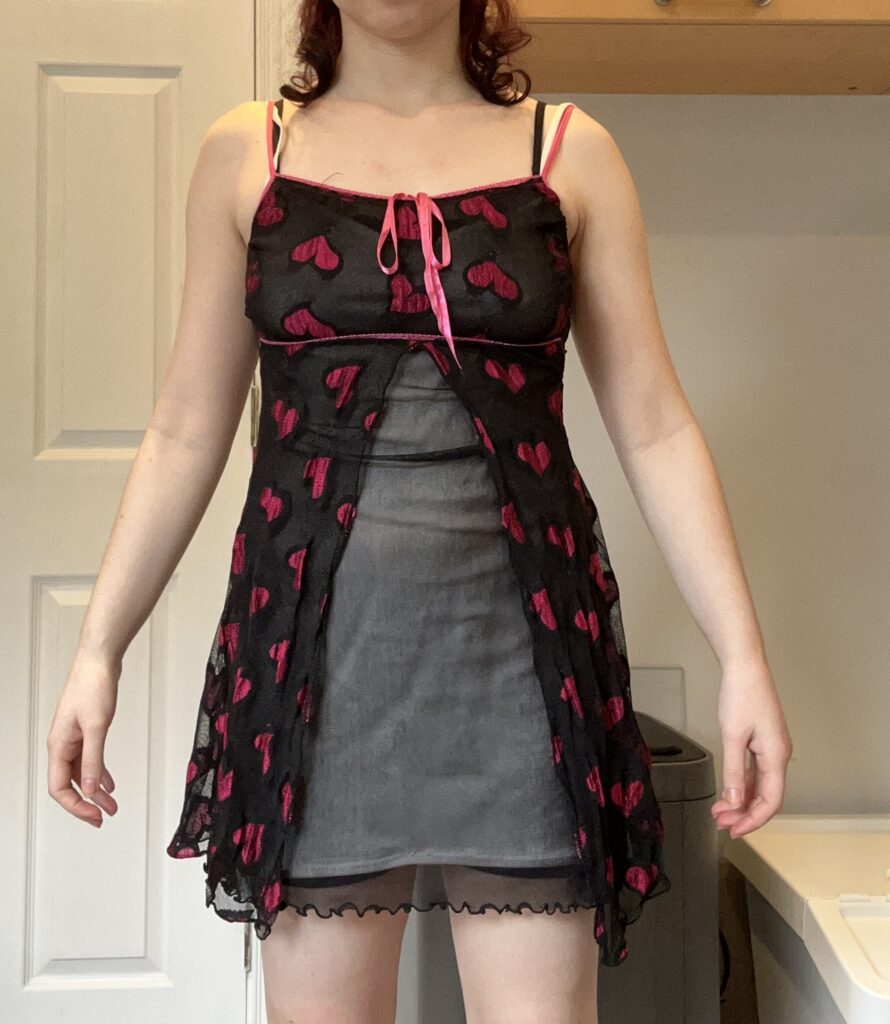
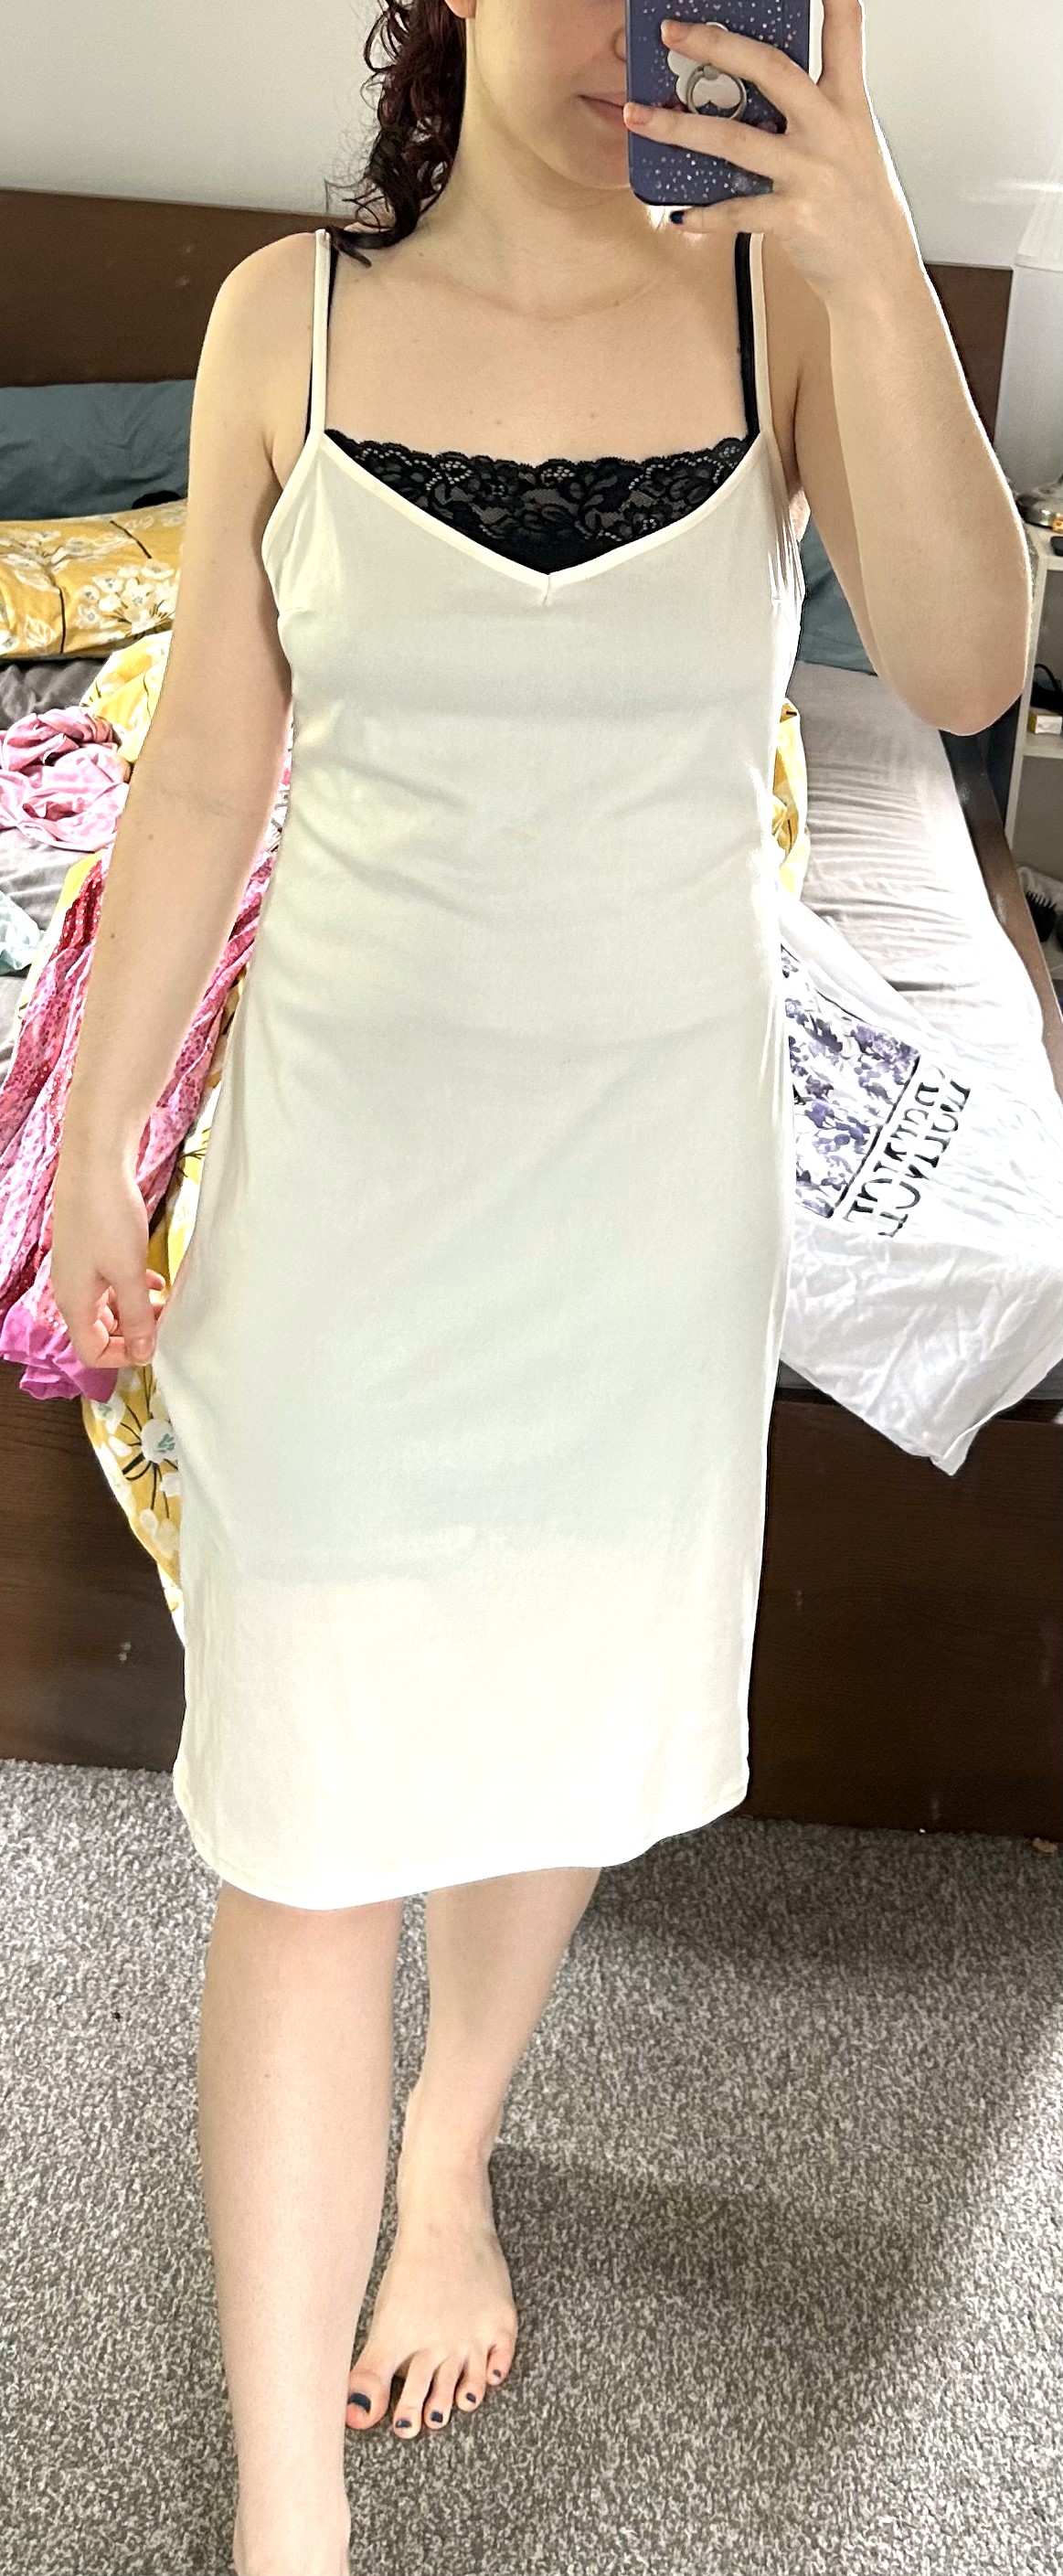
I have had this shift under-dress for years and years and it has always been a little too long on me but it took me buying a sheer dress to kick me into gear and crop it so I can use it as an under-dress for any dresses that might be sheer or short etc.
Method:
Step One:
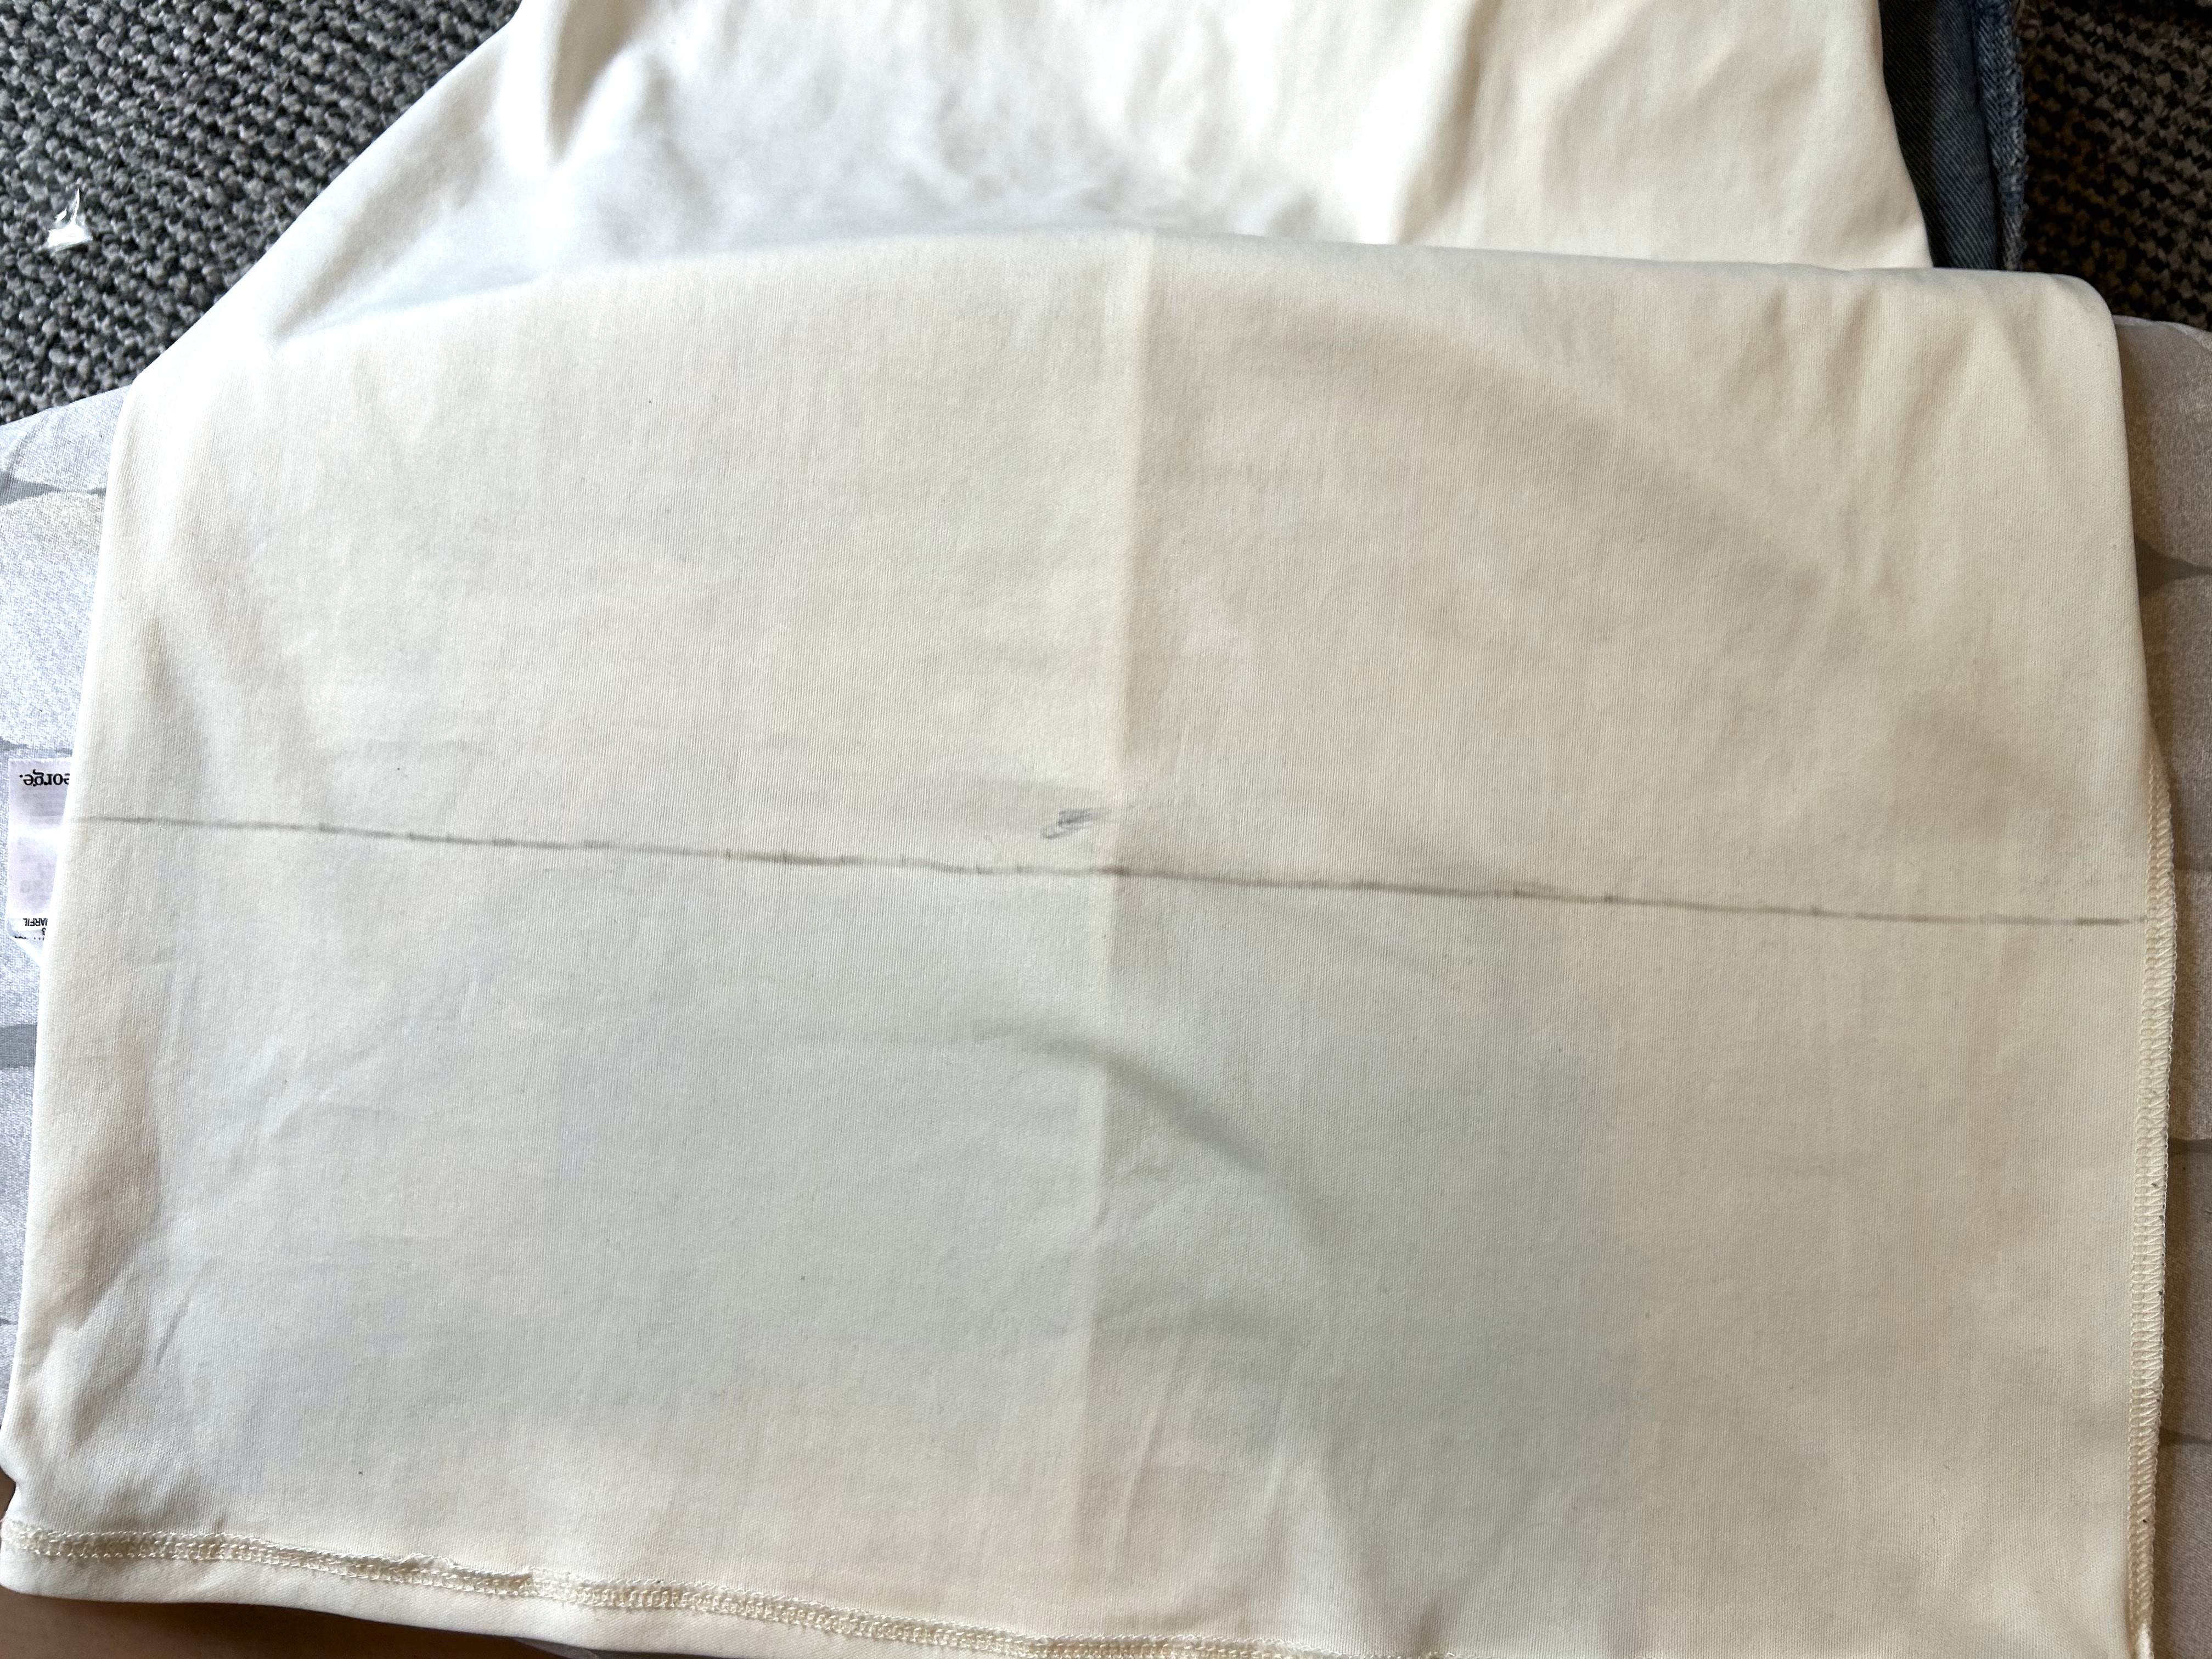
Of course the first step is to try the dress on! Then make a note of where you want to crop the dress and then make a little line in pen on the inside of the fabric. Then you’ll need to turn the dress inside out and use your ruler/ruler tool to continue the line you started in pen.
Step Two:
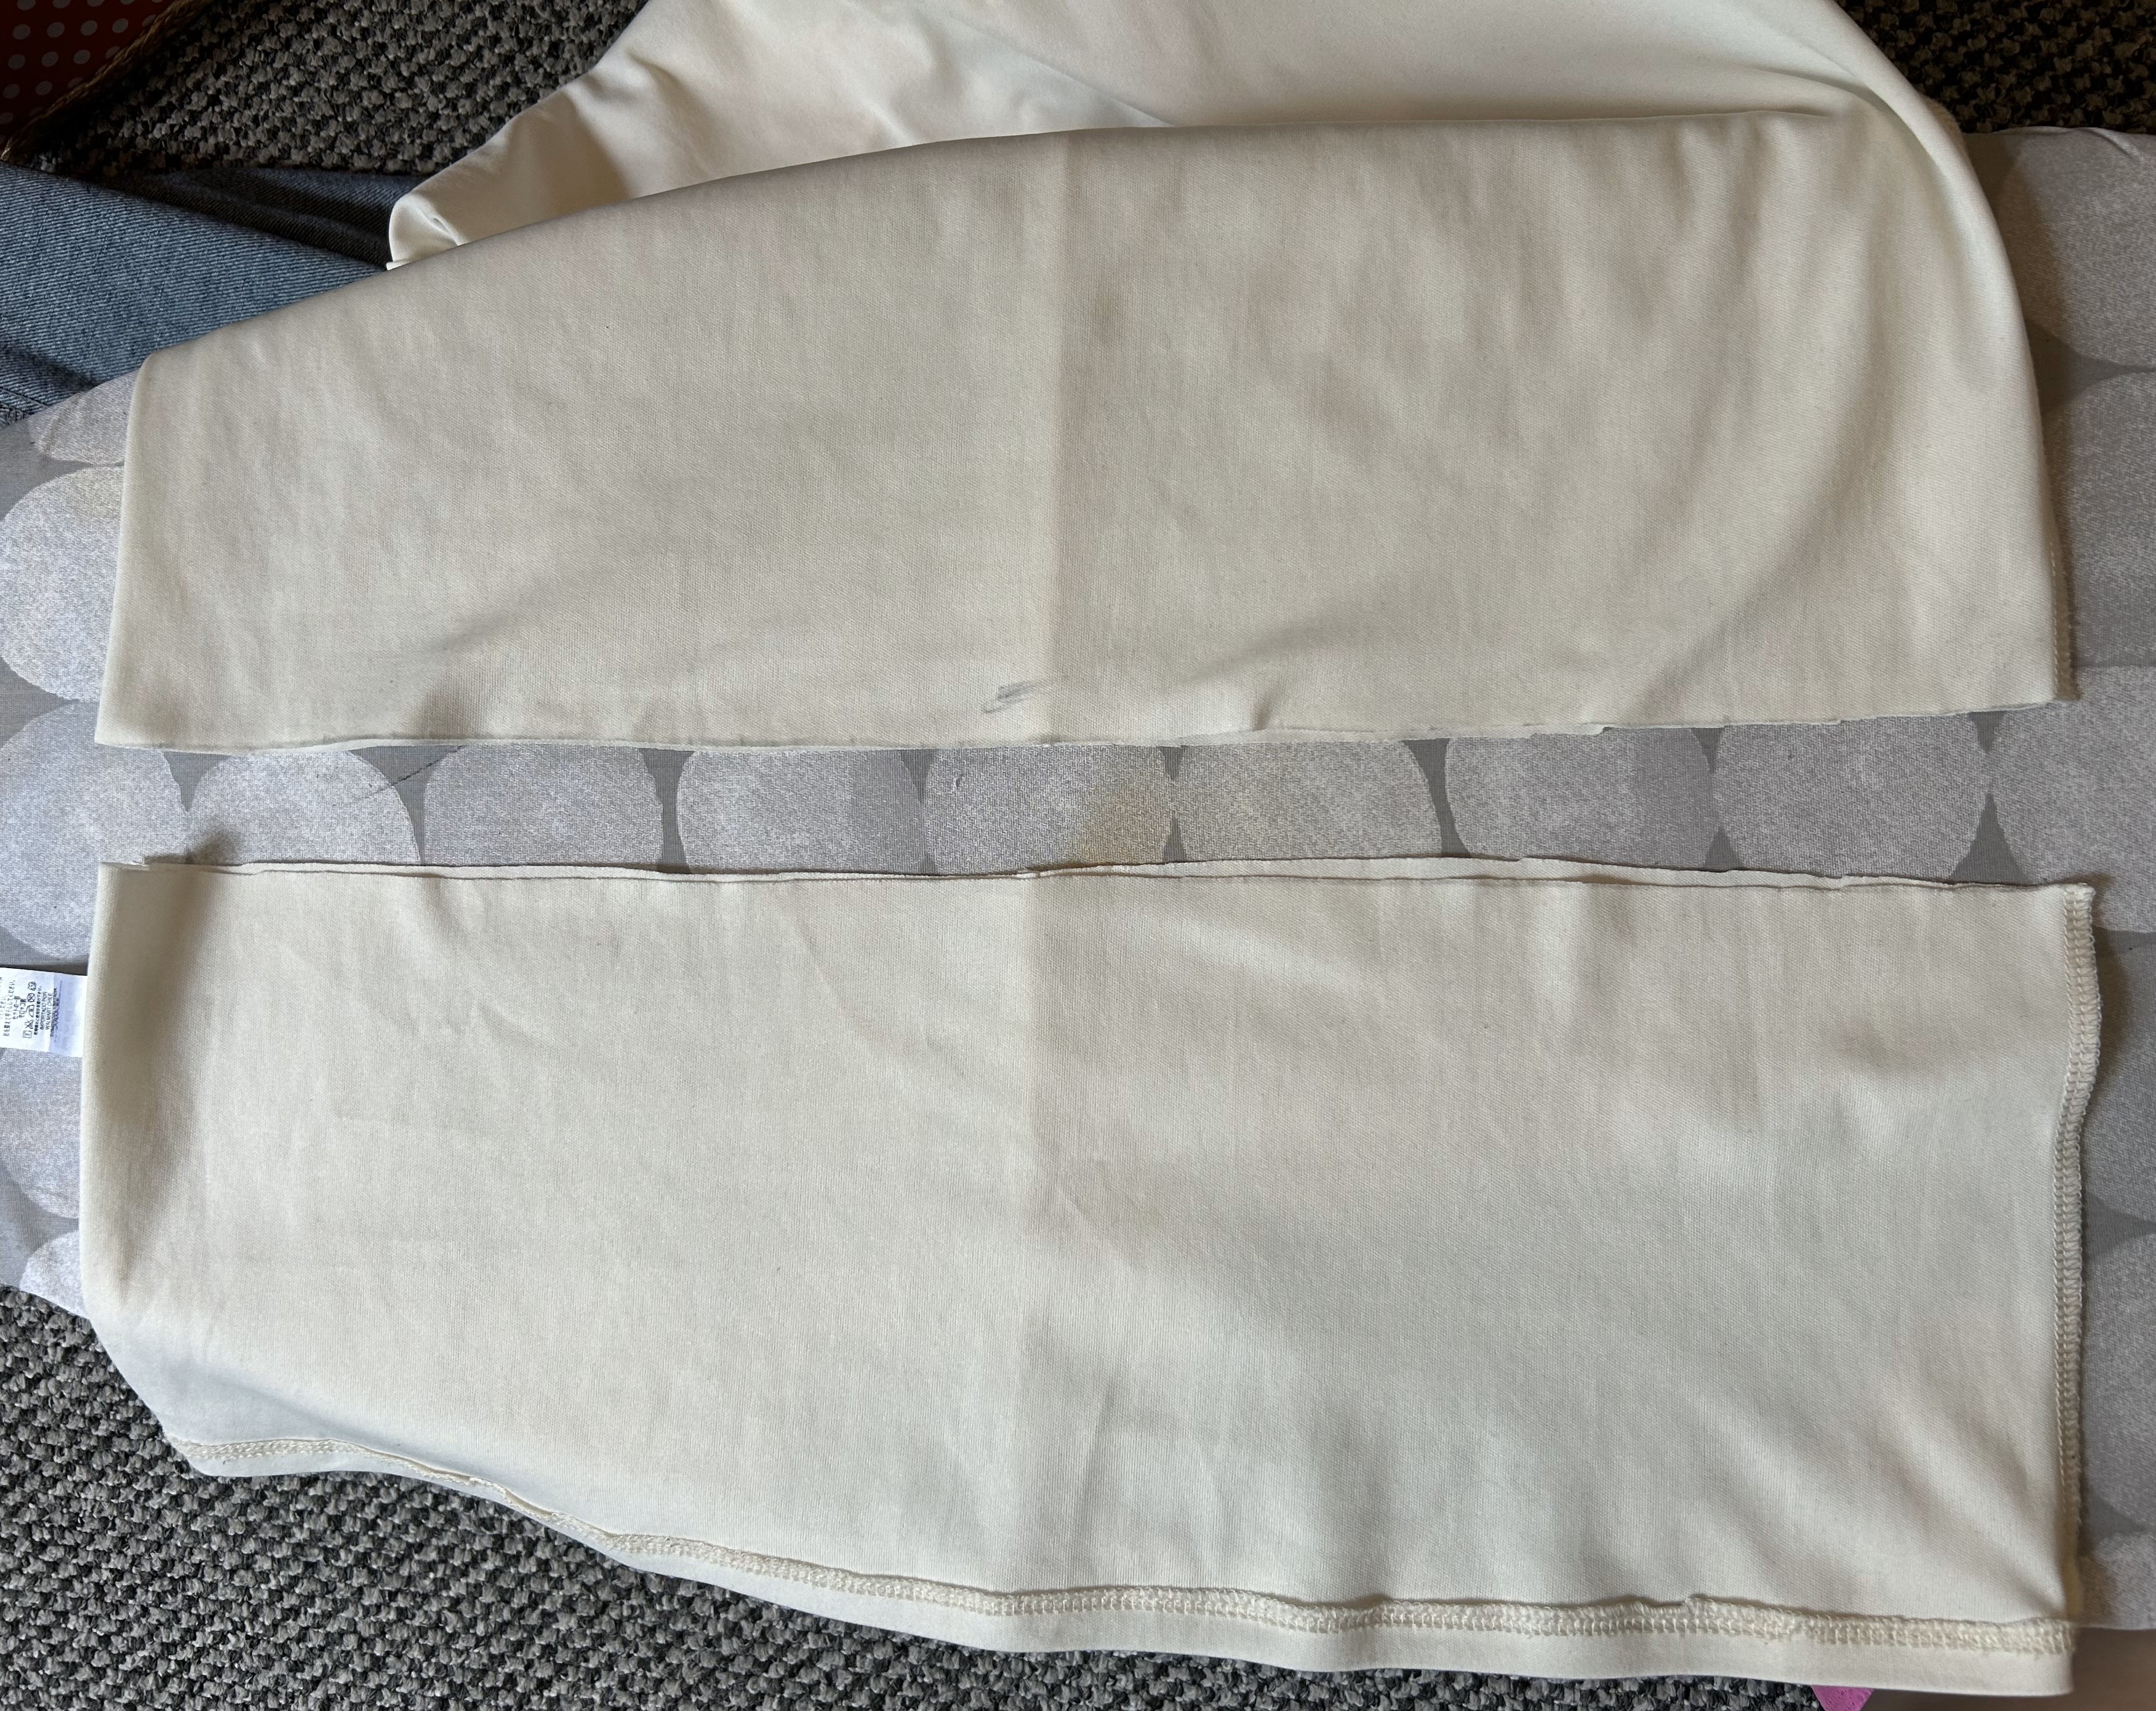
Next up, cut it up! Use your chosen pair of scissors and cut about 2cm lower than your pen line ass this will become your seam allowance. Once your dress is cut, you’re going to want to grab some pins and your iron.
Step Three:
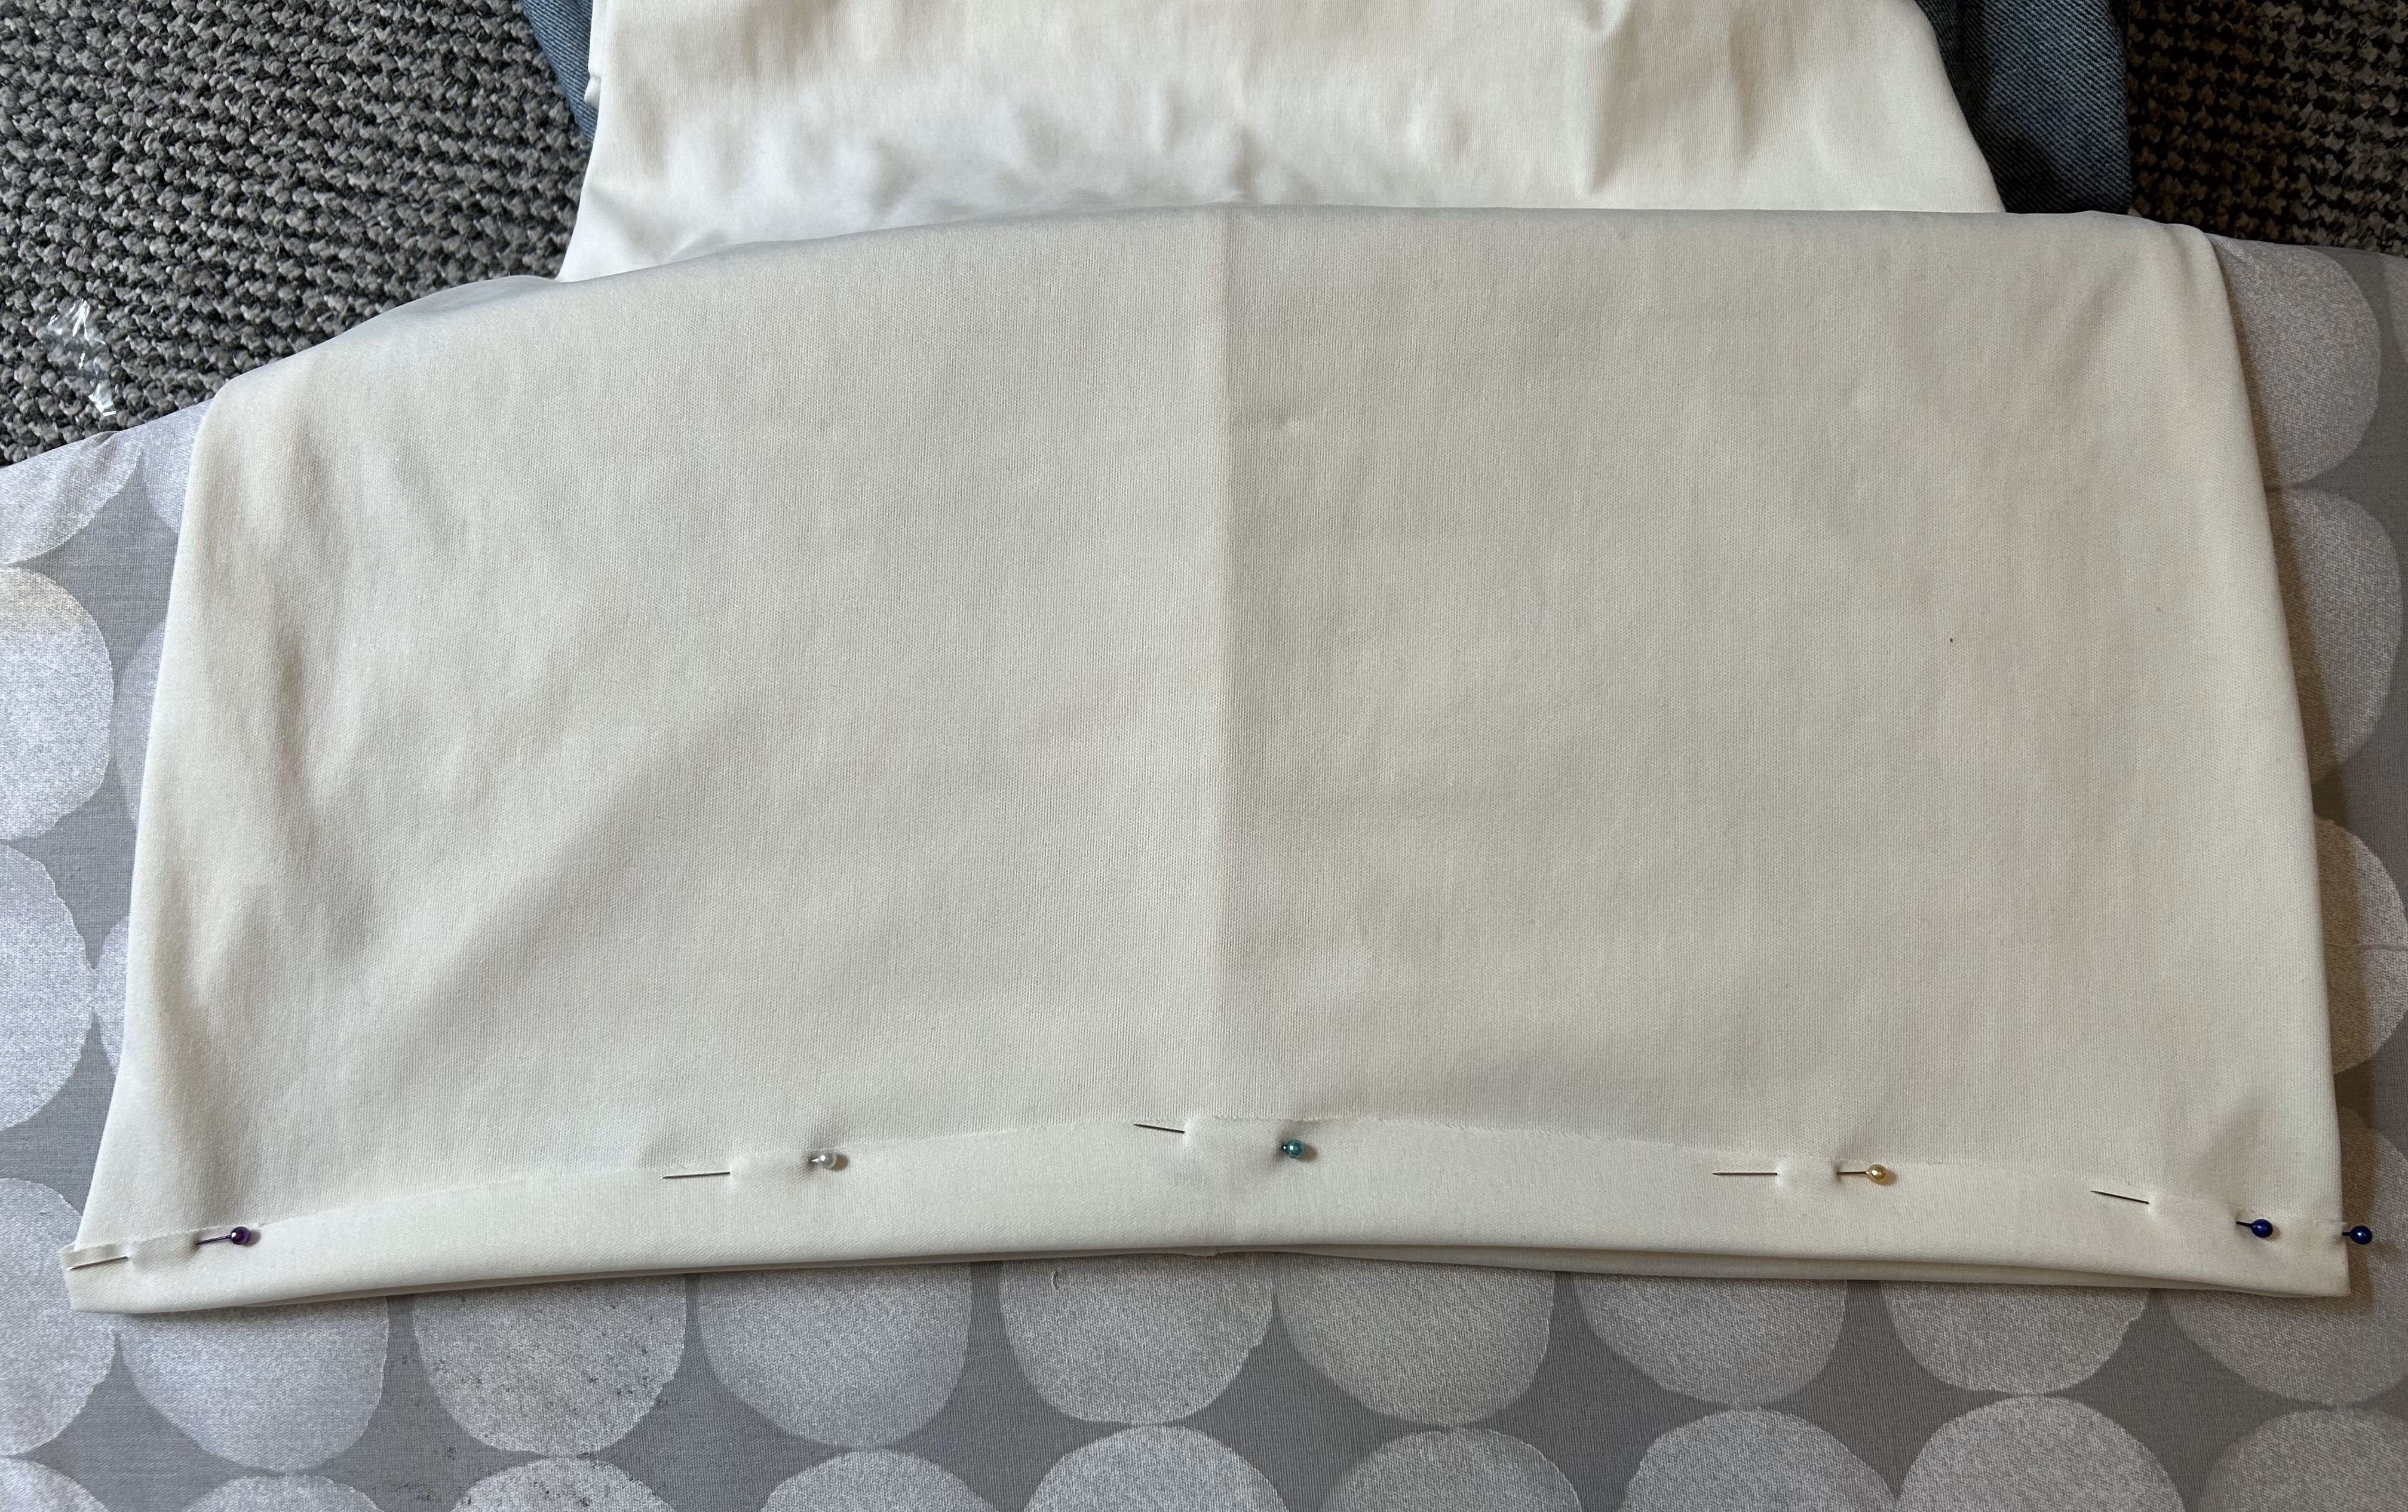
Grab some pins and pin your fabric until it lines up with the original pen line. Just pin it until it’s all secure and then use your iron to iron your fabric flat. This will help immensely when you sew it as it’ll keep your fabric straight and in place.

Step Four:
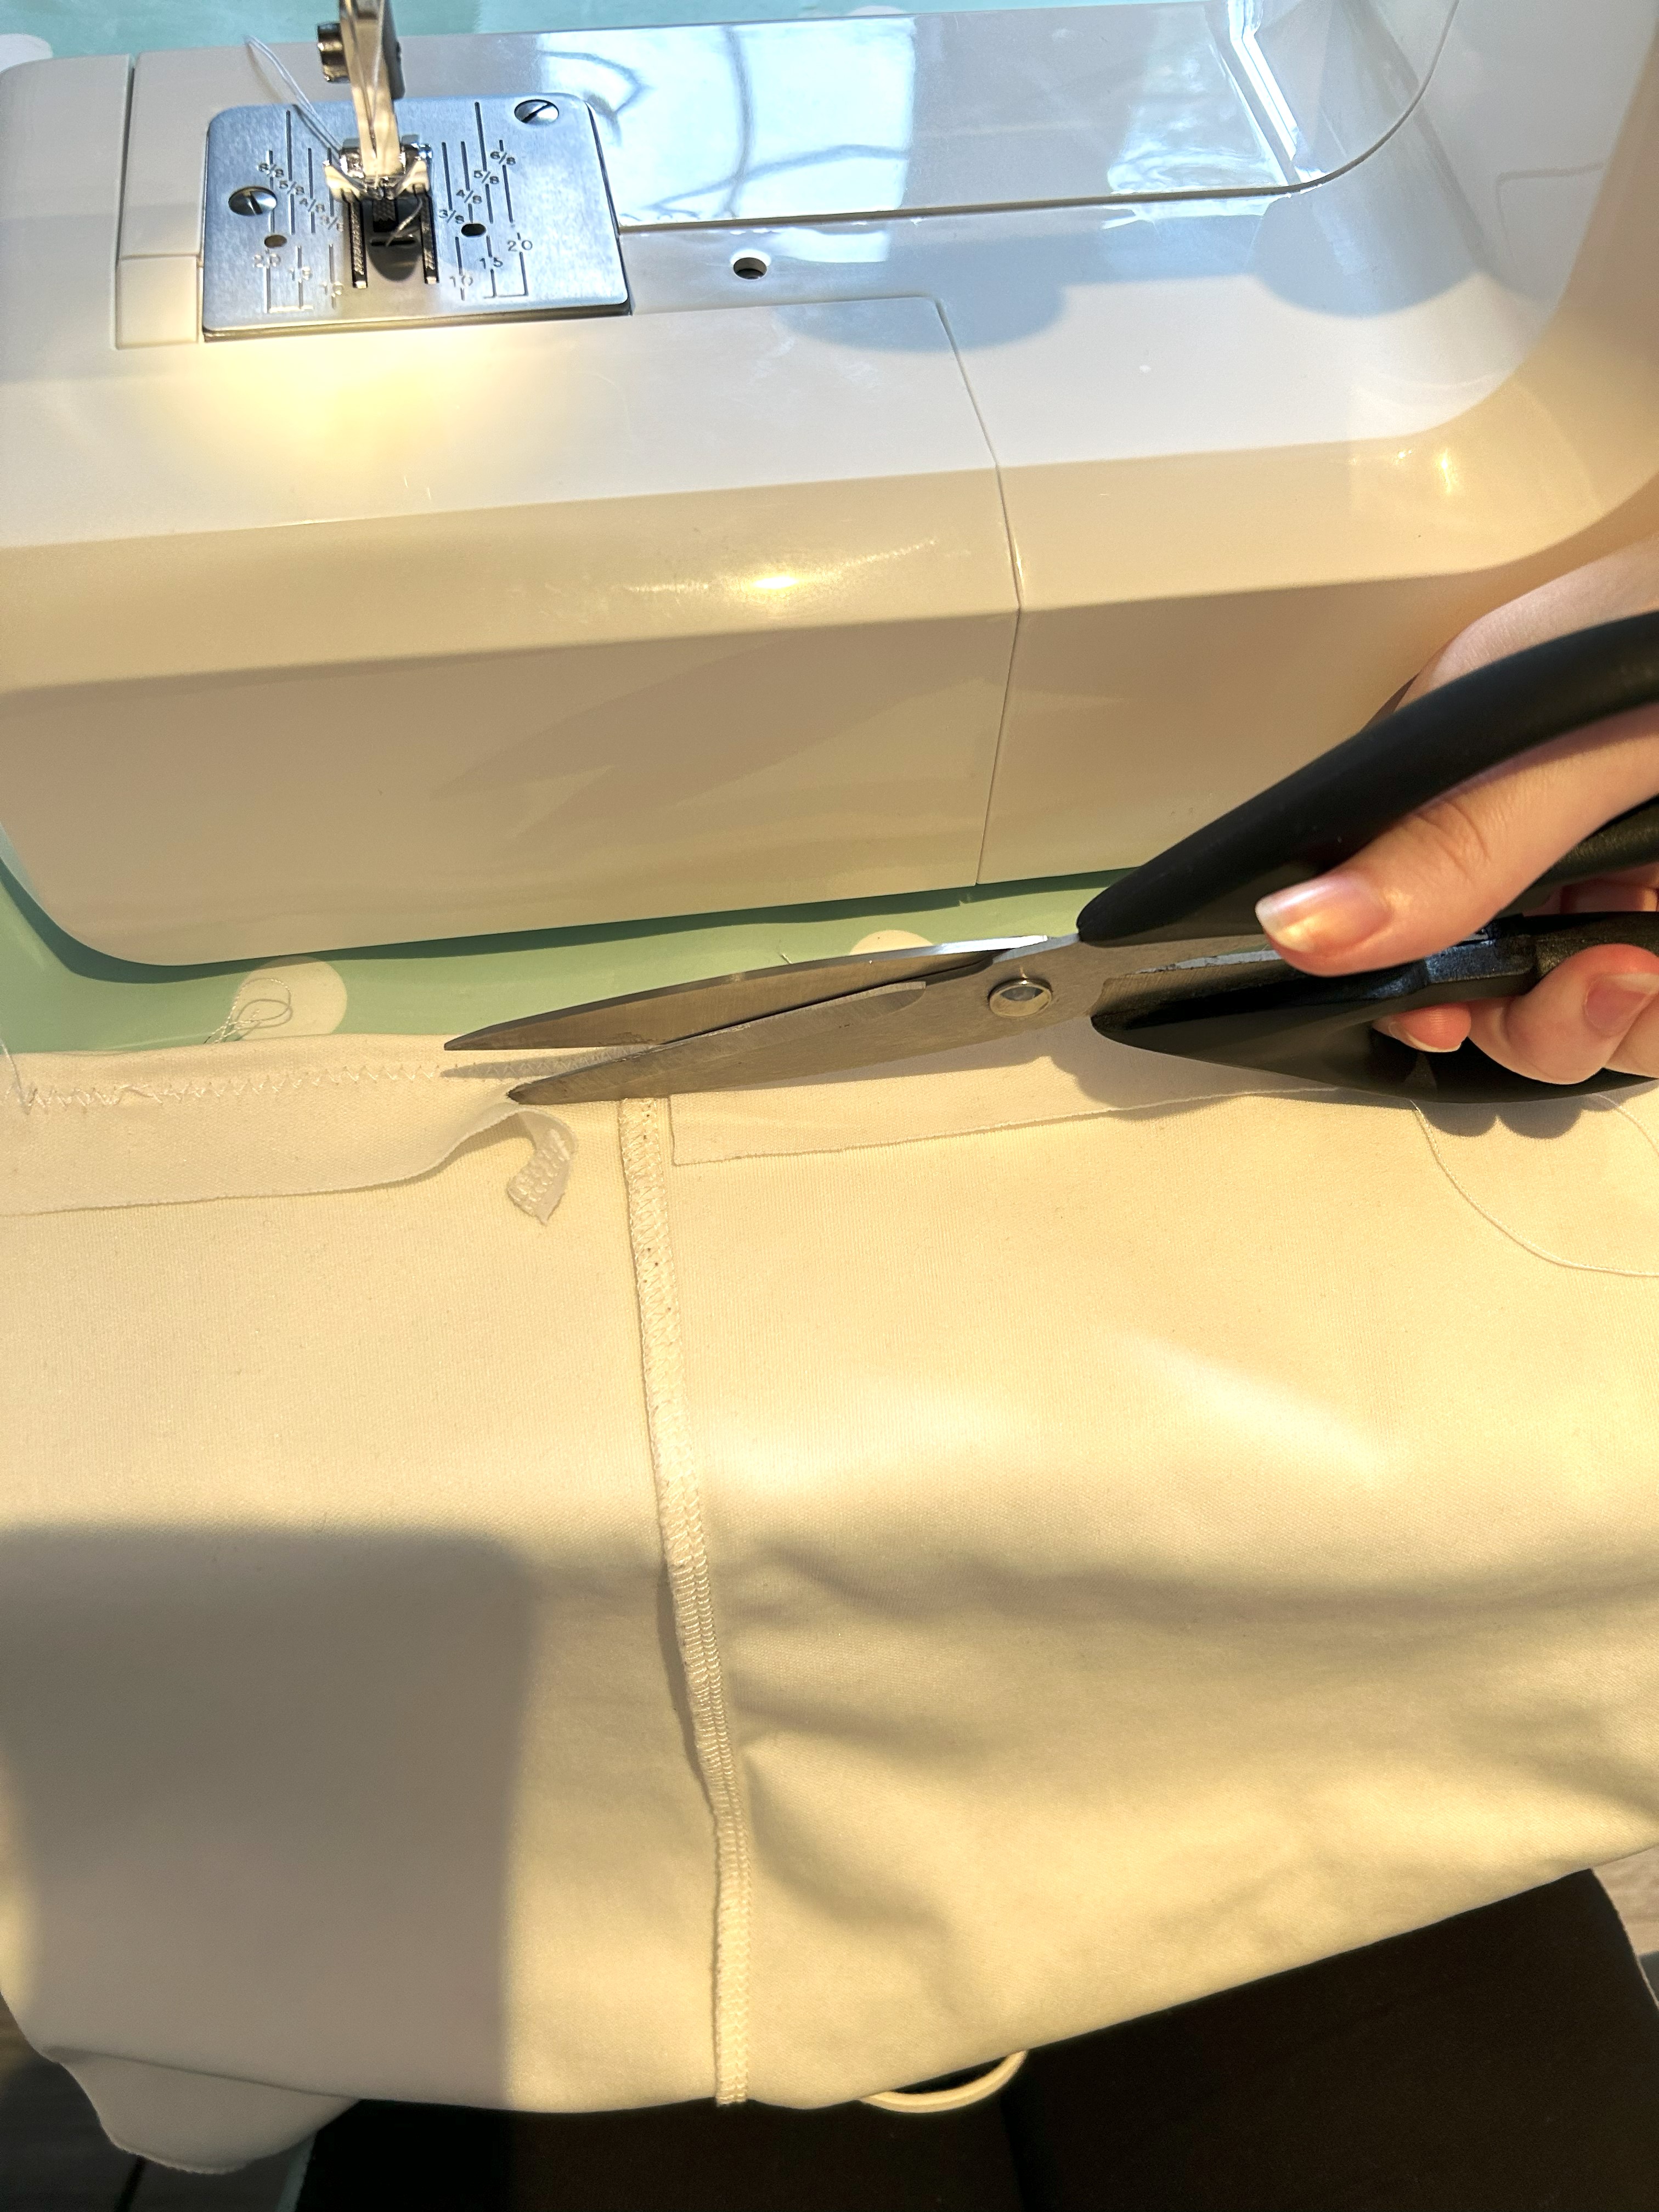
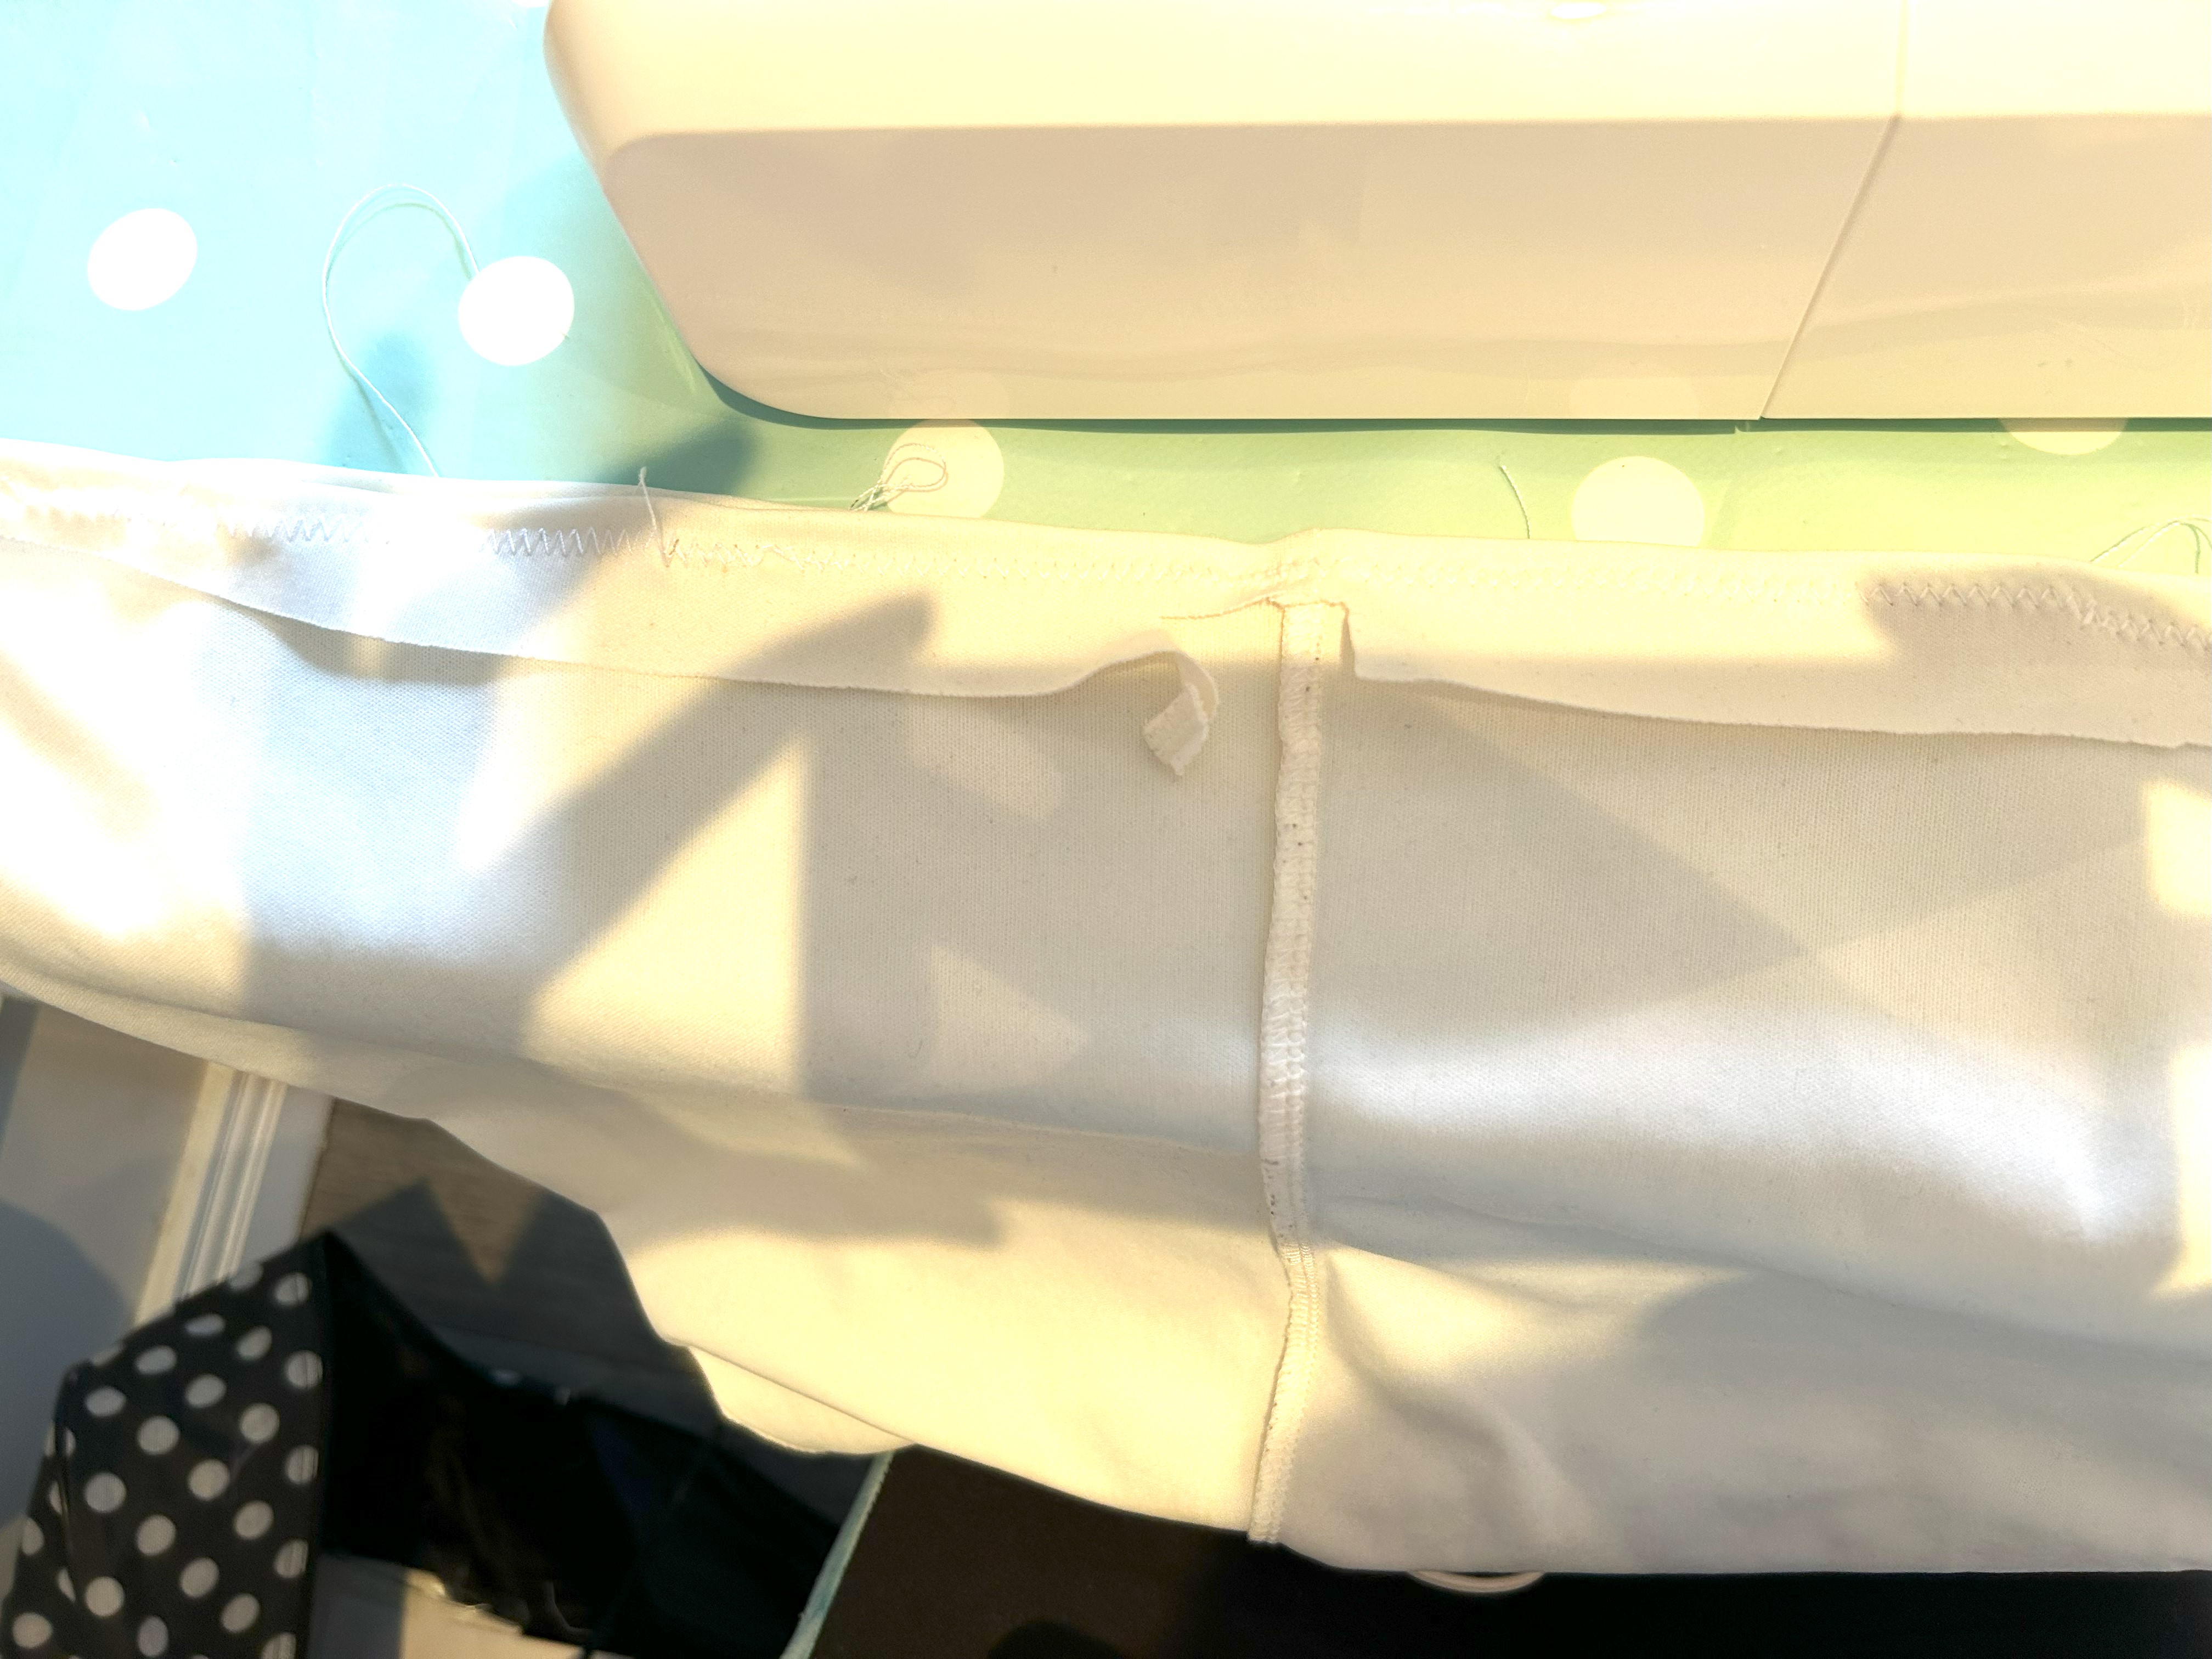
The next step is to sew your new hem. The dress I worked with had a lot of stretch so I set my sewing machine to a zigzag stitch, but your stitch type will depend on your fabric type. A tip I learned for making your sewing straight and consistent is to place your sewing machine foot at on the edge of the folded fabric. This will help you know where your stitches are being made etc.
Step Five:
Lastly, once your hem is sewn you may have a lot of excess fabric attached to your hem. All I did for that was cut the excess off with my kitchen scissors! And then I tried the dress back on and thankfully, it was perfect!
And there you have it!