Do you want to add more pizzazz to your makeup looks?
This is the second part to my creating spectacular makeup looks series! I decided to add a part 2 because I am constantly learning and improving my techniques. Or I discover a new technique and I love to share my findings with you all! Hopefully you can experiment with some of these looks and create your own makeup look masterpieces!
I have recently been challenging myself with creating makeup looks based on 1 colour. This is so I can really focus on the look instead of just putting loads of colours on my face (which I still love doing). I wondered if it was possible to still add depth to the look if I focused on only 1 colour at a time. And I’m pleased to say that you definitely can have a lot of depth even with 1 colour!
~The tools I use are colorful makeup palettes and graphic liner palettes. Here are links to the same cost effective graphic liner palette I use and a very similar colourful eyeshadow palette. ~
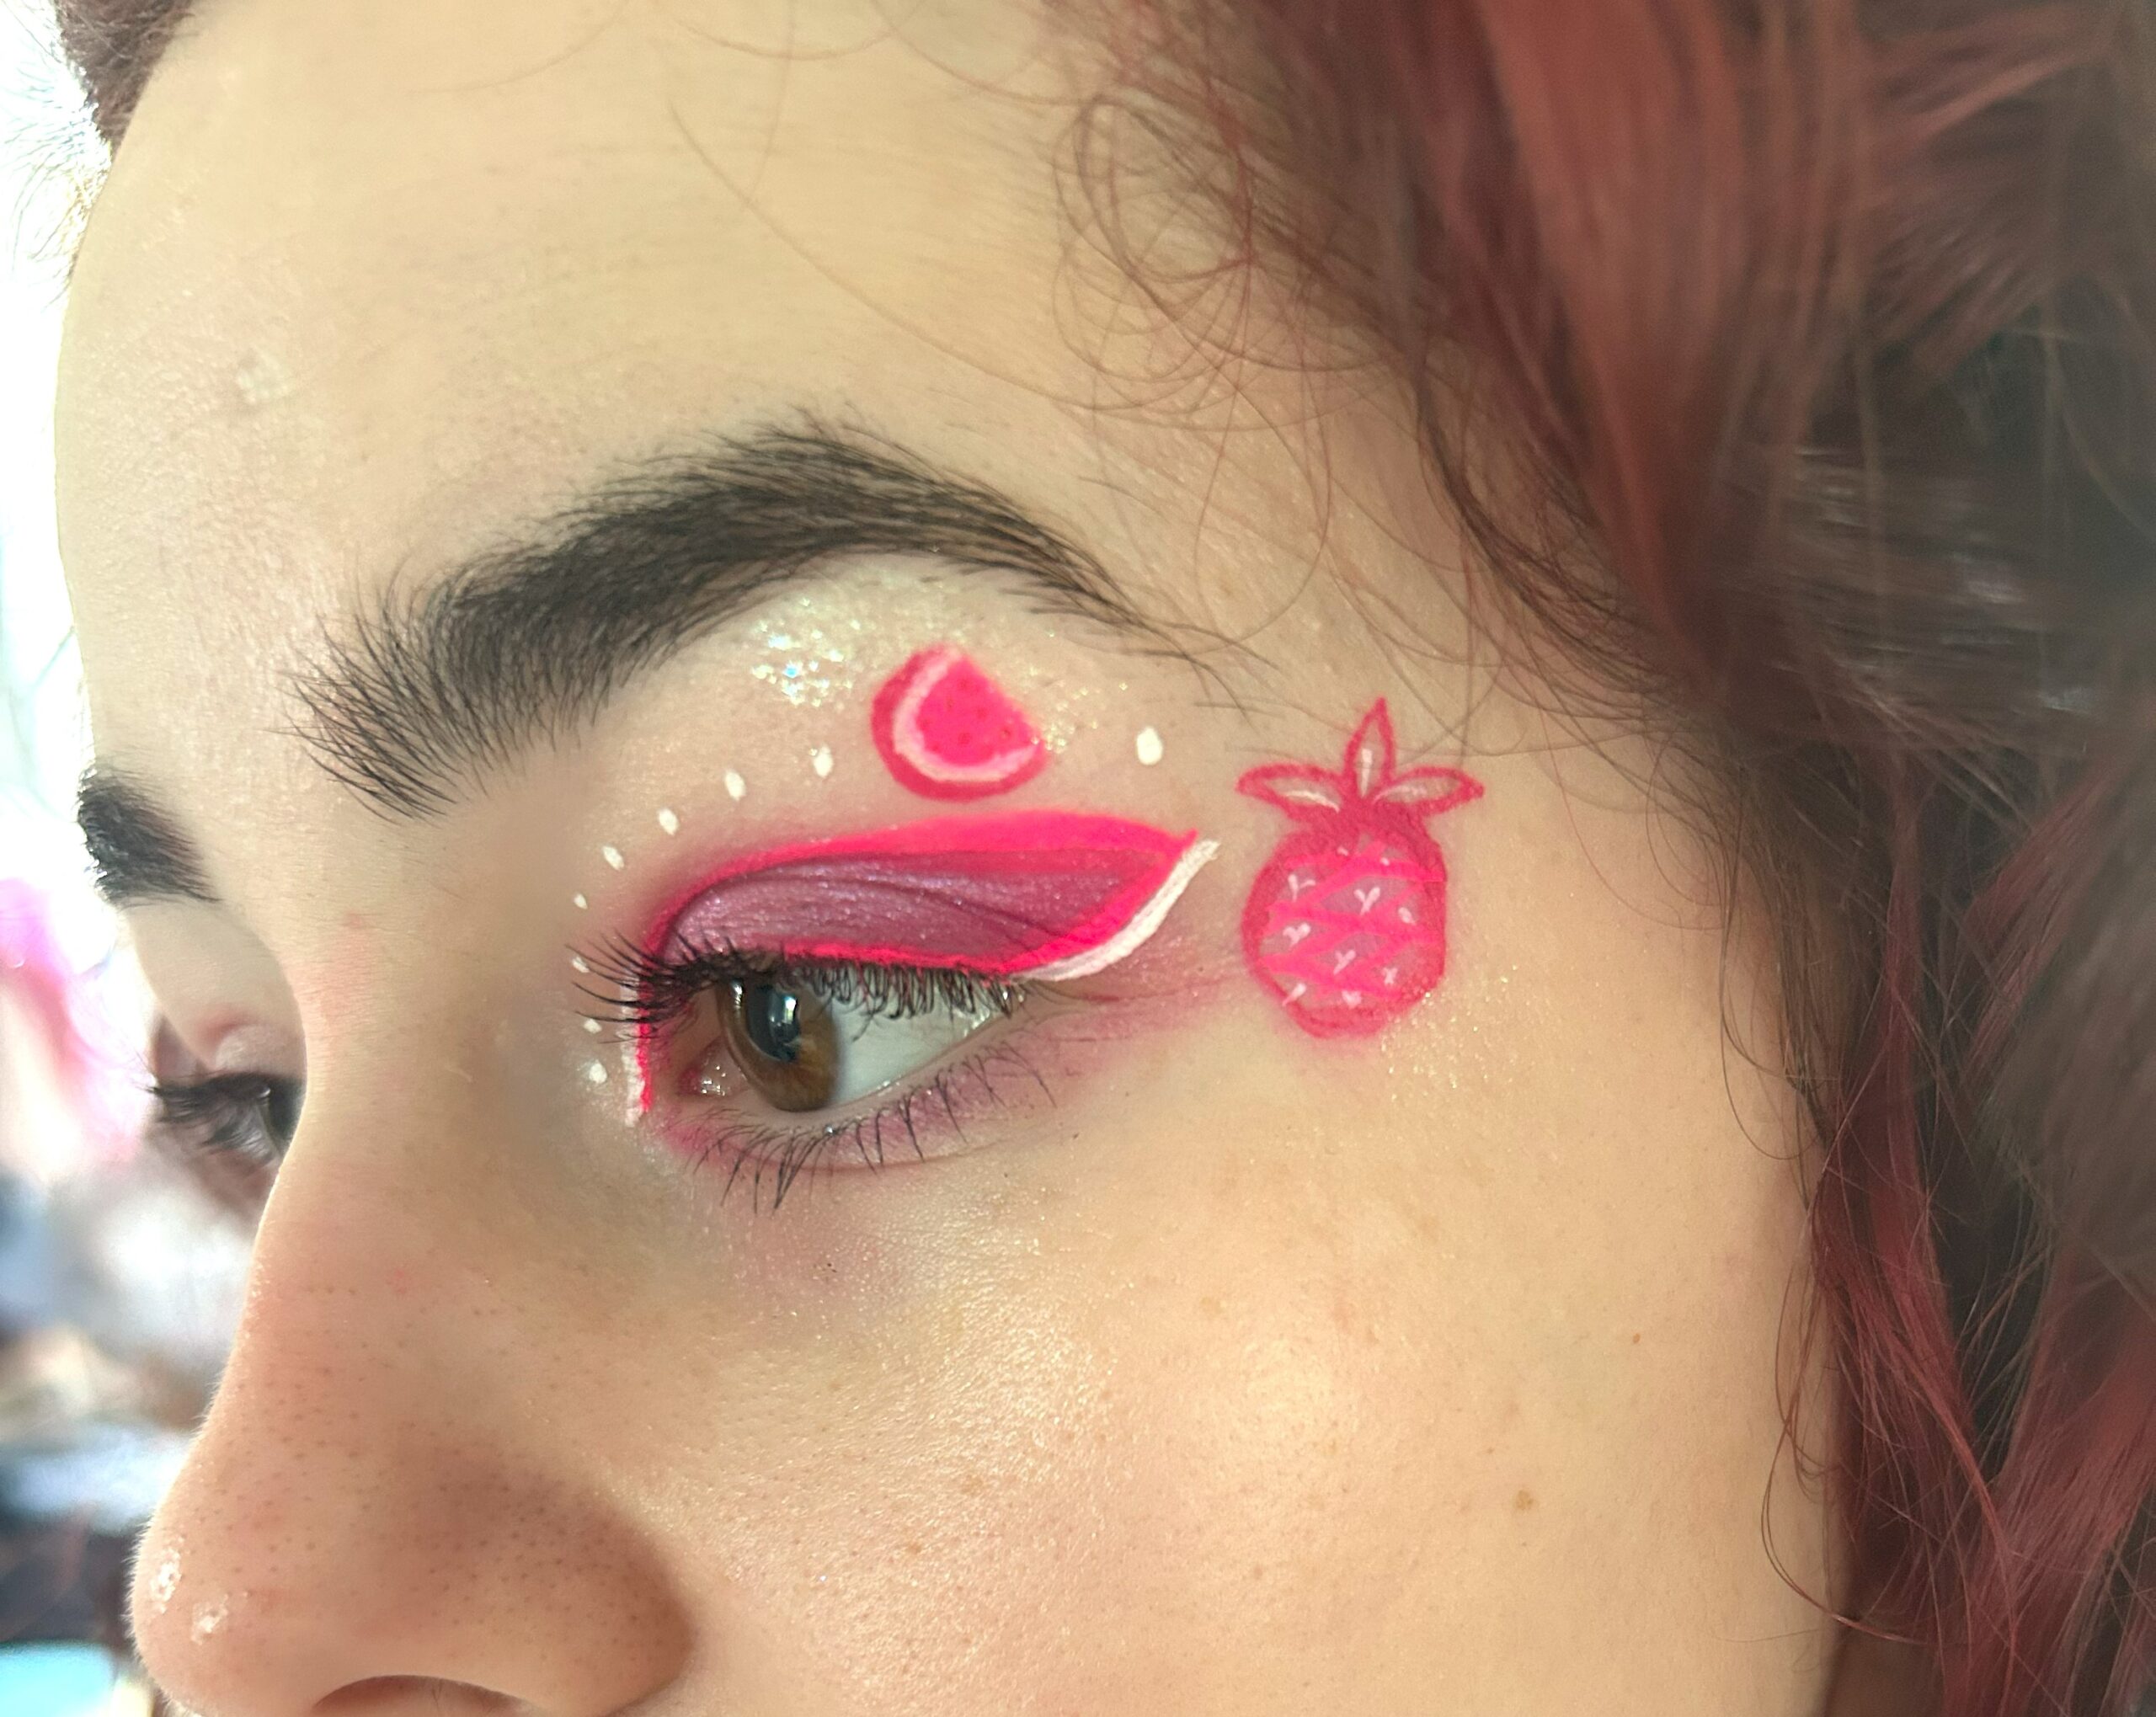
1 – Pink Fruit?
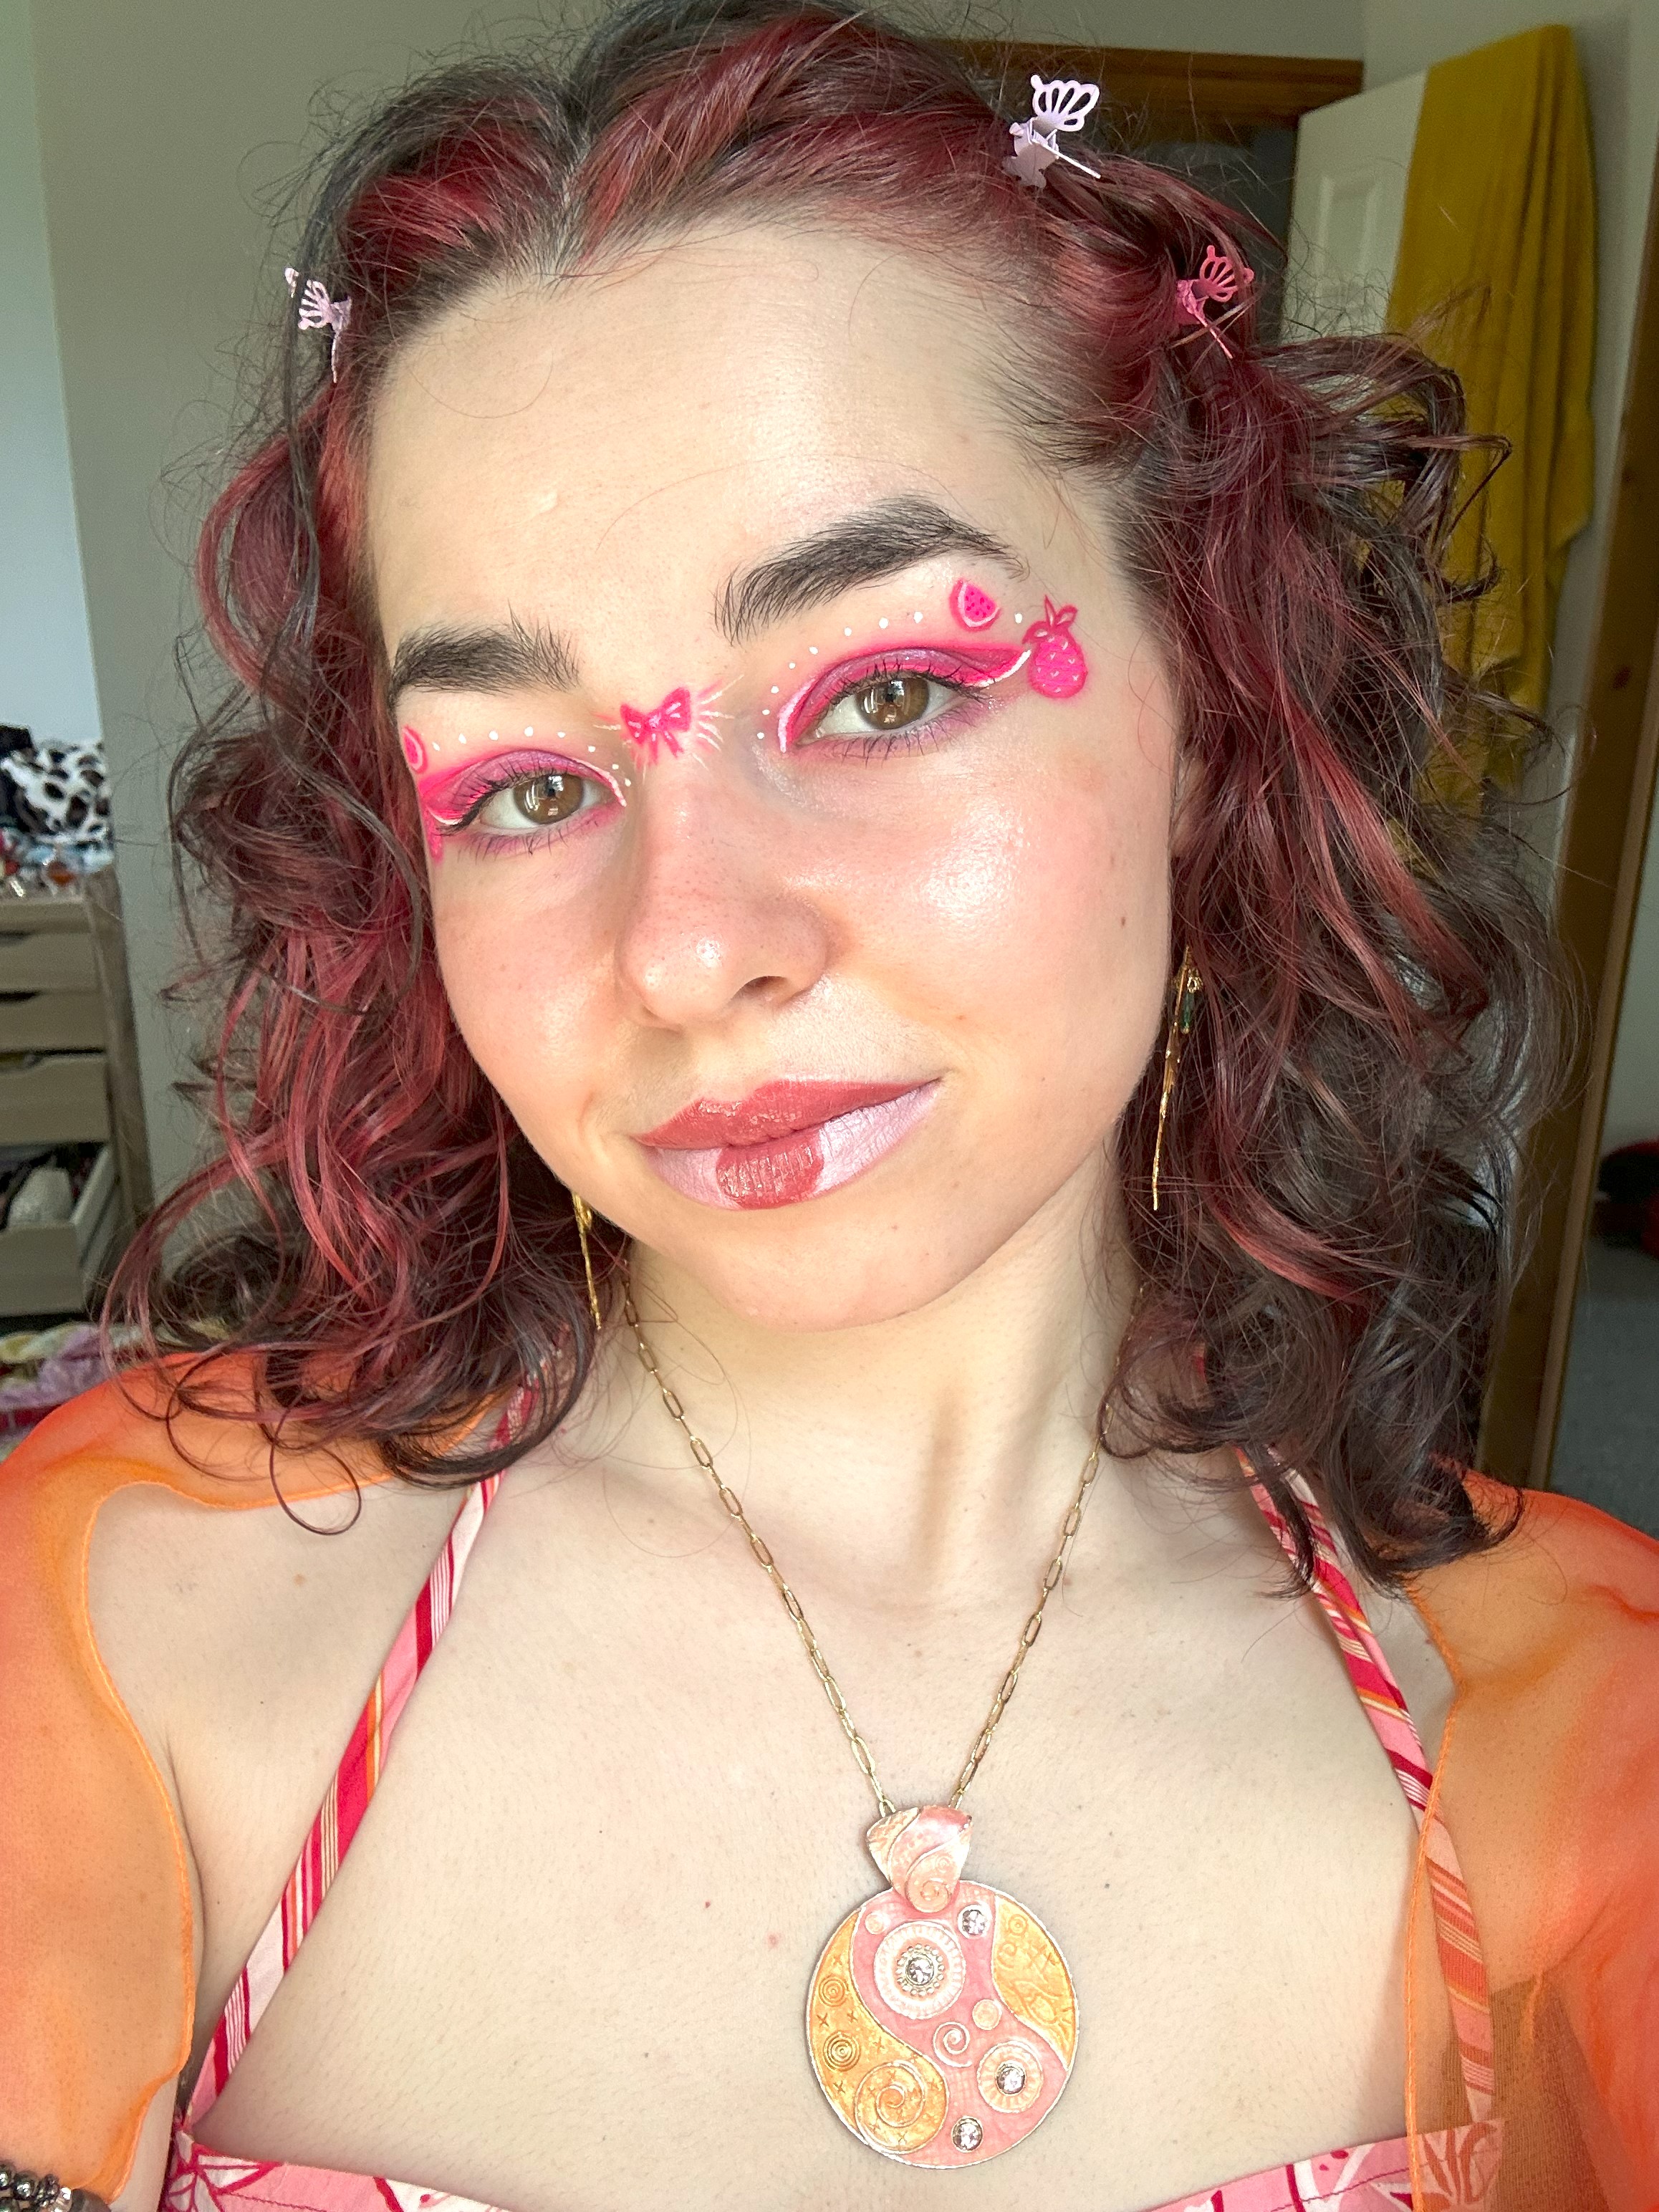
This first makeup look is completely pink and totally adorable!
All you’ll need are eyeshadows and graphic liner. (Or you can mix some eyeshadow with water and use that as your graphic liner).
- Start with a solid base: I either like to add a white primer to my lid first of all. Or I’ll just go straight in with the colour base. I chose pink.
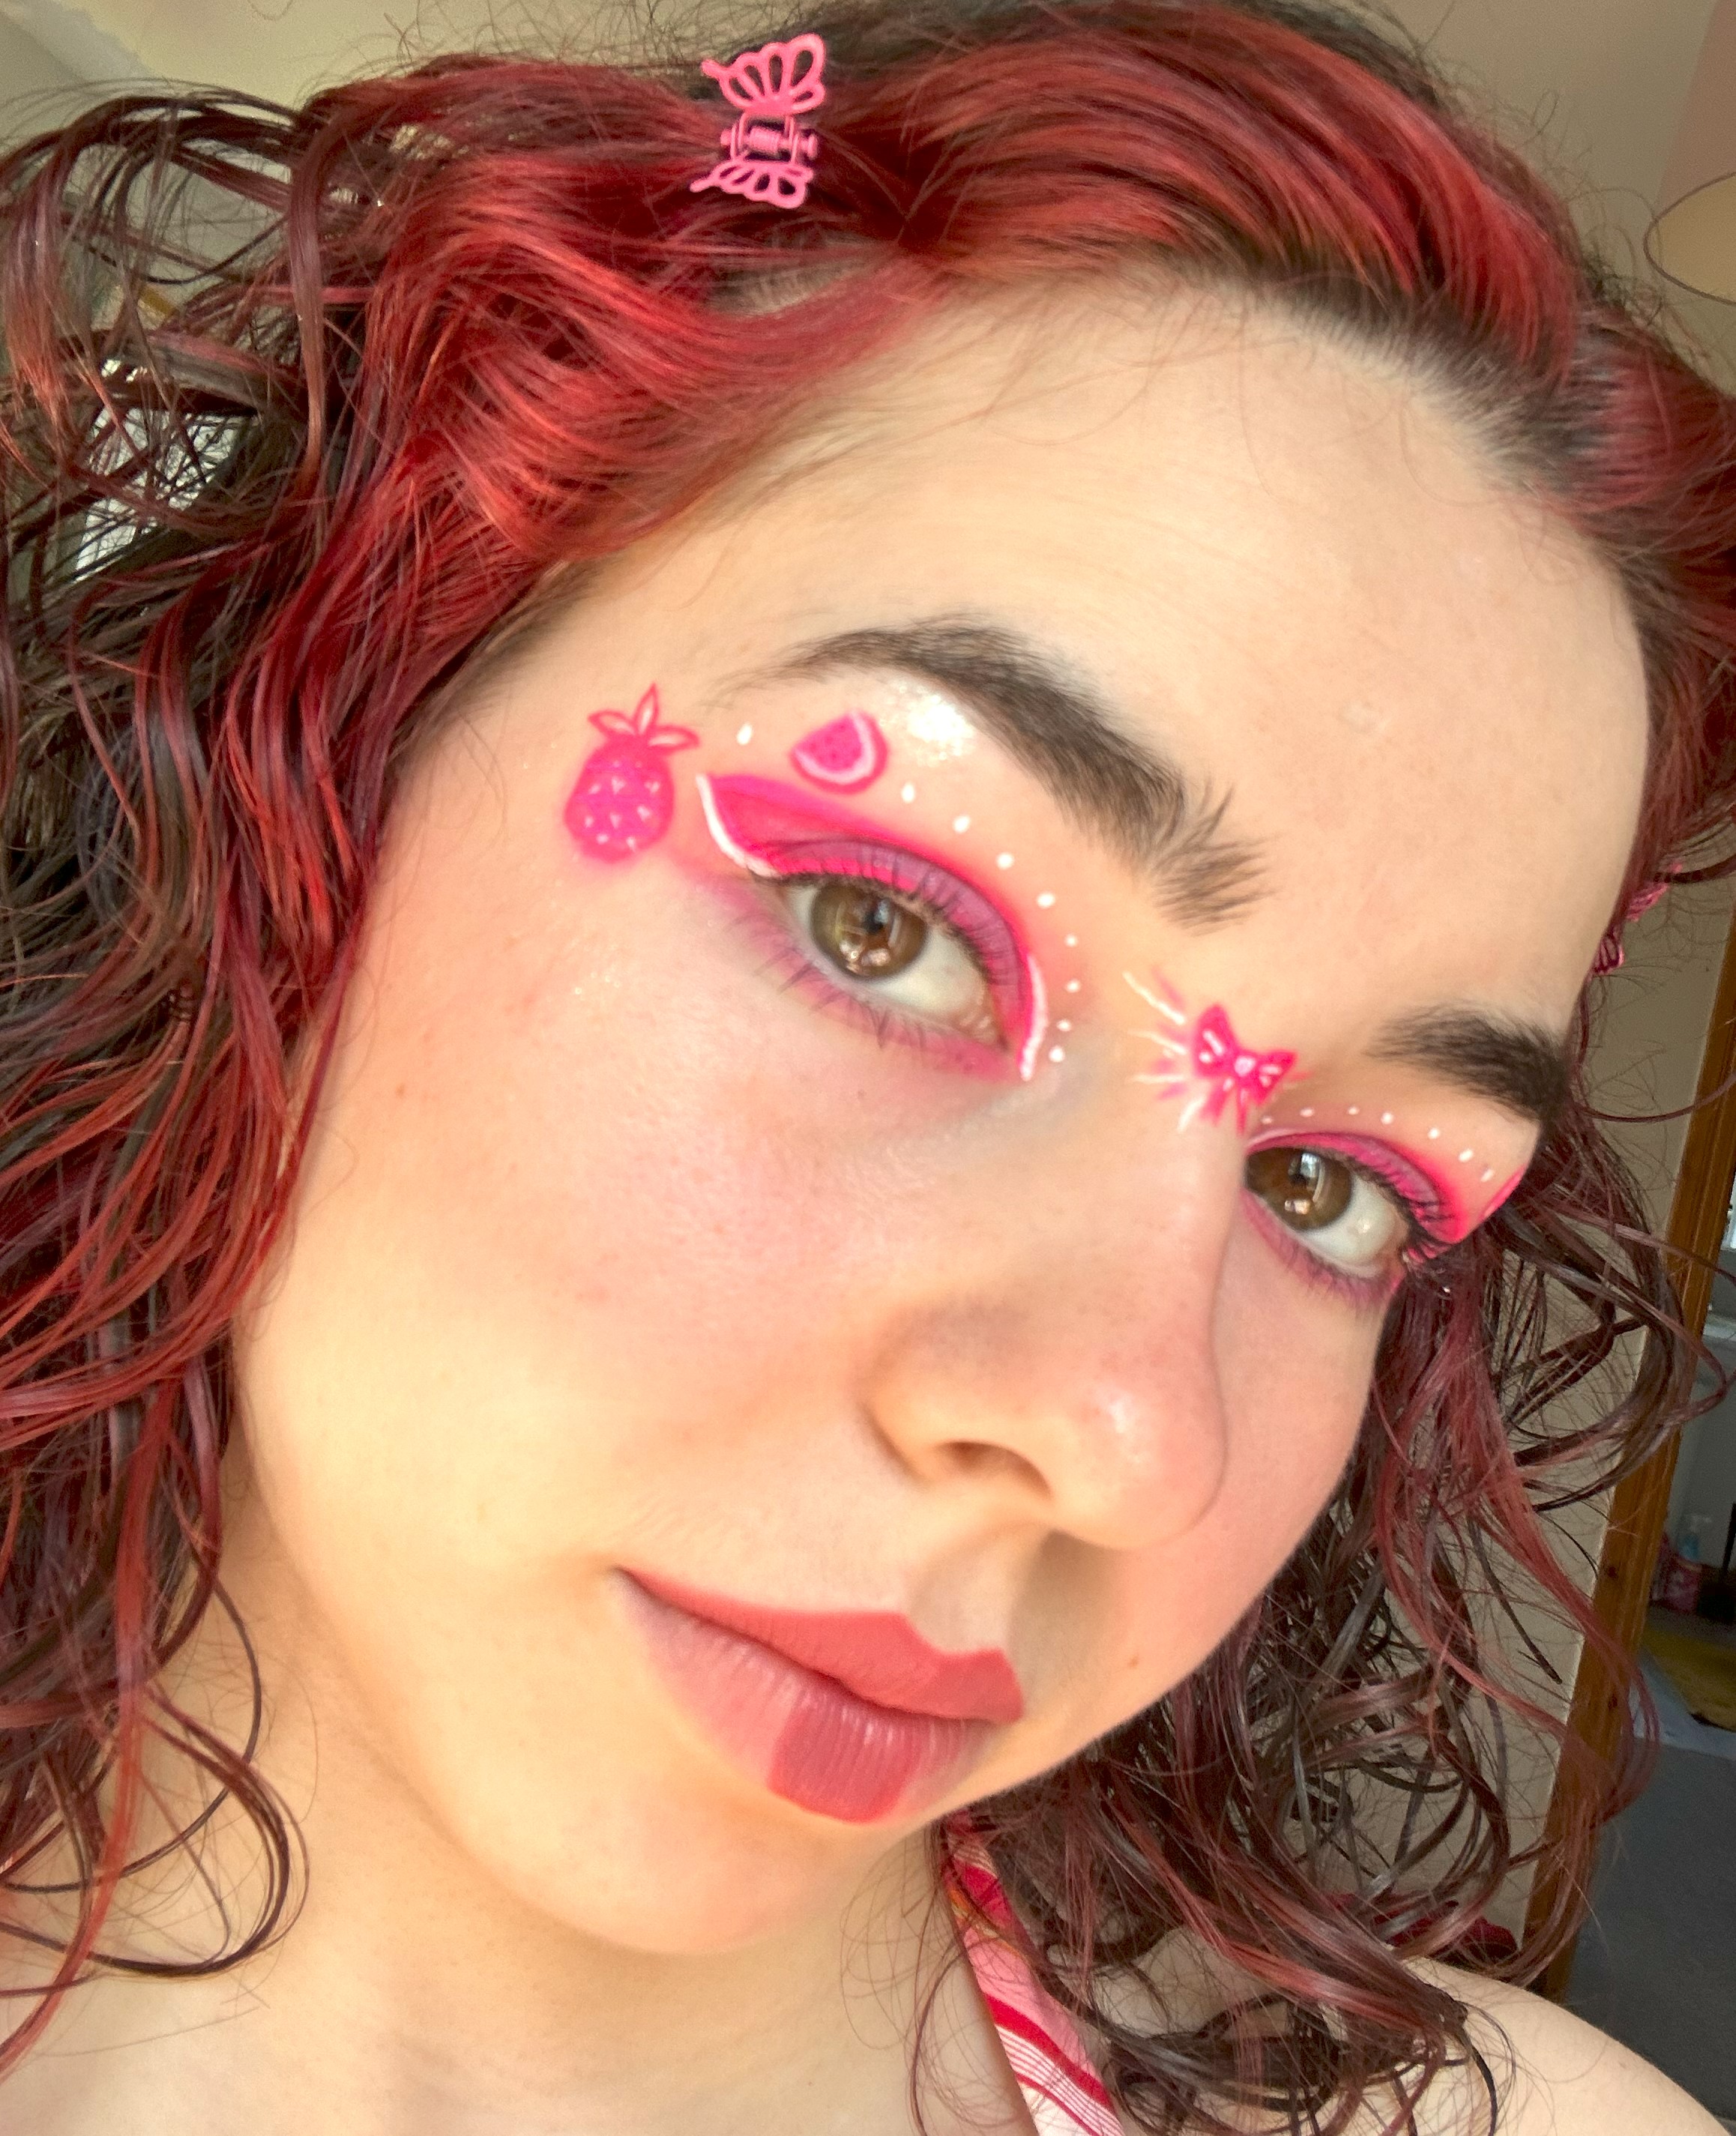
- After you’re happy with your base, its time to decide your design. I usually take inspiration from my outfits for my makeup looks. I used my upcycled top with pink fruit to inspire me for this look. I ended up putting a pink watermelon and pineapple on my lids and I loved it so much!
- I created the fruits using graphic liner palettes which luckily had 2 pinks. So I was able to add some kind of variation to the colour.
- After your design is decided and created, I like to add a highlight with white. White is “technically” a shade and not a colour, so I feel fine adding it to my looks as it helps to break up the monochrome a bit. Just add some white where you think it makes sense. I typically add it as an outline around my eyes look as I feel it makes it stand out a bit more.
2 – Blue Cloudy Skies
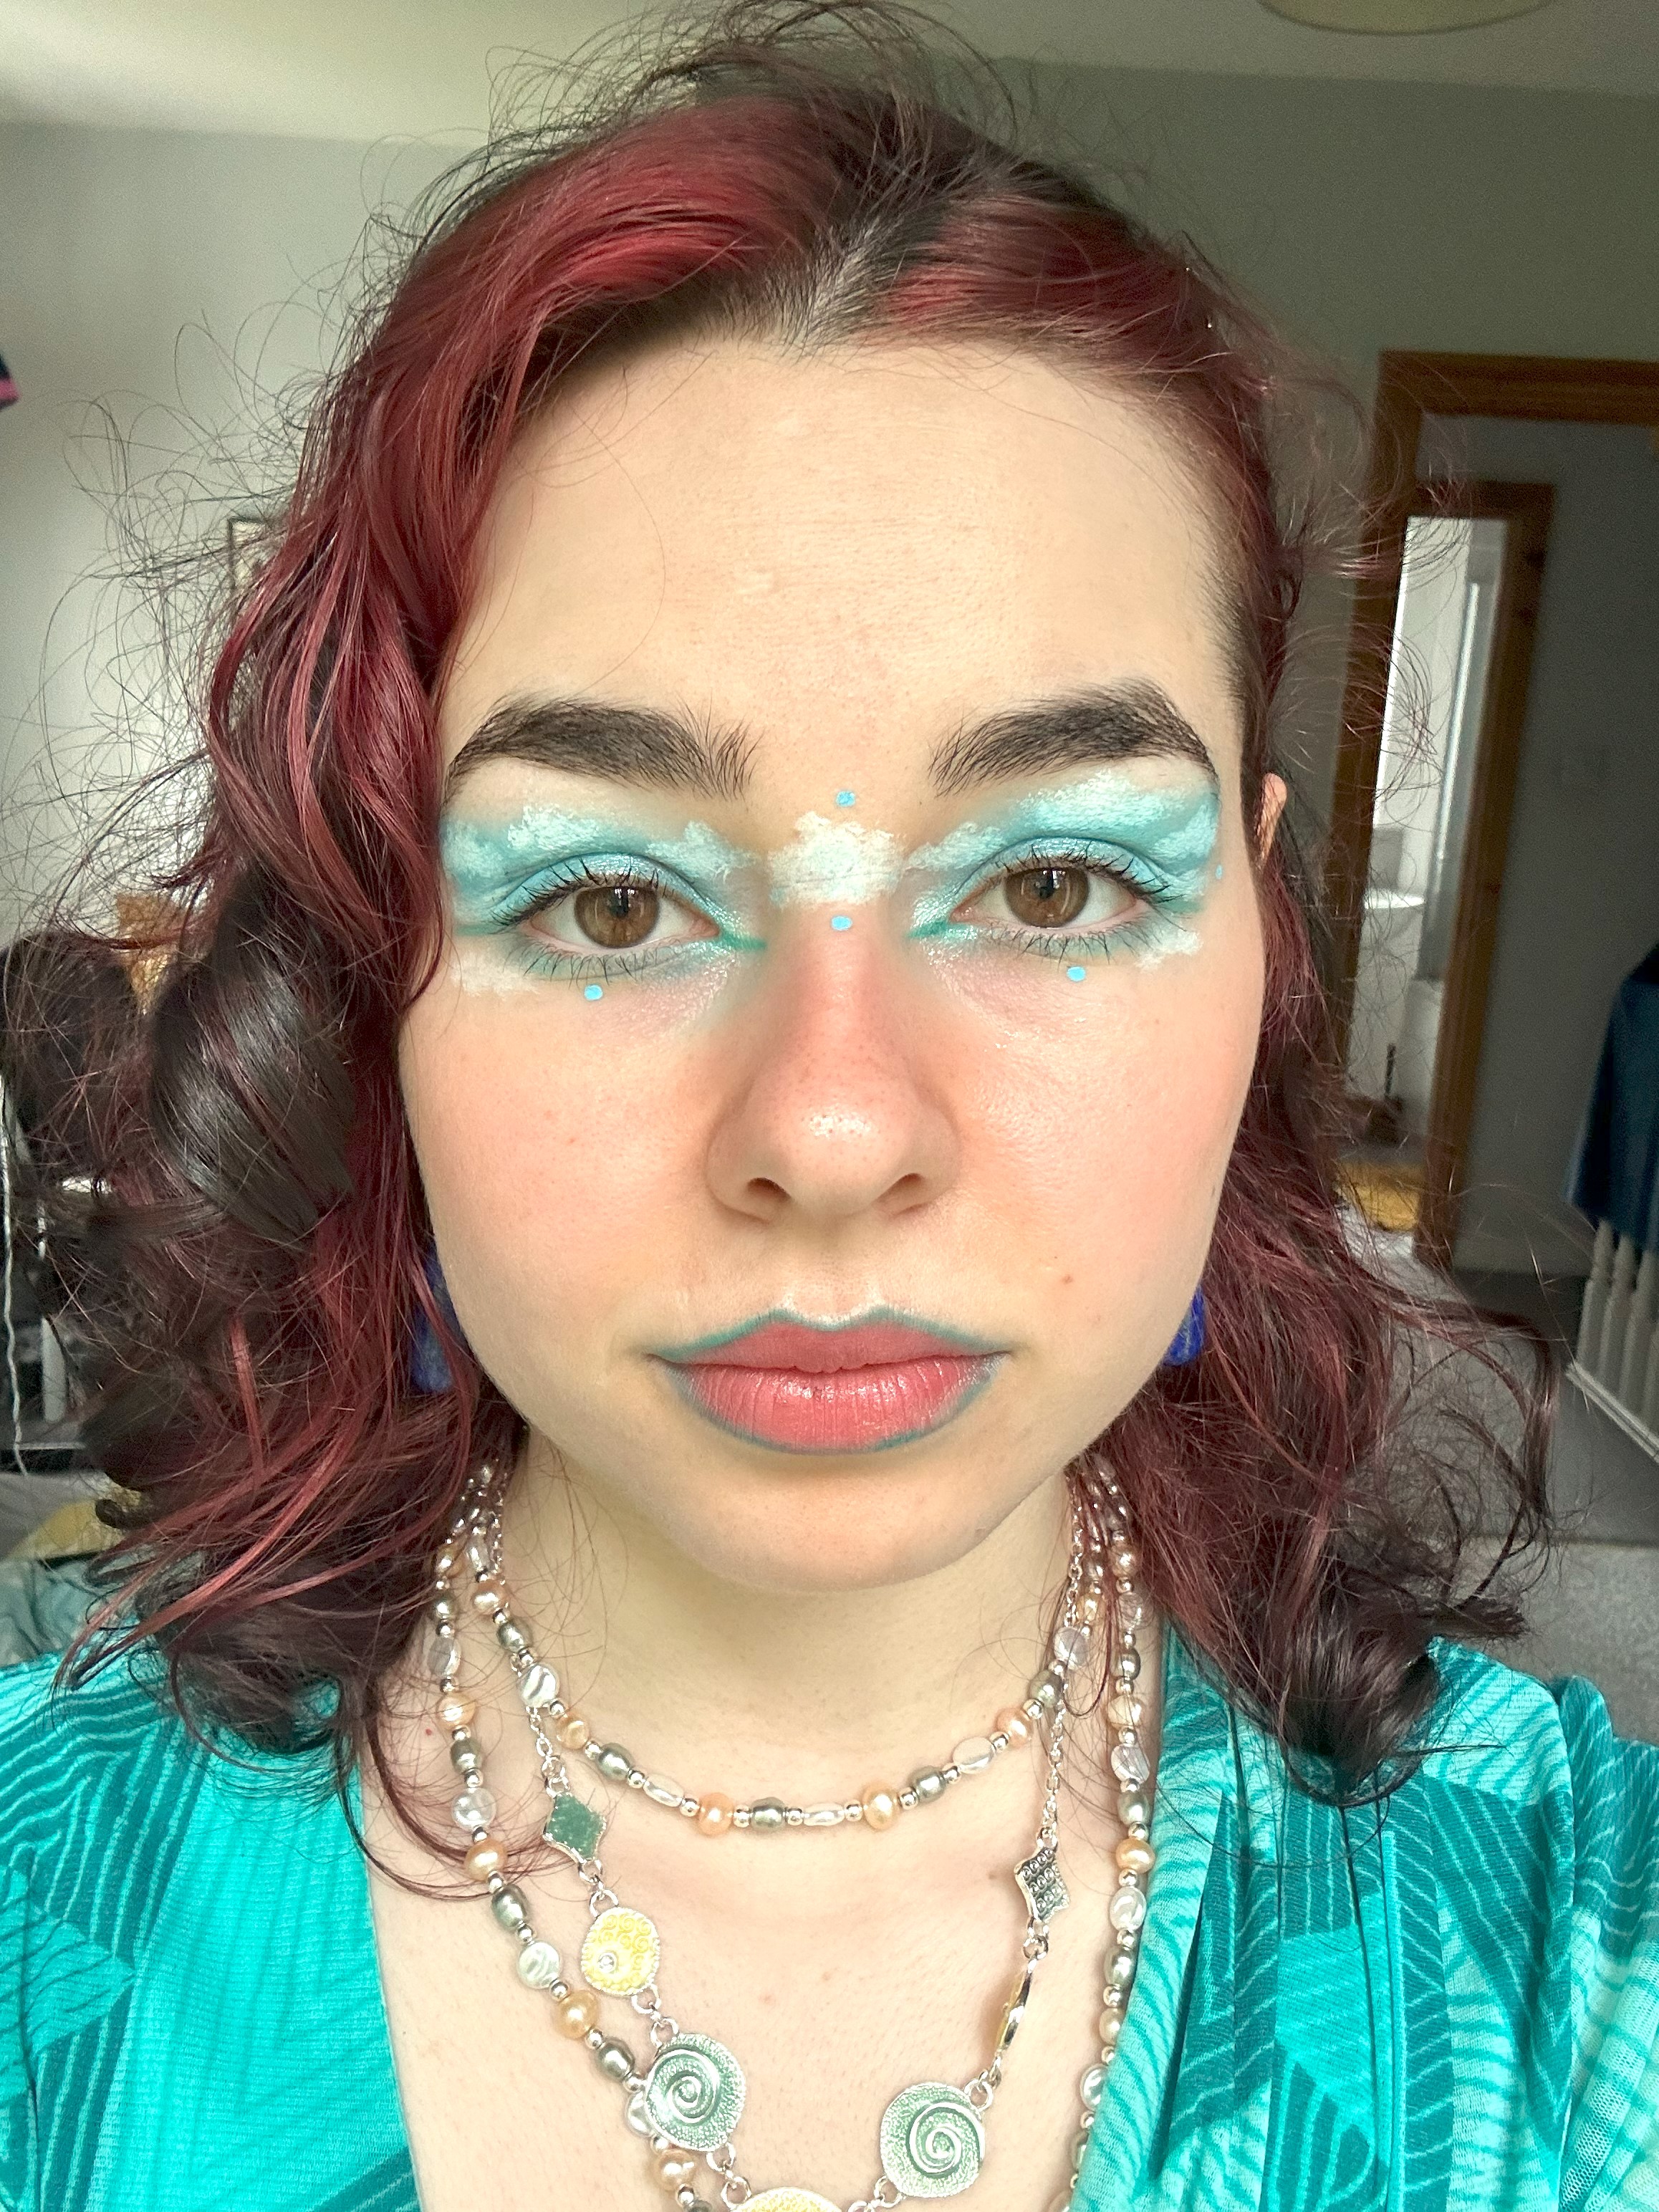
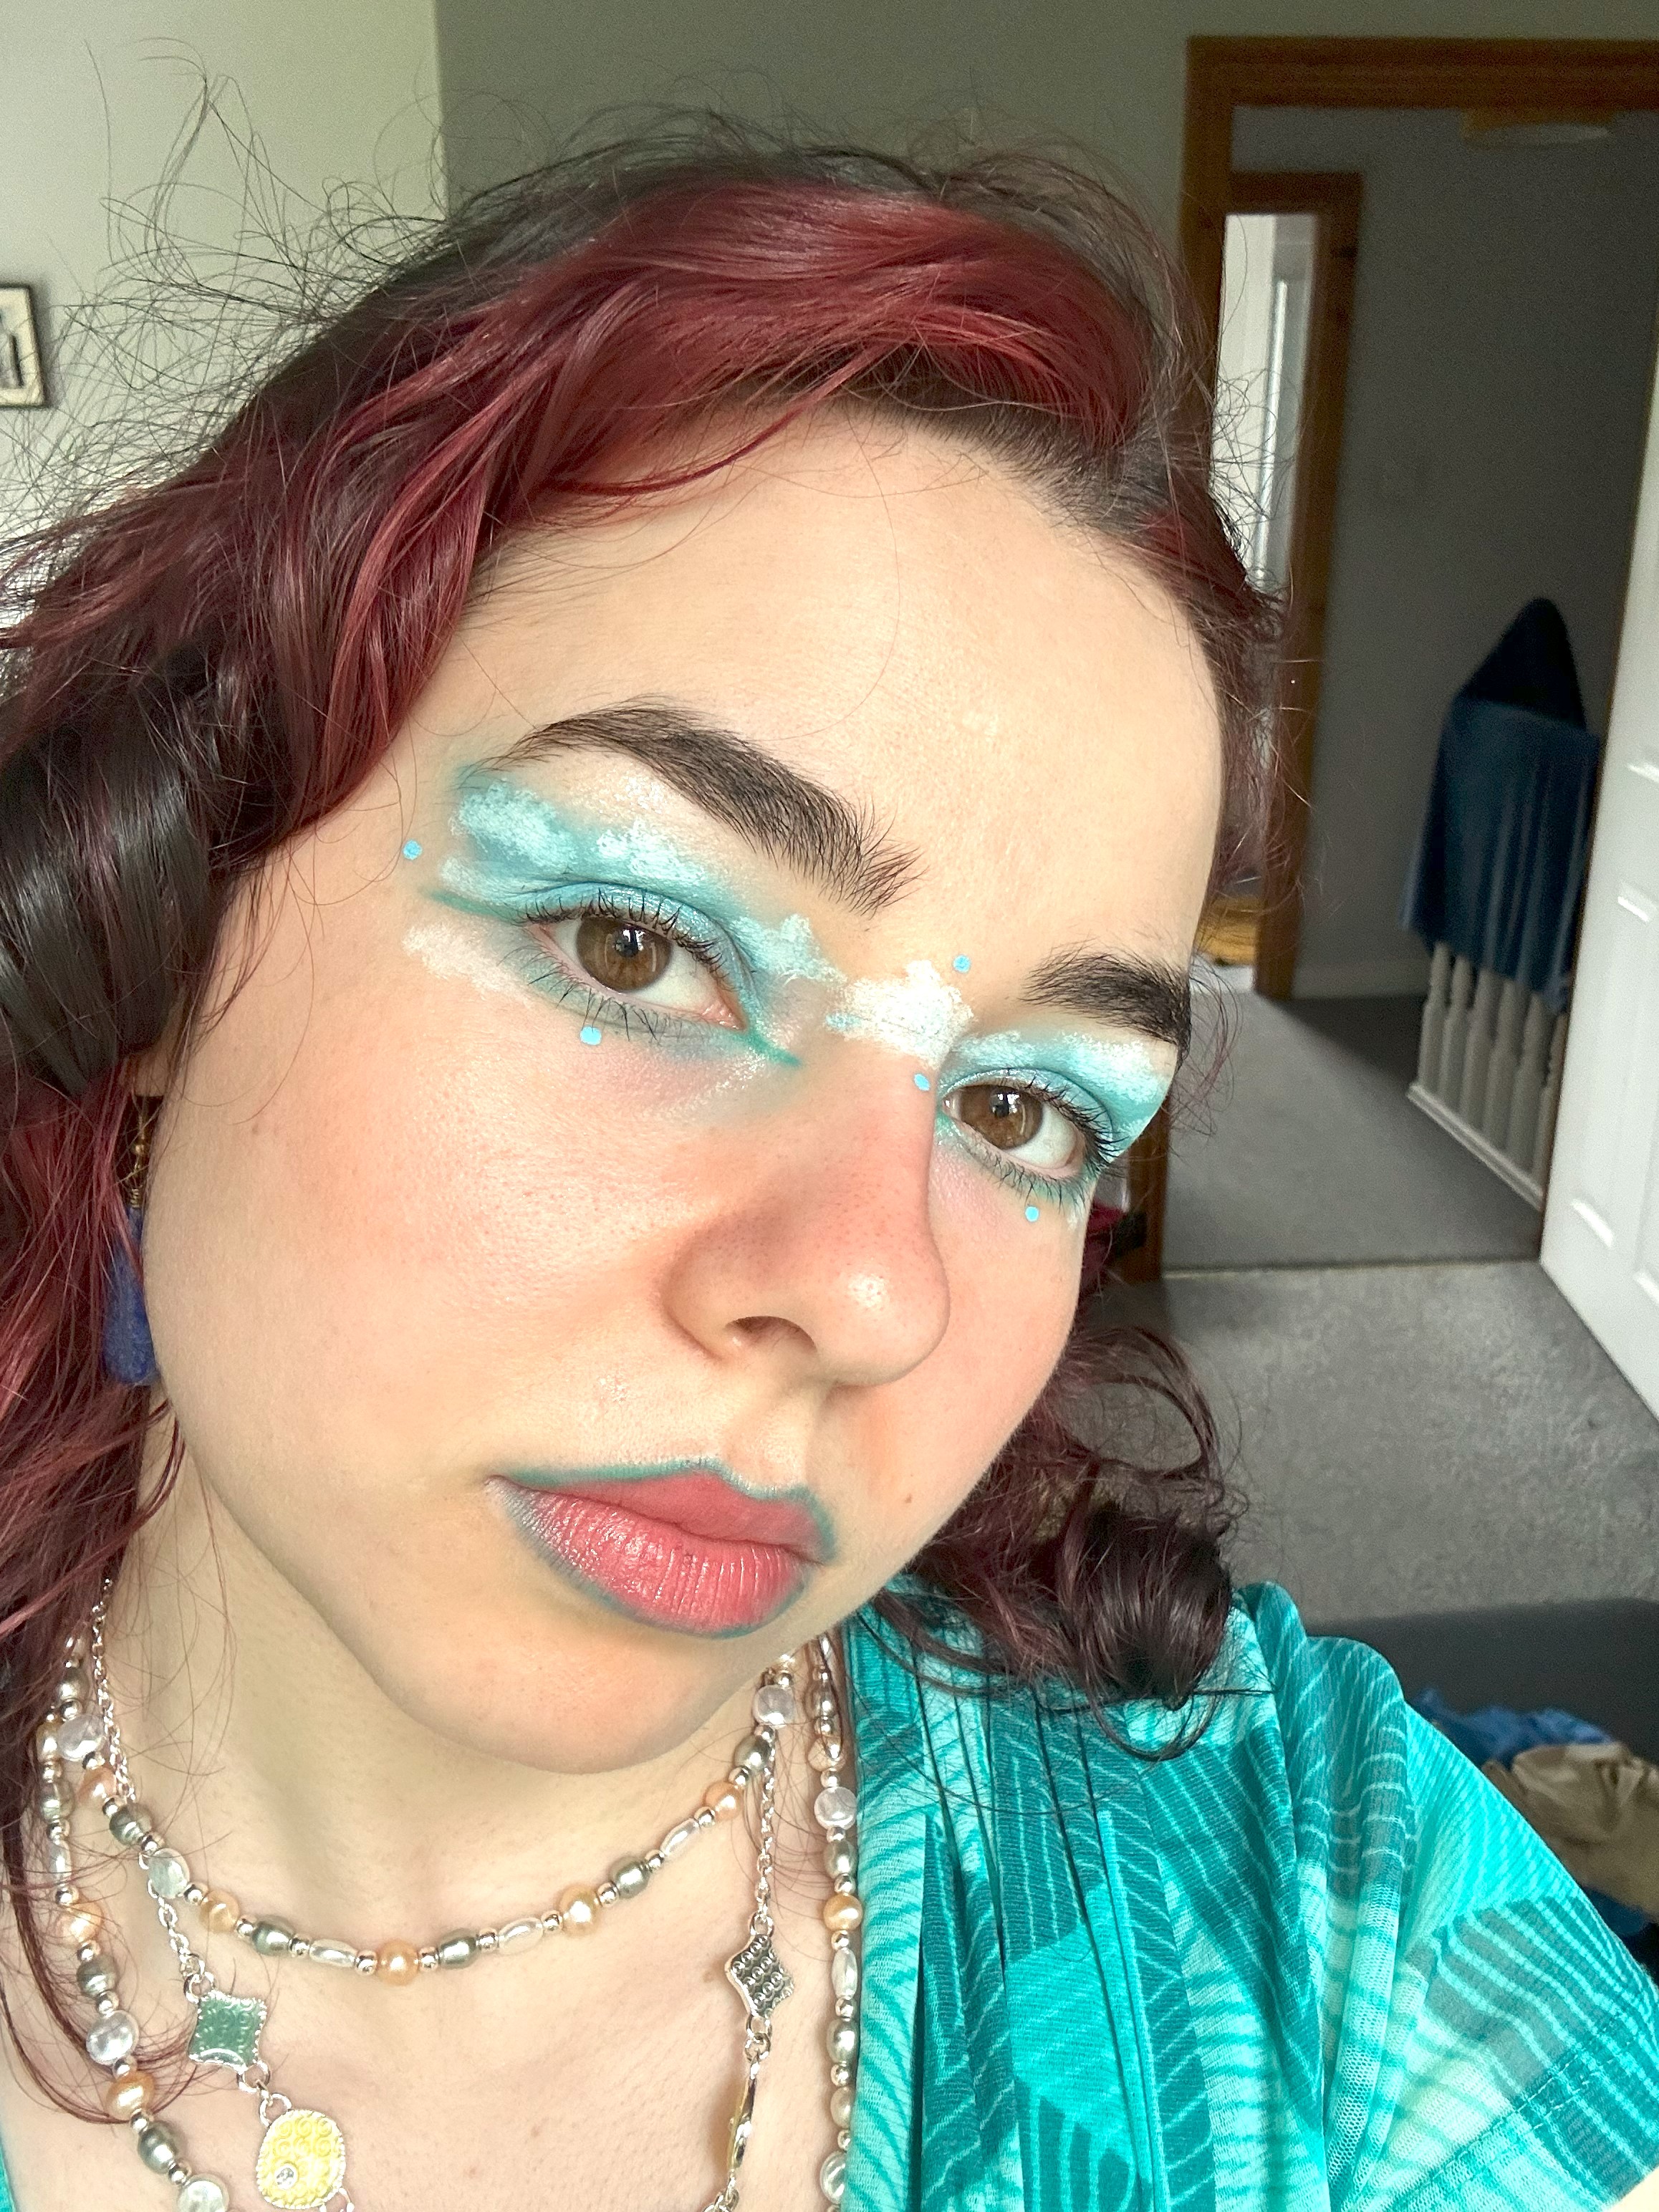
The second spectacular makeup look you can create is super easy but has great results!
For this look all you need is eyeshadow and a cotton bud and either some graphic liner or you can mix your eyeshadow with water and use that.
- Start off with your base which will either be a white primer in my case, or you can choose whatever base you have or need.
- Next apply your eyeshadow to your entire lid going as high as you want. I ended up going nearly to my eyebrows. For this look I went for blue, so I used a blue eyeshadow. But you can use whatever colours you want.
- Here comes the fun part. Take your cotton bud and pull on the cotton a bit until it is a bit looser and softer. Then you’ll want to either mix up some white graphic liner or mix your eyeshadow mix together. After that just dip your cotton bud end into the mixture and dab it onto your eyelids in small dabs that create a cloud effect! I created quite a few clouds on my lids because I have a lot of eyelid space, but you can do as many as you wish.
- That is how you create super easy but breathtaking clouds in your makeup look! I think this look is really spectacular and I was so amazed the entire day!

3 – Flowery Sunset!
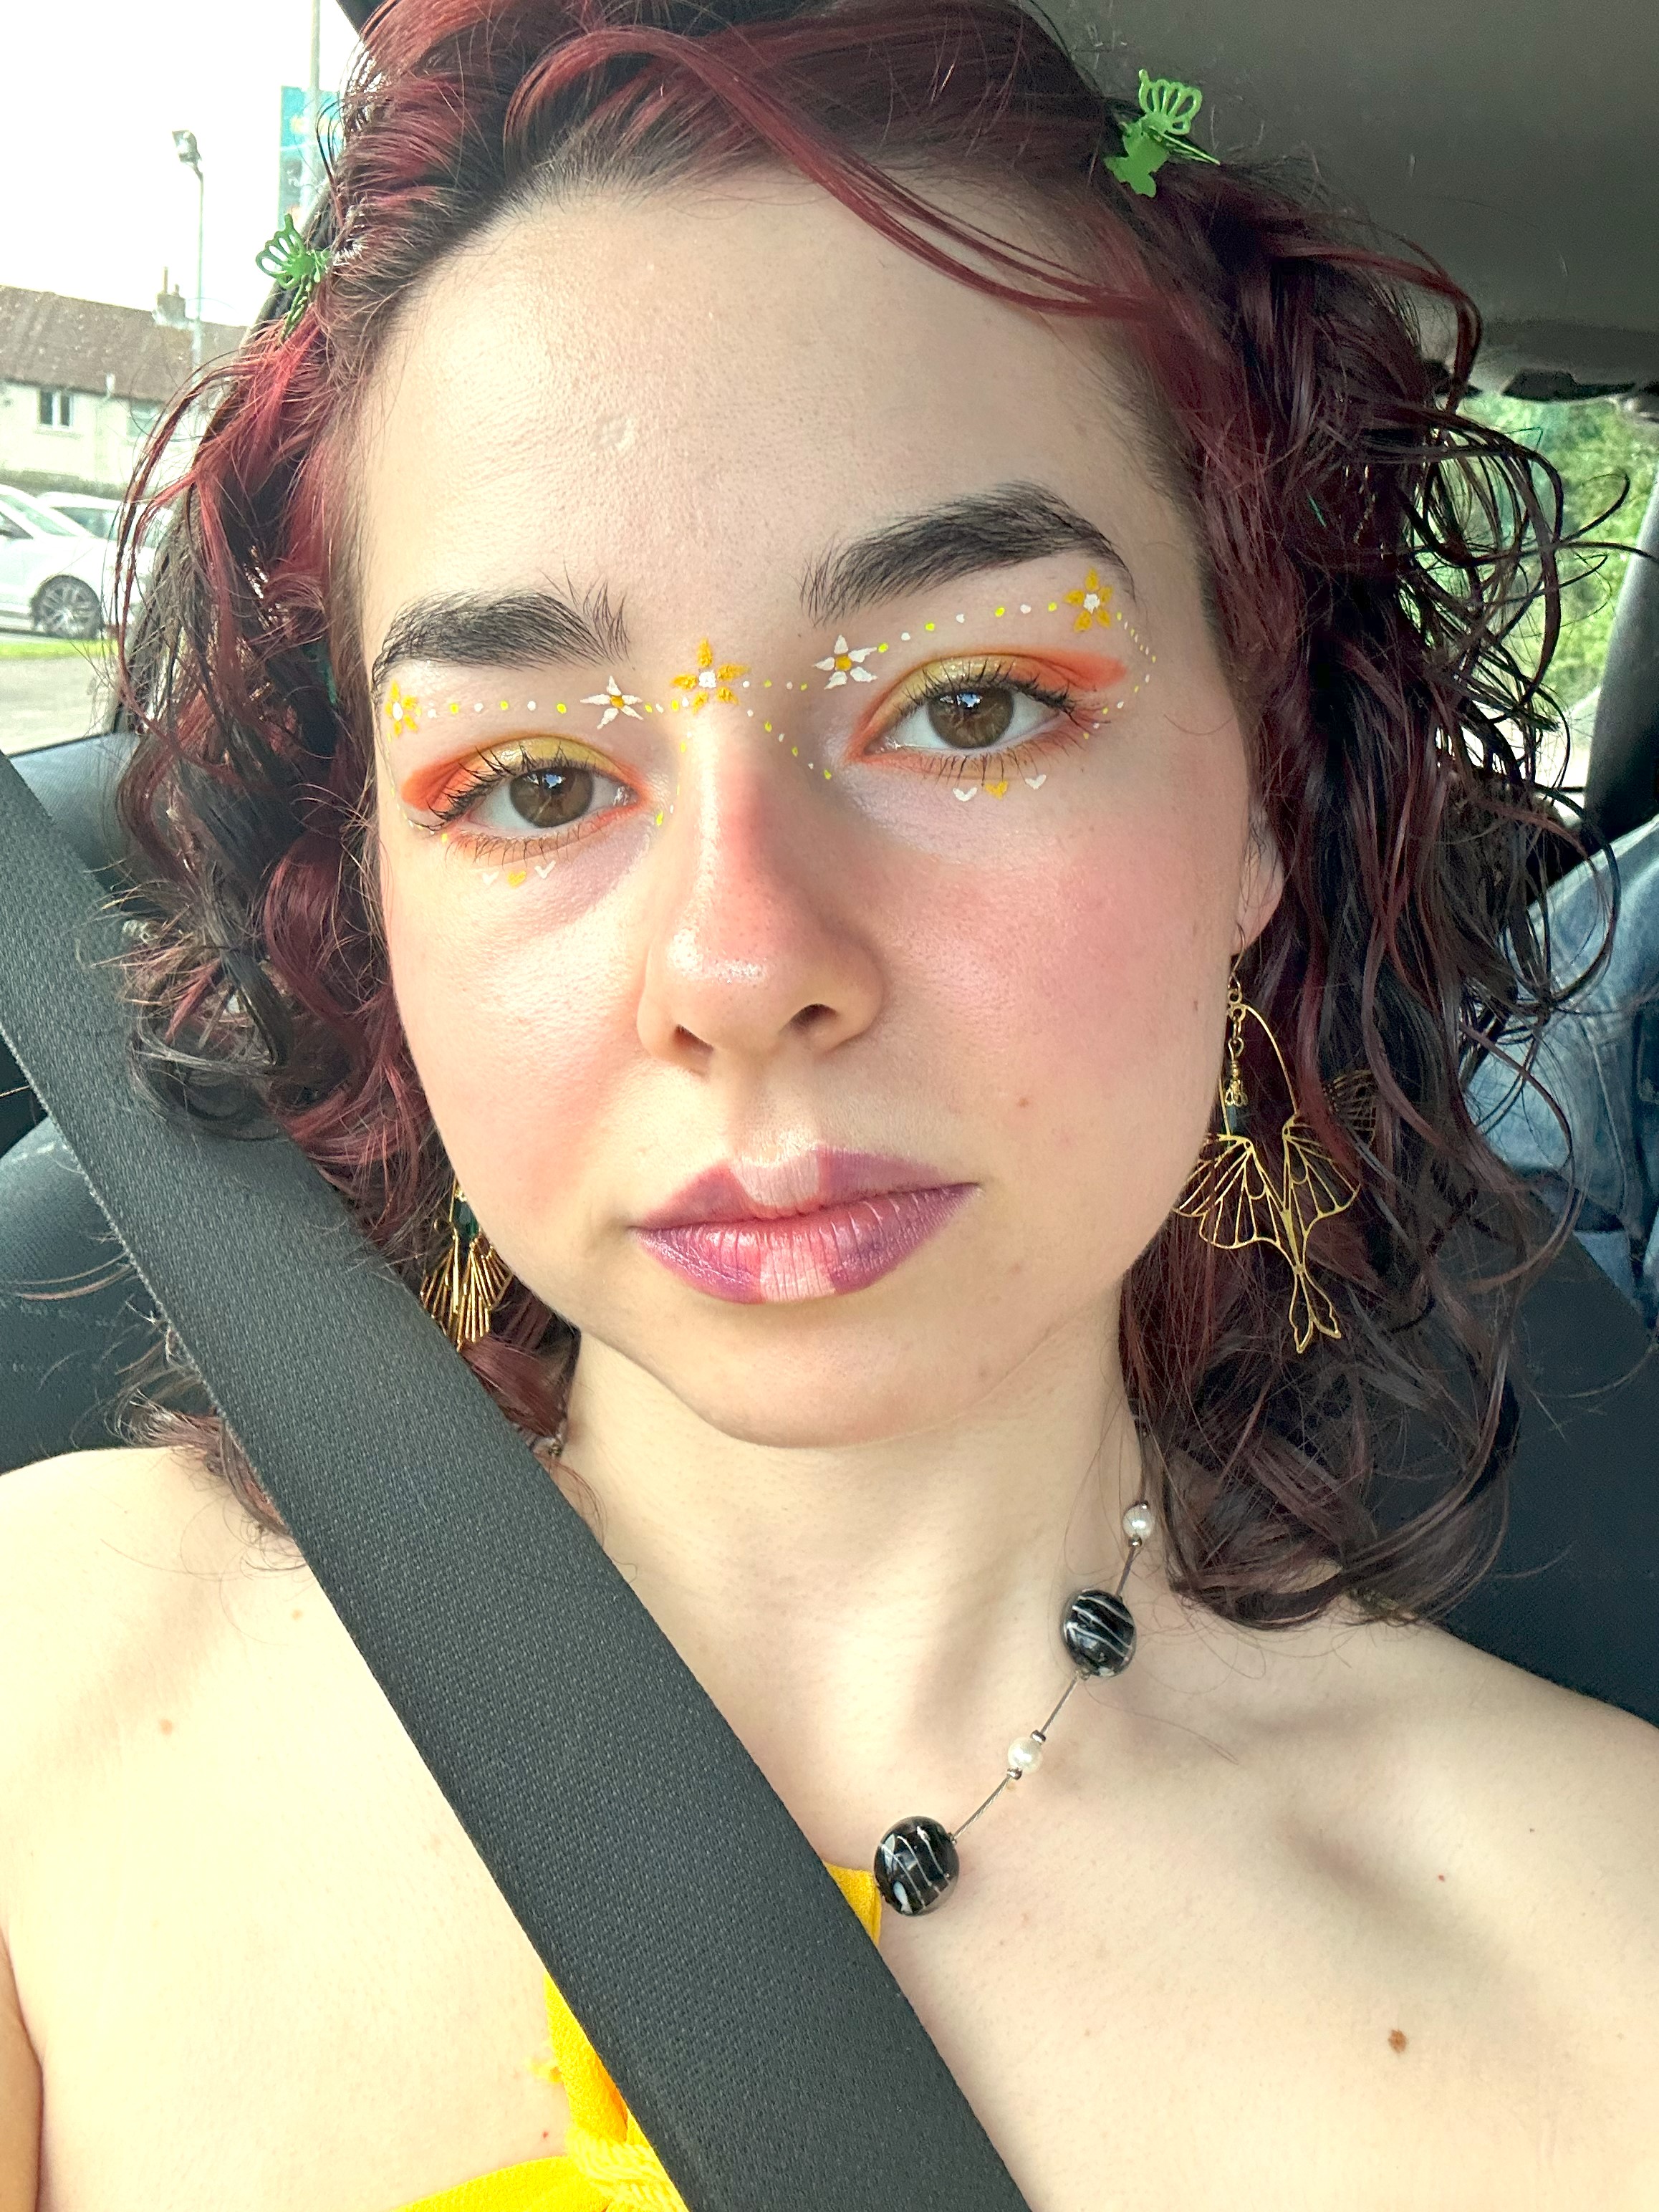
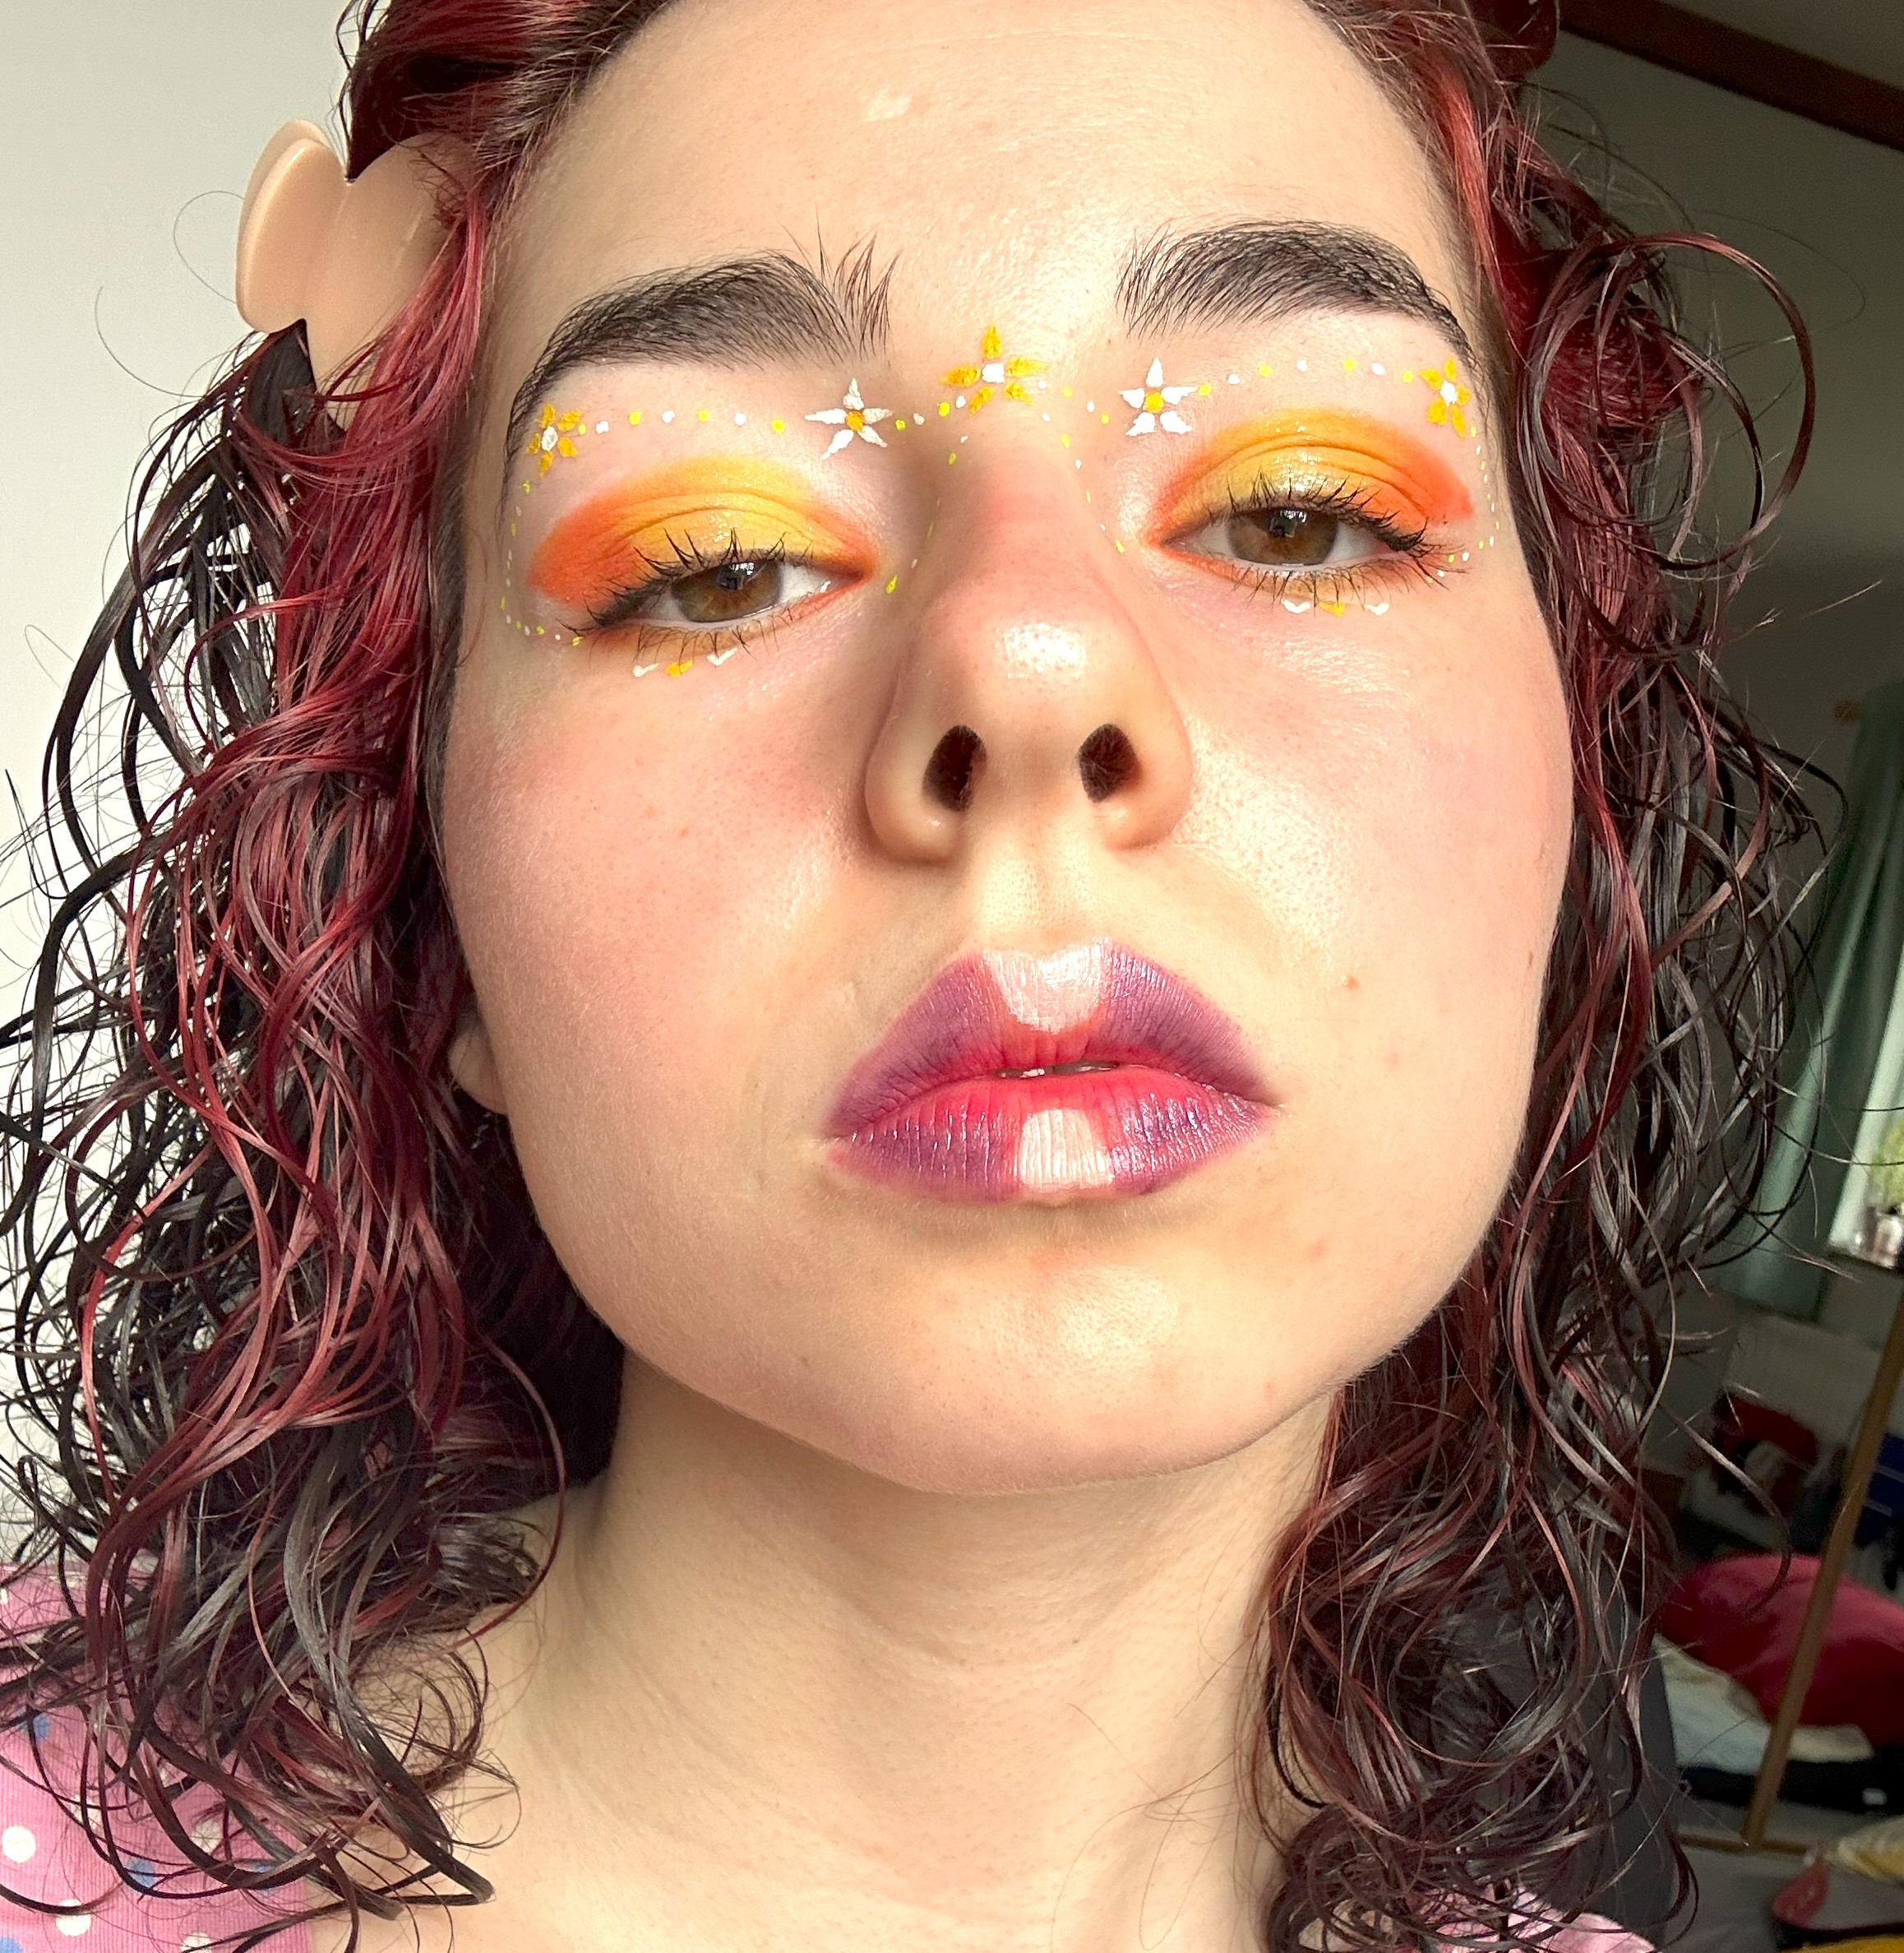
Last but not least. This spectacular makeup look is going to feature the colour yellow
For this look all you need are eyeshadow and graphic liner (or again you can mix some eyeshadow with water and use that as your graphic liner).
- Again, start off with your base which will either be a white primer in my case, or you can choose whatever base you have or need.
- Then go in with some yellow eyeshadow on your inner eyelid. You can of course use whatever colours you want or have.
- After that try and find a colour that is a few shades darker than the colour on your inner corner as were going to create an ombre effect. Apply the darker colour to the end of your eyelid and if you’re like me, you like to add a triangular flick at the end.
- I was lucky enough to find a colour in-between the light and the dark shades on my eyes, so I added that in the middle and blended it all out. But if you don’t, just blend the light into the dark and that will have the same effect.
- Next up is the graphic design. I wanted to create white and yellow flowers on my eyes, but you can decide any design you want or even no design if you like the ombre look already!
- To make the flowers; I just created 5 dots in the shape of a flower and then I pulled the shape out a little bit to give the petals a tapered end. After that I just added a dot of the alternating colour in the centre to finish the flower off.
- Lastly, the last thing I did was add some yellow and white dots to frame my makeup look which I also think adds a beautiful dimension to the look as a whole!

