As a neurodivergent person I have had a lot of hobbies through the years, and I have always obsessed over them with great Vigour but they all inevitably lose my attention when another shiny new hobby finds its way to me! But that doesn’t mean I don’t still love what that hobby did for me creatively and that also doesn’t mean I won’t come back to it from time to time. Over the years I have collected enough from all my hobbies so that now I have a whole area of my living room dedicated to the storage of all of my bits and bobs (who else can relate lol)! I have accepted that long term hobbies are not in my nature and honestly; I don’t know why we shouldn’t, as people, try to do as many things and experience as many things as possible! I used to have a lot of shame, feeling like I had such a short attention span that even children would stick to something longer than I could but now I just see things for what they can teach me and how I can grow creatively as well as gaining more and more skills! As the saying goes, “A jack of all trades is a master of none, but often-times better than a master of one.” So without a further ado here is the list!
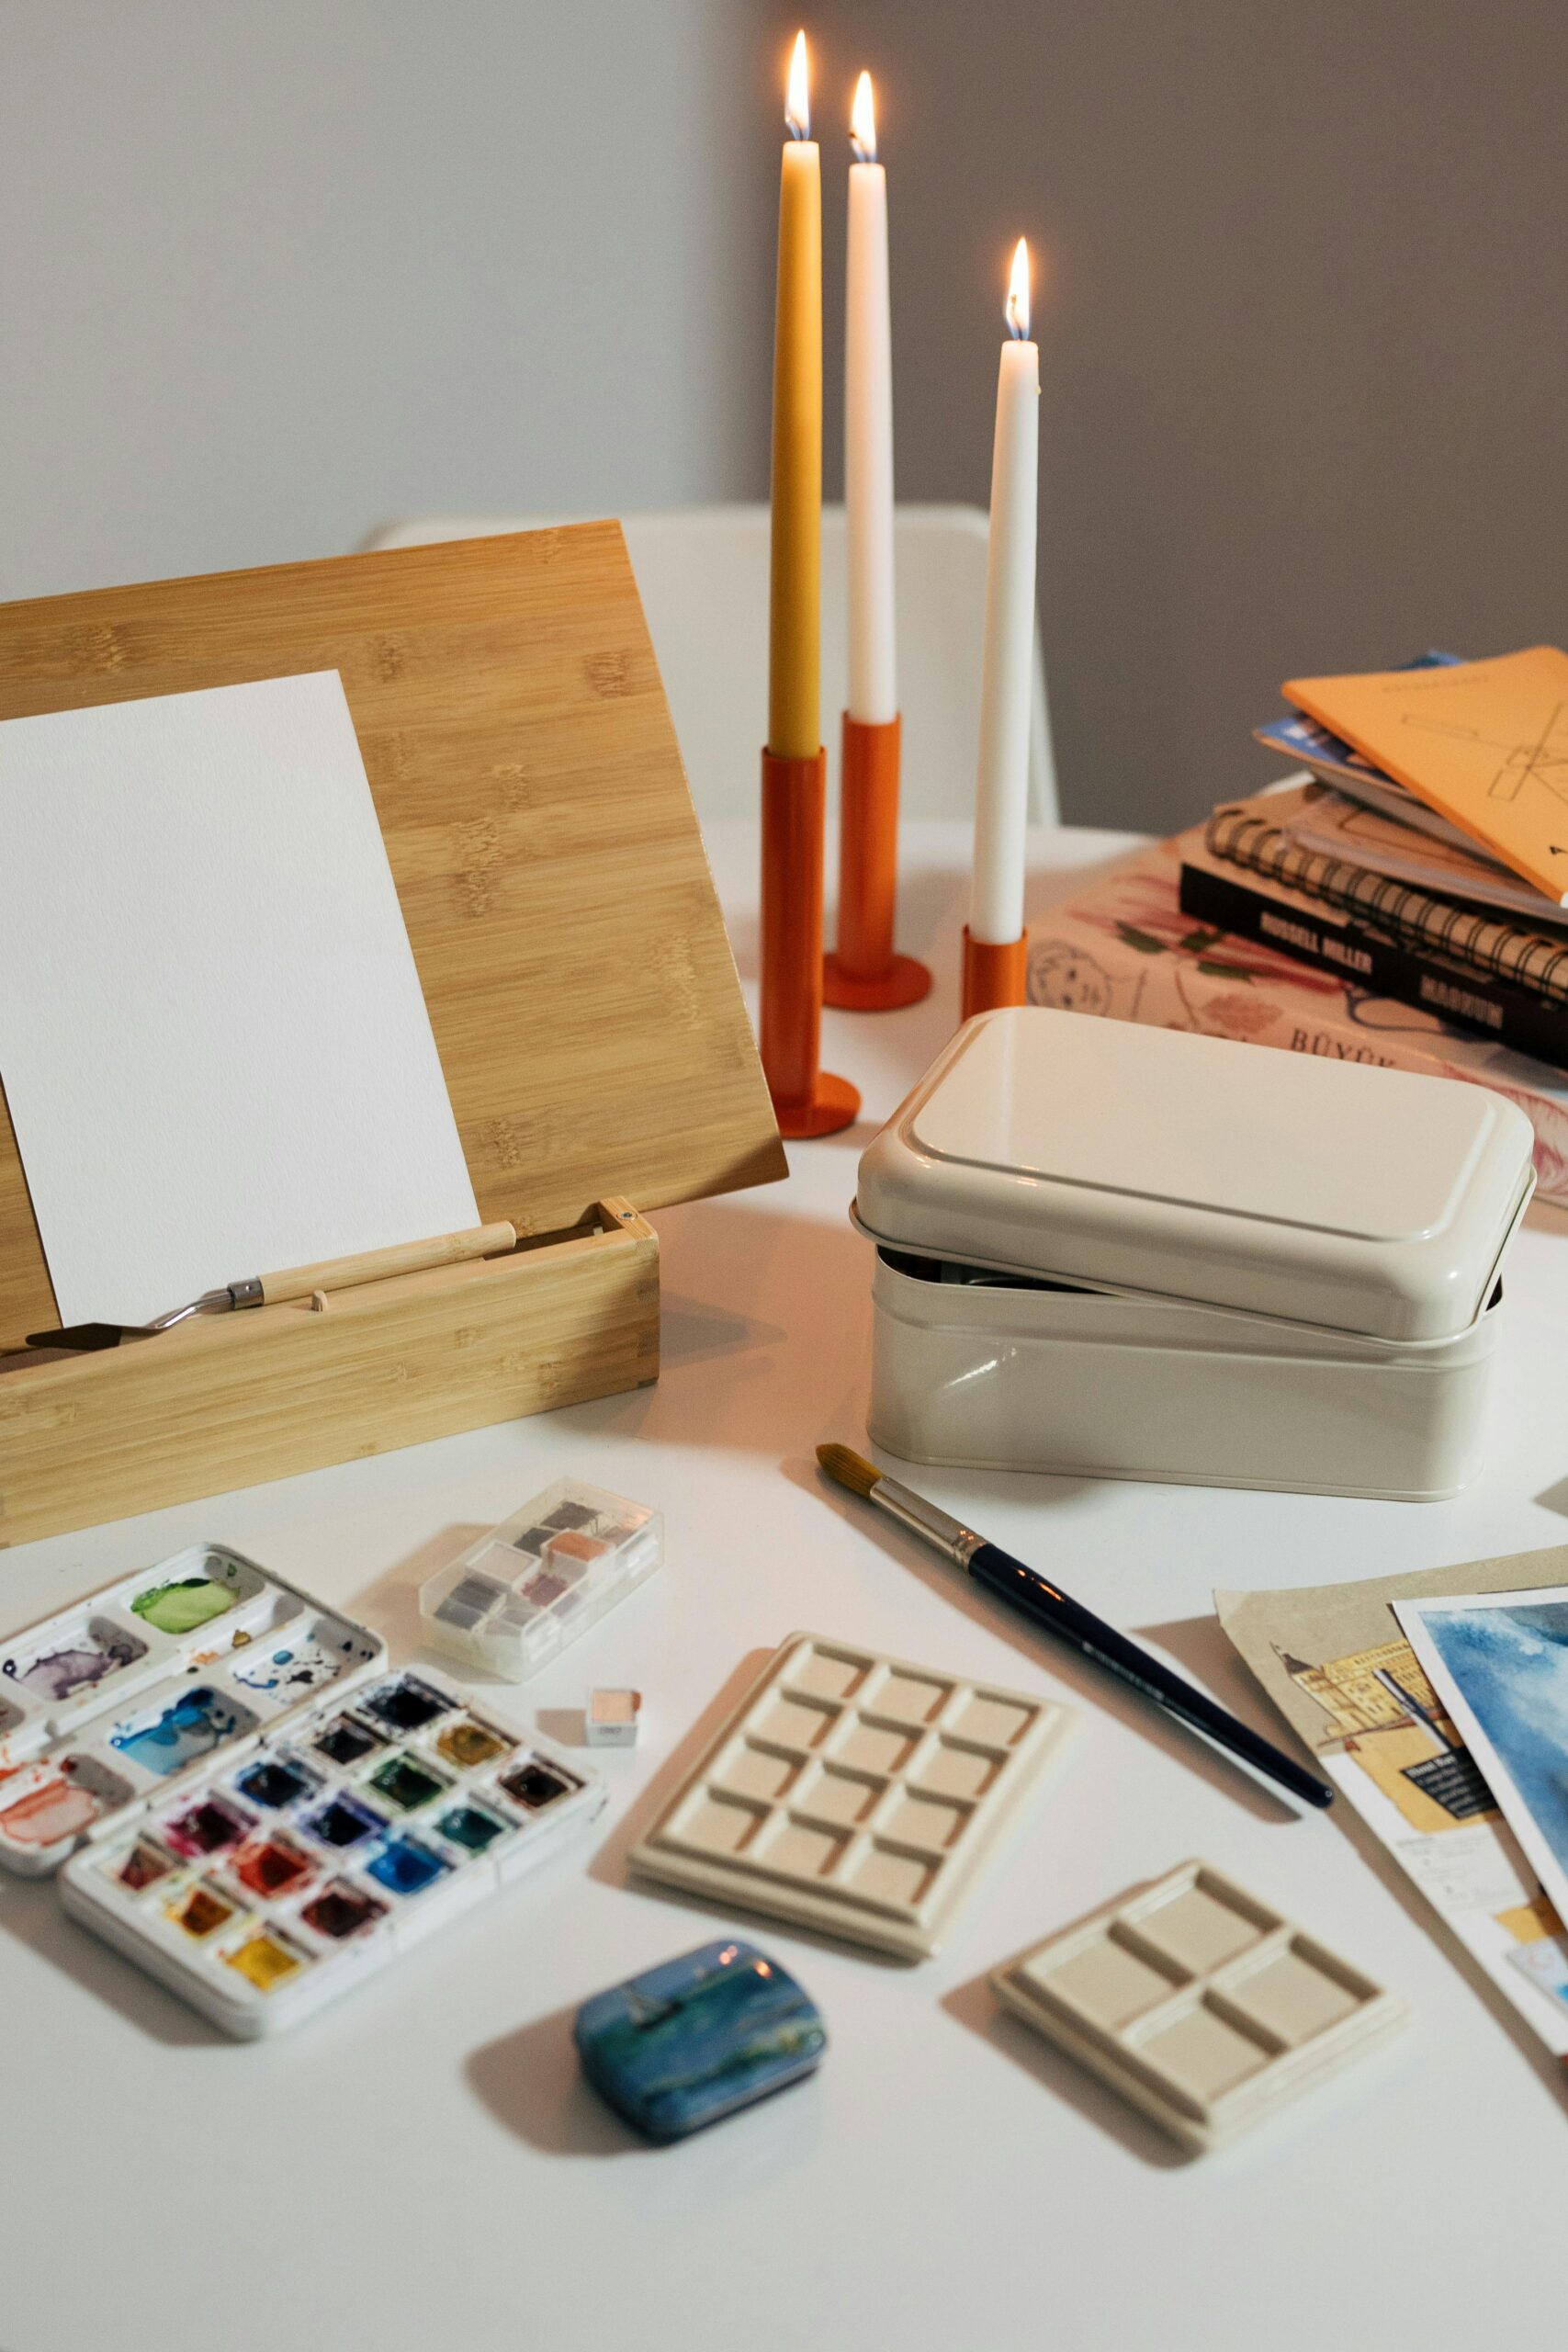
- The first hobby on this list is a classic; Painting!
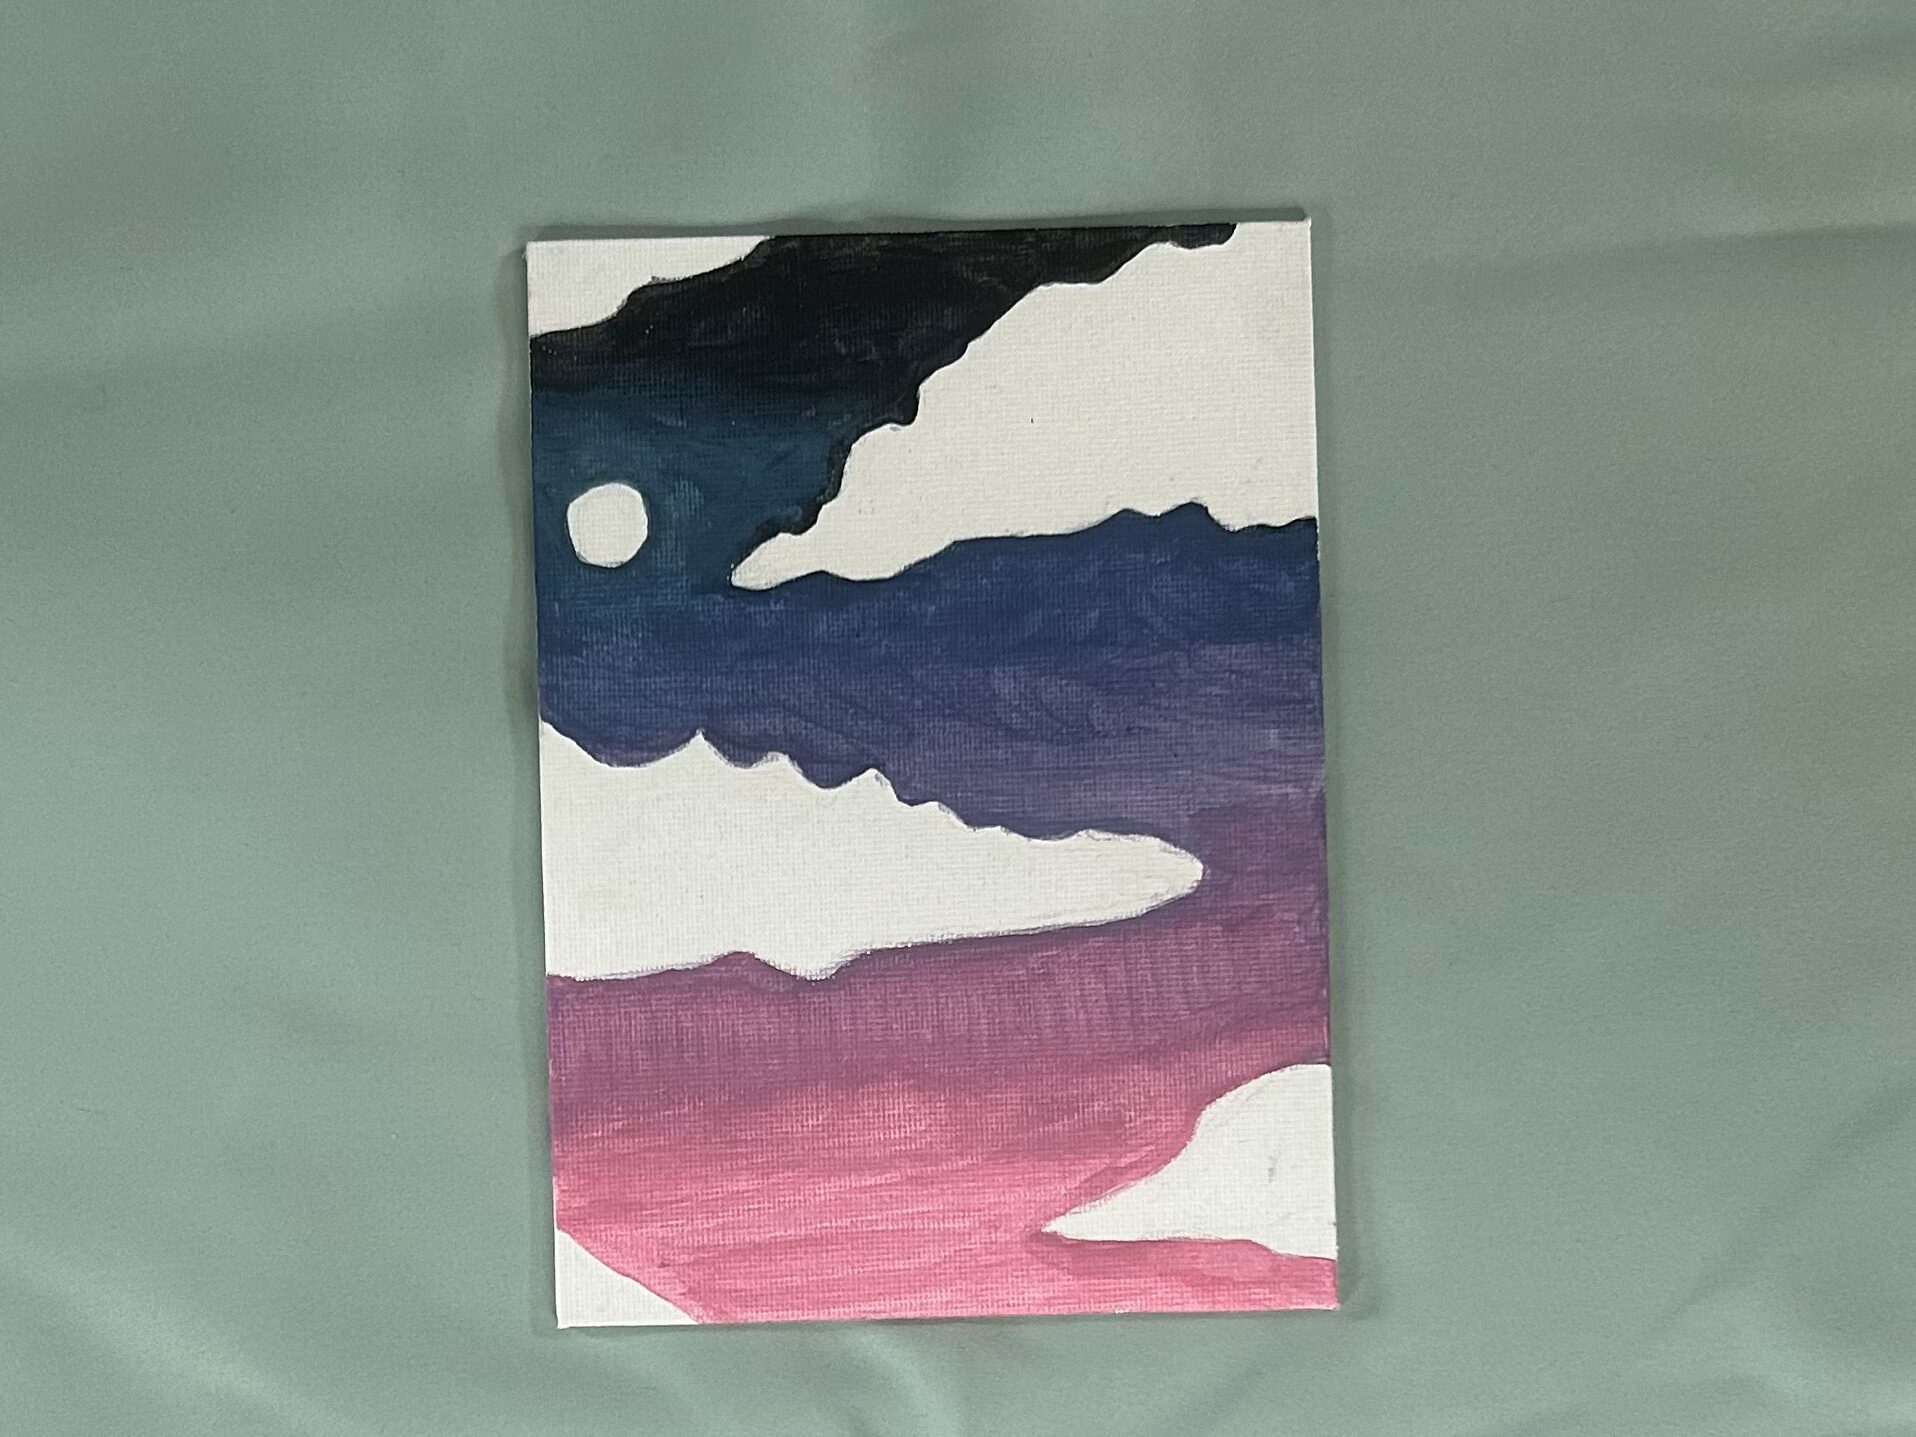
Now I know what you’re thinking; didn’t she say it would be easy? Well painting is very easy; its just using a brush to deposit some paint pigment onto a blank surface; which could be paper, canvas, cardboard, the walls, your phone case etc, anything you want! My mother is an artist and so I grew up watching her painting and drawing and being generally a beautiful creative spirit and I always felt like any paintings or drawings I did were never as good as hers and it used to really discourage me, but I now realise that any creative practice cannot thrive within constraints. In my case, I had put constraints on myself that served no purpose for me and hindered my creative spirit. The best tip for painting is to start off super easy; look up easy painting for beginners and copy one you resonate with and when you start off slow you can grow your abilities as well as your confidence which will then help you to go onto more and more intricate paintings! The worst thing you can do is start with something that’s a little outside of your abilities as this will create frustration and disappointment which is awful for your creative flow!
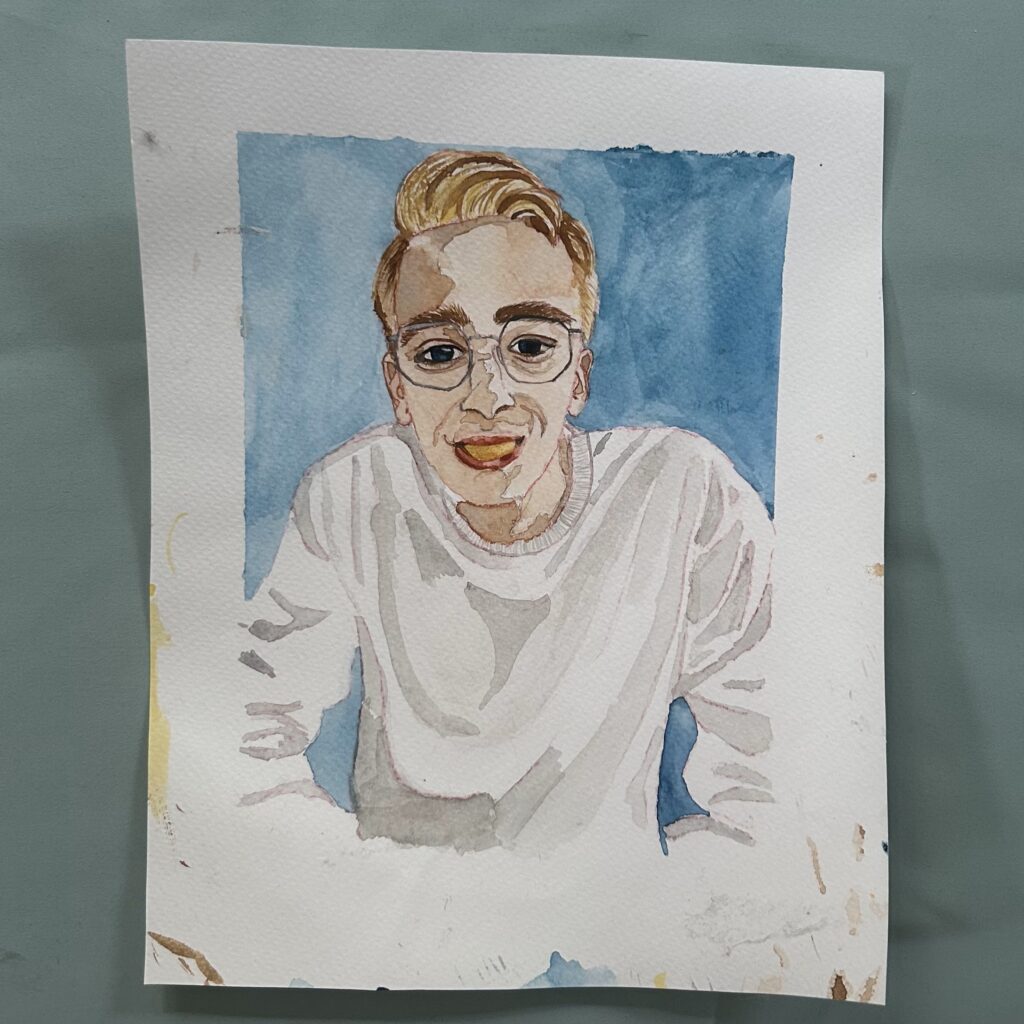
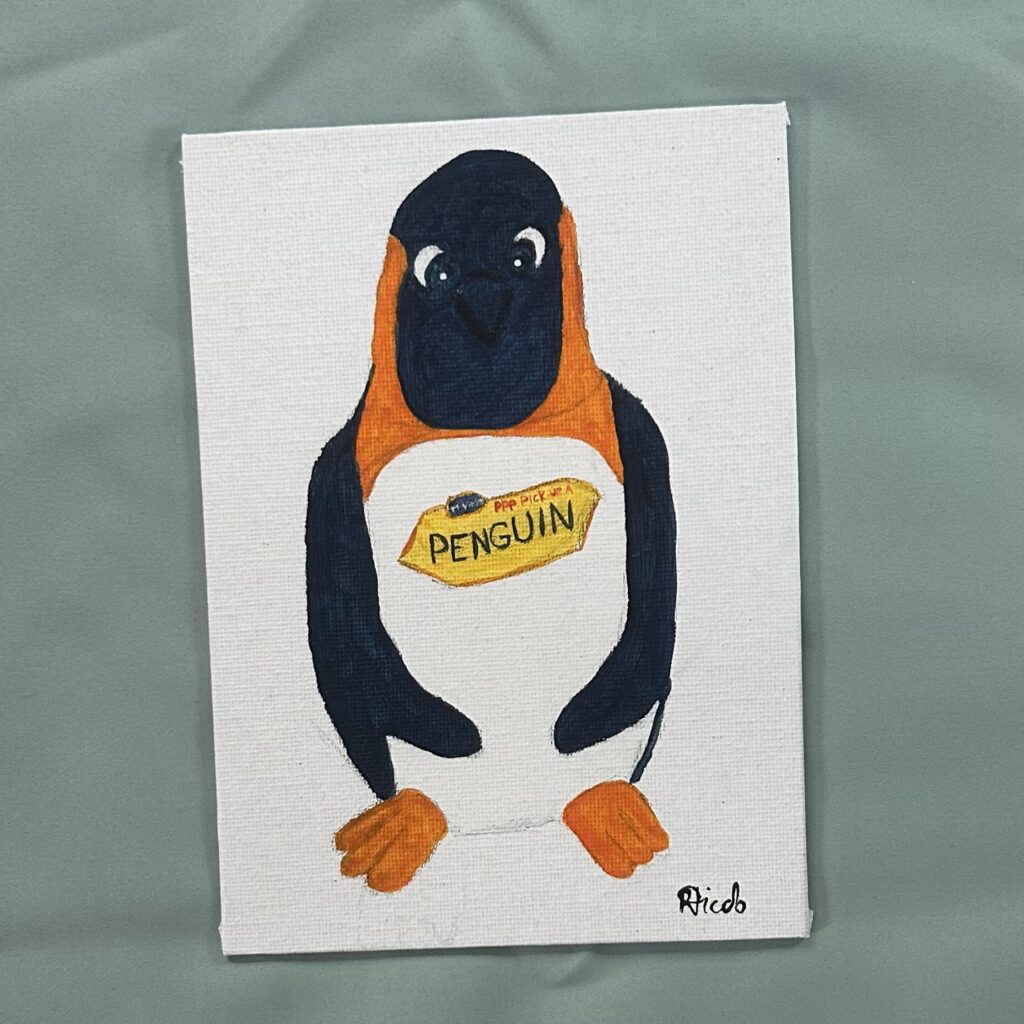
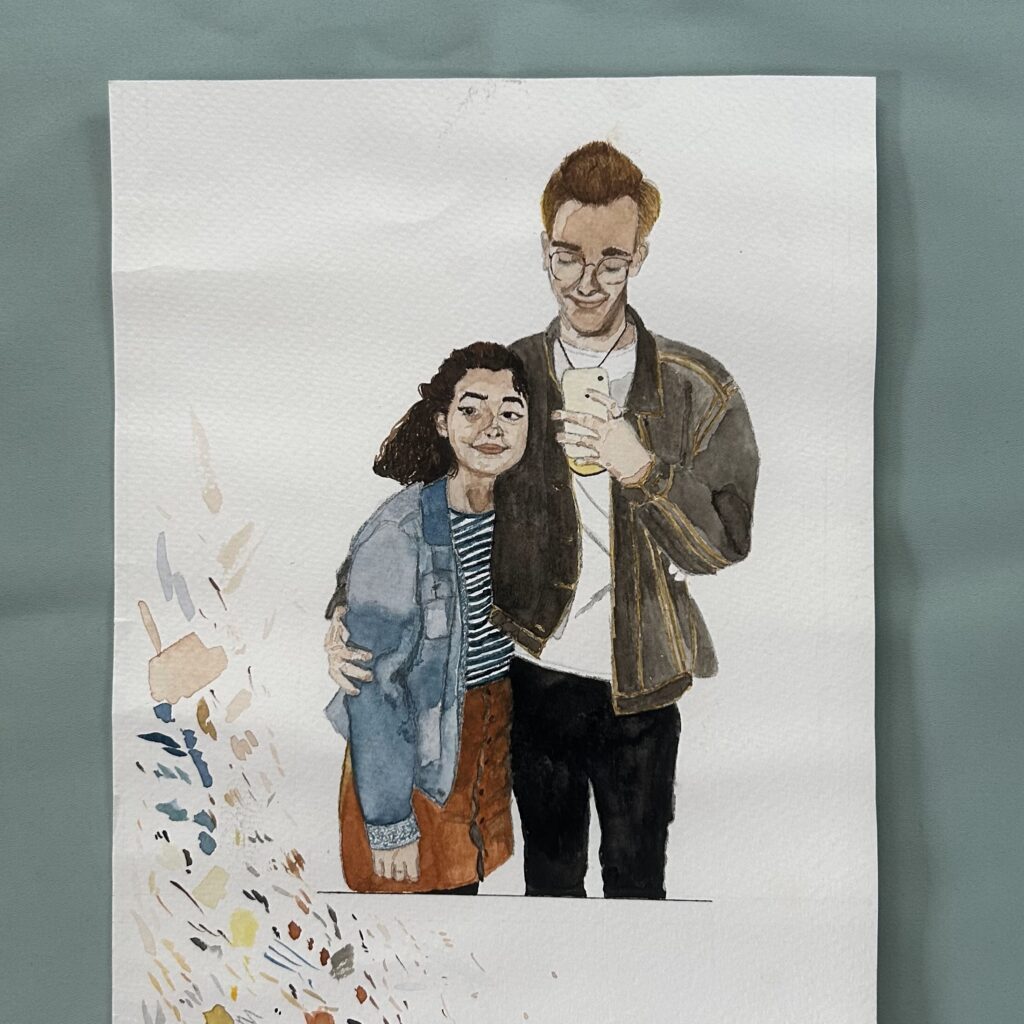
These are some of the paintings I’ve done over the years. I used to only use watercolour but I’m now enjoying branching out and trying new mediums!

- The second hobby on this list is another classic; Drawing!
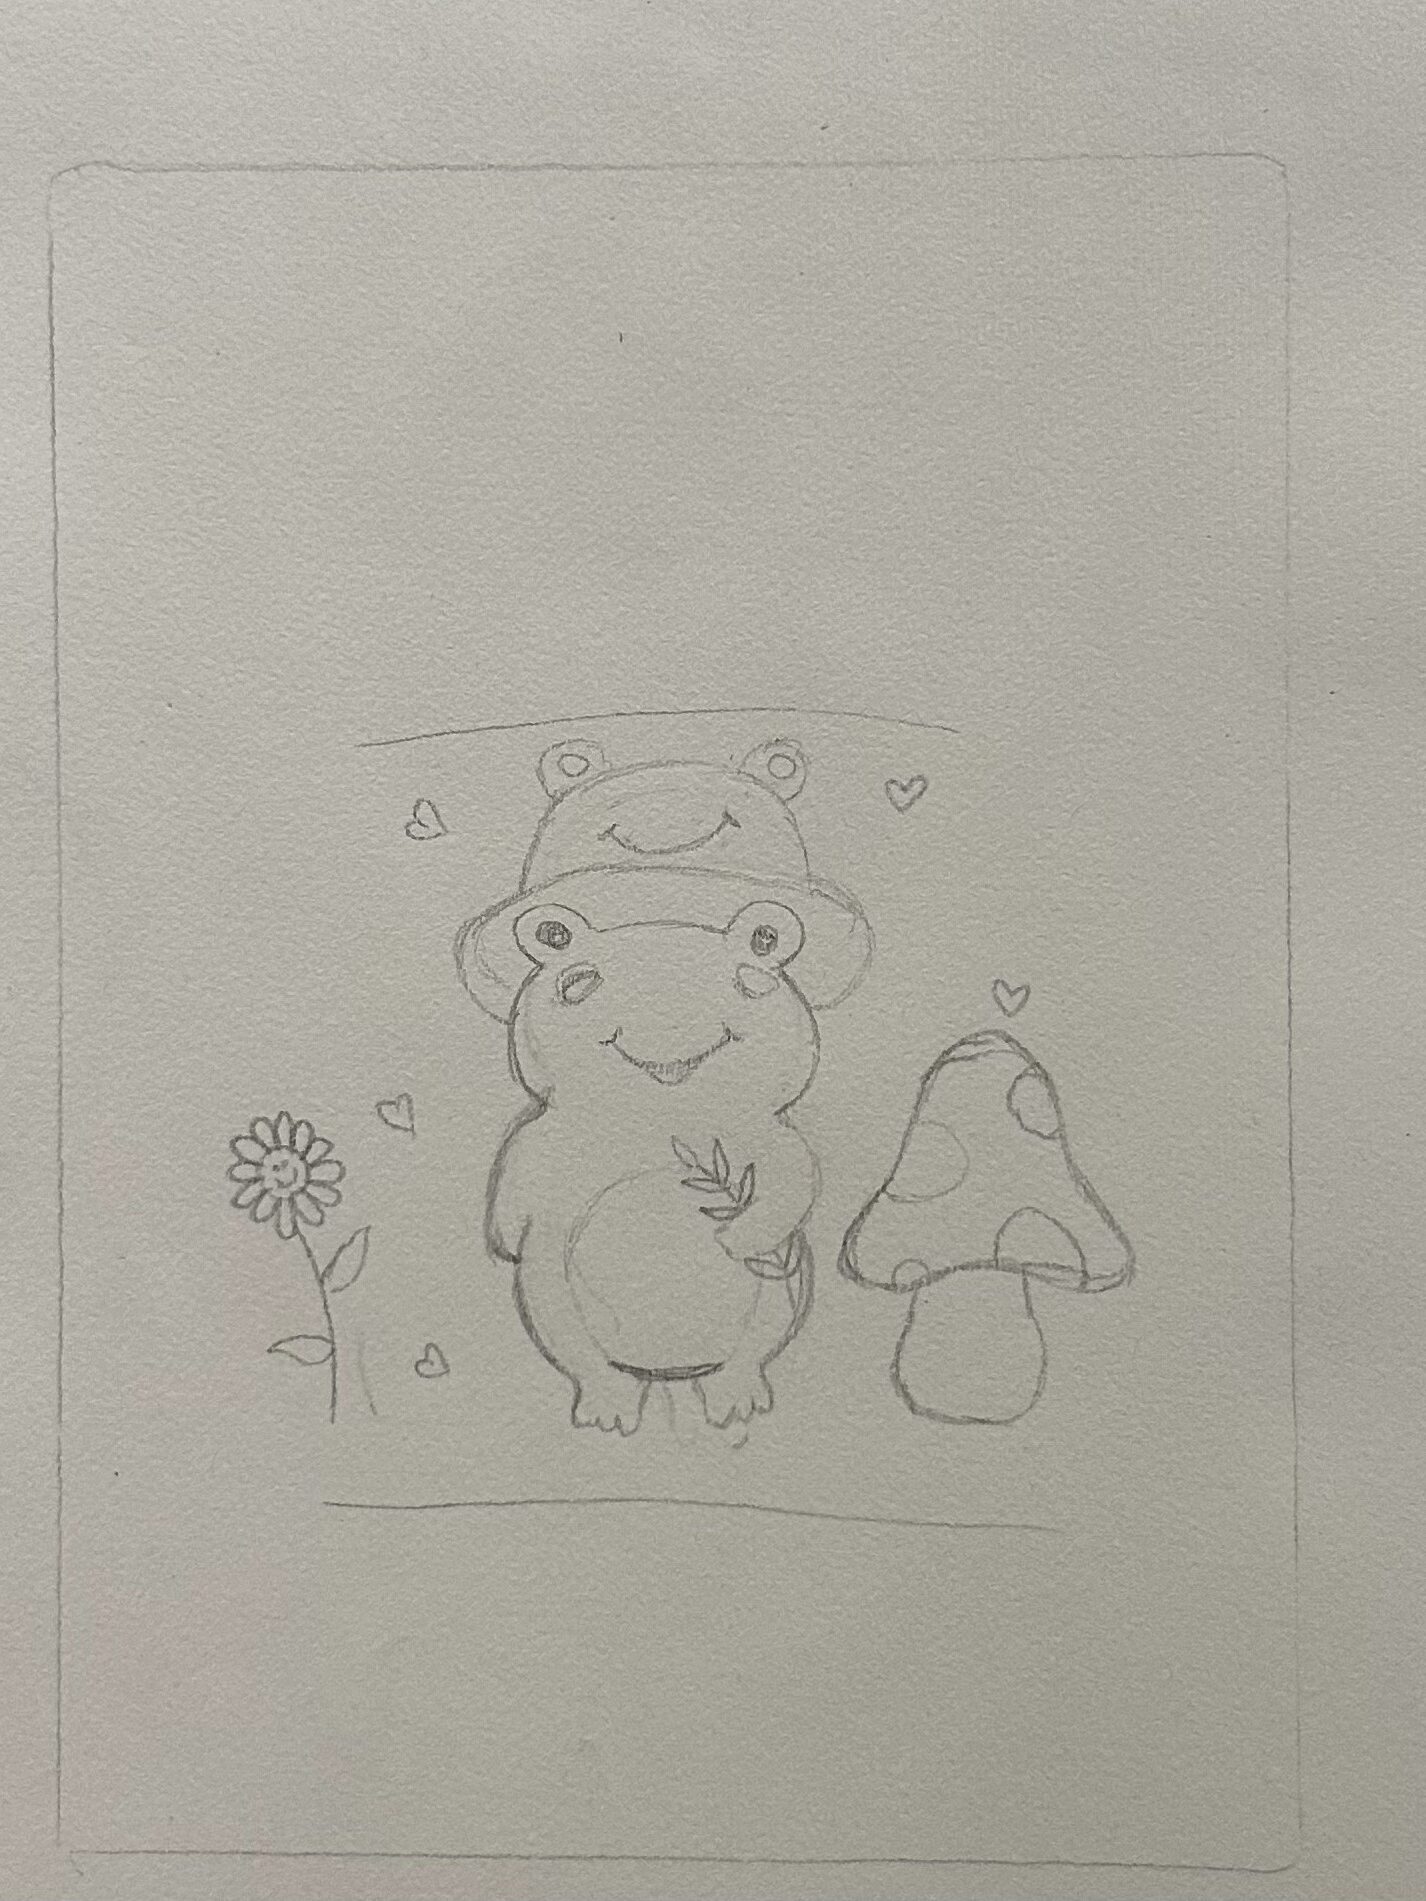
A lot of the same points from painting apply to drawing as well; drawing is another one of those “difficult” hobbies that are only deemed difficult because people bite off more than they can chew. The best thing you can do if you’re looking to improve your drawing skills is to go back to basics! I mean that literally; every one of us has drawn before; as children we all drew little stick men and our houses etc and things we could see in the world around us; this is a fantastic exercise for growing your drawing abilities. Find something to draw on; a notebook, your diary, a receipt in your pocket and draw something you see every day! This will not only help you grow in confidence as you’ll be able to see how much you improve day by day, but it will also help you to discover your style as well as work on your spatial awareness! Start off simple; today why don’t you draw a lamp post? Or if you’re more interested in nature, why don’t you find a flower and take a picture and see if you can draw the outline? As with any skill, you get out what you put in; no drawing is too small and we’re not looking for perfection, because there is no such thing!
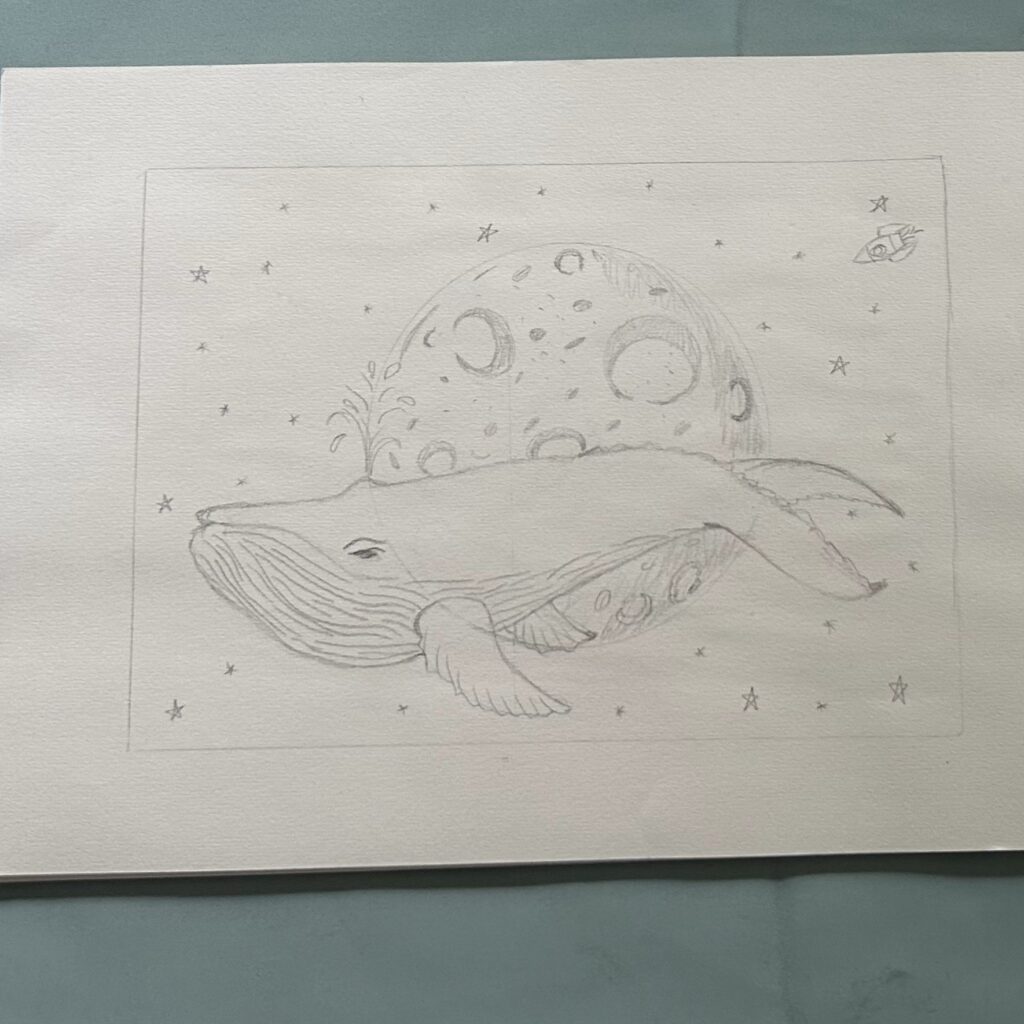
Here are some of my own drawings;
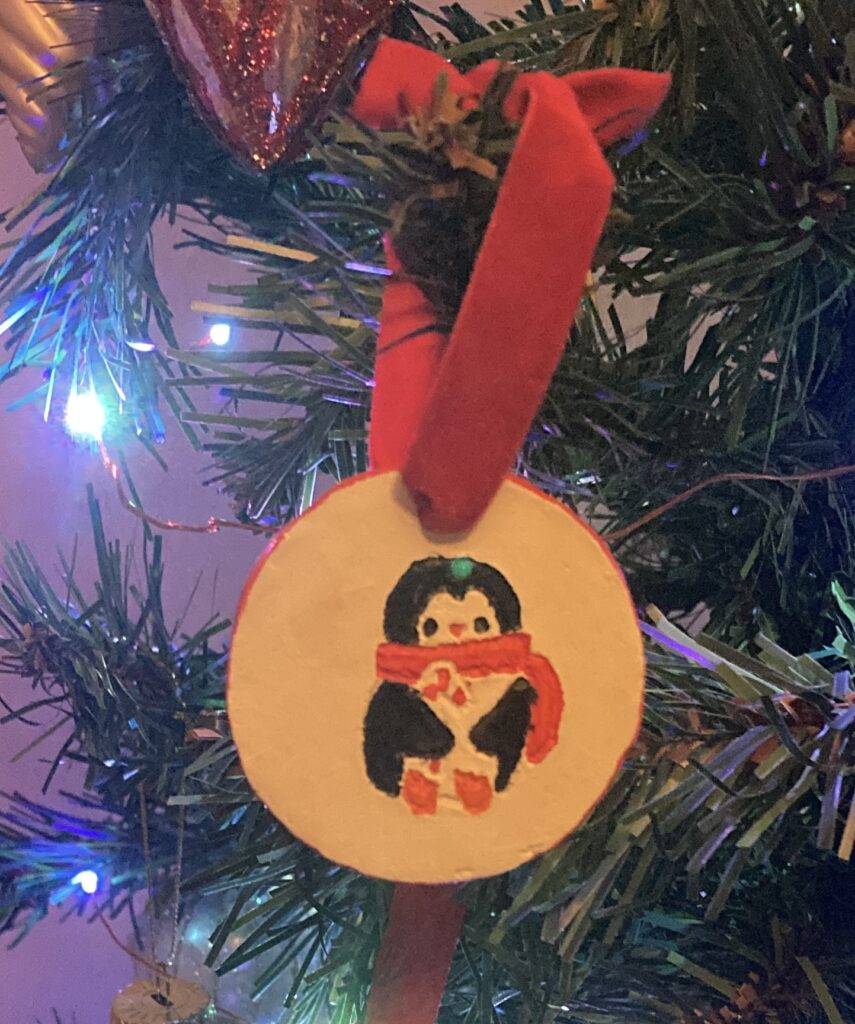
- The third hobby on the list is Clay making!
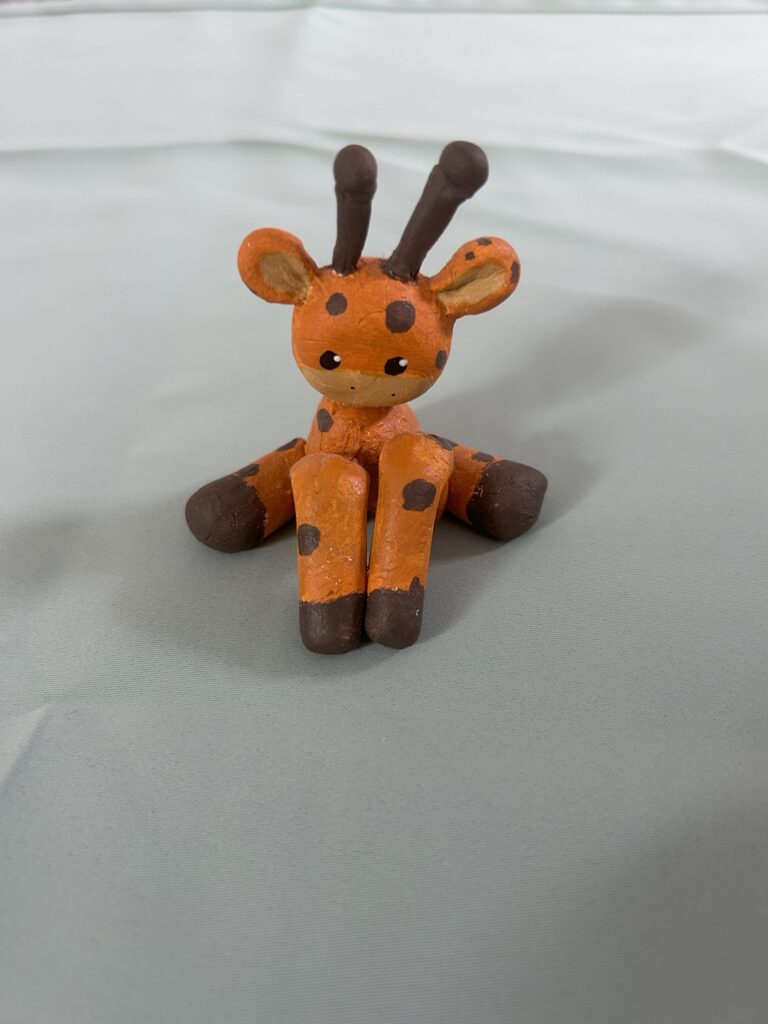
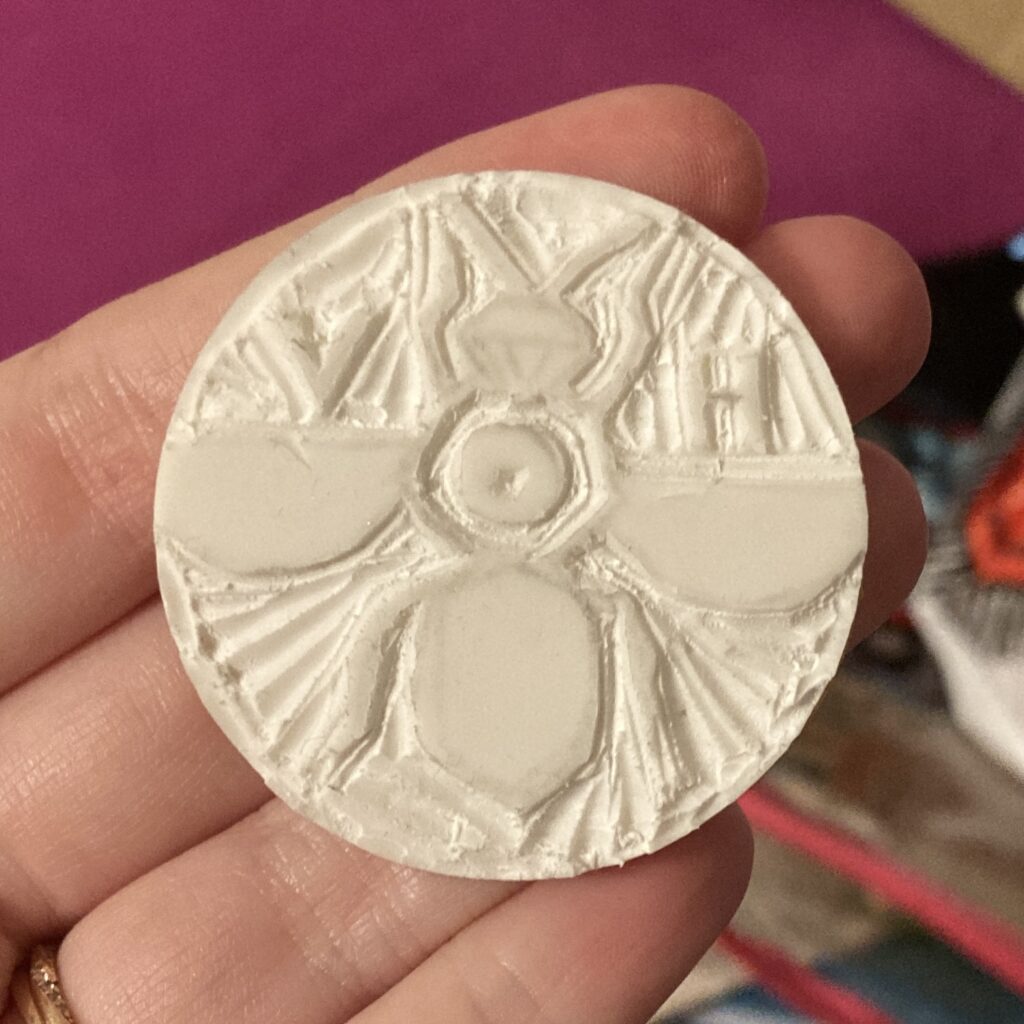
If you’re like me and love to be hands on and create things, then this might be the hobby for you! All you’ll need for this hobby is some air-drying clay which you can find on amazon or any other hobby store! I recommend for beginners that you start out using only your hands so you get more confident in your abilities and honestly, you can make anything a tool if you use it as such! I find the hardest part of playing with clay is figuring out what to make; if you don’t have an inspiration already then, I recommend starting with something simple. While I have been using clay for quite a while now, as I started in secondary school for my art GCSE; my husband had never used clay before, so I started us off with a nice and easy Christmas decoration! All you need to do is grab a ball of clay the size you want and roll it in your hands until it becomes a ball that has hardly any cracks (I sometimes add water if the clay is especially dry but don’t use too much) and then you just want to roll it out which you can do with anything rounded and smooth ( I used my glass water bottle but a wine glass would work too 😉). After its rolled out to the thickness you desire; all you have to do is cut a shape out that you want (I went with a circle) and you can use literally any knife or anything smooth and thin. Once you’ve cut out your shape, you’ll need to make a hole so you can hang it up when its dried or if you want to make a coaster don’t make the hole! Once its dry you can then decorate it with paint in any way you like, and I would recommend using a waterproof varnish if you make coasters as the paint can peel off if its exposed to liquids and heat. The best thing about clay is that you can literally do anything with it, you’re only constrained by your own creativity.
Here’s a few things I’ve made over the years;
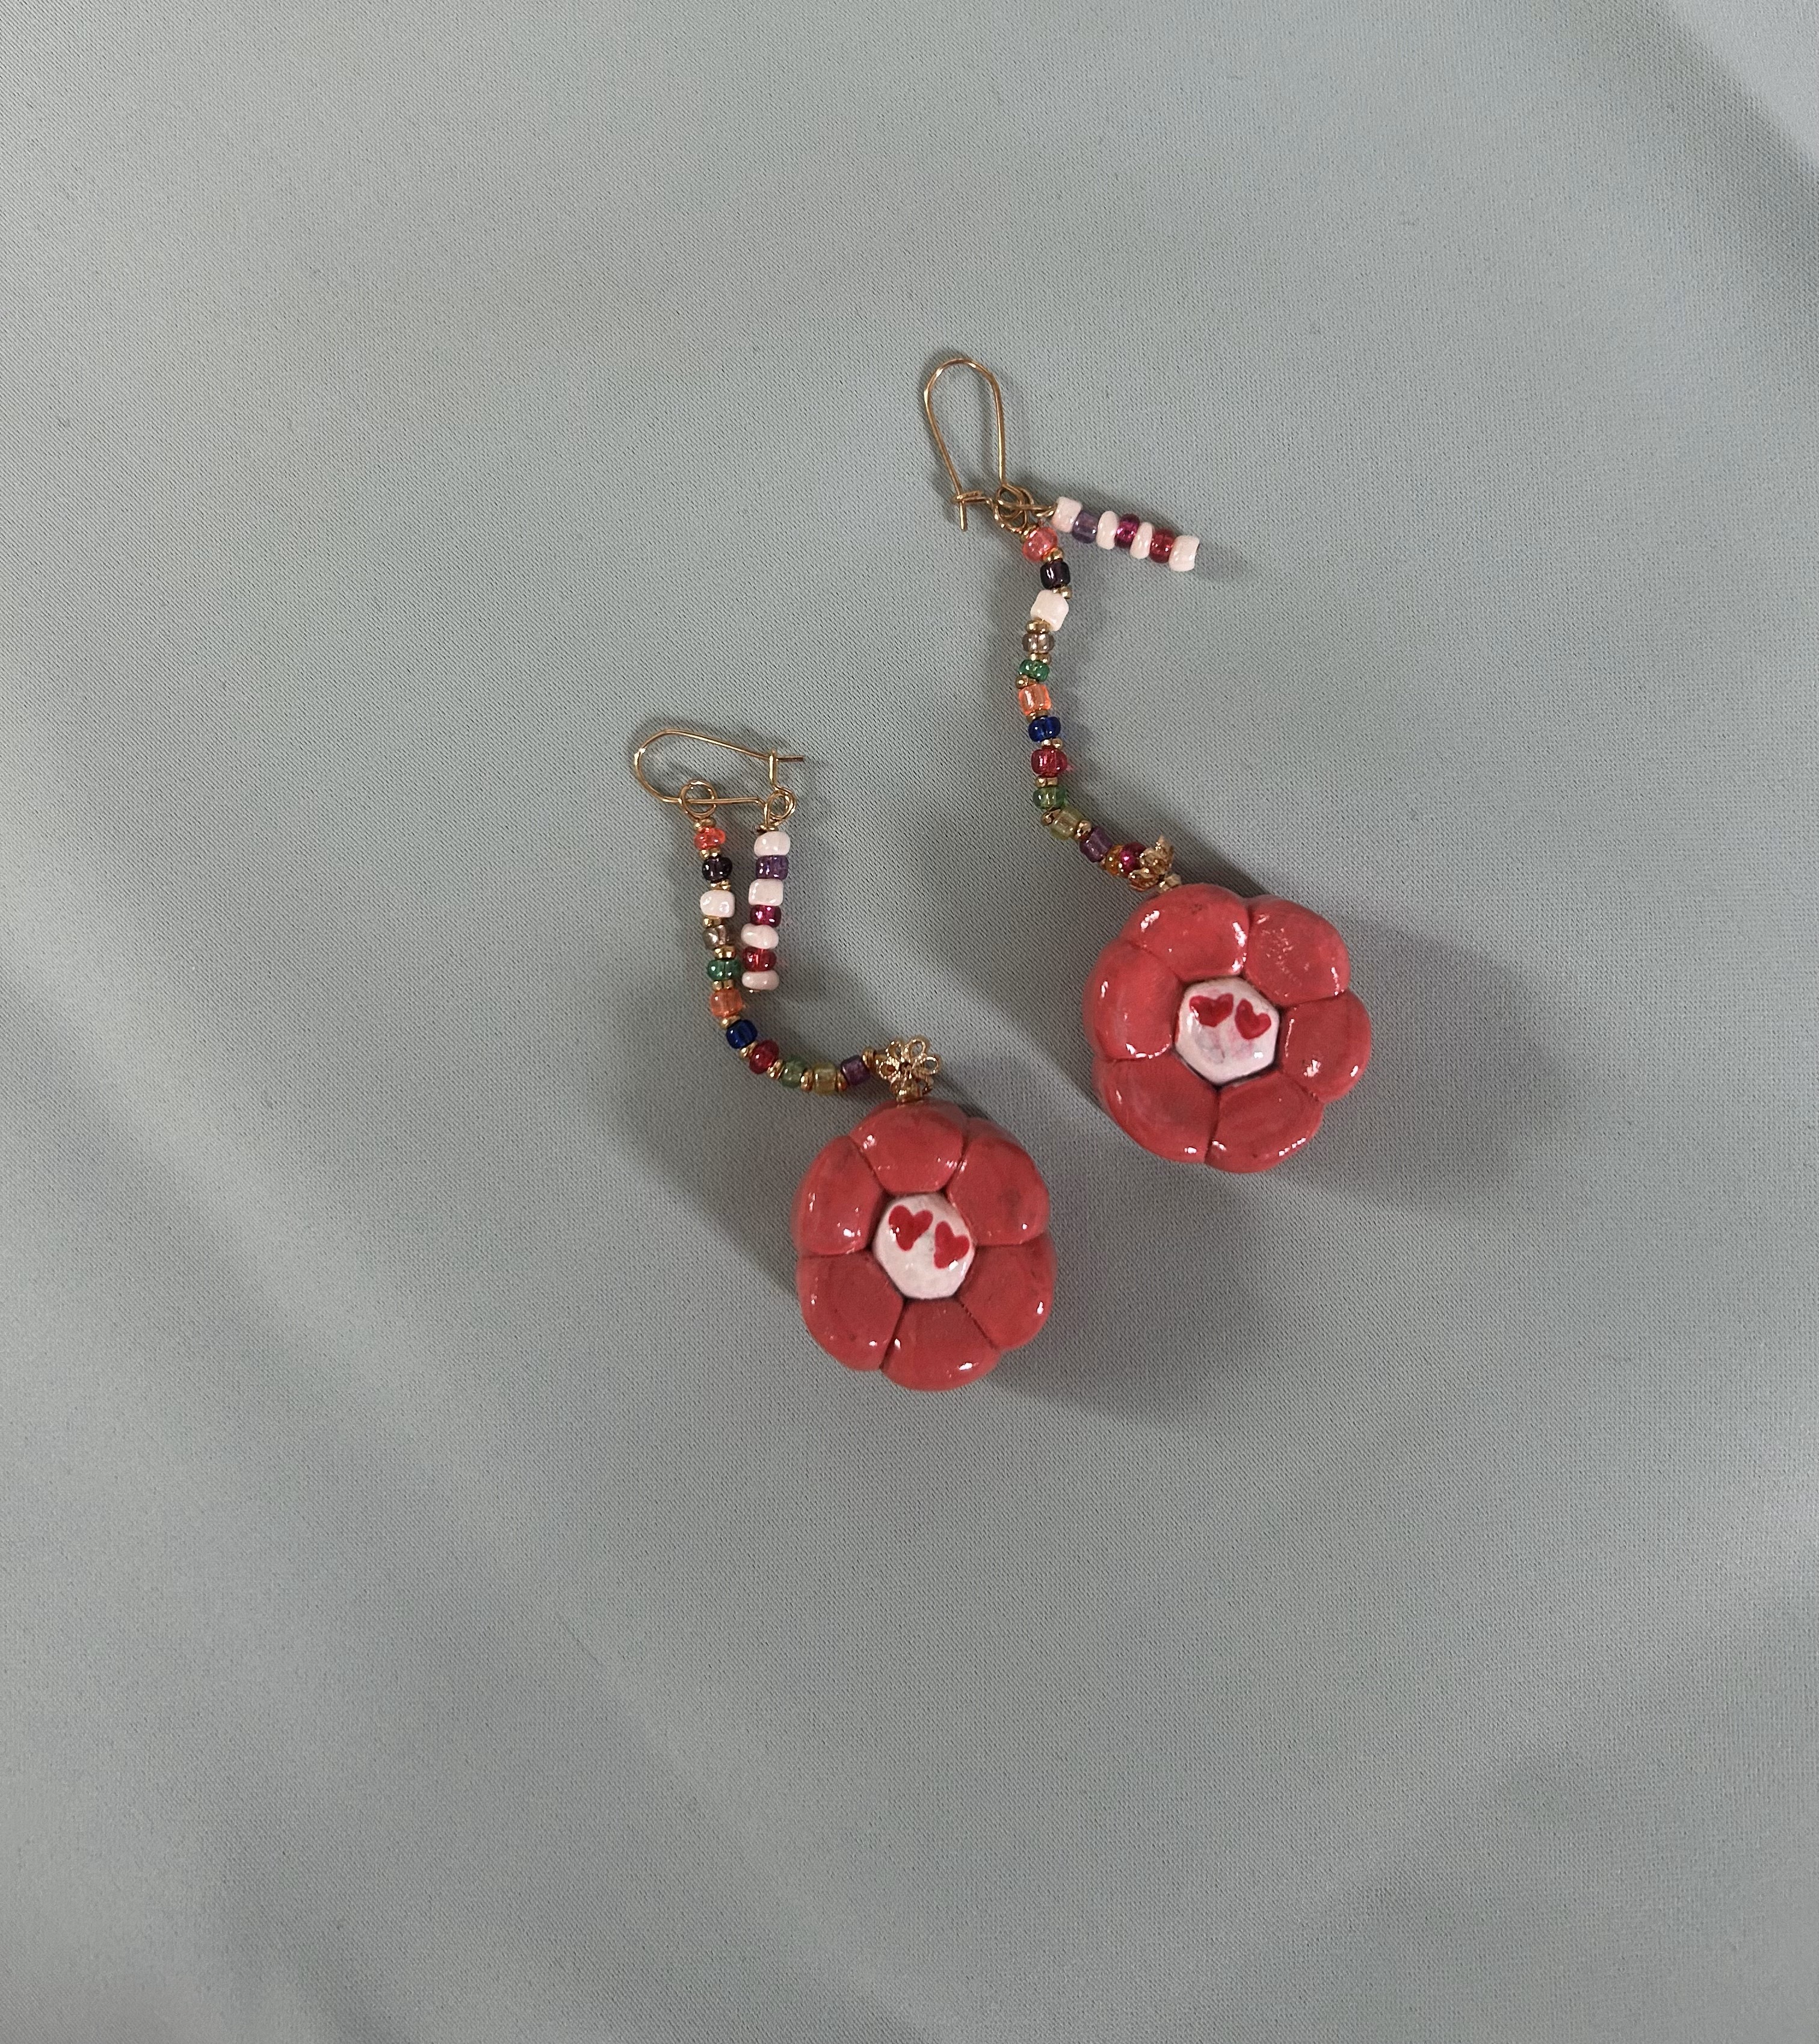
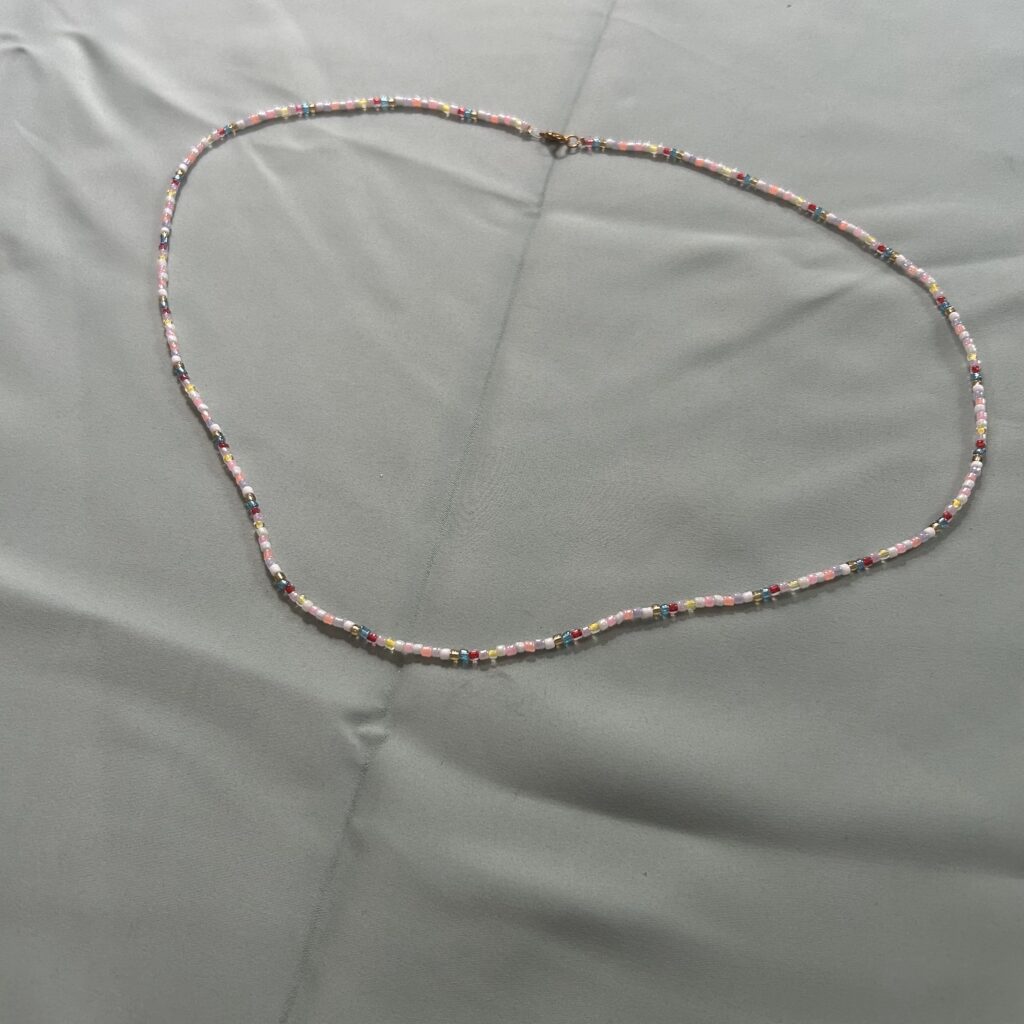
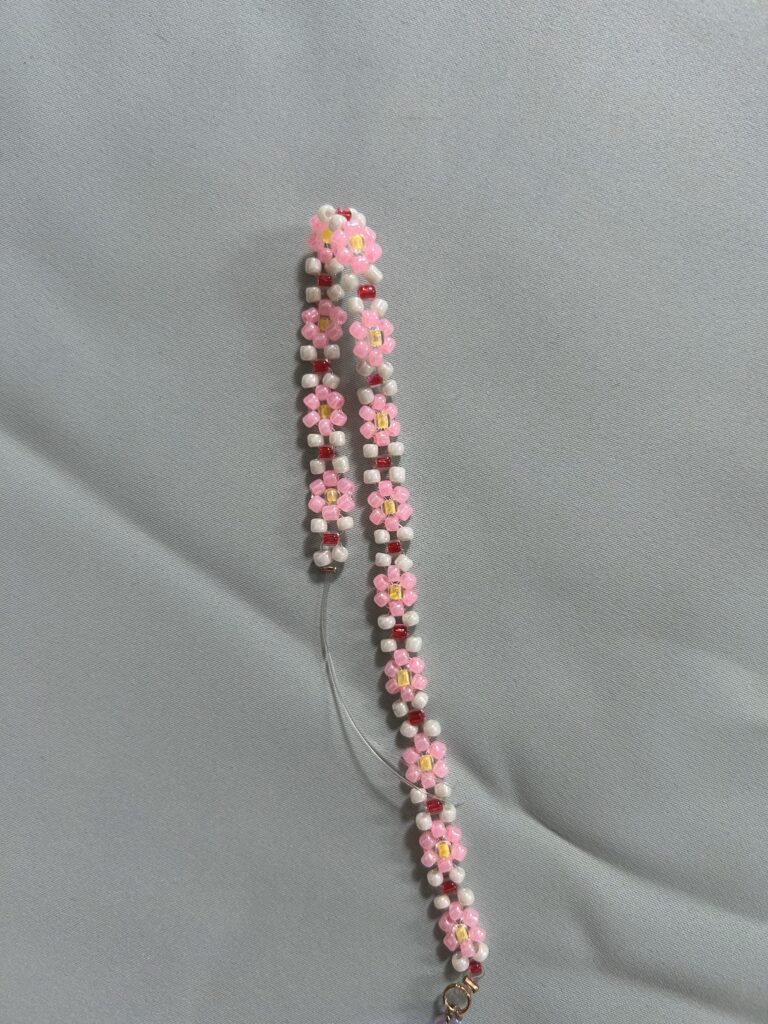
- The fourth hobby is Beading!
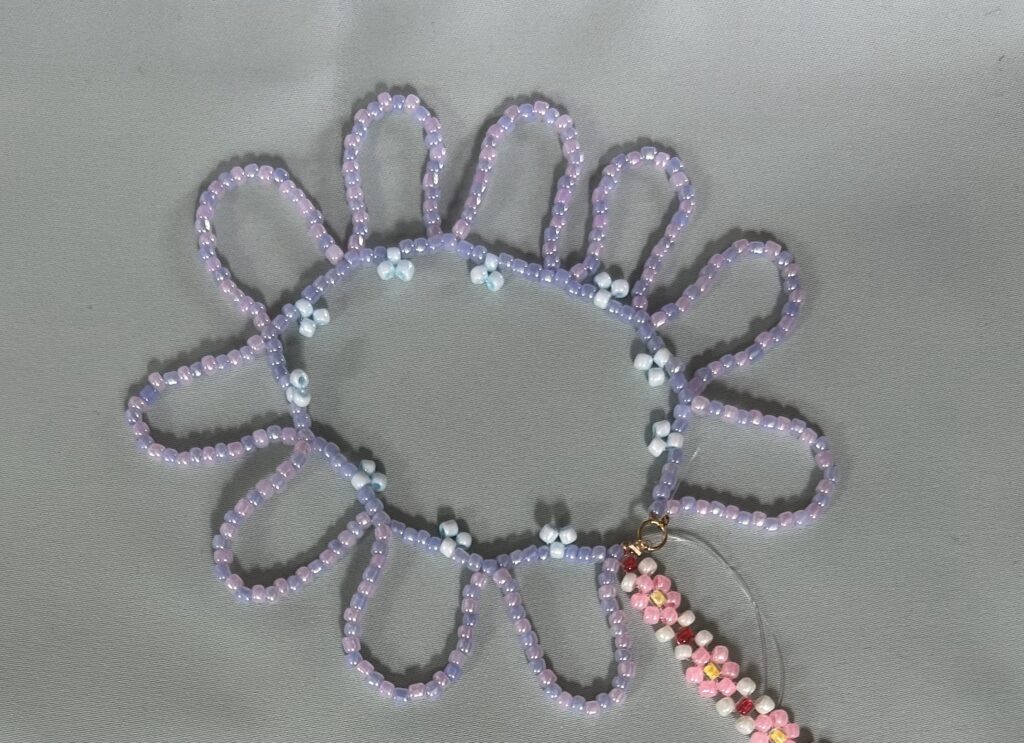
This is a relatively new hobby of mine, but I absolutely love playing around with different colour combinations etc. All you really need to get started is a few beads (I first got a £1 bag from the shop and I bought a lovely beading set from amazon for £6 after that) and some plastic elastic (I recommend getting it at most 0.6 thickness or lower). Even with those 2 simple items you can make so many variations! I have made little frog bracelets and rings for my sister because she’s obsessed with frogs, I have made little flower bracelets as well as a waist bead for myself! The trick with beading is to plan out your design on paper first as it does get a little confusing when you’re beading, and you’ve forgotten about part of your design! Another great tip is to decide your colours and sizes of beads beforehand as well, because the beads do come in slightly different shapes with differing sizes and if you use a smaller bead in one part and a larger bead in the other it will create a weird shape that you’ll have to continuously fiddle with. This is also such a great skill to have as you’ll have little pieces of your creativity that you can wear or sell! Another amazing thing you can do with beads is add them to your clothes!
These are some of my own beading projects recently;

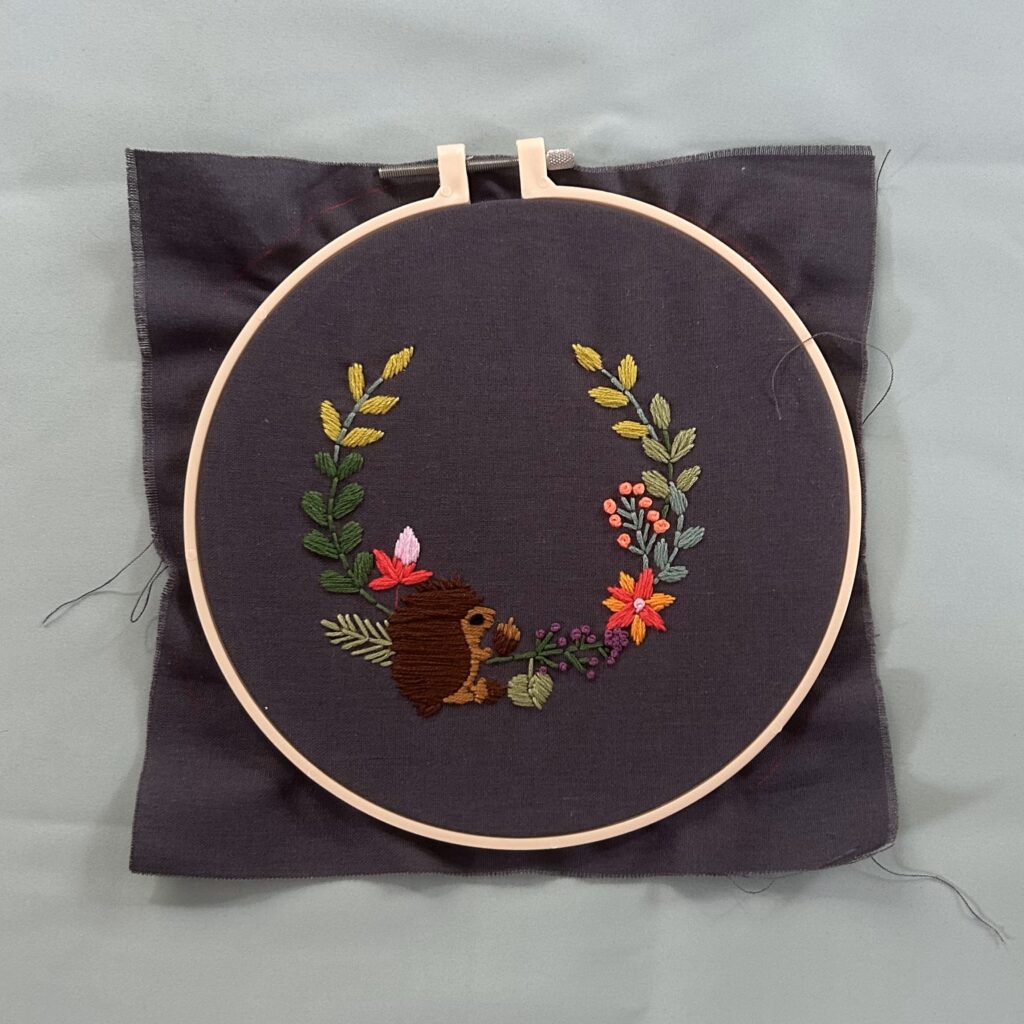
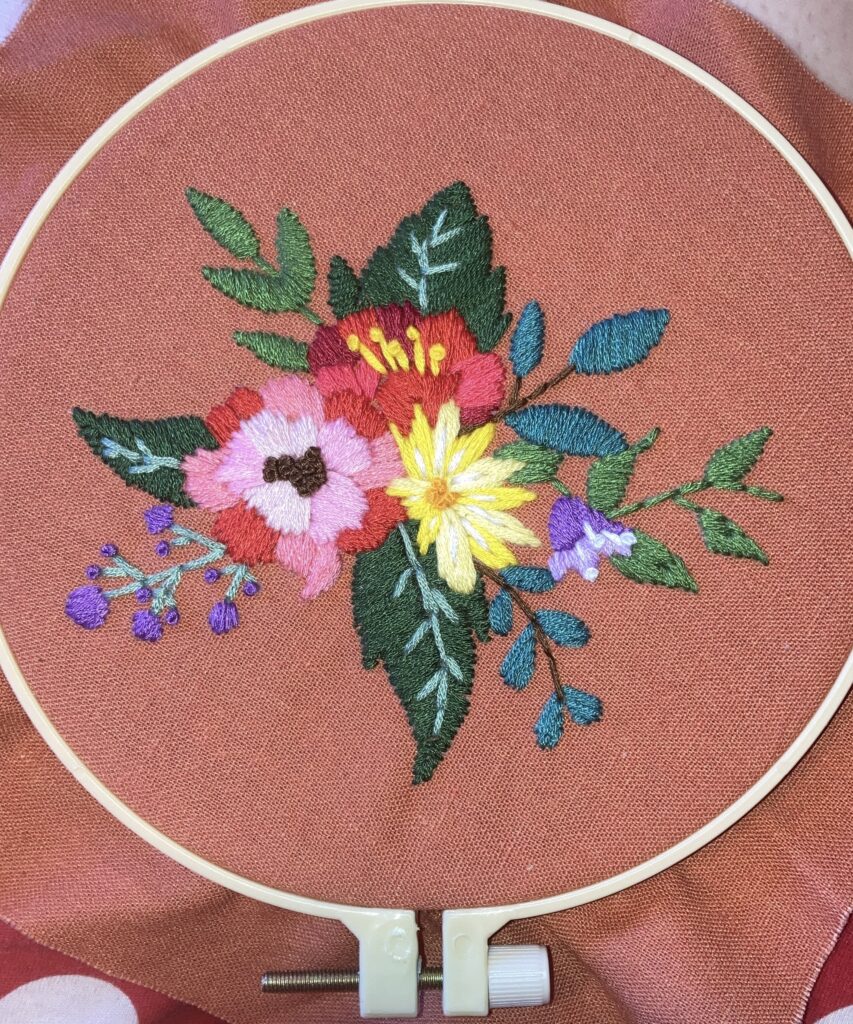
- The fifth easy hobby is Embroidery!
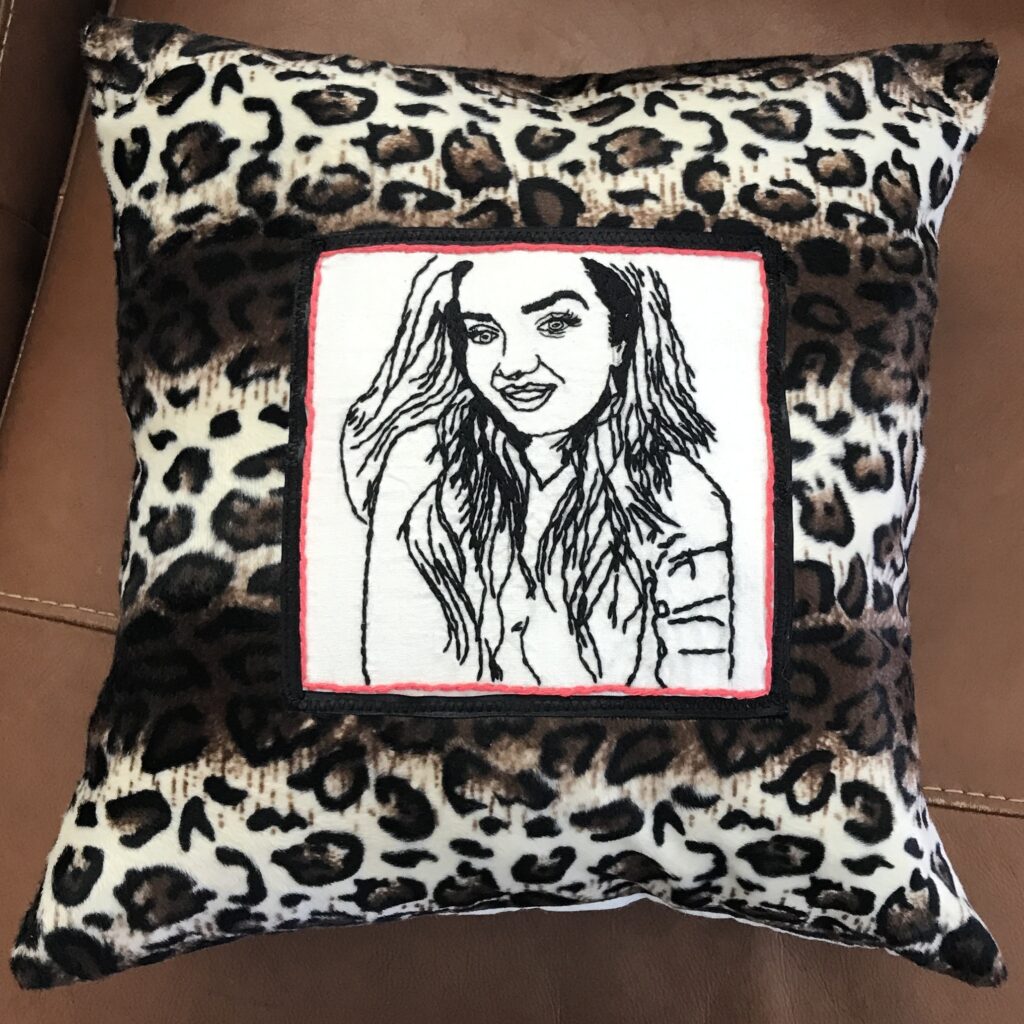
Now, again, I hear you say, “But that’s not easy!” and I’m here to tell you that it very much is! All you really need for embroidery is some scrap fabric that has cotton in it and some thread! It doesn’t even have to be embroidery thread, you can embroider with normal thread too but it would take forever lol! If you are so inclined, you can do what I did when I was growing my confidence and buy some embroidery kits off amazon which are usually around £10 for a few different designs! These kits even have the exact amount of embroidery you’ll need as well as the design printed on the fabric itself and it also comes with a pamphlet showing you all of the different stitches with instructions, so it becomes a sort of “embroider by numbers”! That doesn’t mean you can’t change it up and do your own thing as well but if you’re wanting to build a strong foundation, I would recommend you start with those kits. Another great tip for embroidery is to draw your design in pen/pencil first (it will wash out) as the worst thing you can do as a beginner is embroider by hand; only because it’s so hard to gauge that the length of the stiches will be the same without a stencil to guide you. Once you’ve completed your embroidery you can close it off and hang it up like the piece of art it is or you can make it into a patch that you can sew onto your clothes or a bag etc, or you can also make little cushions with it! Like this one I made for a friends birthday during Lockdown. – image of Bethany’s pillow and other embroideries
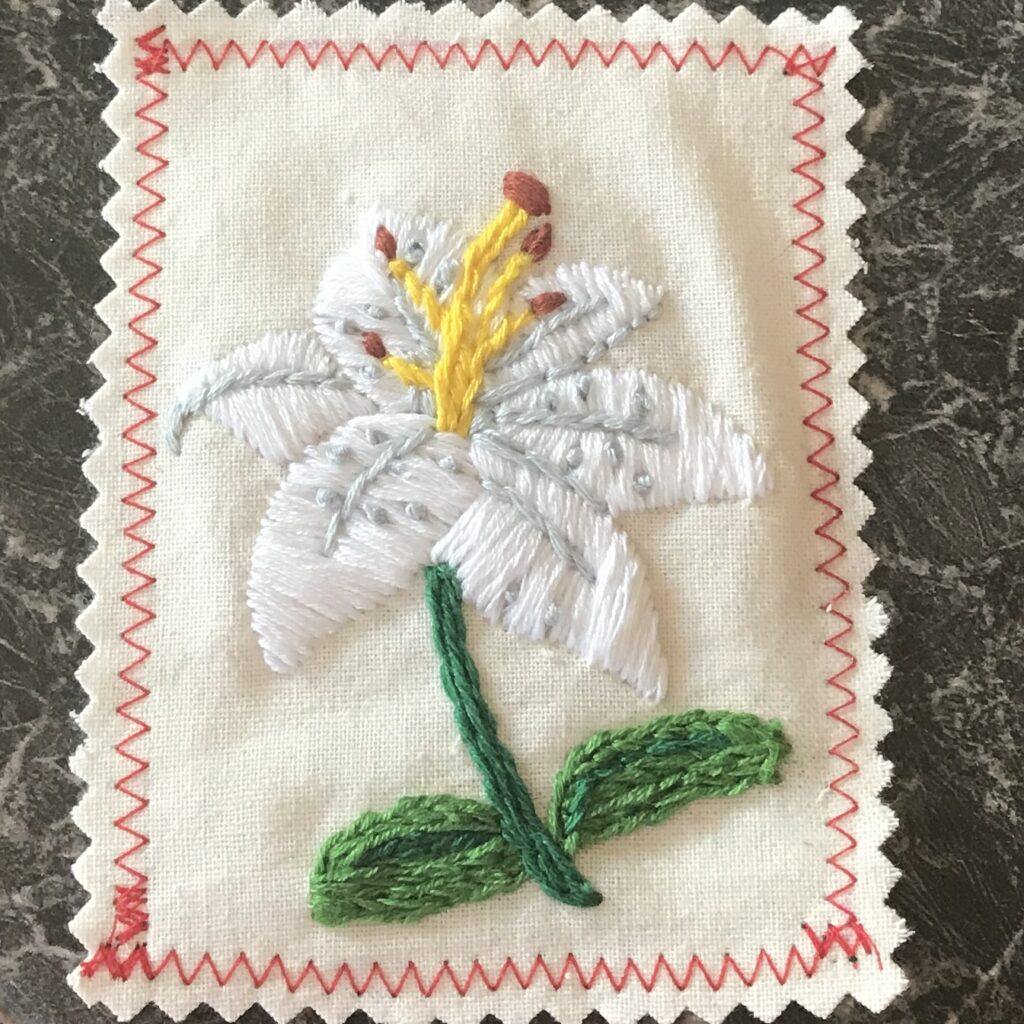
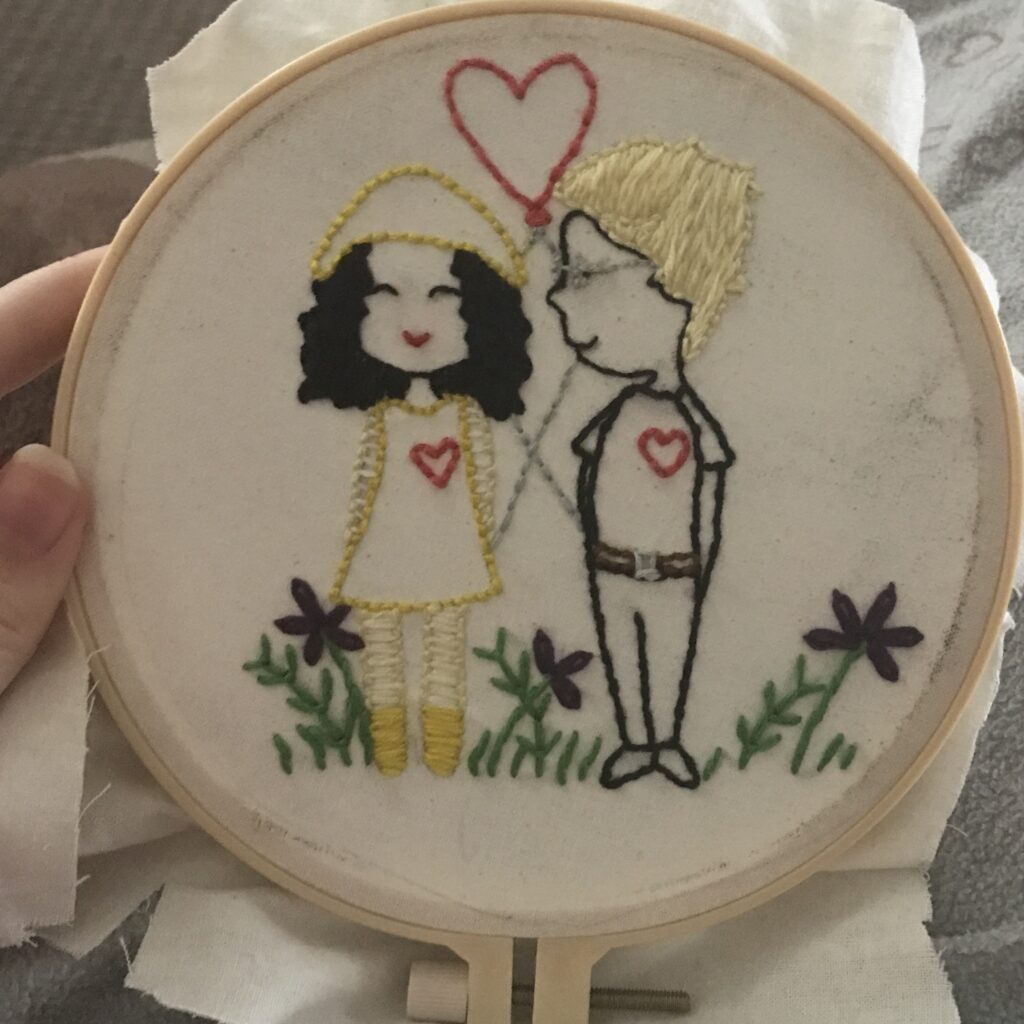
Here are a few of my embroidery projects over the years;

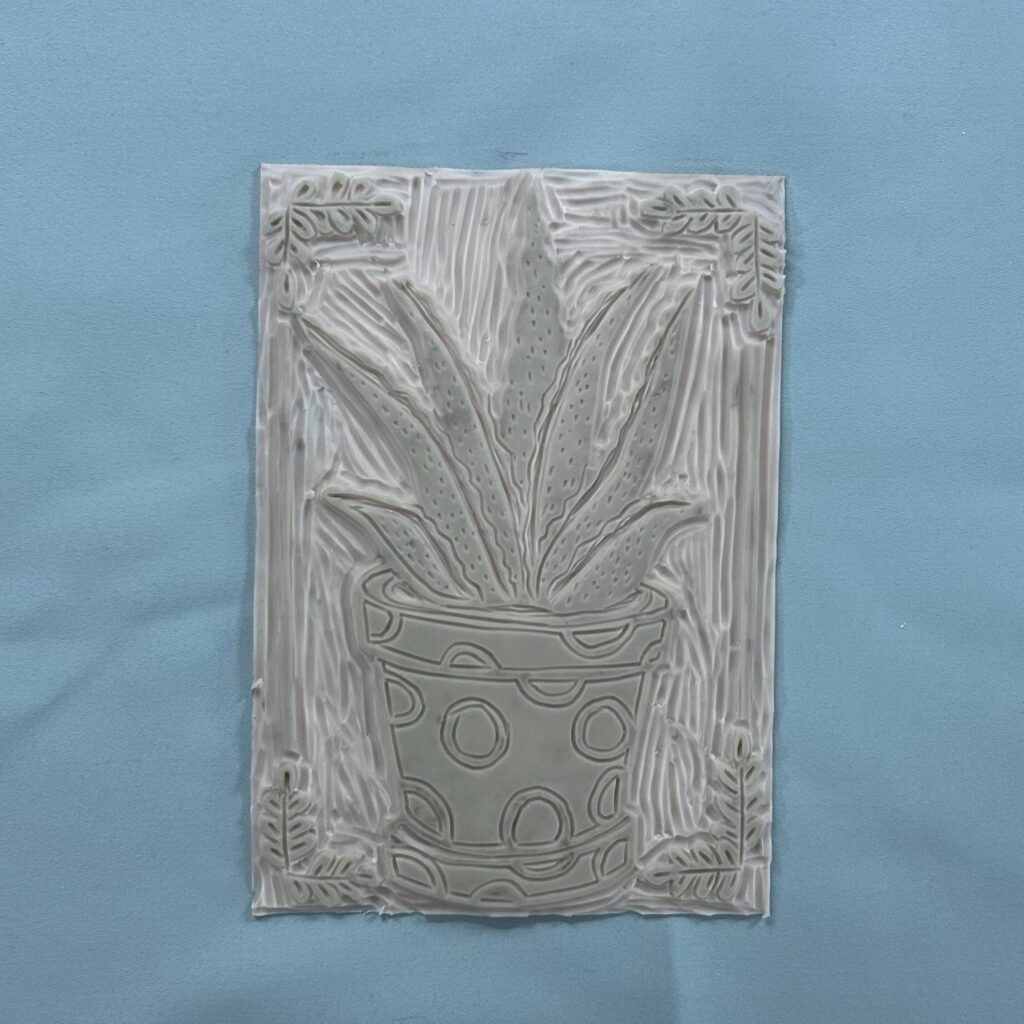
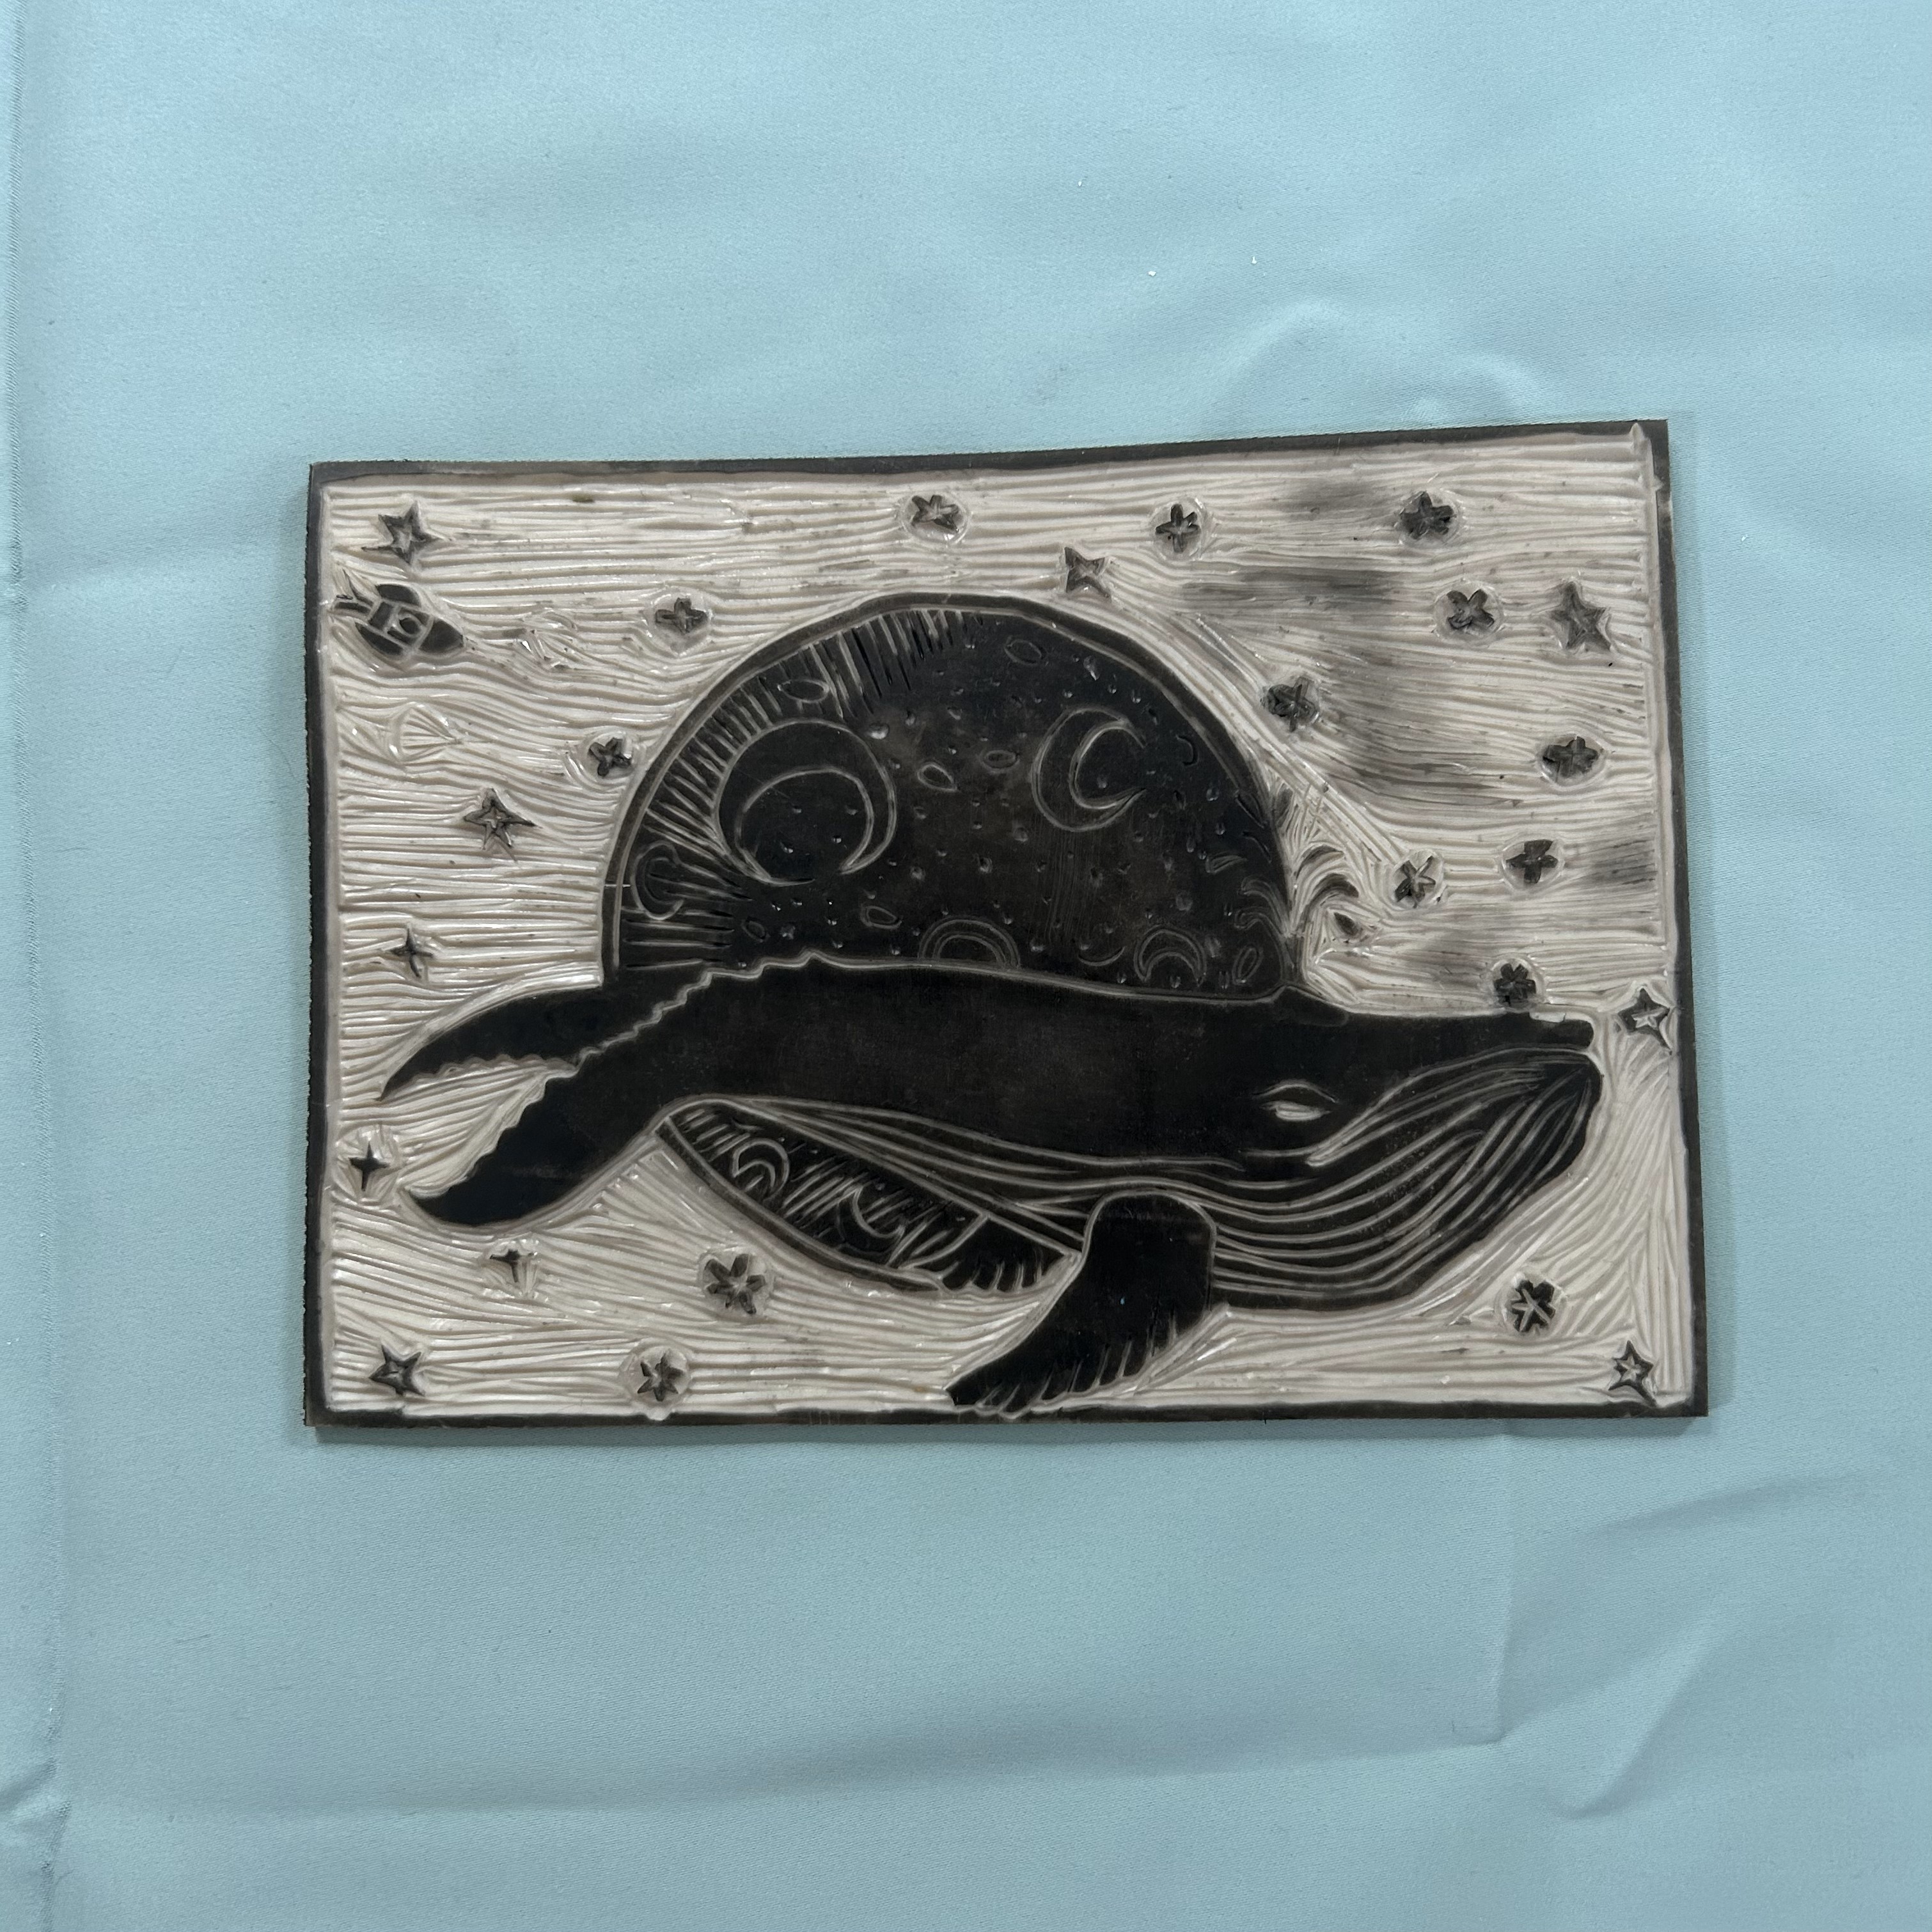
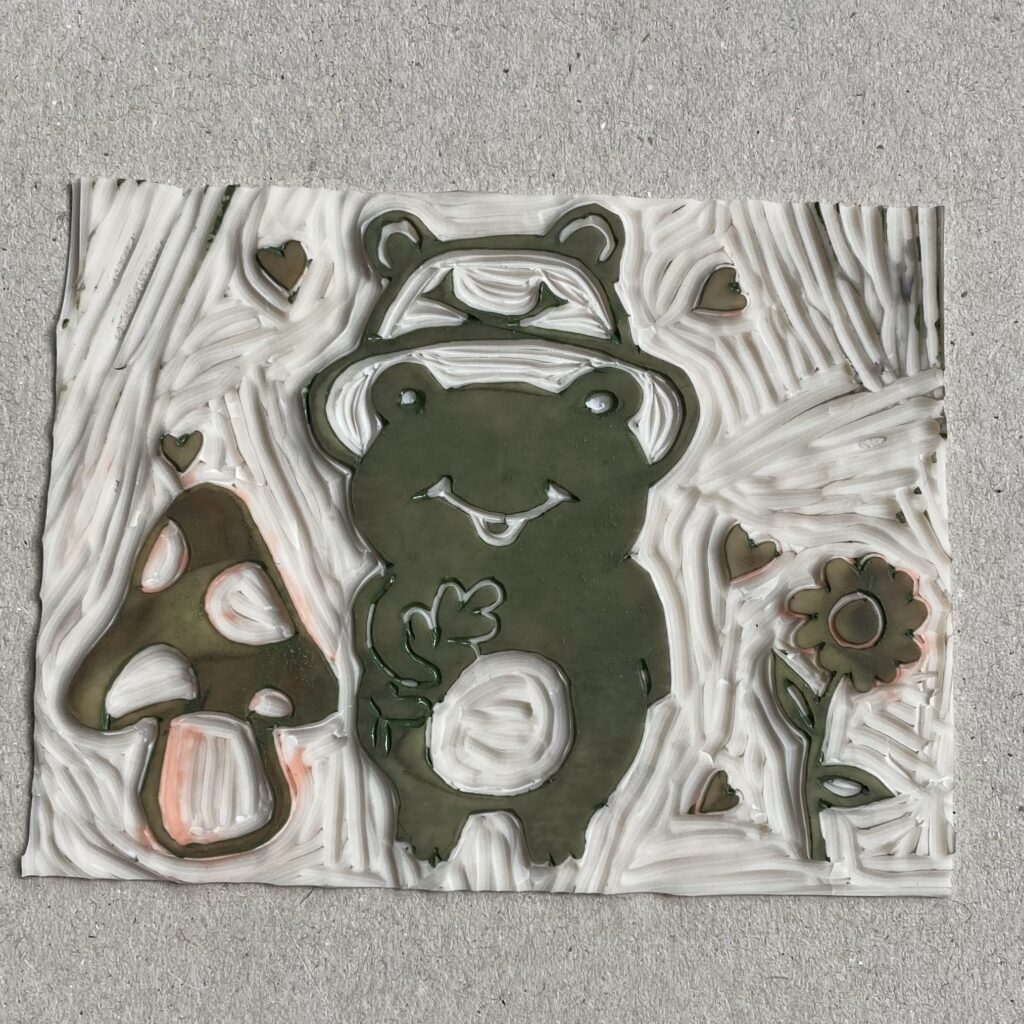
- The sixth hobby on the list is a little more obscure; Lino Printing!
If you grew up in the UK and did Art in secondary school, I’m sure you’re familiar with Lino Printing! Lino Printing is basically a form of block printing that involves carving a pattern or design into a linoleum, rubber or vinyl surface that can then be printed onto anything really. I find it so nifty that all you have to do is draw something up, carve it onto the linoleum or whatever you decide to use and then you have your own stamp! And you can stamp it onto anything; a t-shirt, a bag, paper, curtains etc the sky is the limit! I even made my own Christmas wrapping paper a couple of years back with my lino prints! Although, be warned, this is definitely a hobby that you will need to get supplies for. There are a few lino printing kits out there or you can choose to buy things separately. What you need to start lino printing is some linoleum or rubber, (which I like to use as they’re soft enough that I don’t feel like I’m going to cut my hand open when trying to carve!), some carving tools which you can find in any major hobby store (Hobbycraft, The Range, Amazon etc) as well as a rubber paint roller which will allow you to add the paint to the carved stamp which you can then stamp onto something. Another tip for lino-printing is that once you have lined up your carved lino print to whatever you want to print on; you need to really apply pressure and I would suggest using something smooth and rounded and apply as much pressure as you can so that all of the details you carved into your lino-print show up on the printed side. This is such a great hobby because you can reuse your prints as many times as you want and you can even change the paint you print with and create different variations!
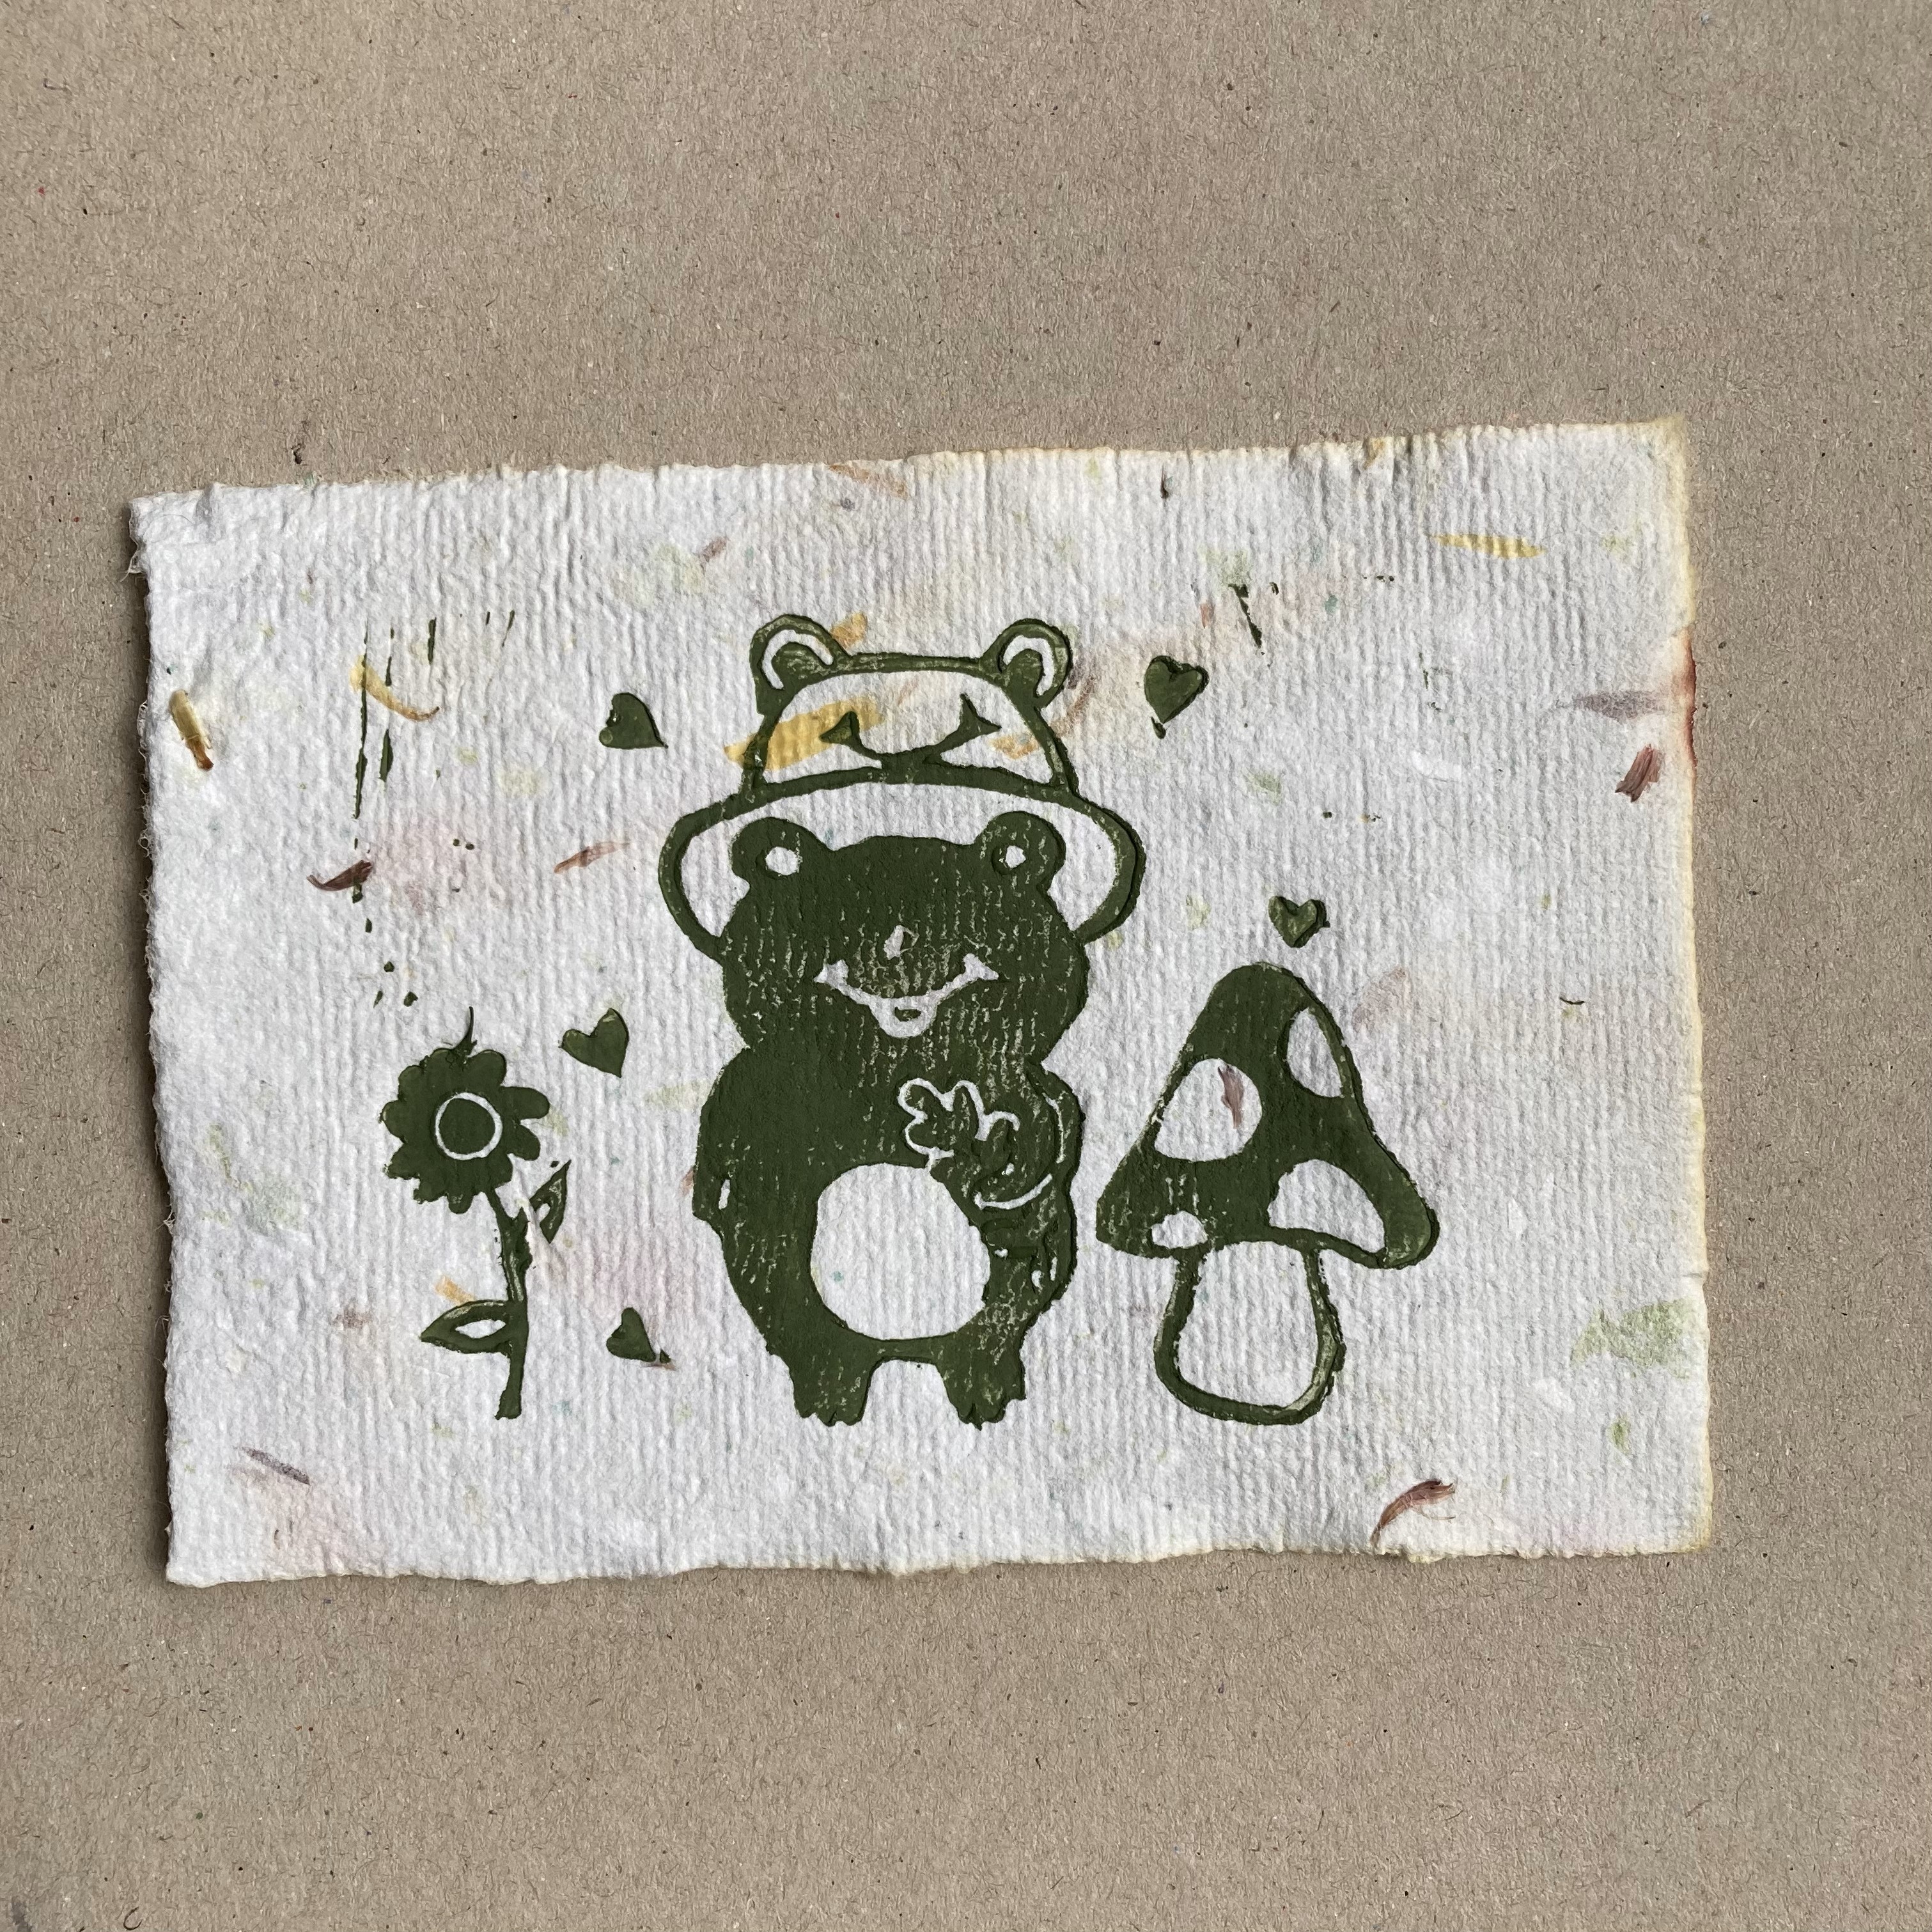
- The next Hobby to try is Paper Making!
This hobby will require some equipment and for me goes hand in hand with my lino-printing as I enjoy making my own paper for my own prints to be printed on! You can find paper making kits really anywhere e.g. Etsy, amazon, craft stores but I would recommend for beginners just get the wooden paper making mould (or make it yourself!) as everything else you can improvise with things from your home!
So the basic steps for paper making is that you want to first of all find some pulp which you can turn into paper; I like to use paper that I wont use like old notebooks or books that I wont need again.
Once you have your paper, you’ll need to tear it or cut it into tiny pieces that you can then put into a container with water which will soften it before you blend it (blending it will make it have the soft and less bitty texture, more like traditional paper) but you don’t have to blend it if you want to have a bit more texture in your paper.
Once the cut-up paper mixture has softened (1/2days) you can then add it to a blender with a little bit of water; after that you want to find a larger container (I use my mop bucket lol) and fill it halfway with water. Once the container has water you can dump the blended pulp into the container and mix it around, so it dissolves a little.
This is where the wooden paper mould comes in; you’ll want to layer the moulds, so the wire netting is the top most layer and the rest is below it; then you’ll dunk the wooden frame into the pulpy mixture and swing your arms back and forward, so the frame is coated in as much pulp as possible.
After that you can lift it out and make sure the pulp is evenly distributed and then you’ll want to place the frame, pulp-side up, onto a piece of fabric, (the choice in fabric will have an impact on the texture of the paper so choose something tightly woven like cotton), you will then need to use a dish-towel or something absorbent to dab the inside of the frame where the metal netting is. This dabbing will take the excess moisture from the paper and allow it to dry more quickly as well as make the pulp stick more to the fabric its attached to.
Once you’ve dabbed it enough that no more water is coming away, you’ll want to hang it up somewhere where it can dry for ½ days. After that you can just peel the paper away from the fabric and you have your very own homemade paper that you can turn into cards or just paint/draw on etc!

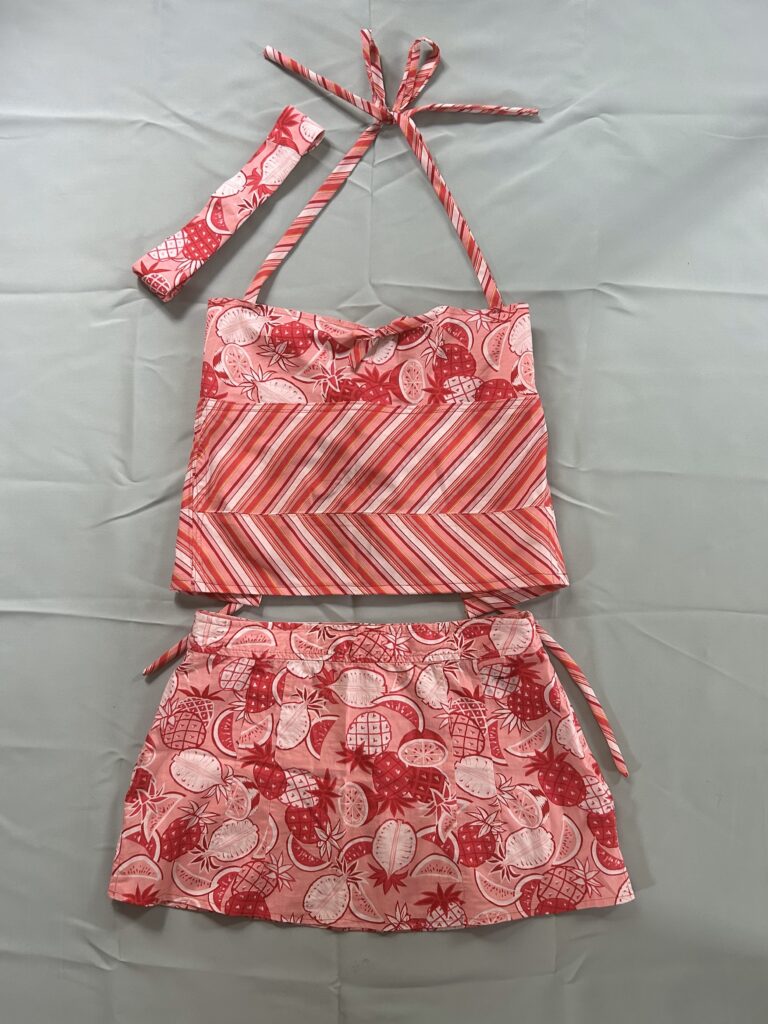
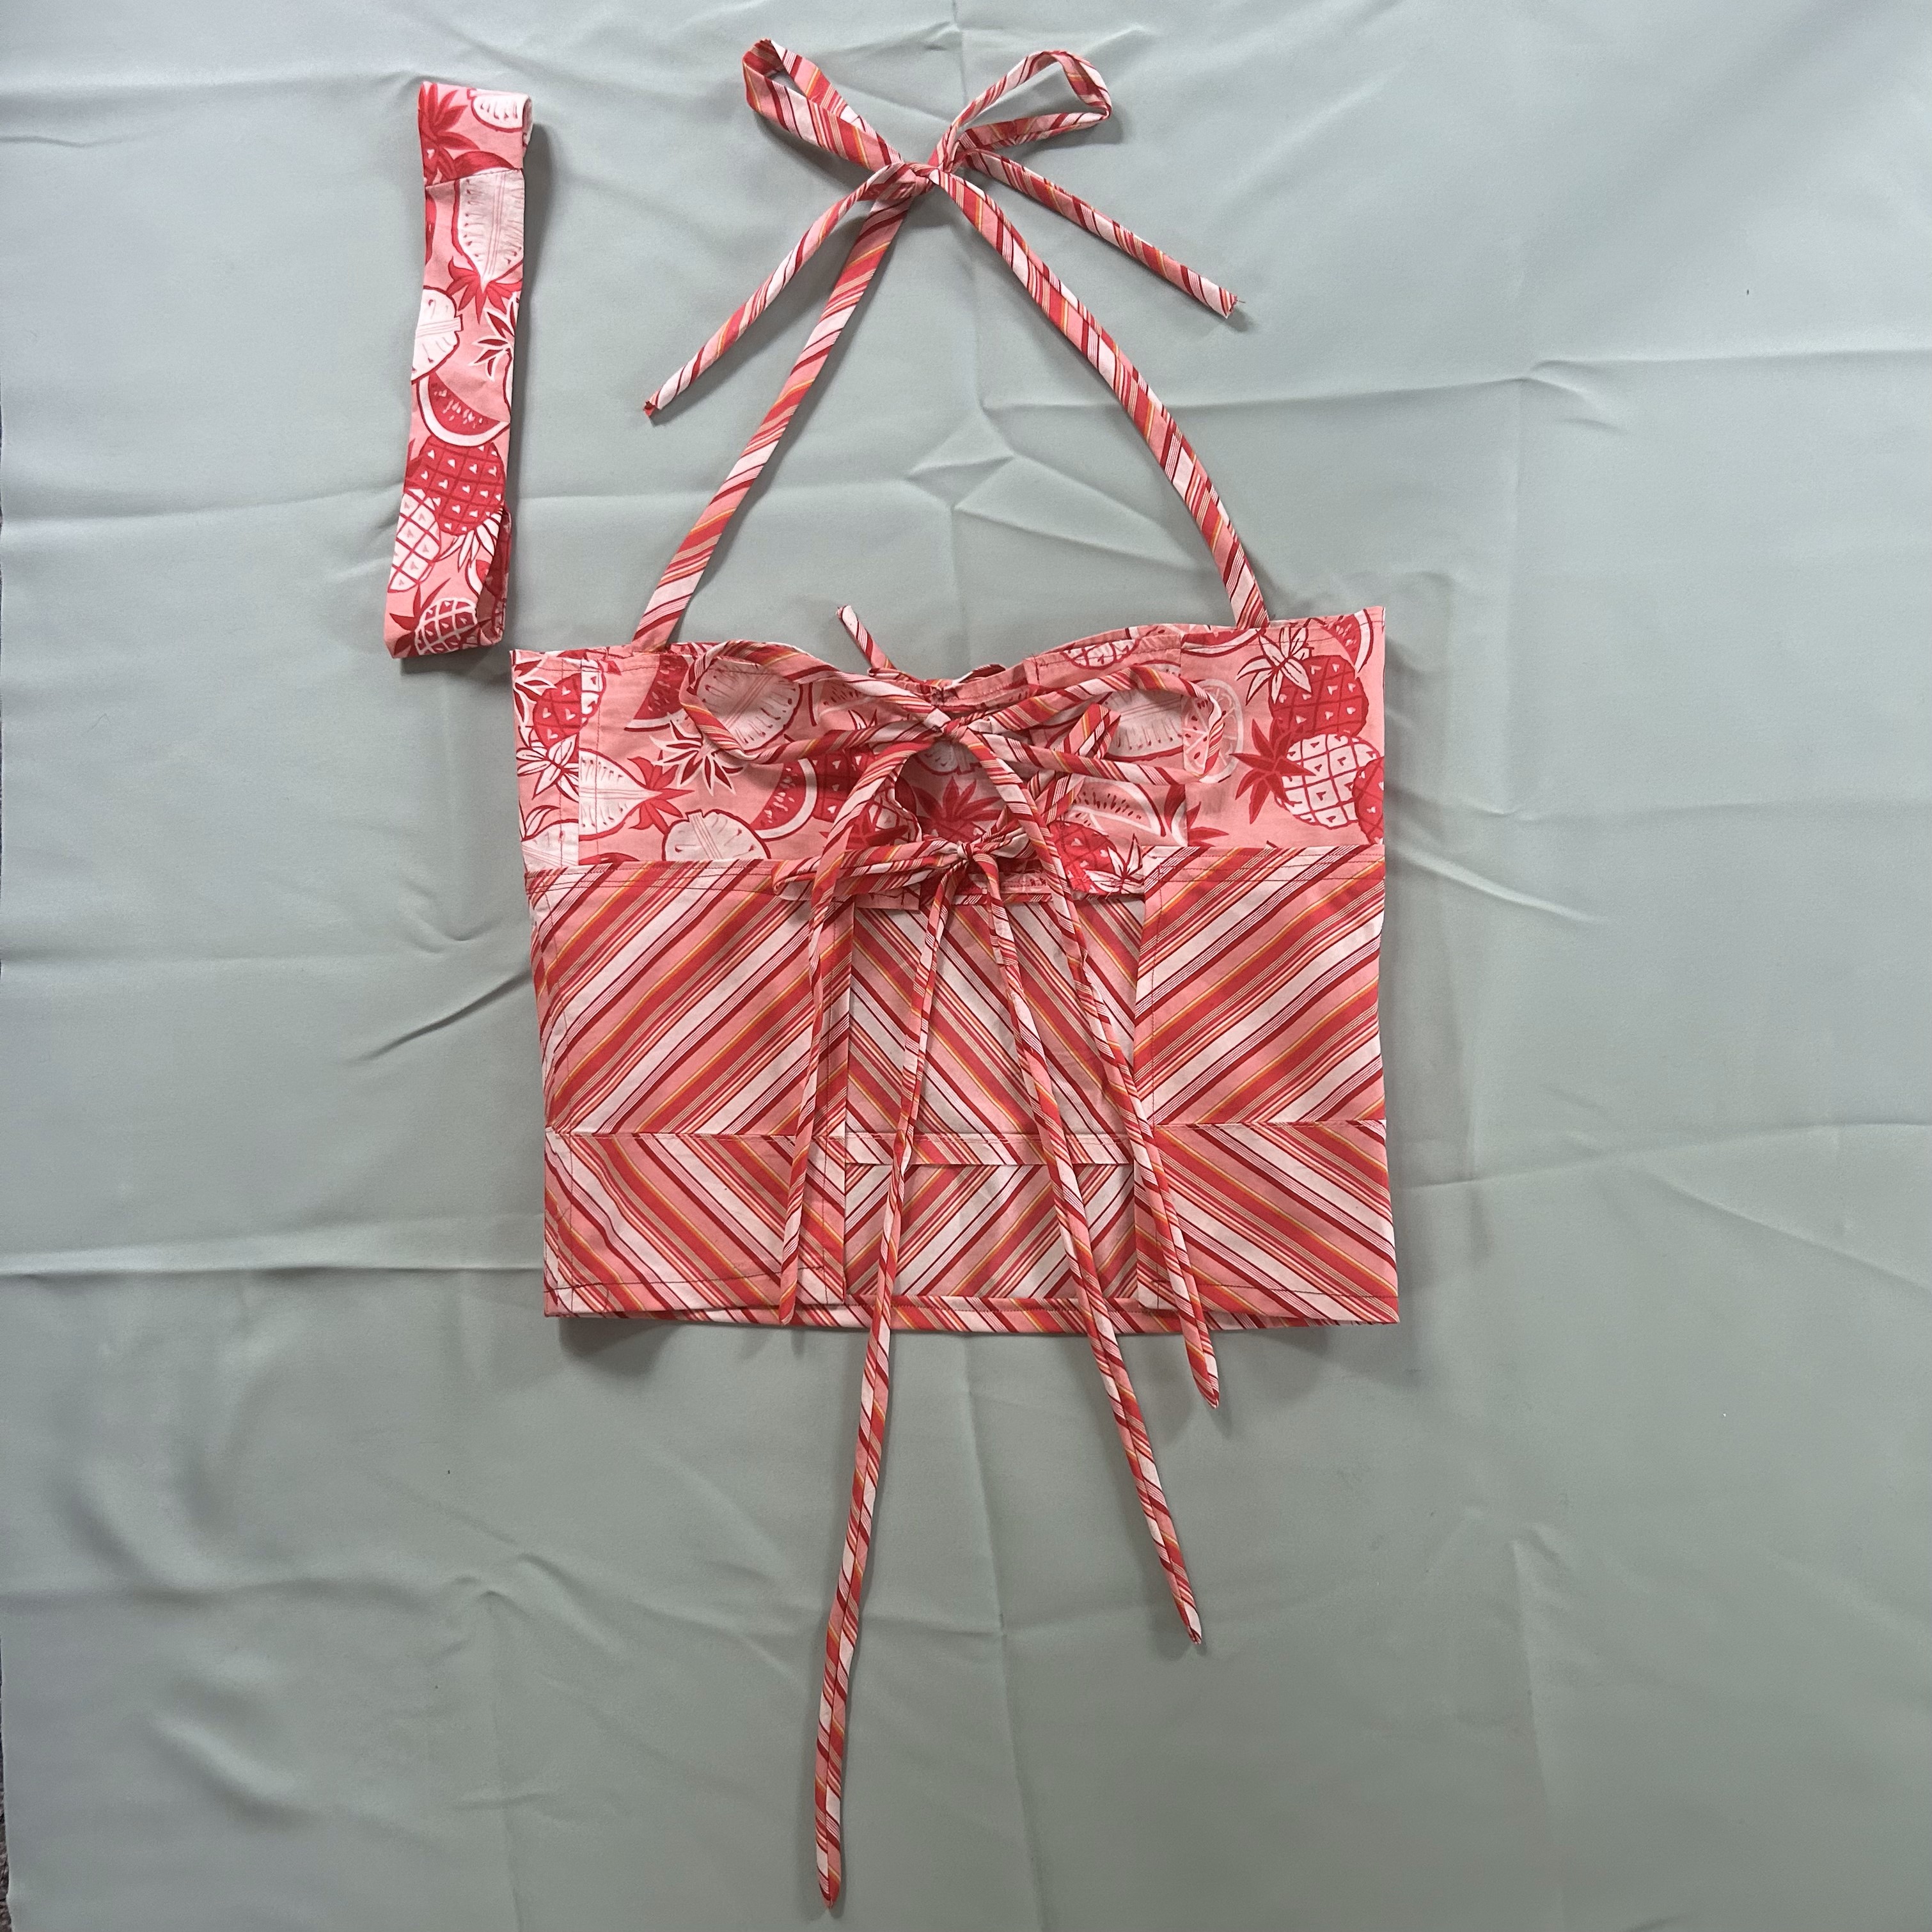
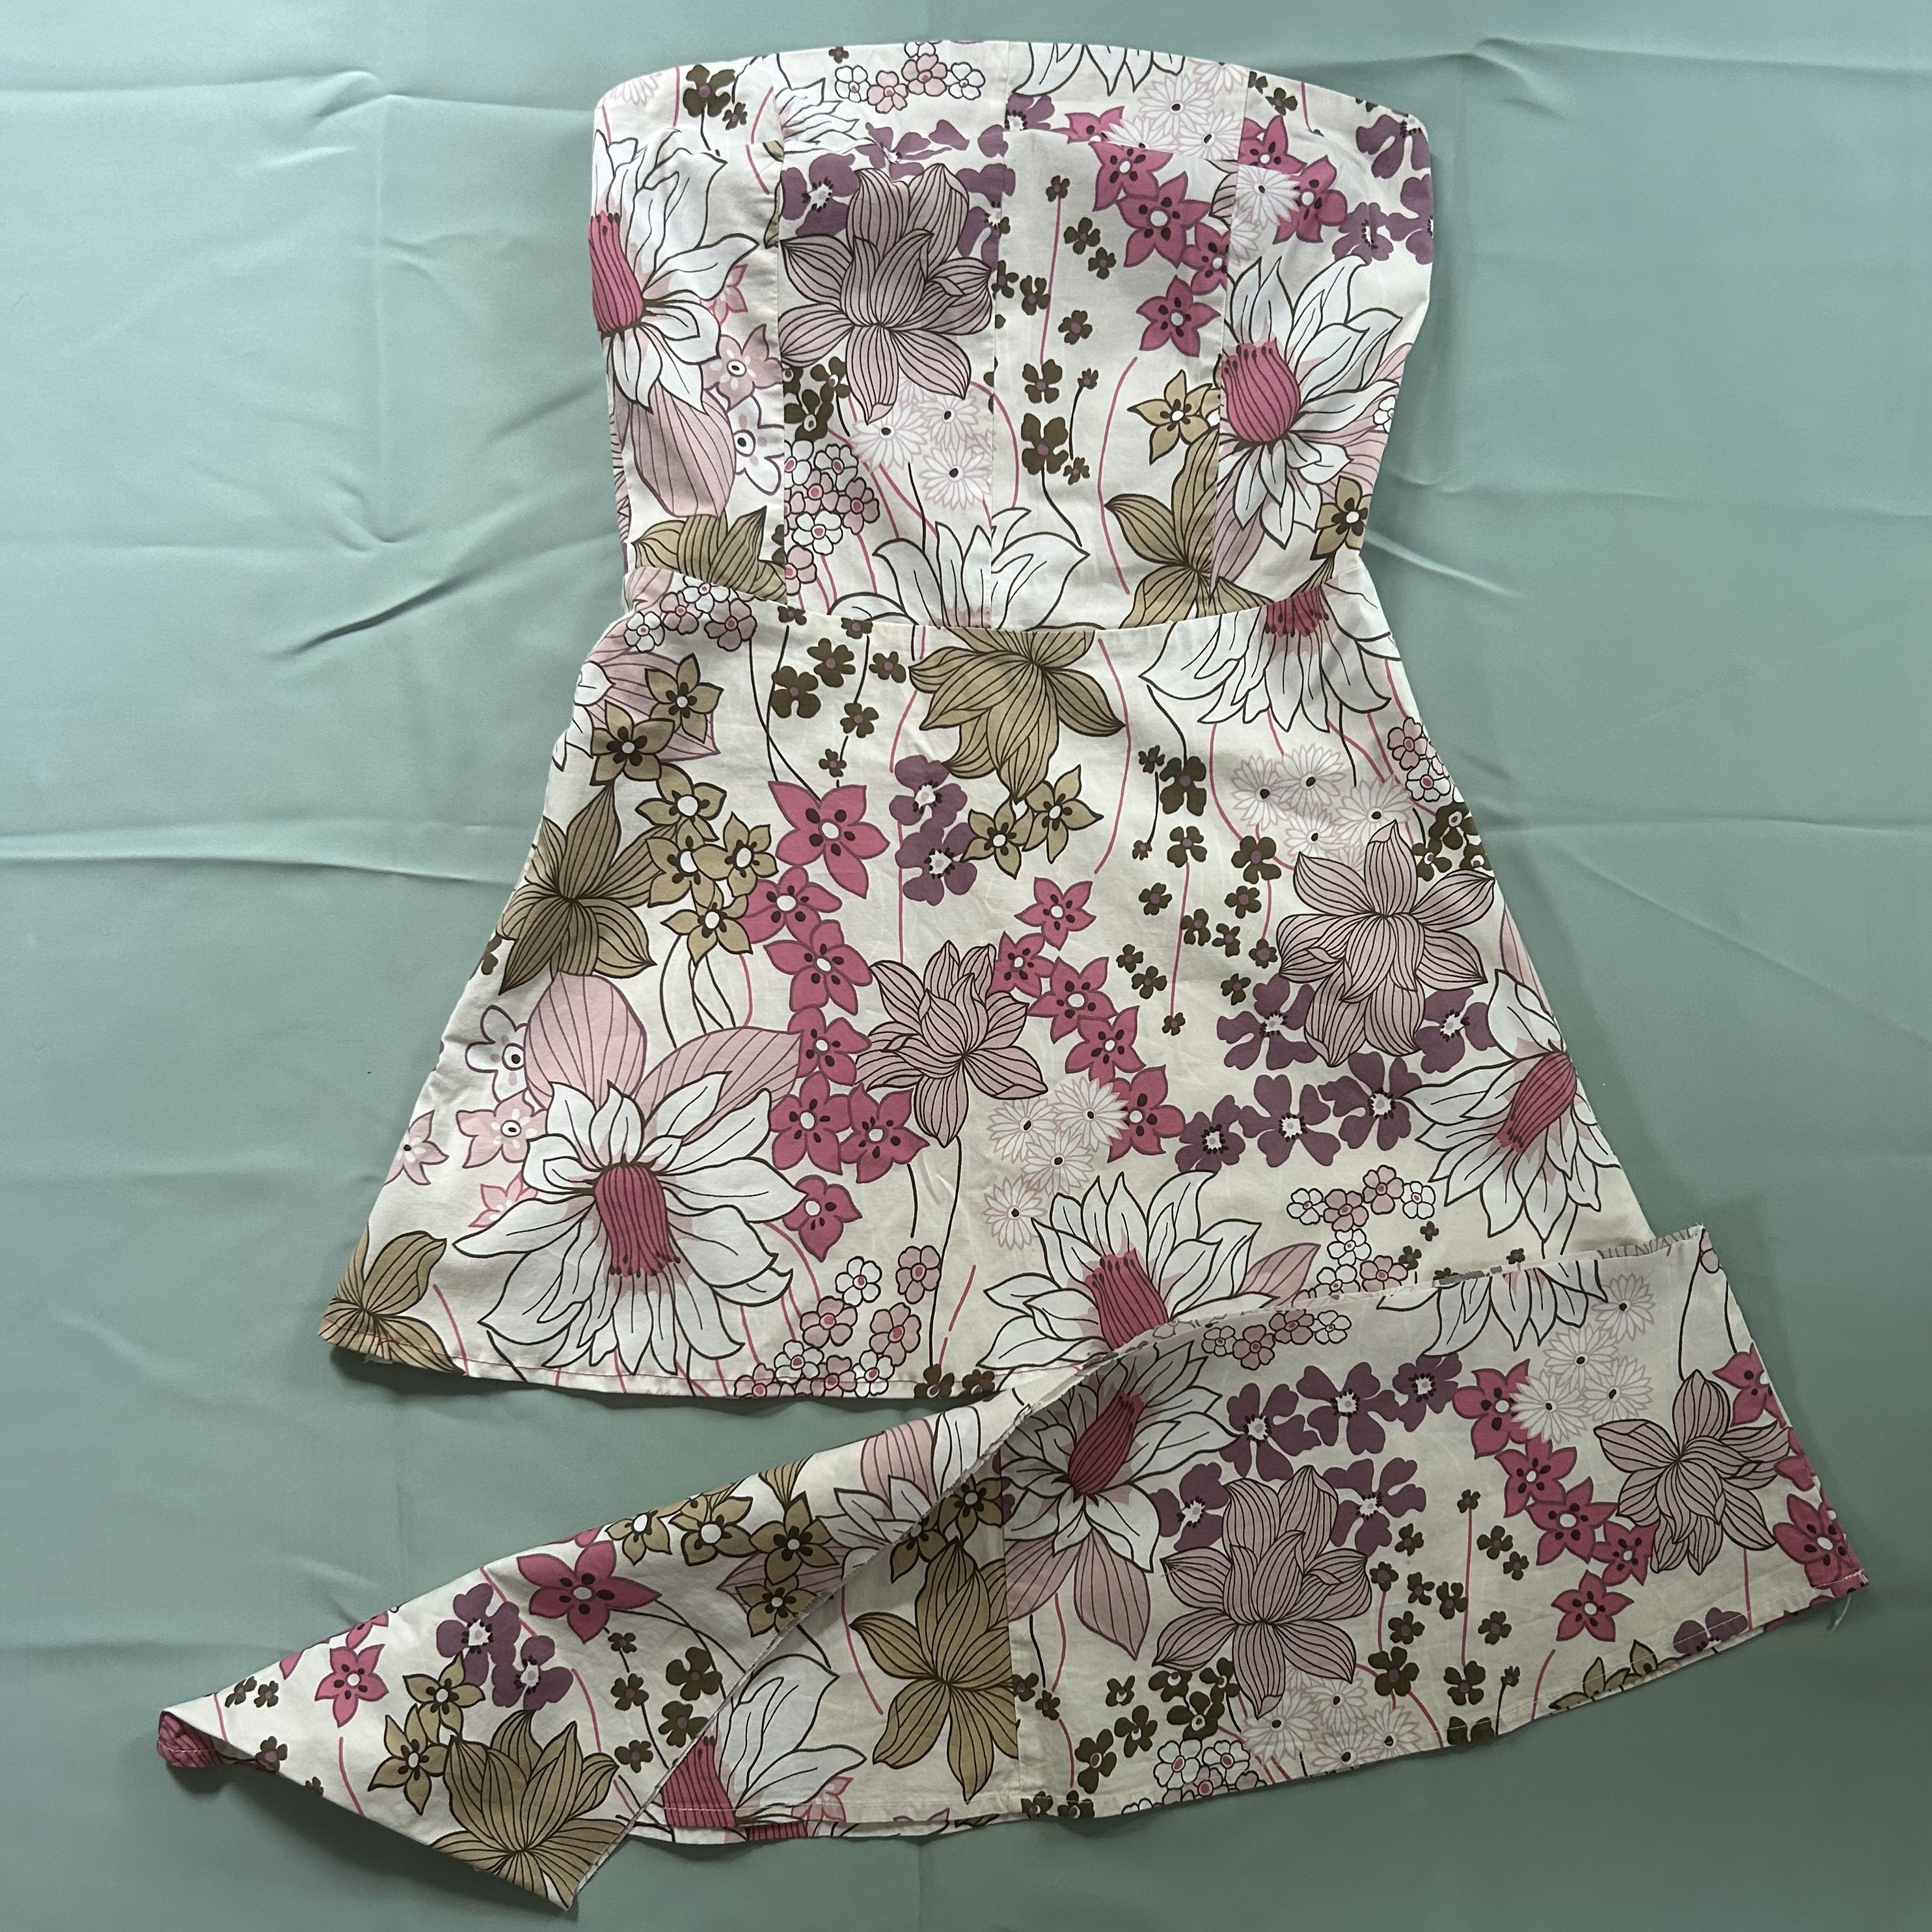
- The last hobby is Upcycling or Reworking your Clothes!
The last hobby on this list is more like a life skill in my mind, Upcycling/Reworking clothes! Living life right now is very confusing to say the least; there’s so many trends and influencers/celebs trying to sell you their products and hopping on trends that we all know won’t last. I believe the best thing you can do right now is find a way to make things your own and that way they can’t go “out of style”! I know it seems like a daunting task; but I think that’s all to do with your mindset! Upcycling and reworking clothes can be as little as adding an elastic to the waistband so it fits better, and you feel more confident and comfortable, or it could be hemming a skirt that you love the colour of but it doesn’t hit you where you want it! Basically just make little changes that make it more personal to you because they are your possessions; why not make them work for you! If you have a sewing machine or access to one via a family member a big tip would be to iron your seams down before you sew them as it makes it 1 million times easier and you’ll feel way less overwhelmed! If you don’t have a sewing machine you can also use hemming tape/web which is basically the same thing without the sewing; all you need to do is cut your garment to where you want it with a little seam allowance; then you want to fold over the fabric and iron it down so you have it all even around the edges and then all you do is place the hemming web between the two layers of fabric and iron it down! And voila, you have a beautiful, reworked piece that you’ll be much more likely to reach for! This is also a great way to avoid unnecessary spending and keep clothes out landfills which is a huge plus!
2 thoughts on “8 Easy and Beginner Friendly Hobbies Anyone Can Do!”
Comments are closed.
Love these hobbies!! Skills from one hobby can be transferred into others like painting and drawing into Lino print!! I would love to see some more of the hobbies you do!
Thank you Gaby, I couldn’t agree more! I will definitely be doing more hobby posts!