Today we will be creating a necklace and a brooch with the clay flowers we made previously! It’s so much fun to be able to create your own jewellery that you designed yourself and created from the very beginning! I decided to create a necklace and a brooch with the clay flowers. Full disclosure: this was my first necklace that I made “from scratch” so follow along if you want to see how I did it!
The very first thing I did was to decide which flower would become the necklace and which would become the brooch. The blue flower became the necklace pendant, and the pink flower became the brooch! If you’d like to see how I created the clay flowers click the link here.
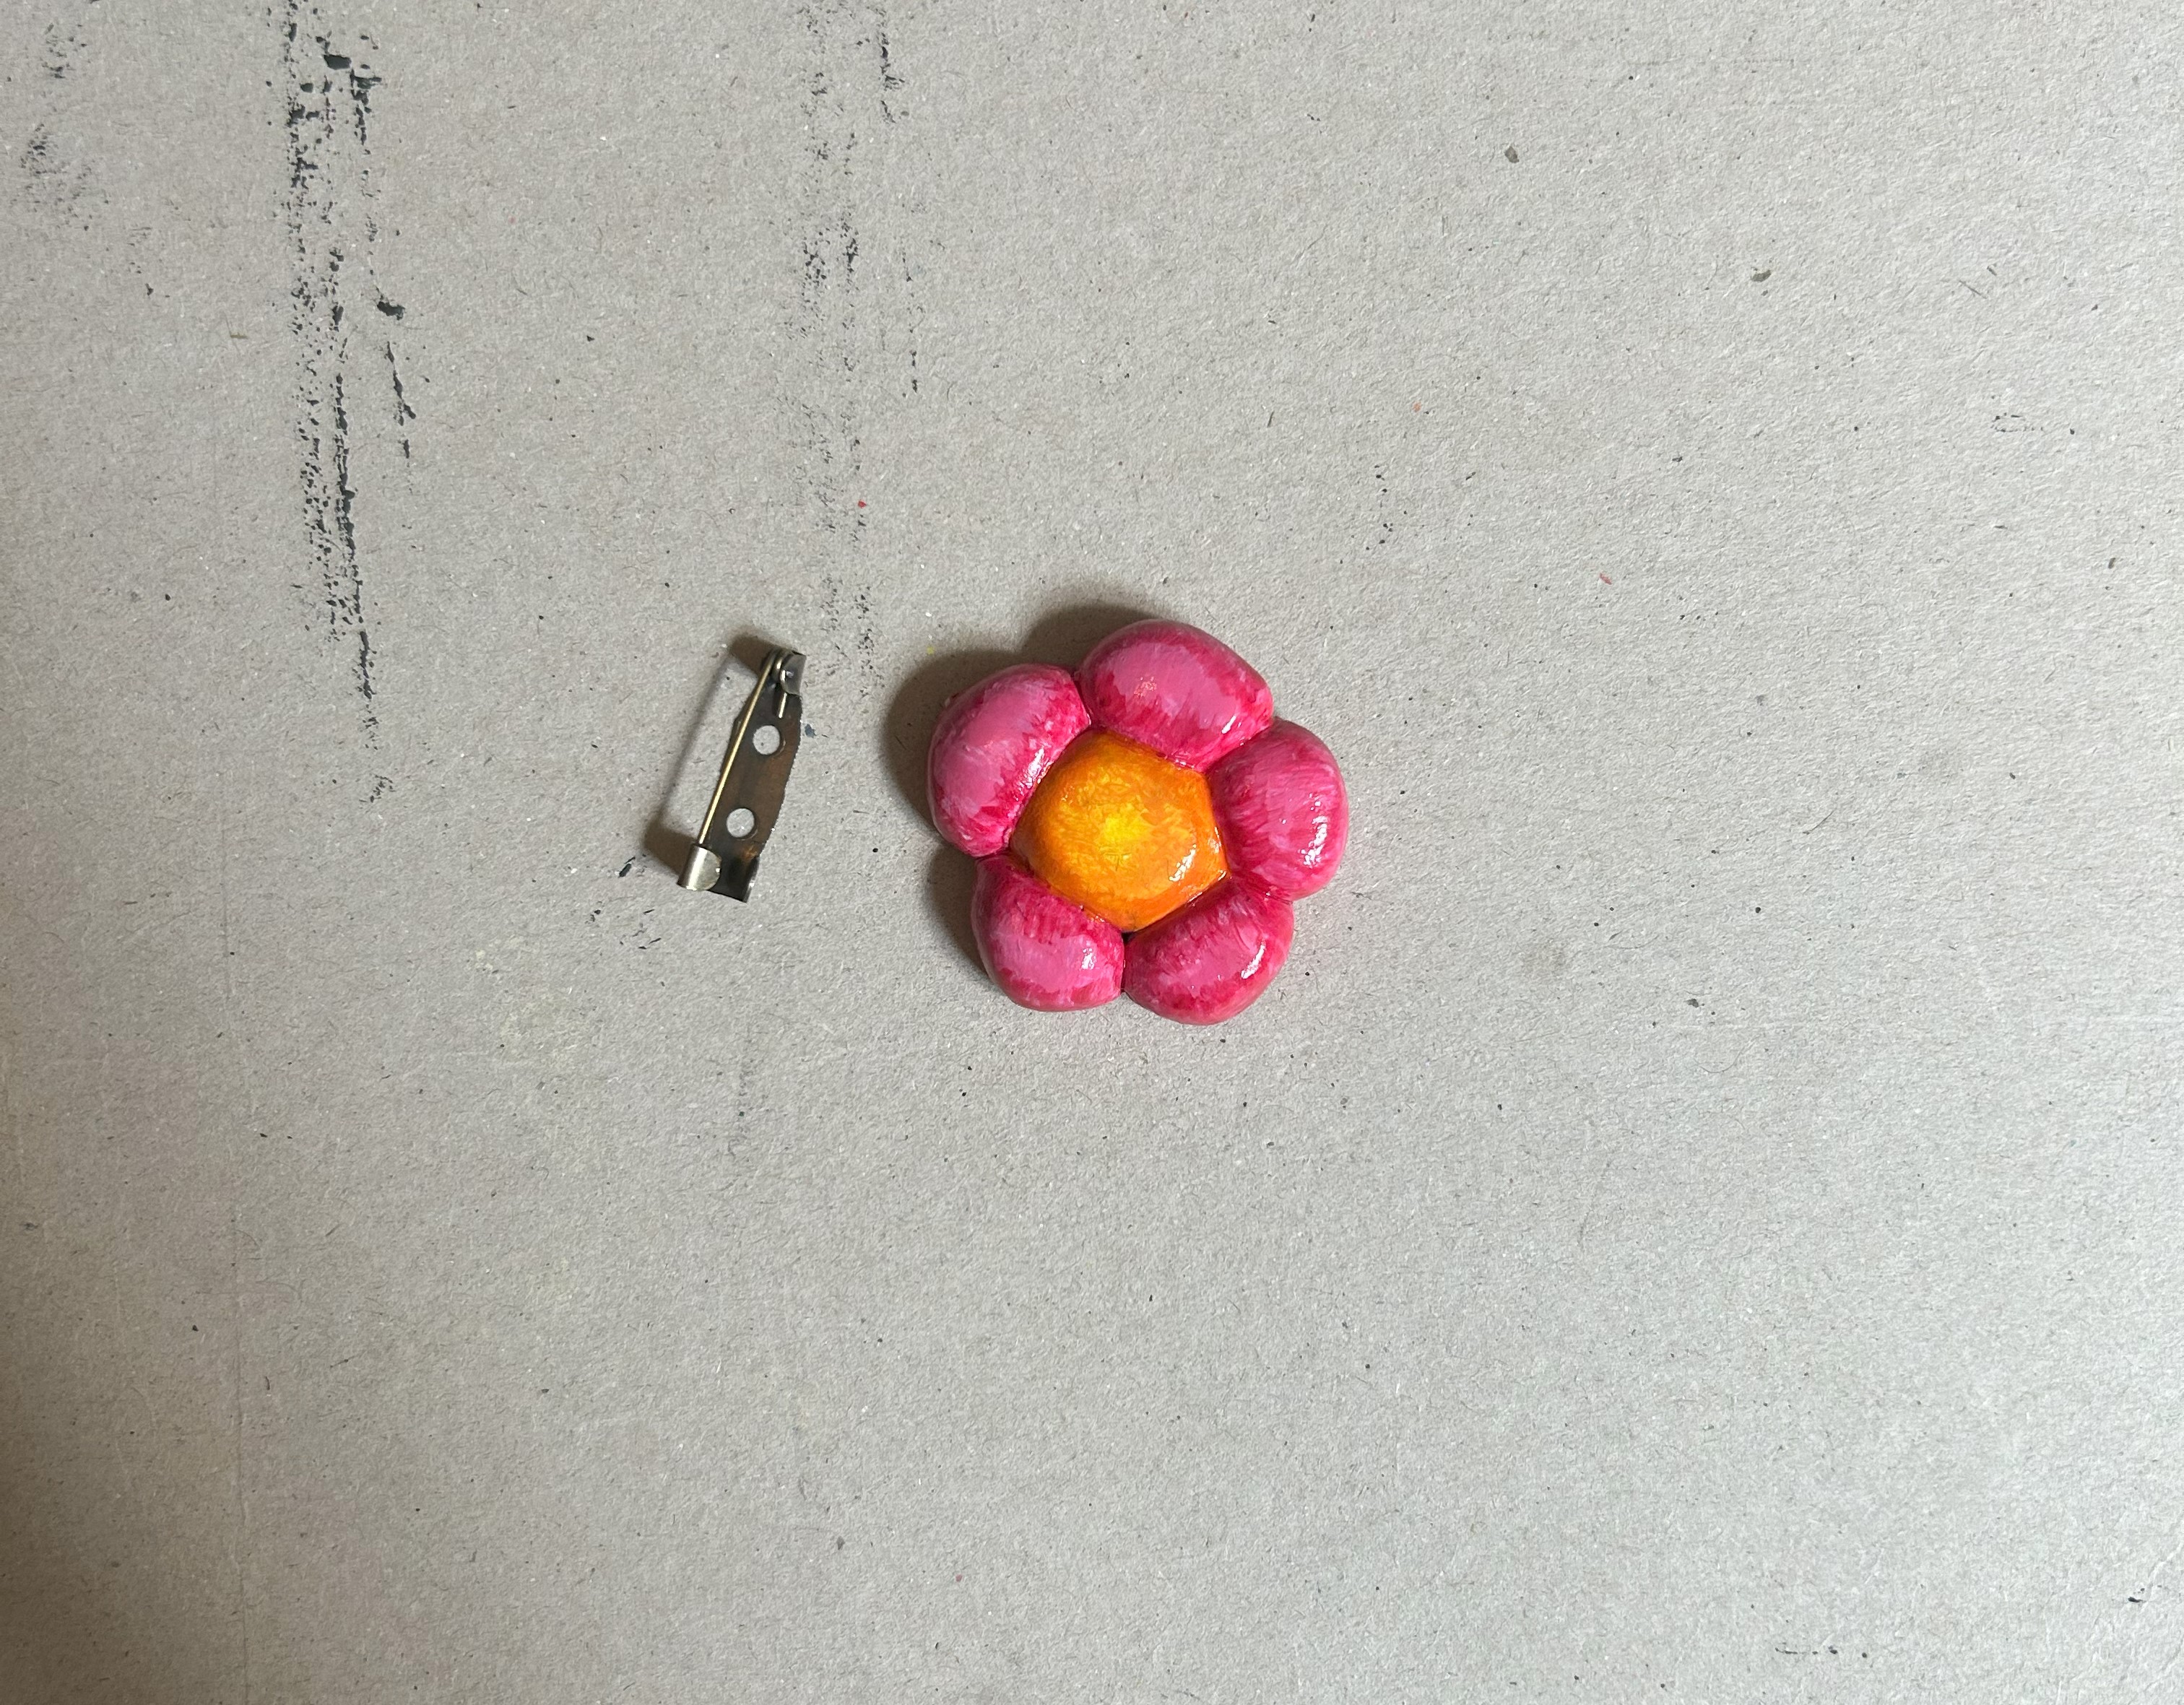
Brooch
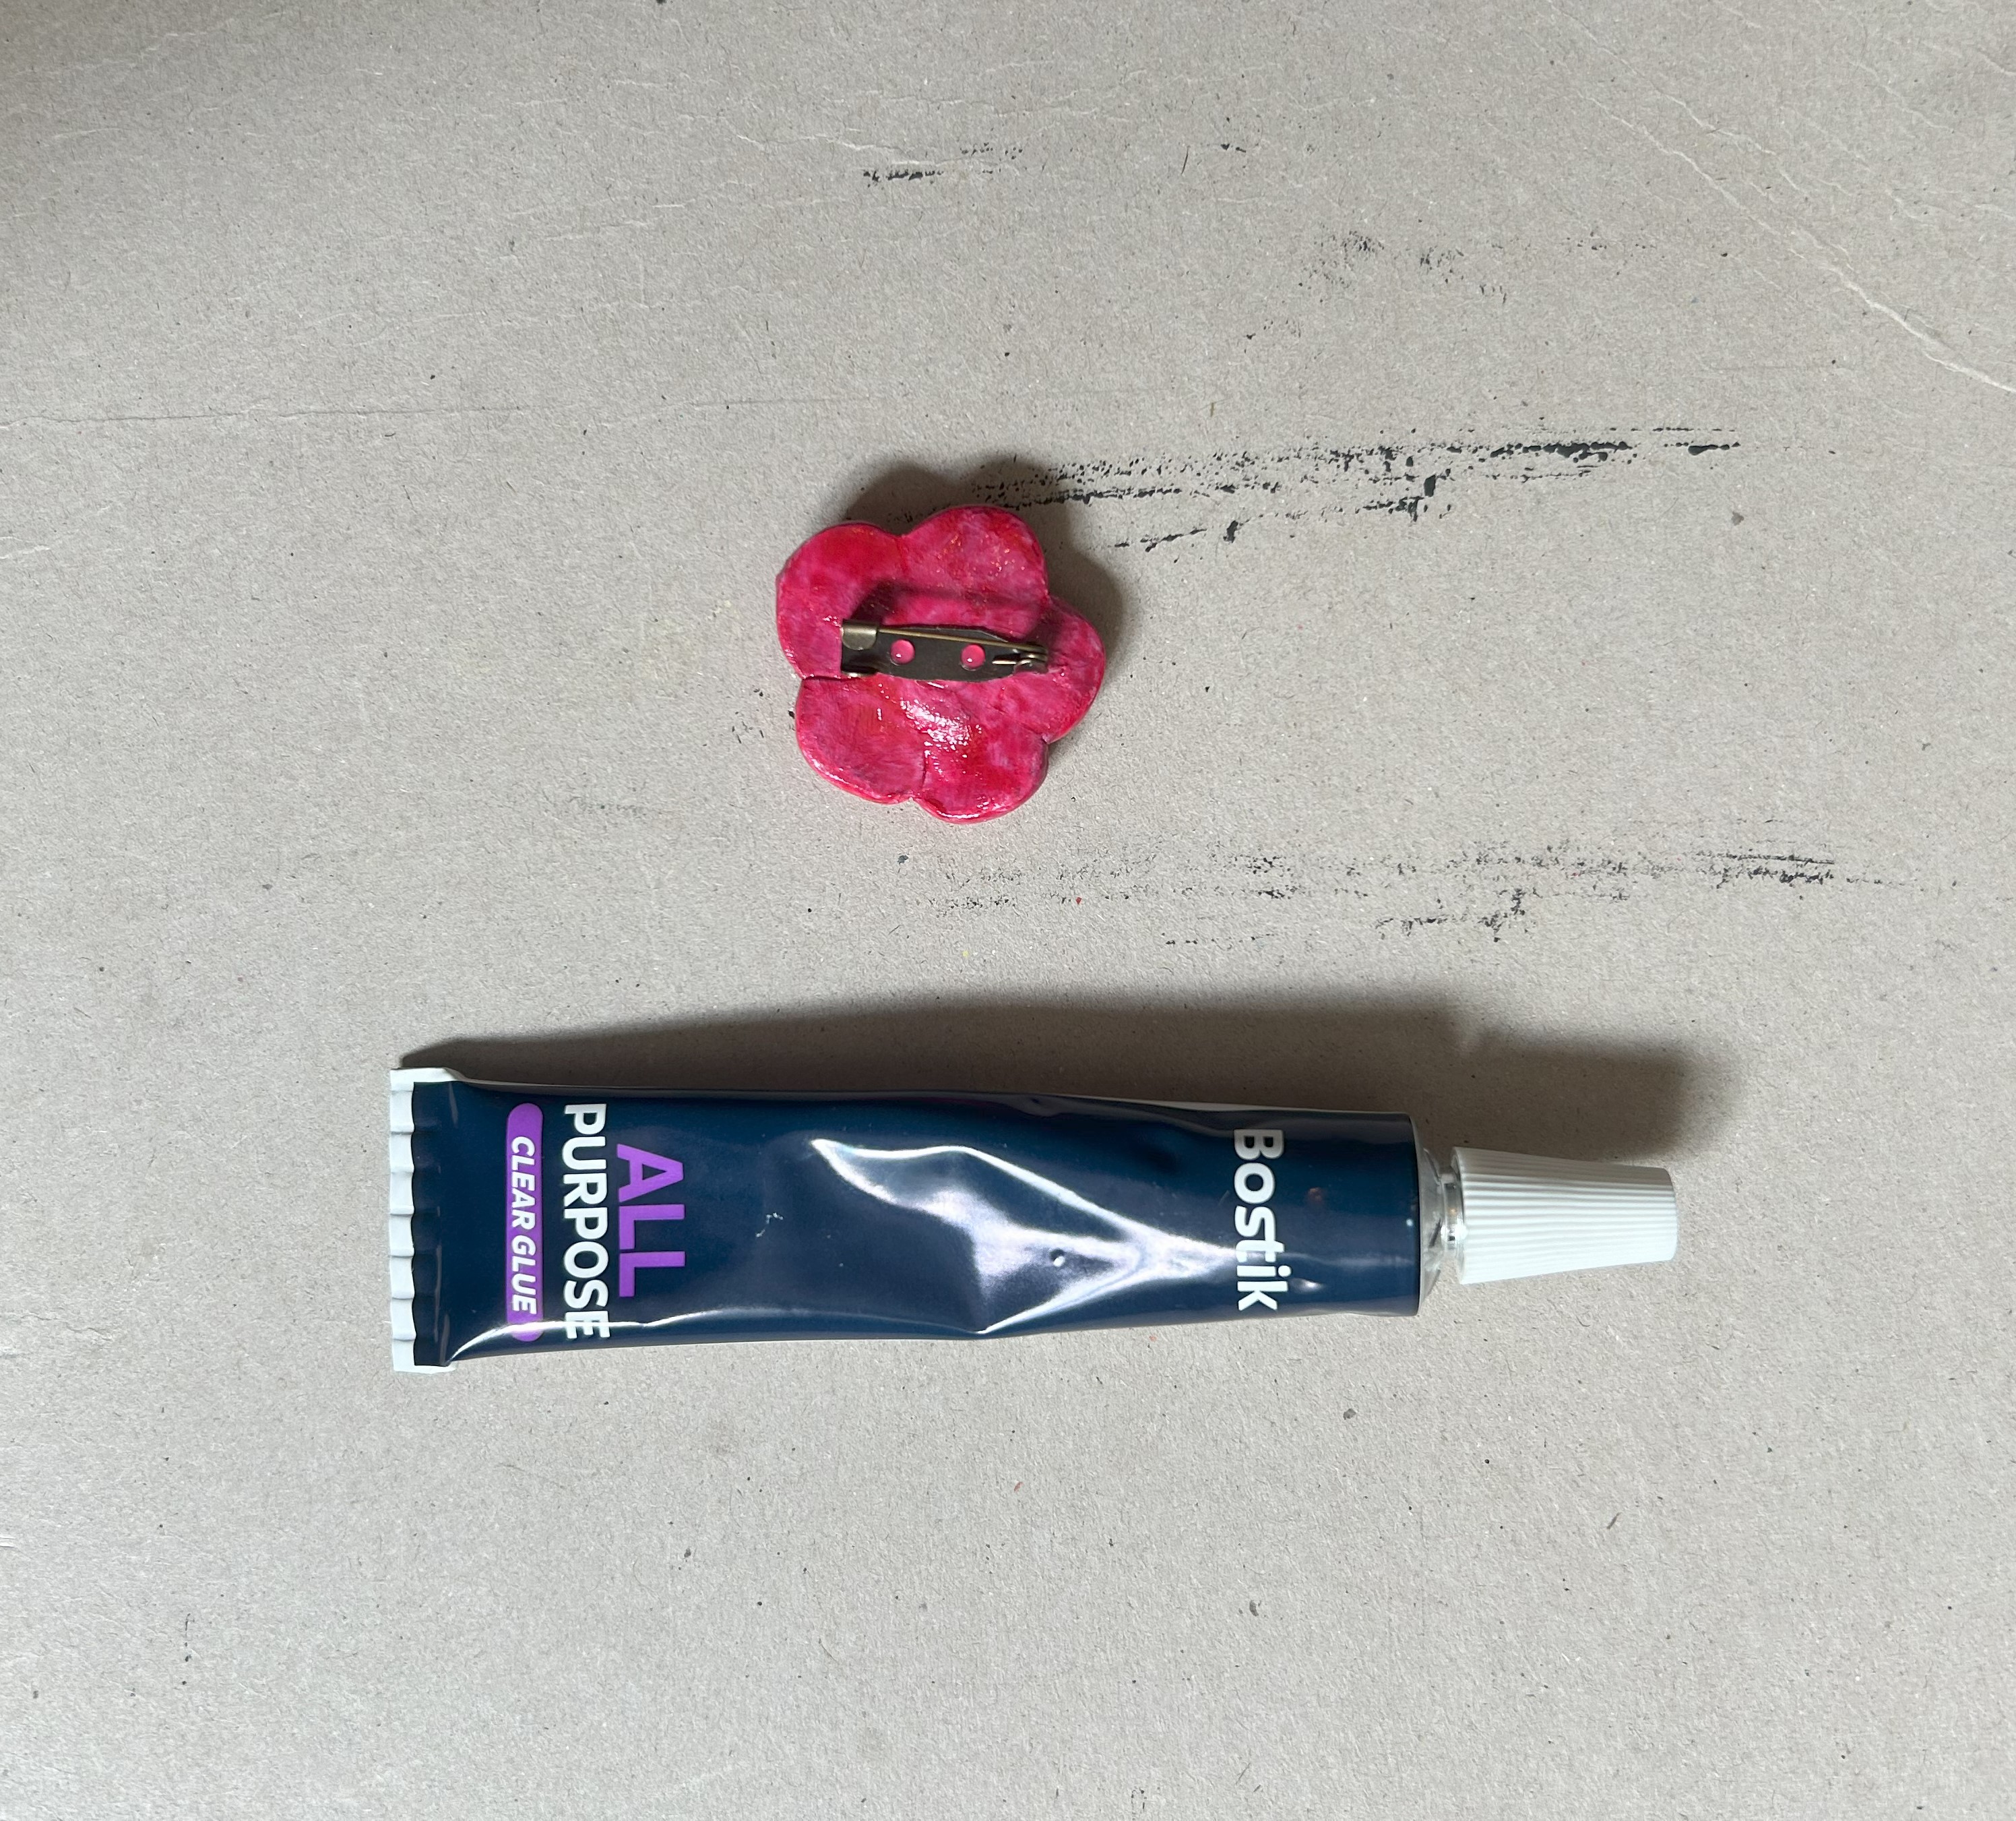
We’ll start off with the easier of the two, the brooch. For the brooch all the materials you’ll need is some strong glue and a brooch back! I used the Bostik All Purpose clear glue for this, and I bought some antique brooch backs from Ebay but you can easily find the glue and brooch/pin backs from Amazon.
Once you have your materials all you have to do is glue the brooch pin directly to the back of the clay flower (or whatever you’re working with). I just went in with some tweezers and made sure the brooch back pin was fully connected to the flower and then its time for it to dry! When it’s dry, you’re all done! It only took a few hours for it to be completely dry for me.
Necklace
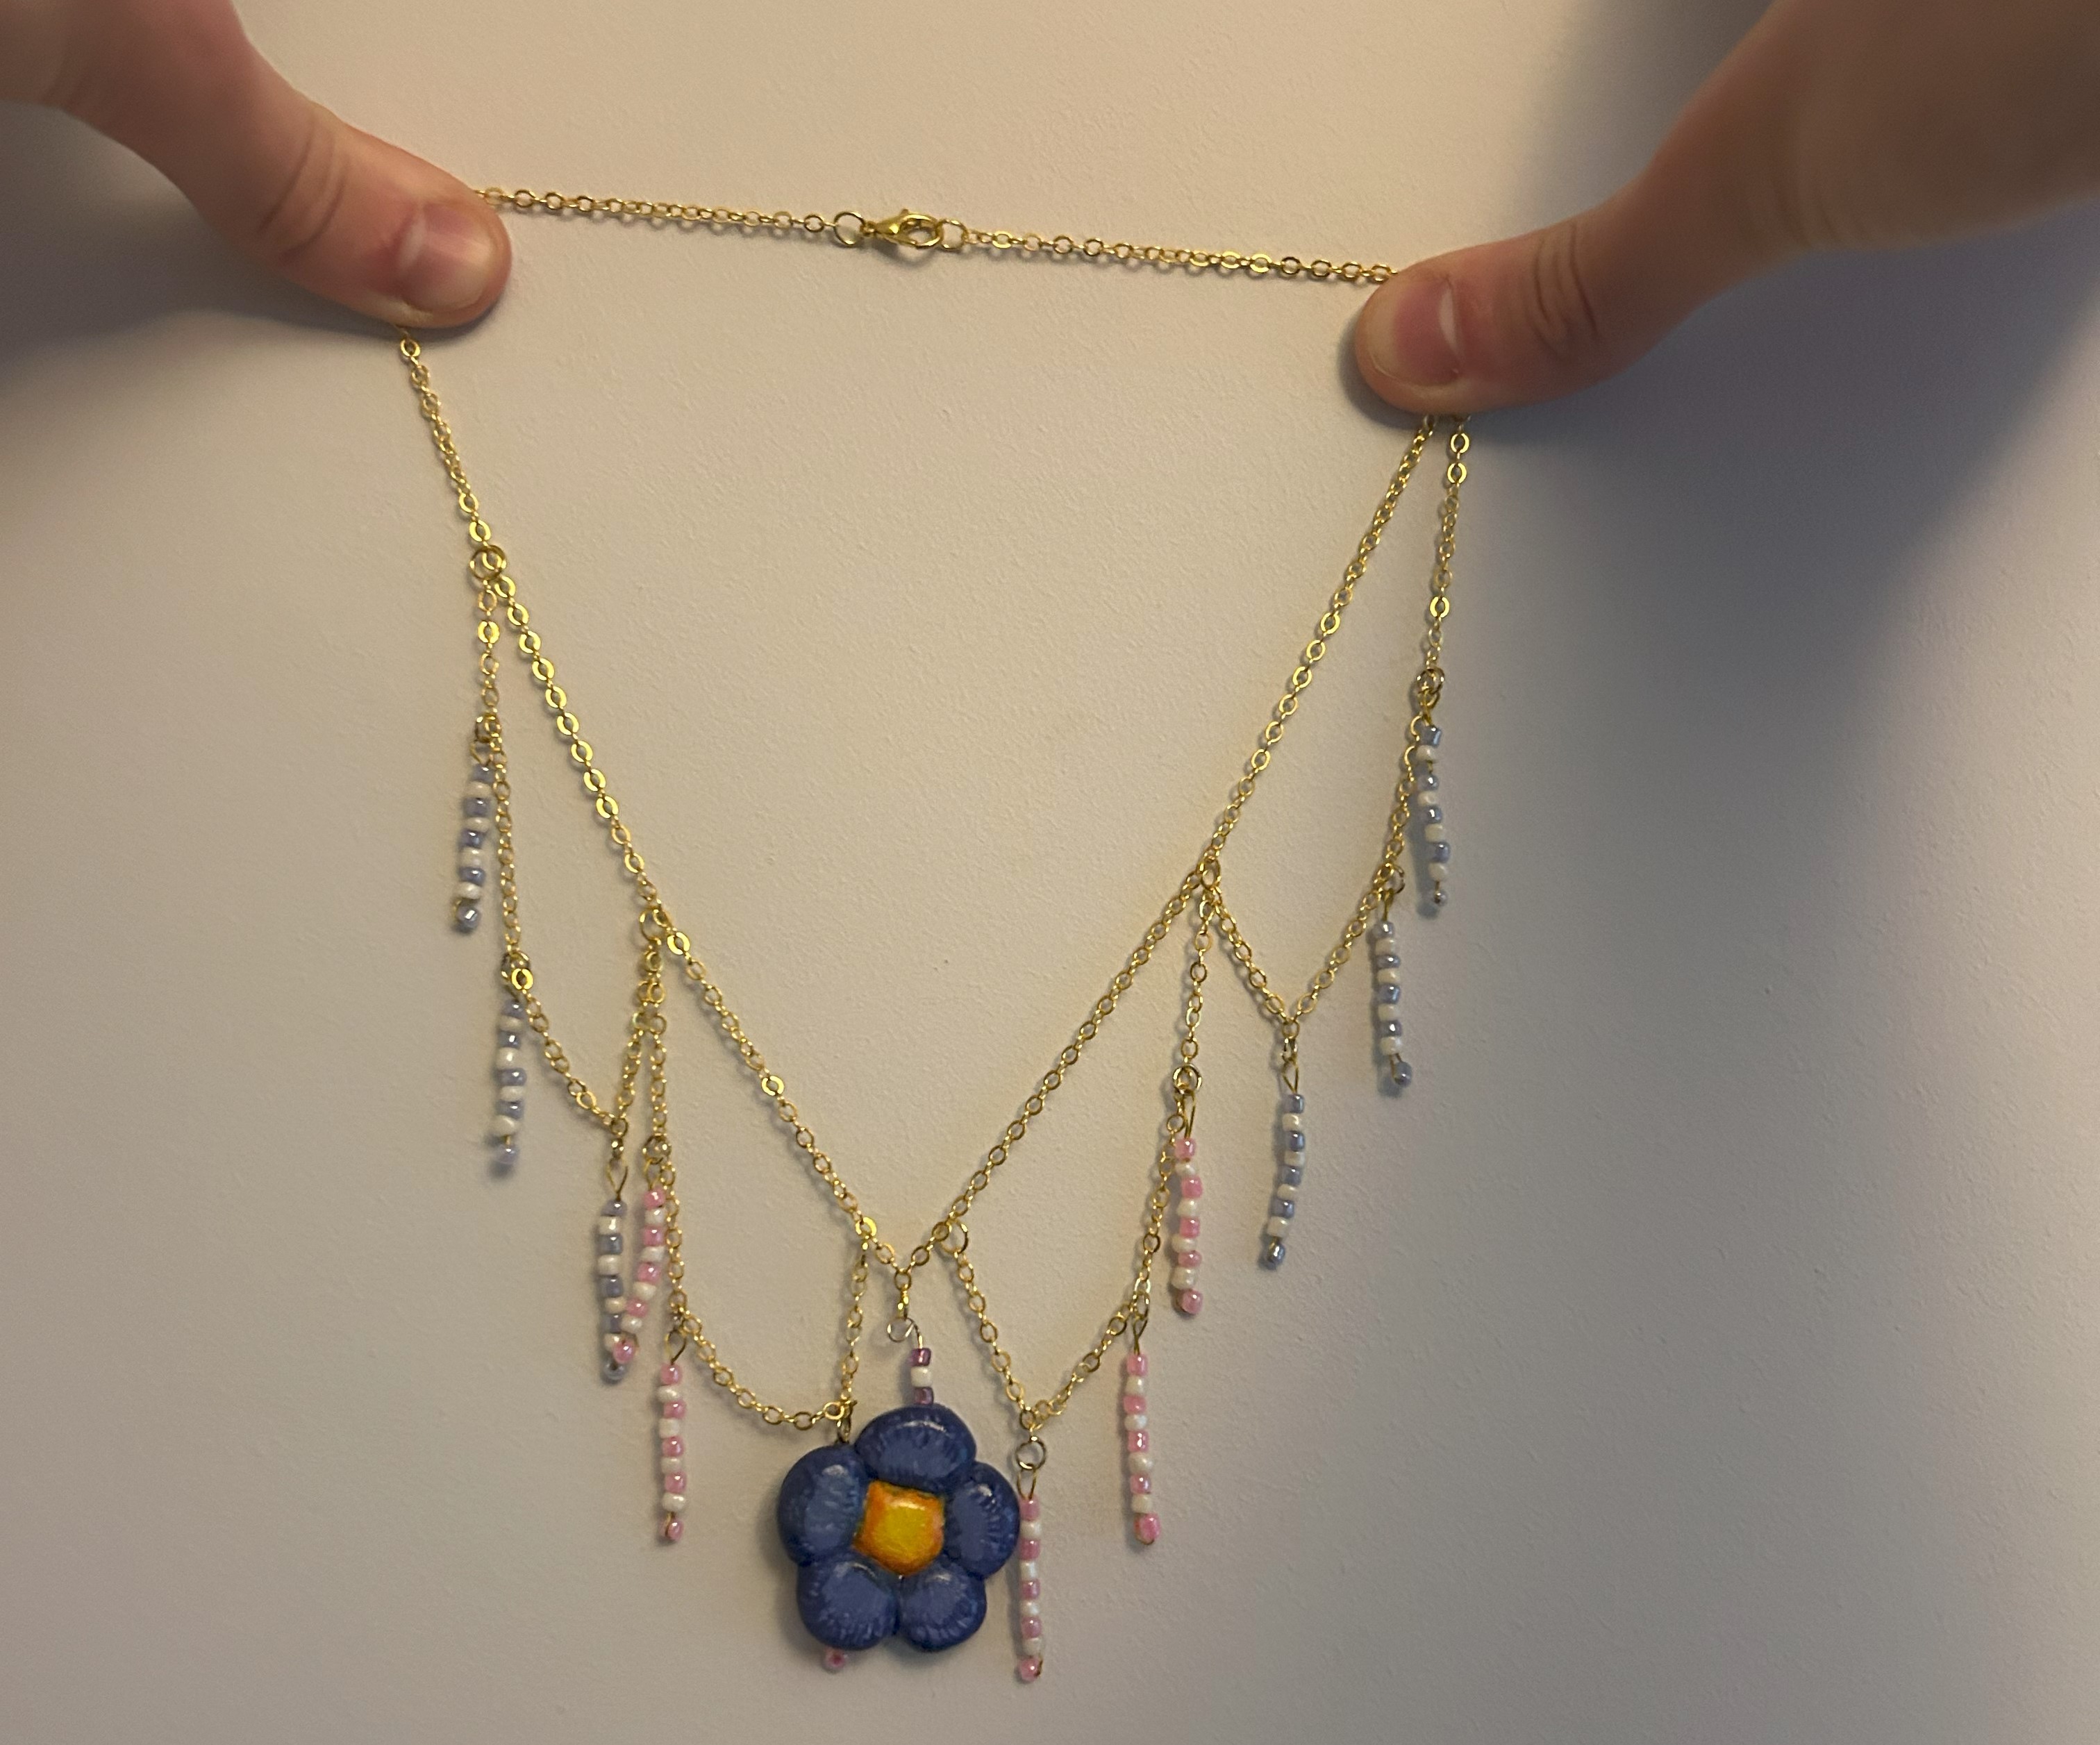
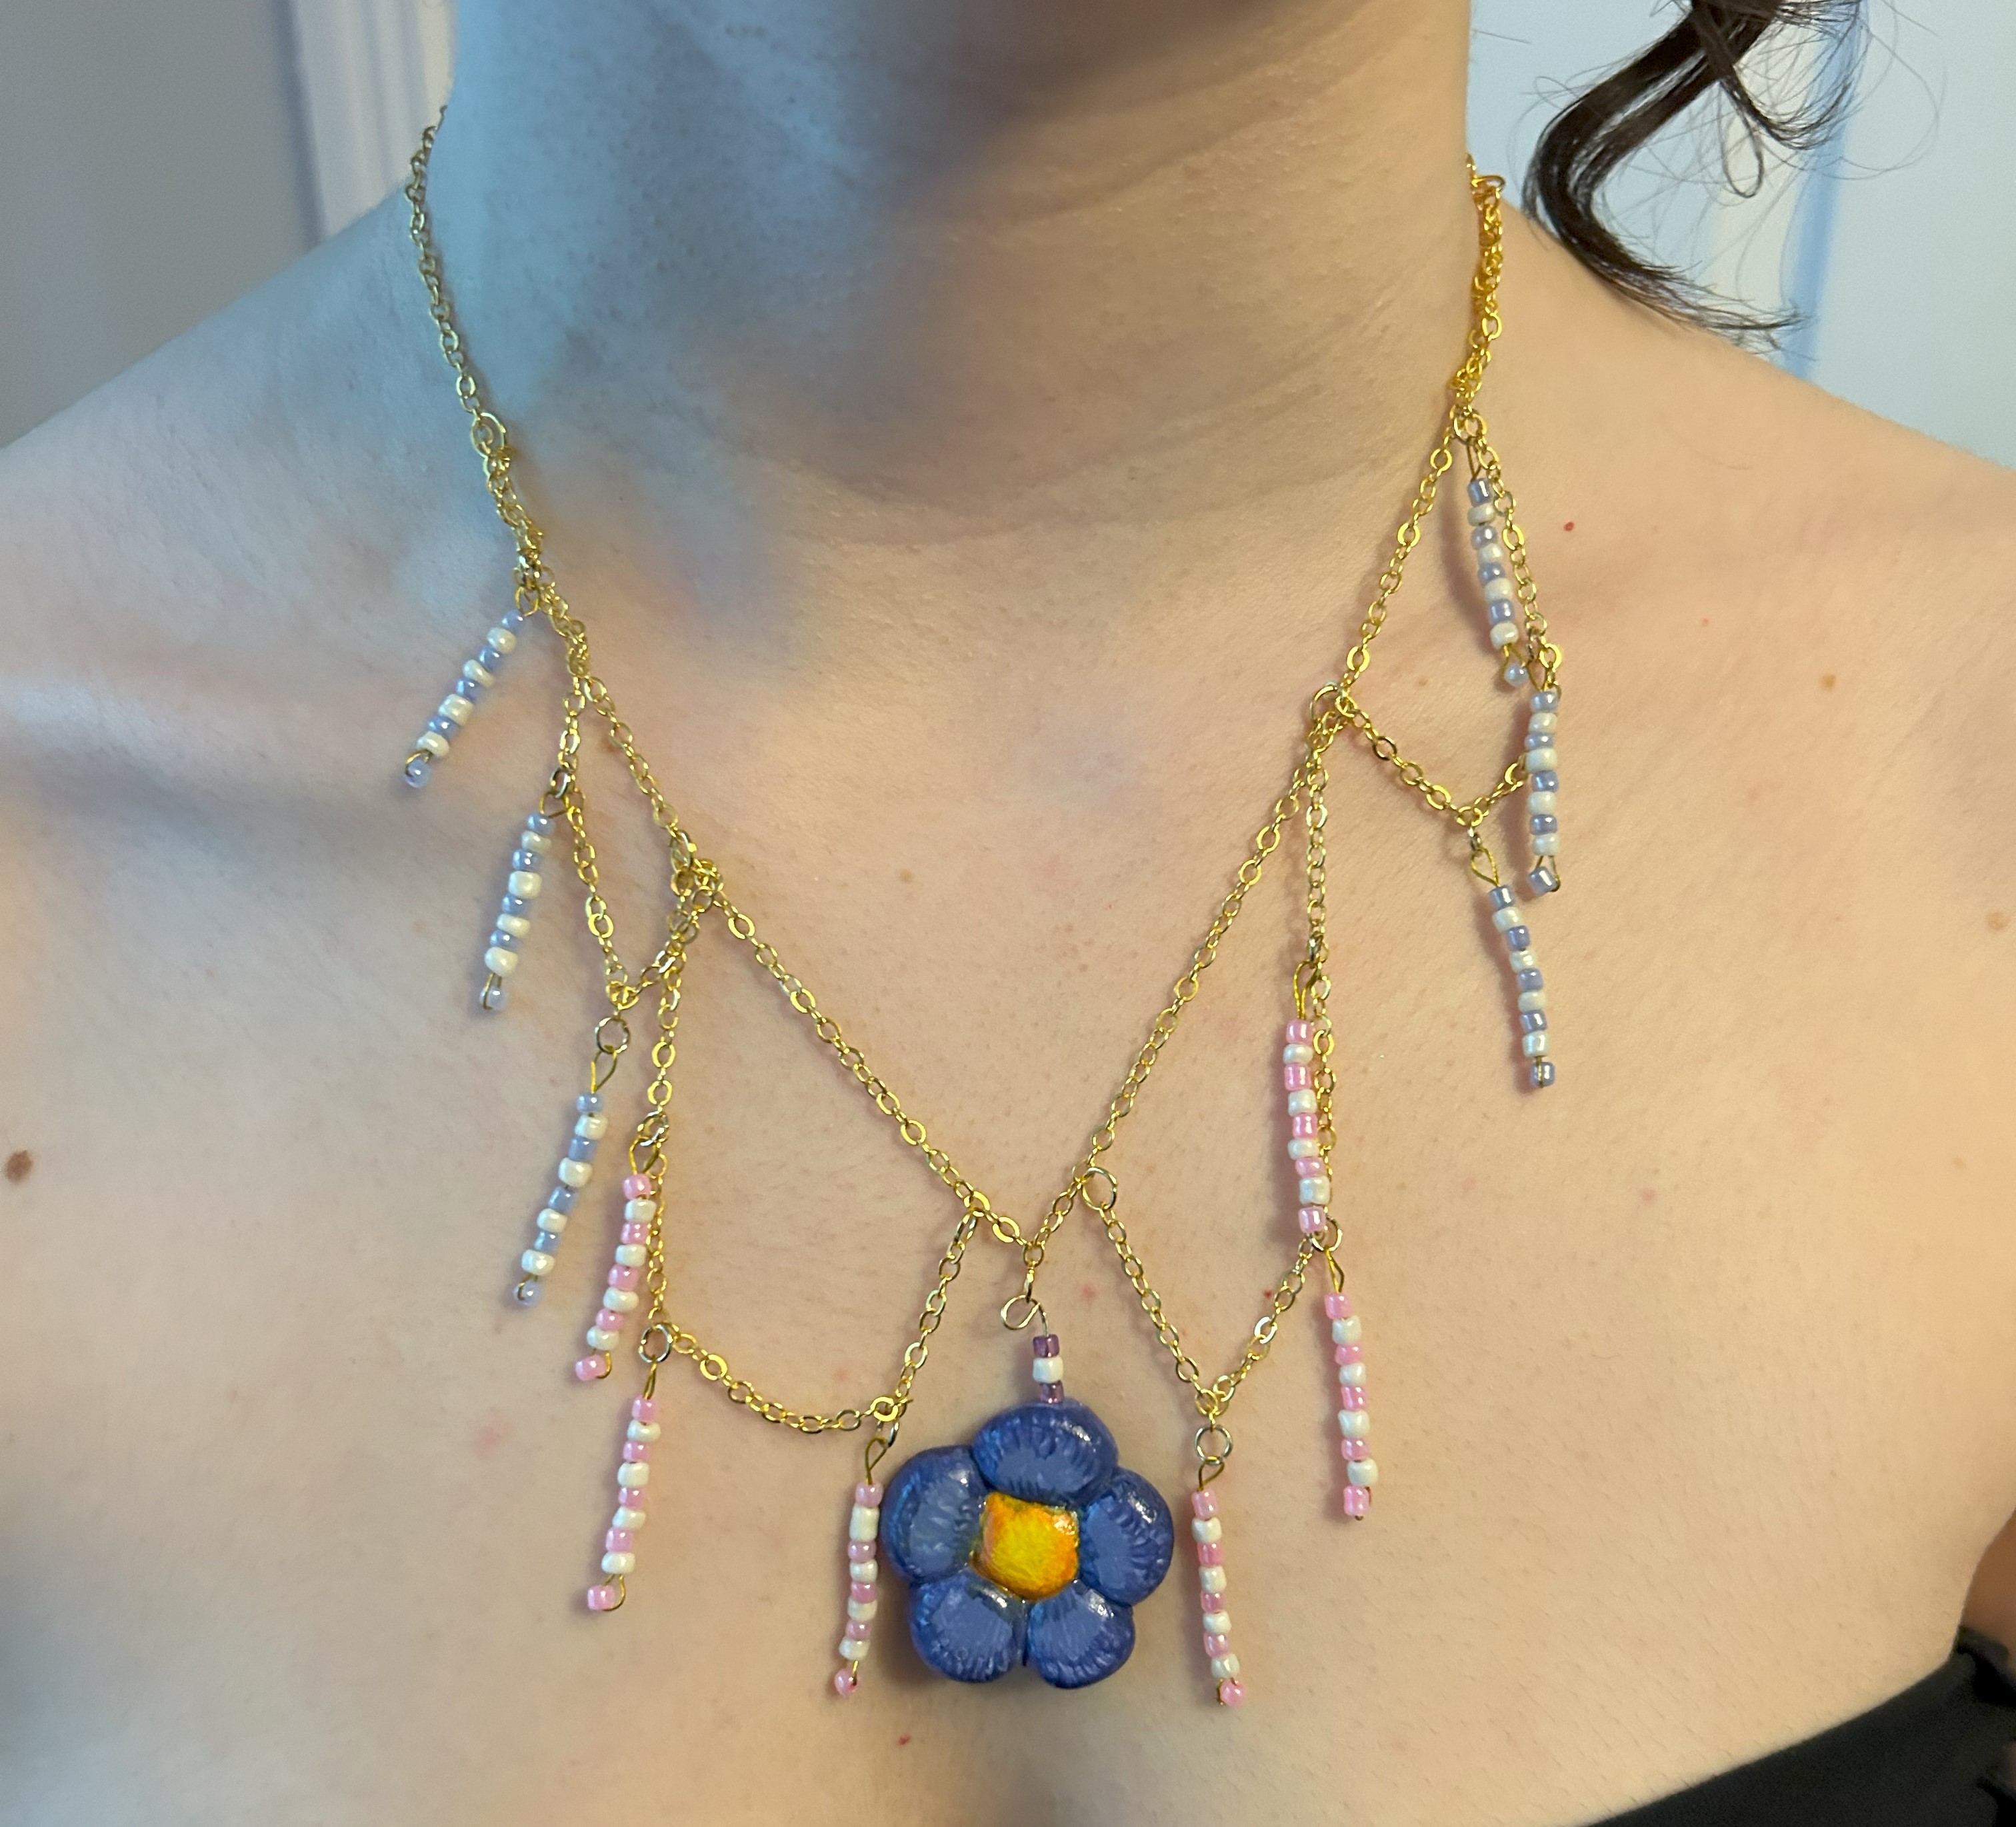
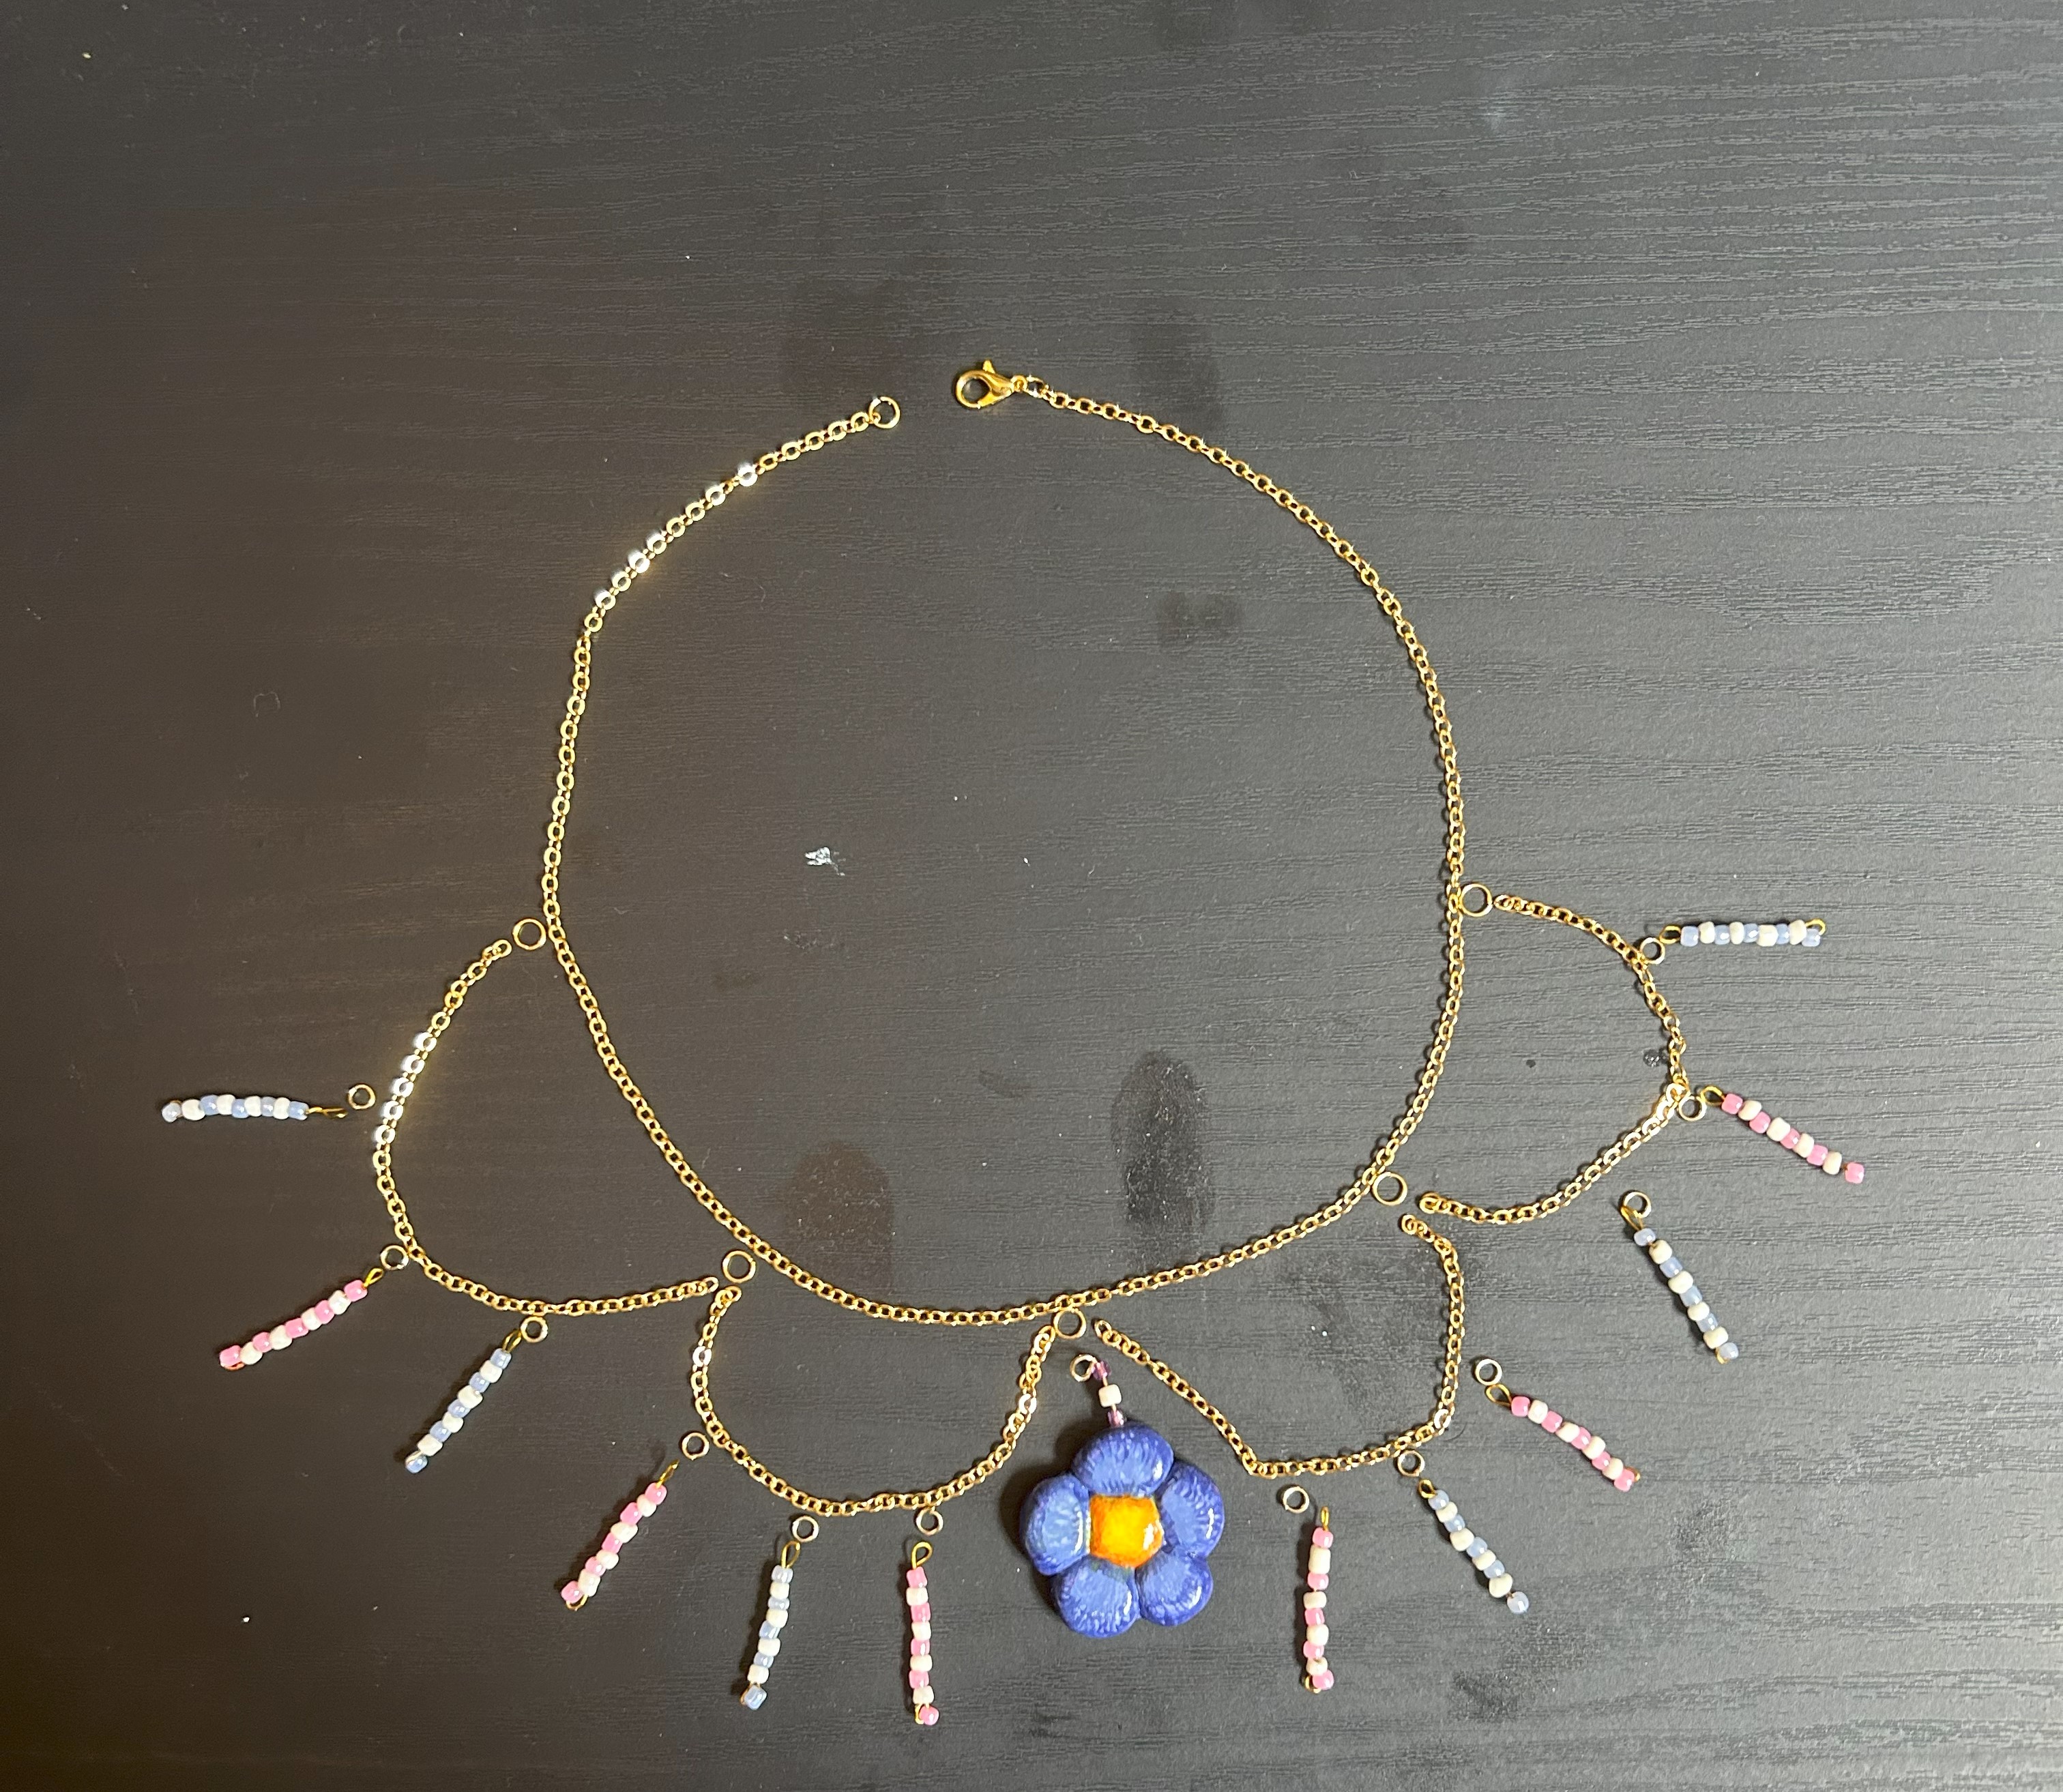
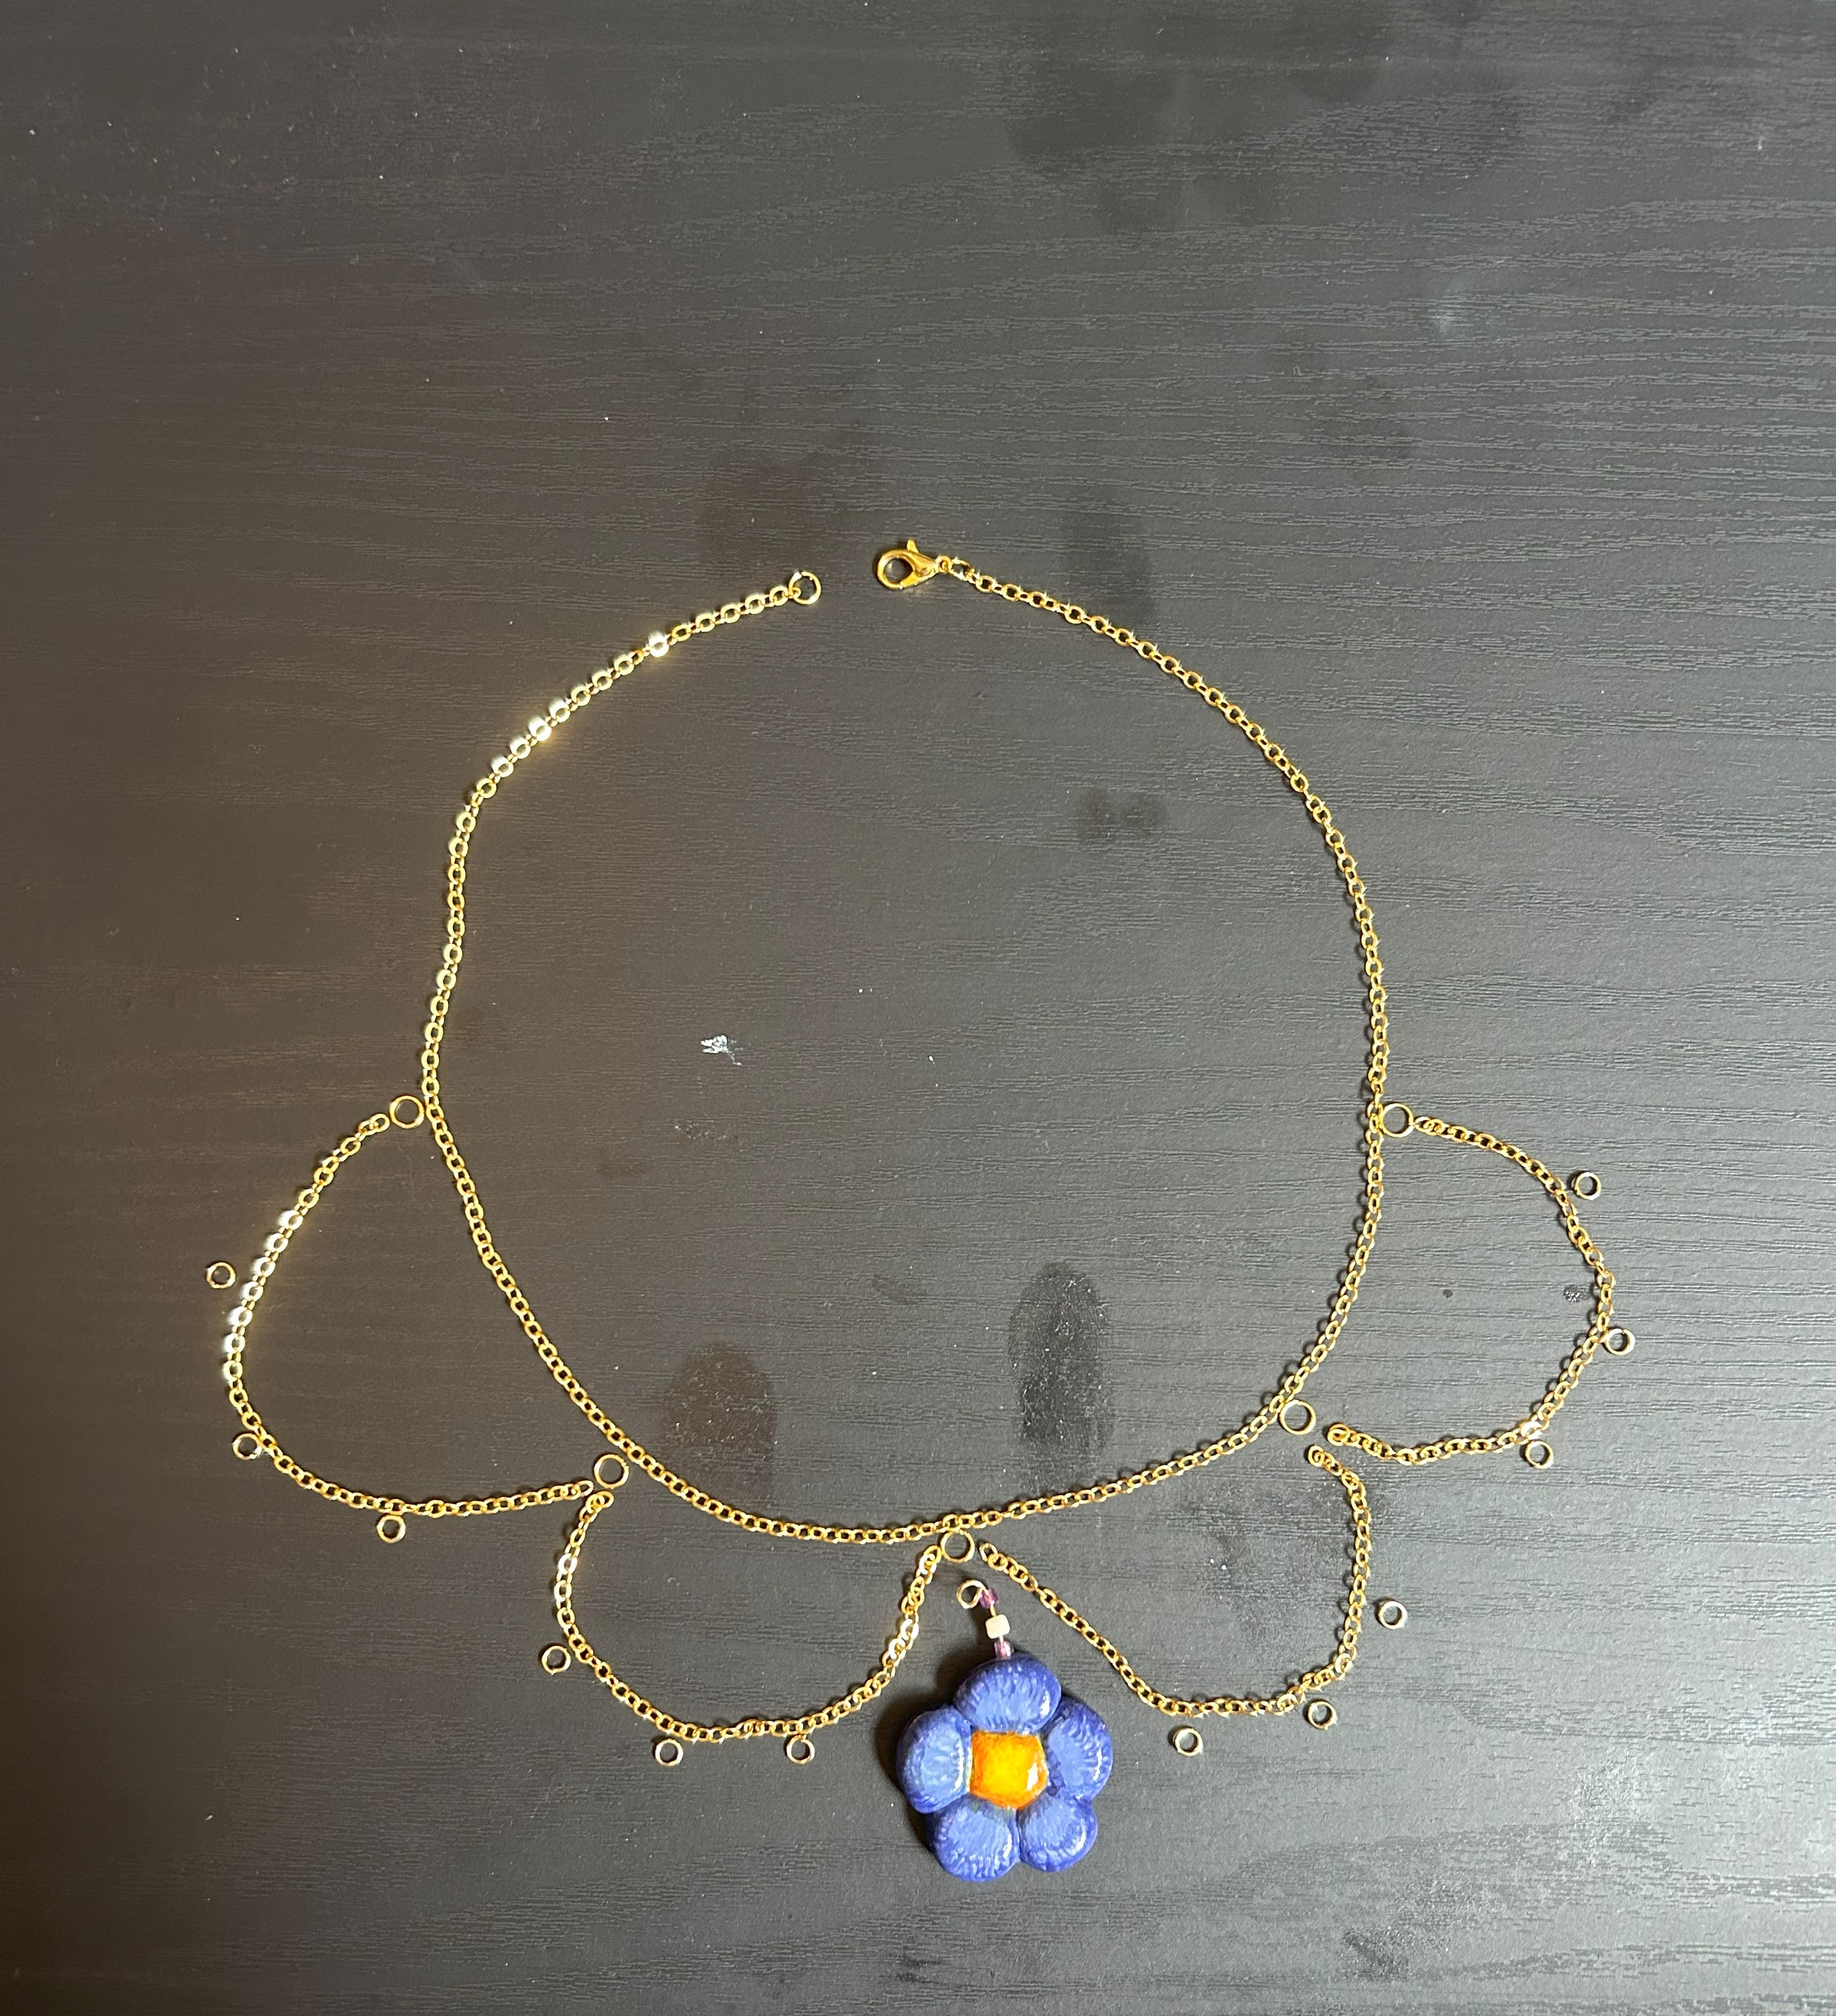
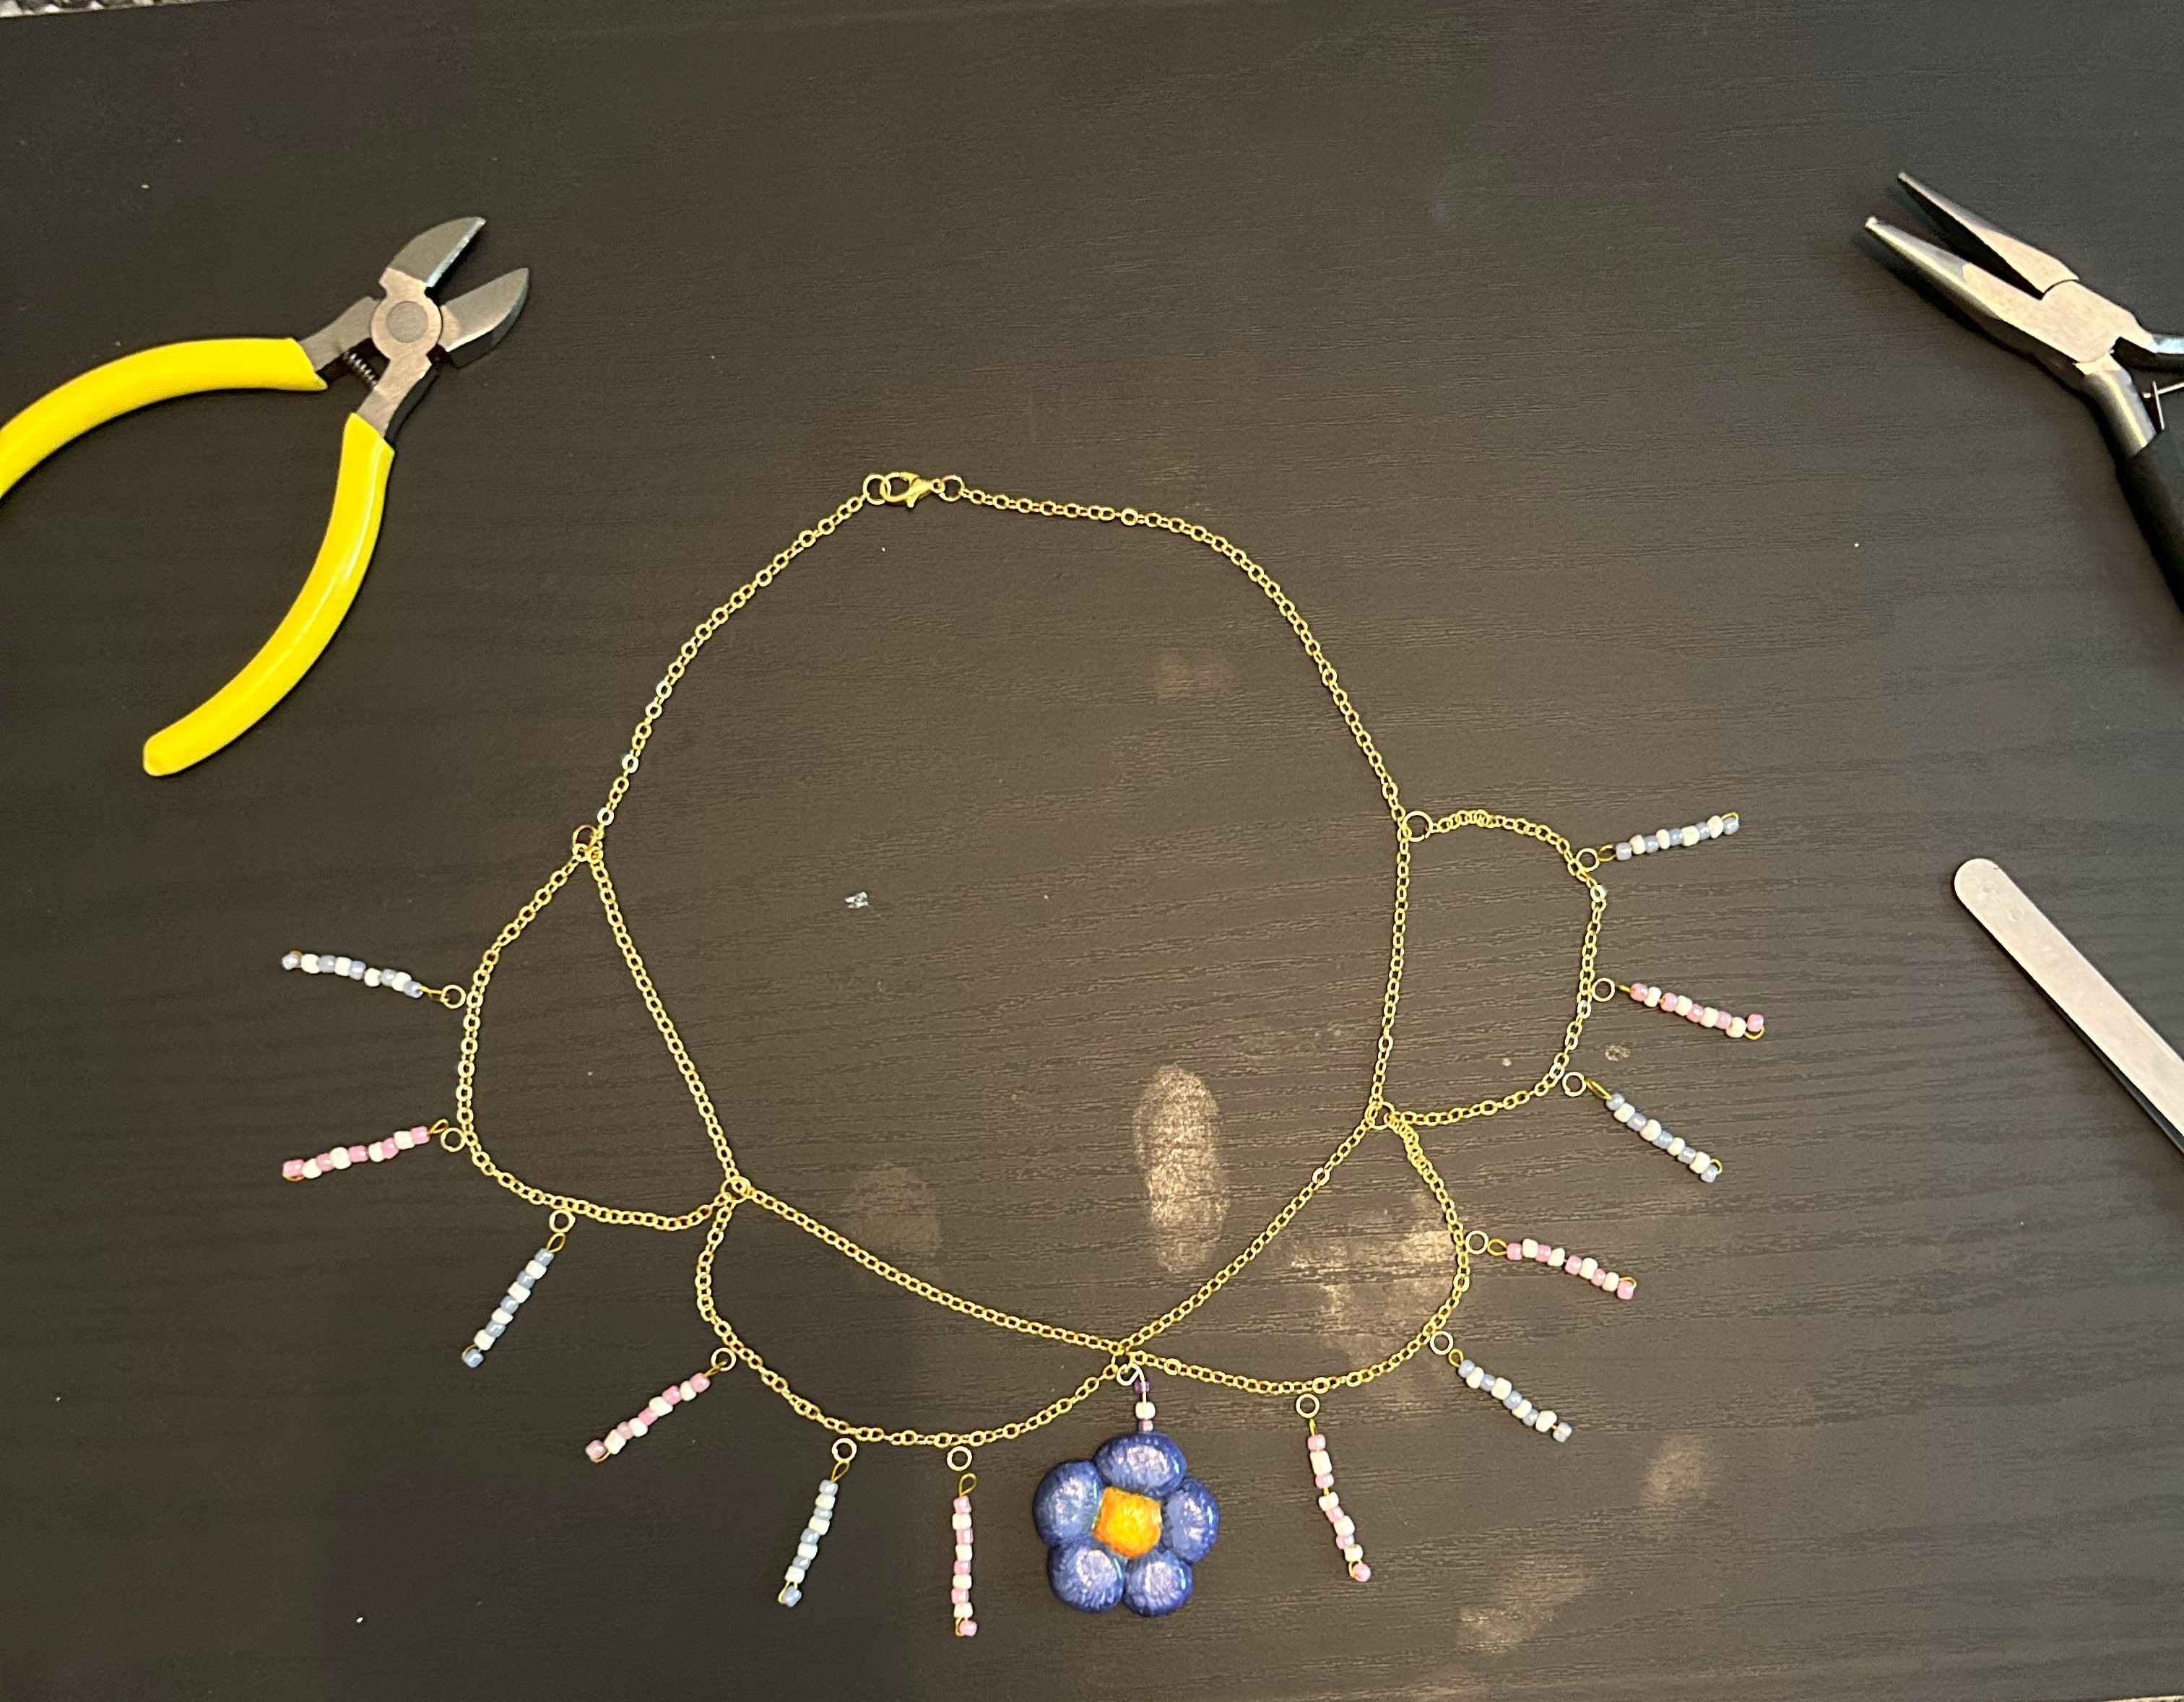
For the necklace it’s a little more complicated but that will also depend on your own design for what you want the necklace to look like. I wanted my necklace to be very opulent looking and I wanted there to be a lot of drama in the form of beaded danglies as I like to call them. Firstly, I planned out my necklace on my phone in my notes app so I could have something to refer to when or if I got confused about my design and it really helped!
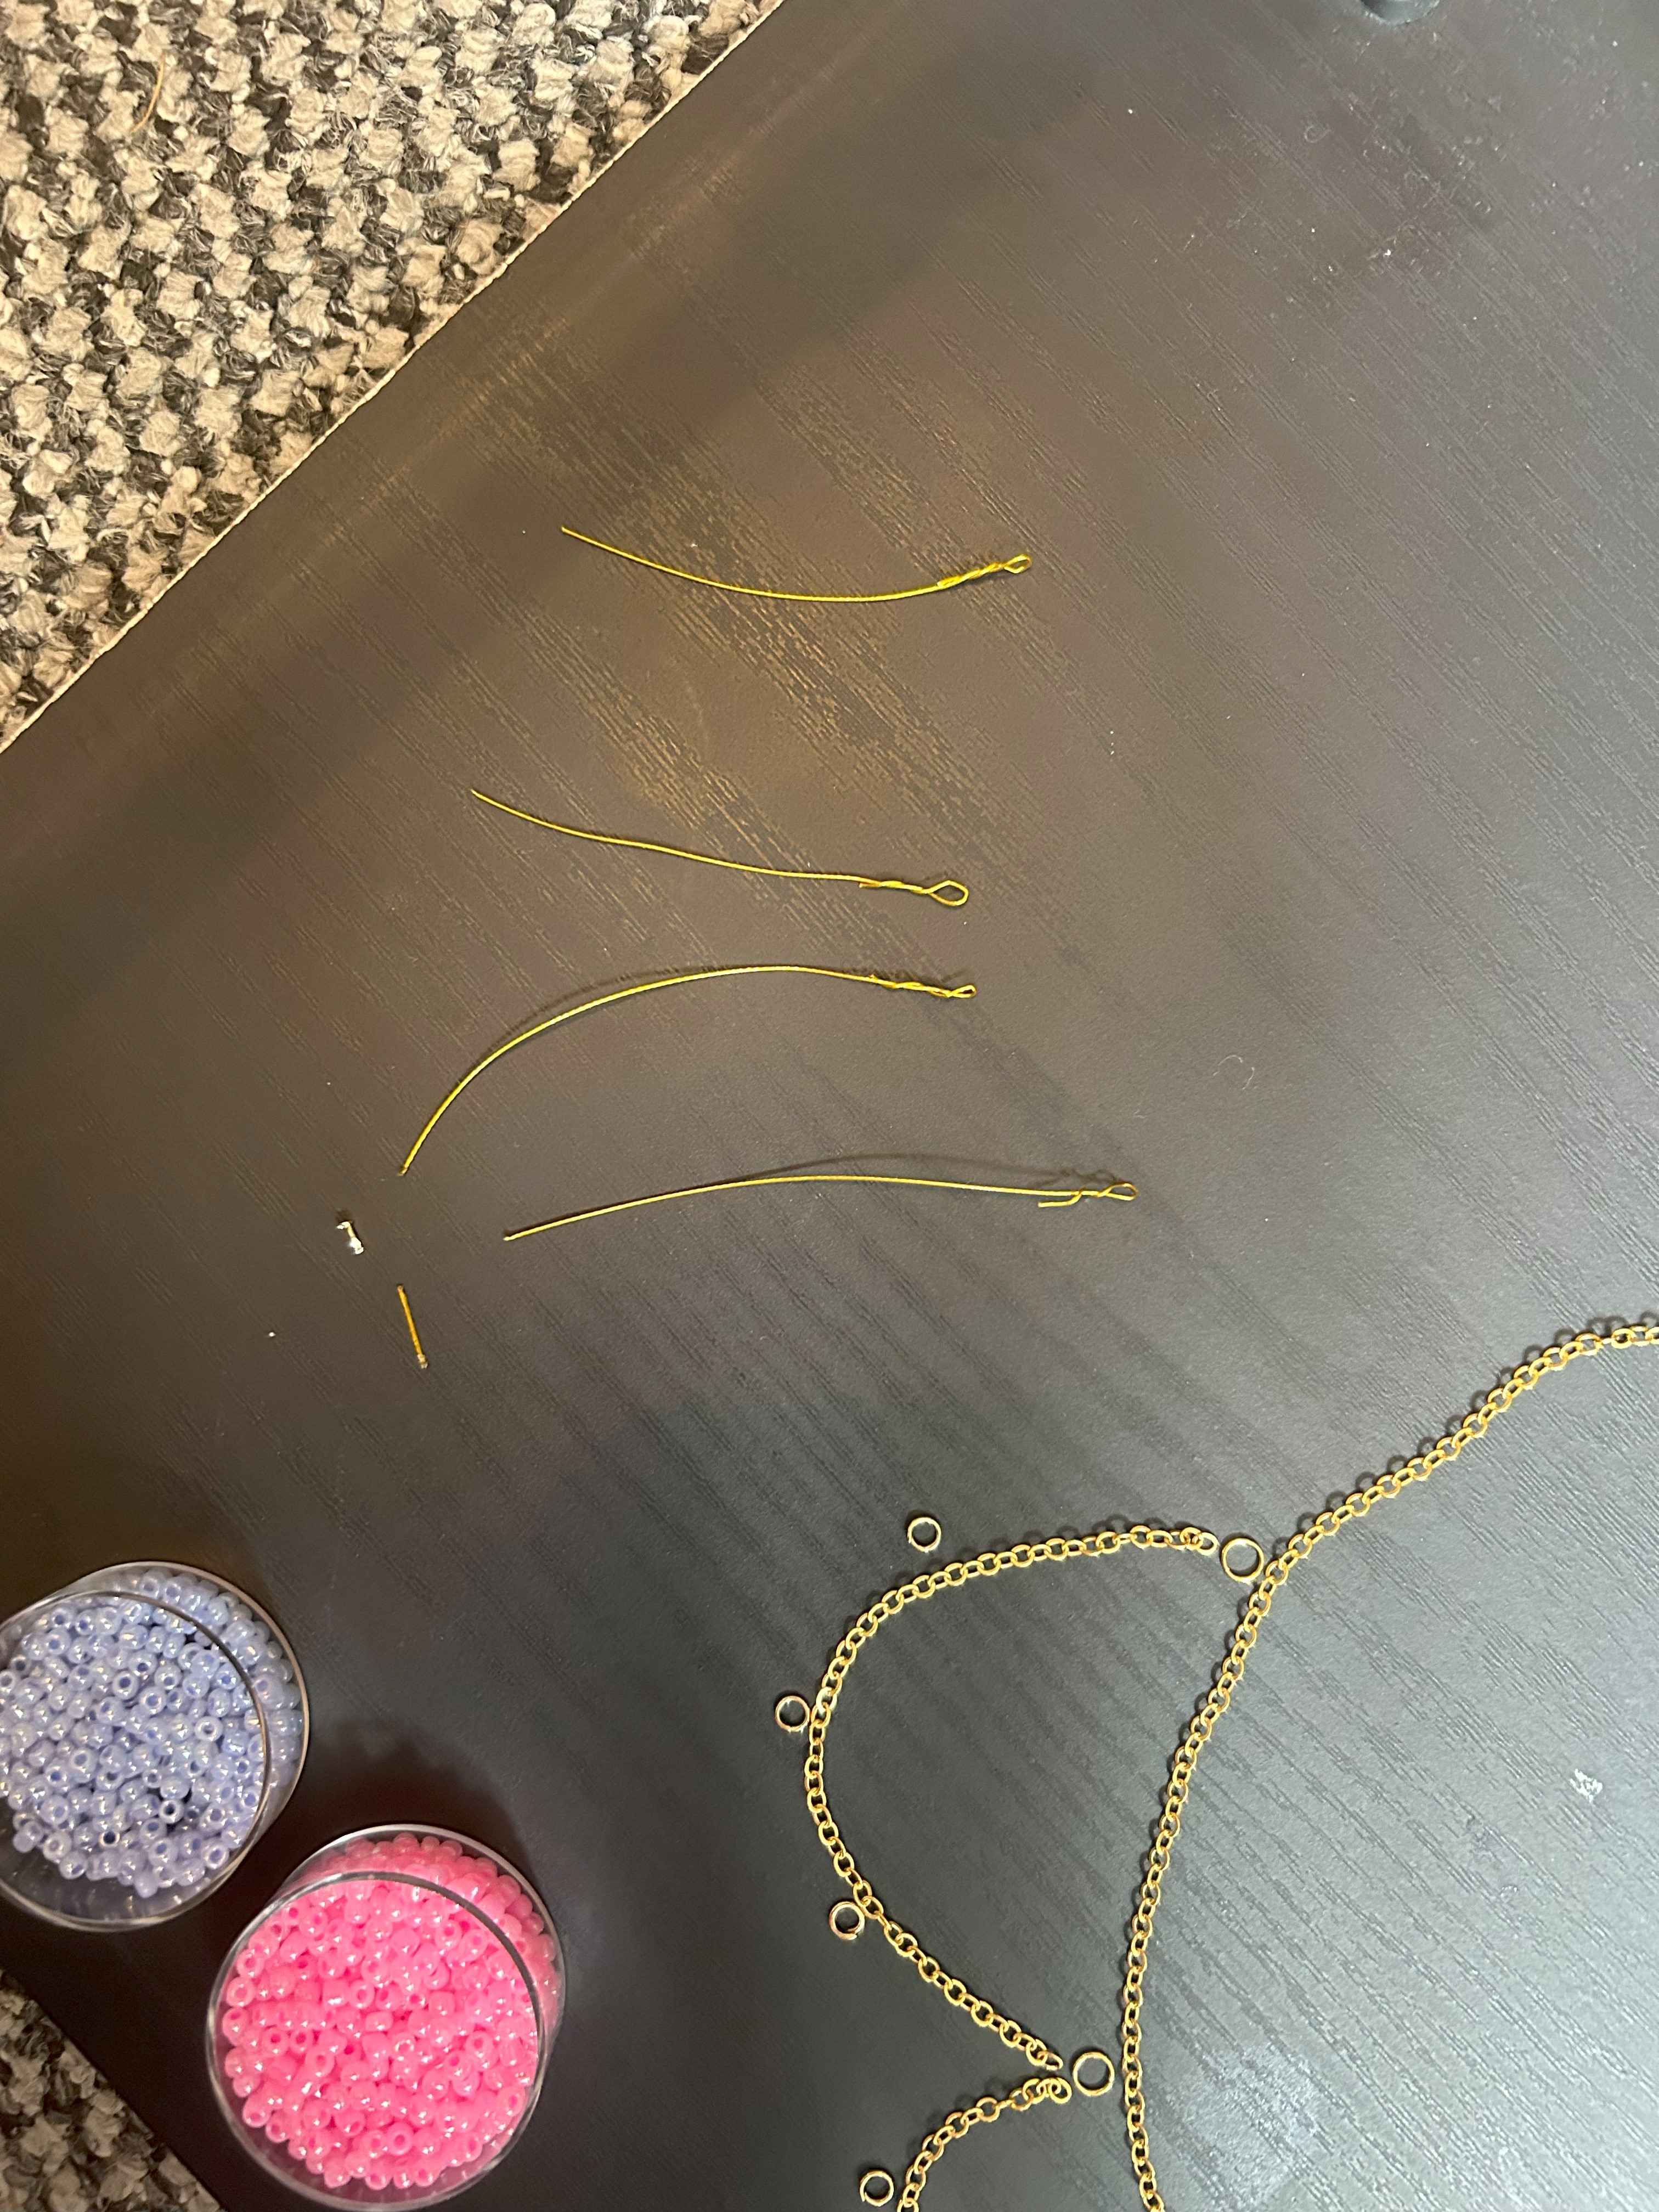
Tool Station!
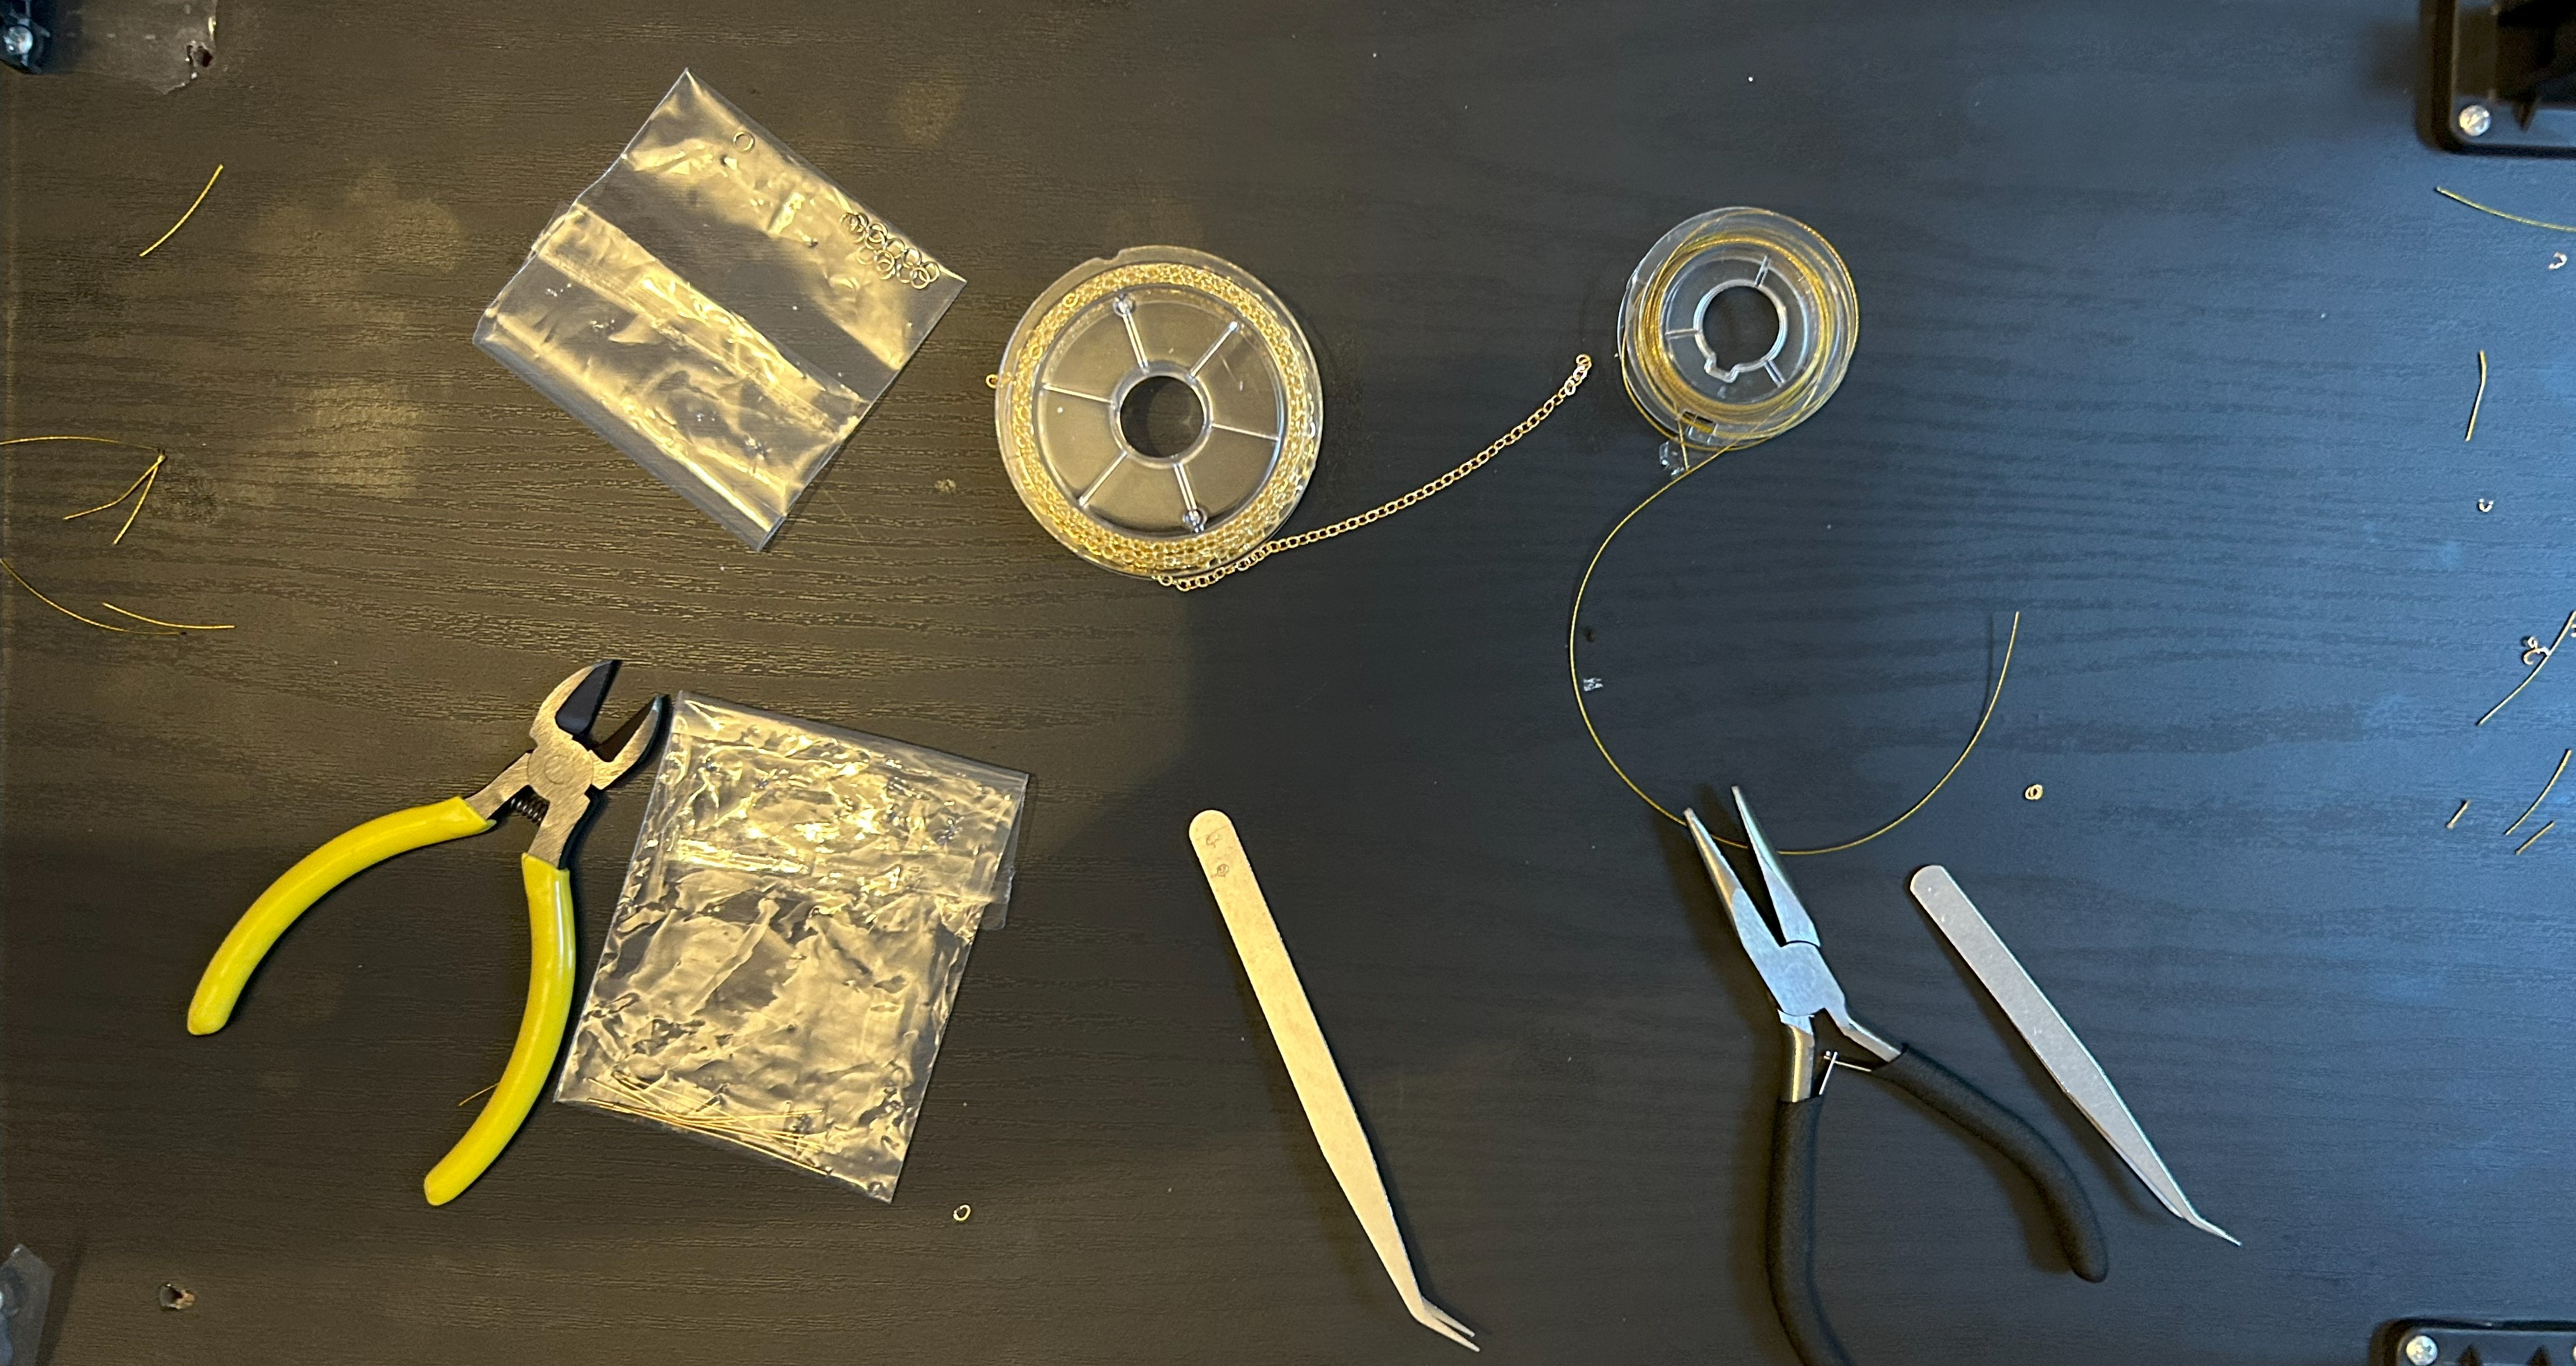
The first step was to decide how long I wanted my necklace to be. Once the desired length was decided I cut my jewellery chain to the desired length. I then attached the fastening lobster clasp to one end, and I added a loop to the other. After that, I decided on the placement for the clay flower pendant as well as the placement for the loops for the dangling chains. You can find all of the tools I used to this necklace on amazon, the jewellery chain that comes with pliers and clasps, the glass beads and the jewellery wire.

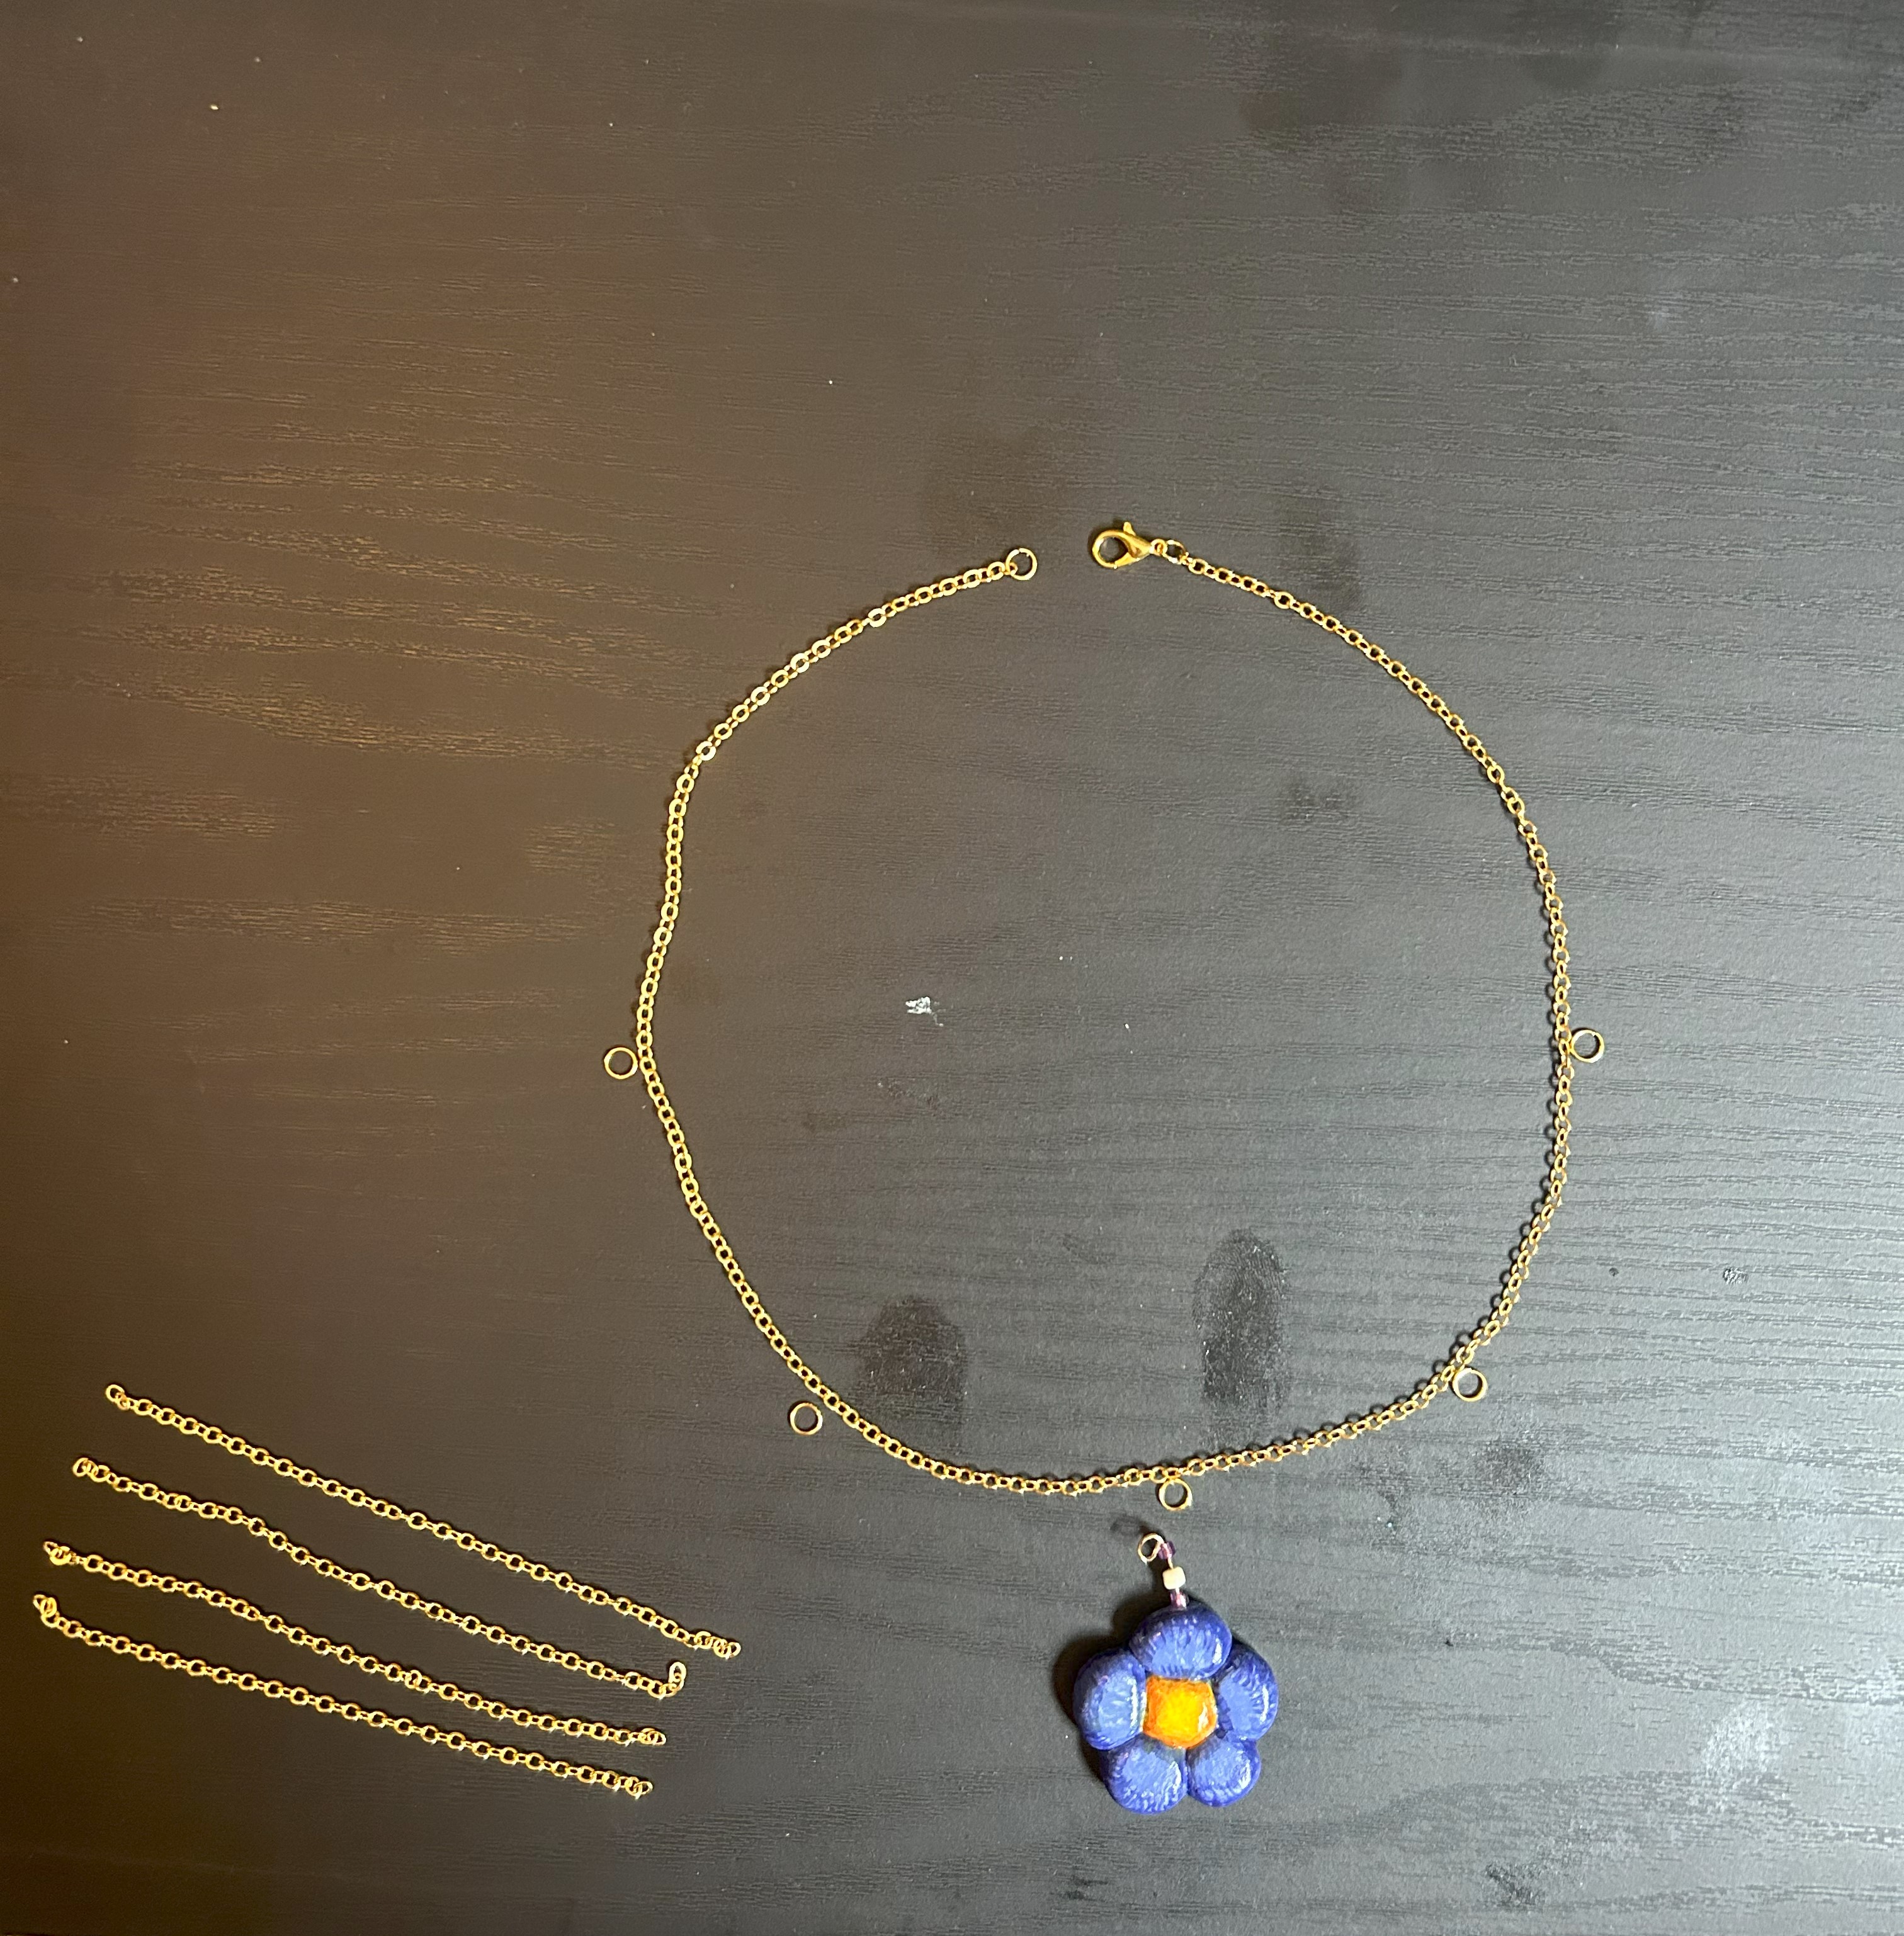
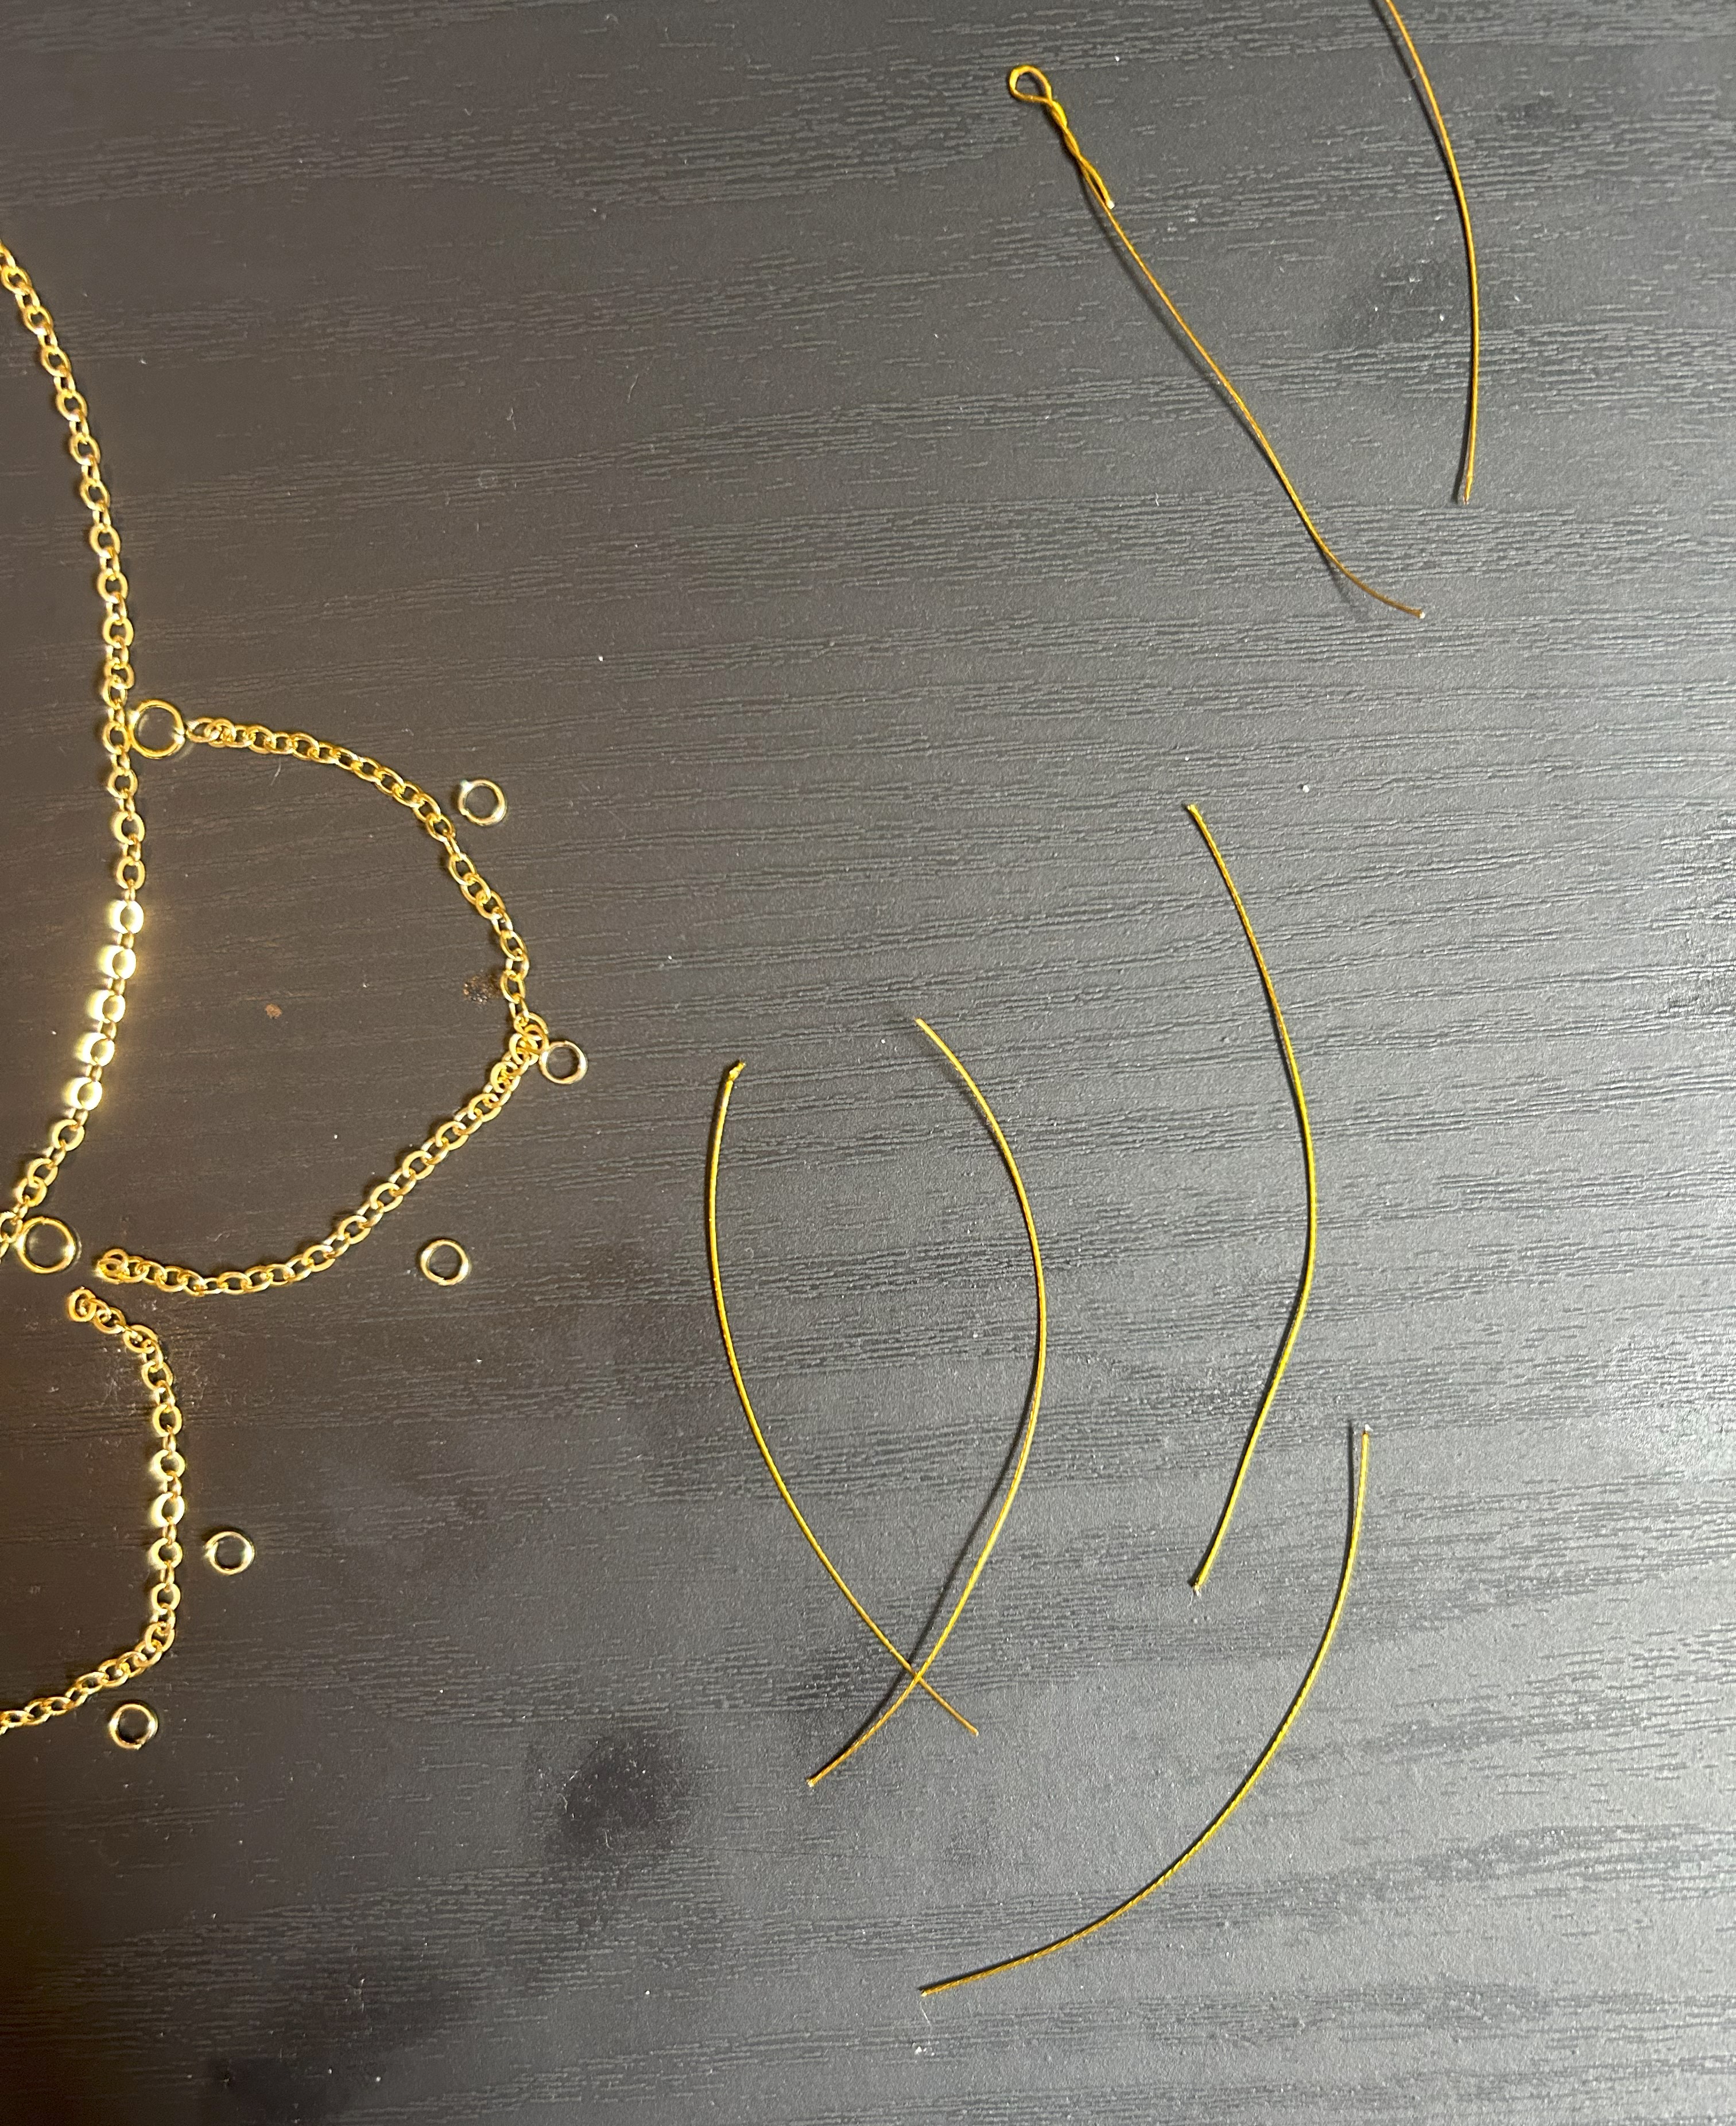
The next step was to begin creating my beaded danglies which I just used alternating pink and blue with white glass beads that I threaded onto wire. I created loops in the wire with my pliers and then I closed them off by glueing the end of the wire into the middle of the beads at the end with the Bostik All Purpose Glue.
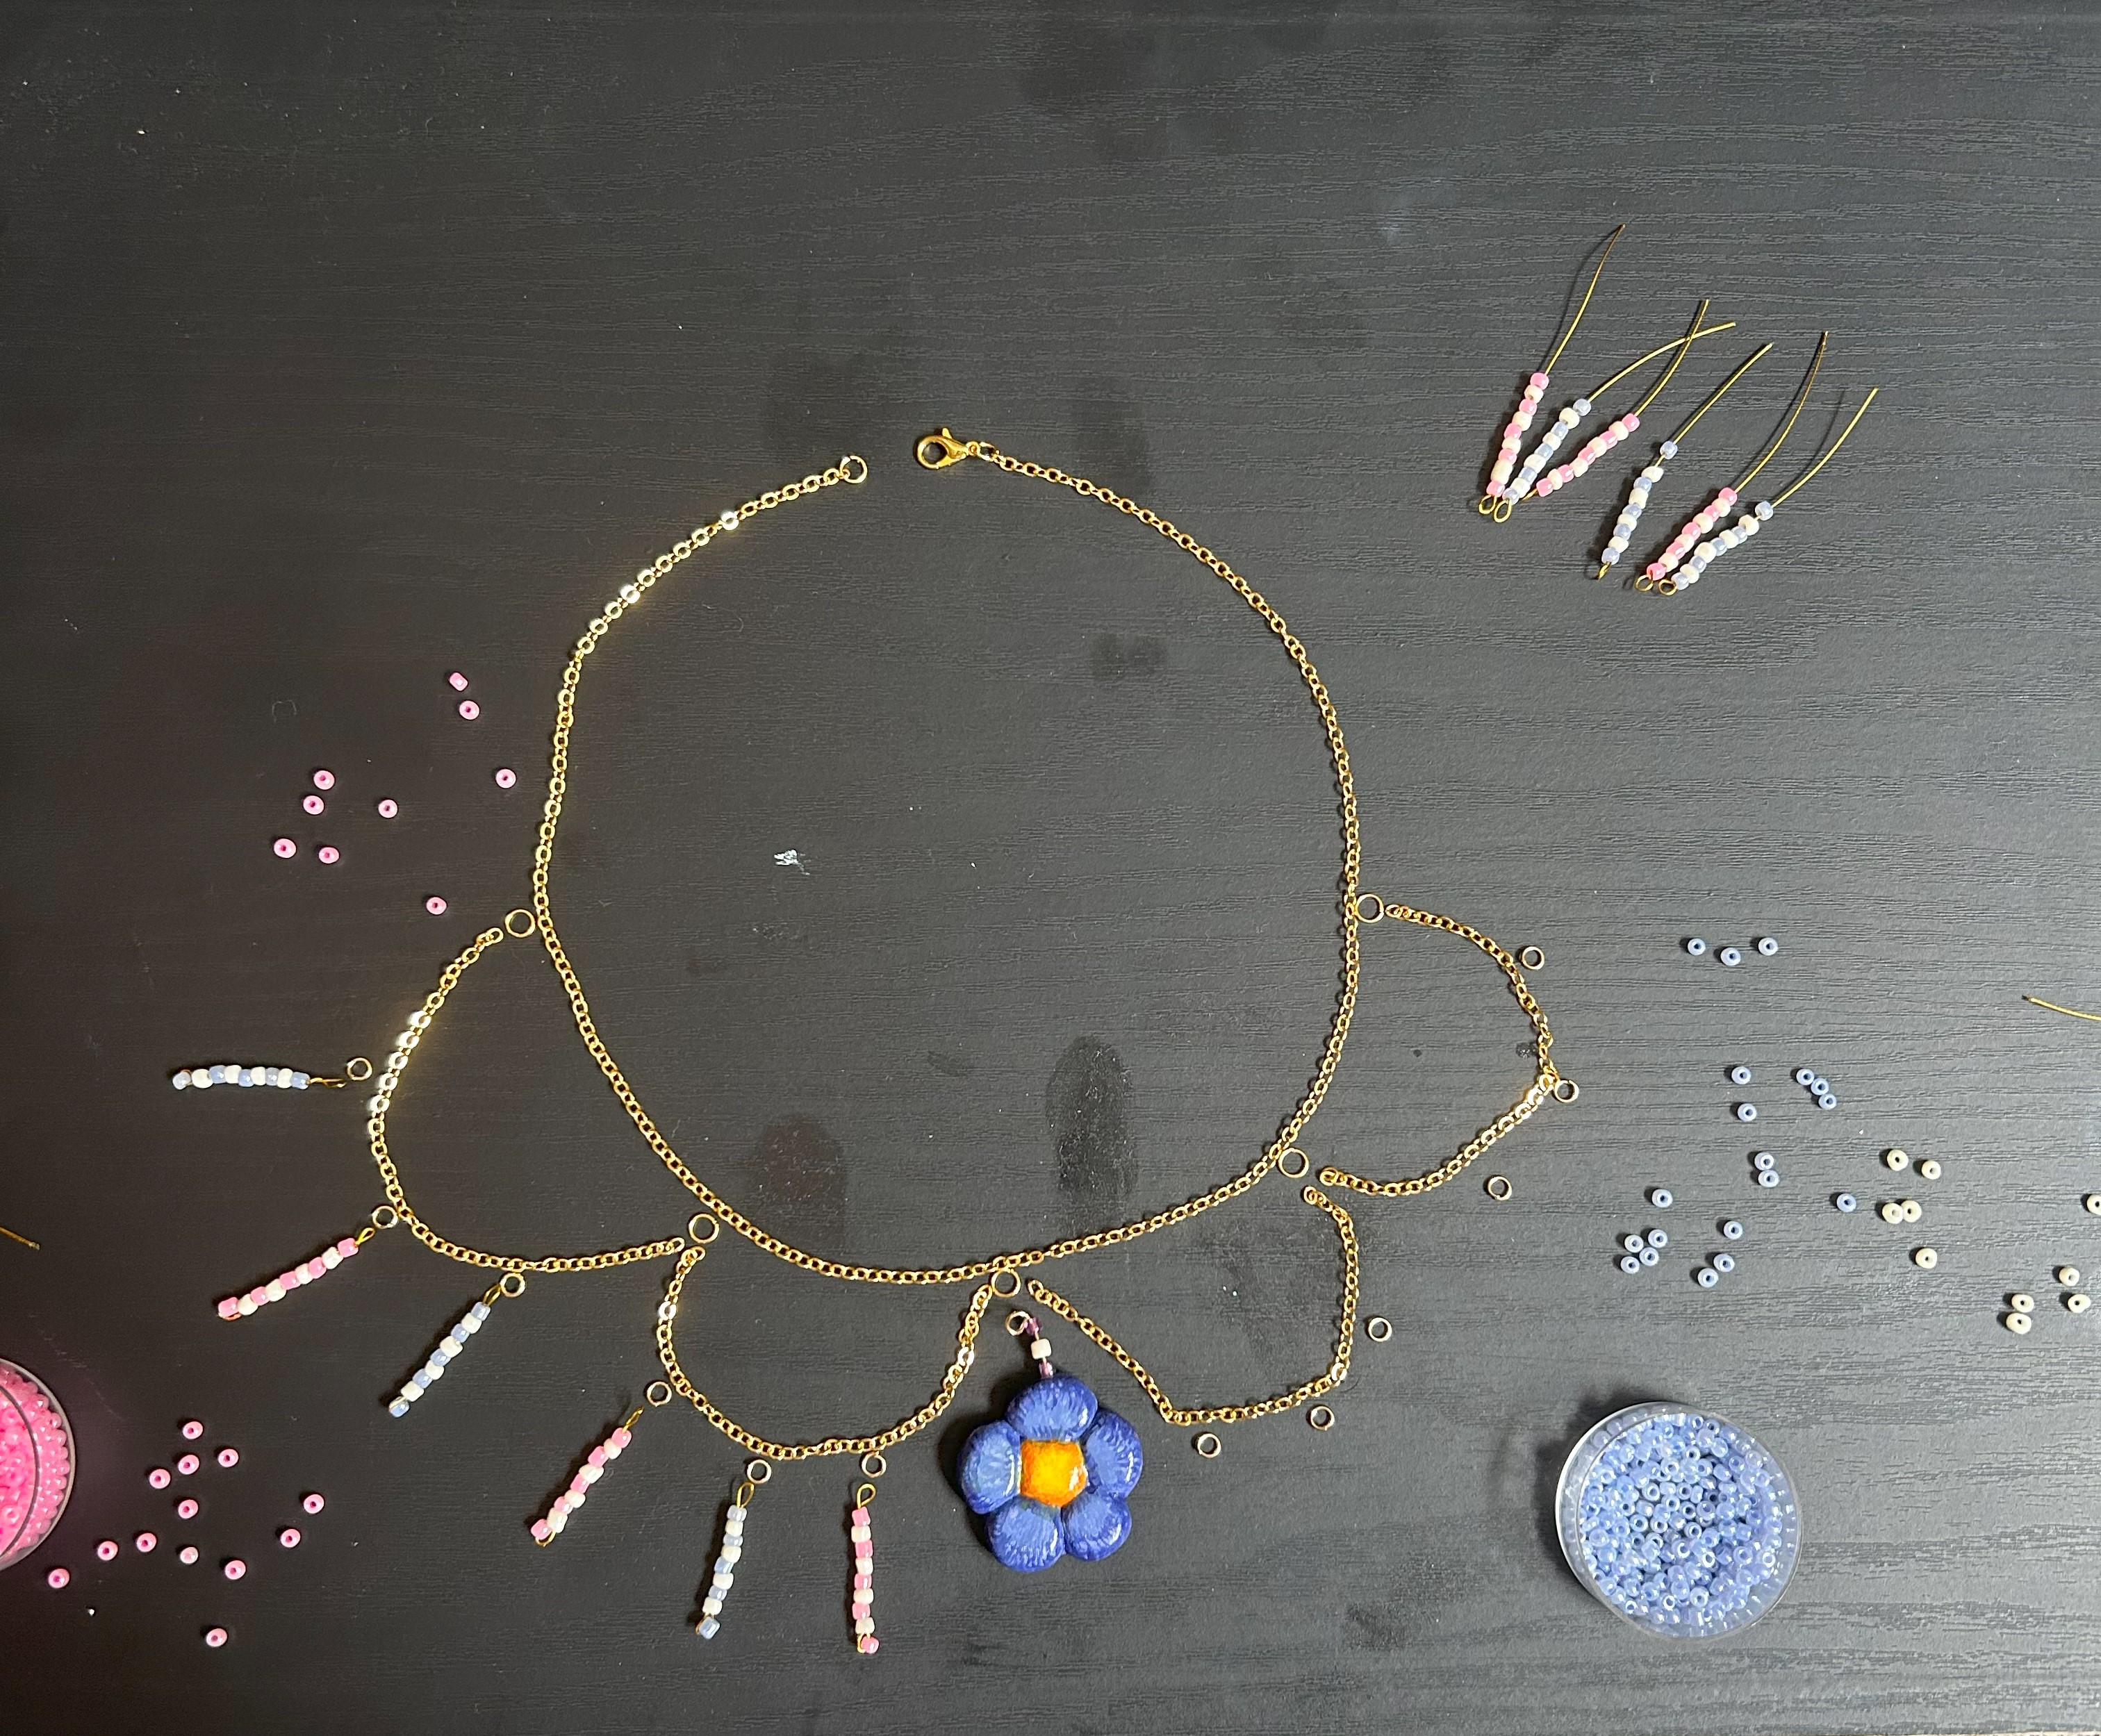
Once the danglies were all created I then placed them where I wanted them to go but I decided at the last minute to change them from alternating colours to just 3 blue and 3 pink on either side of the pendant. After that it was assembly time! I just attached everything to the loops that I had placed where I wanted them.
That’s the necklace! It was really fun to experiment with placements and see what I liked and then putting it together was definitely a little tricky but I’m very pleased with the outcome! I was sick when I put this all together which probably slowed me down but I got it all done in about 2/3 hours!