If you are interested in creating beautiful things that you can then wear or sell, then let me show you how to create the most gorgeous jewellery using just air-drying clay and your own two hands! Being able to create new things from any material is such a useful skill to have especially in the world today! Once you know that you have the capabilities to create whatever you want or need, you will become aware of your natural power as a human being! I believe we are on this earth for a reason and to me, that reason is to become the absolute best version of yourself that you can imagine! I believe that also encompasses being able to create and design things with a creativity that cannot be beat! If you really think about, what else can innovatively create and design things to match their wants and needs? It can only be humans, I mean, how do we all think we got to have all of these gadgets and gizmos? We invented them with our bare hands, (I know it took a long time to come to this technology era) and I think that’s a beautiful thing! So if you’d like to get closer to your human roots then let’s see what we can come up with!
~I will be creating flower themed jewellery, but you can do whatever takes your fancy! ~
If you’d like to see how I turn the clay flowers into jewellery, click here.
1 – The First Step is to Find the Right Air-drying Clay for You!
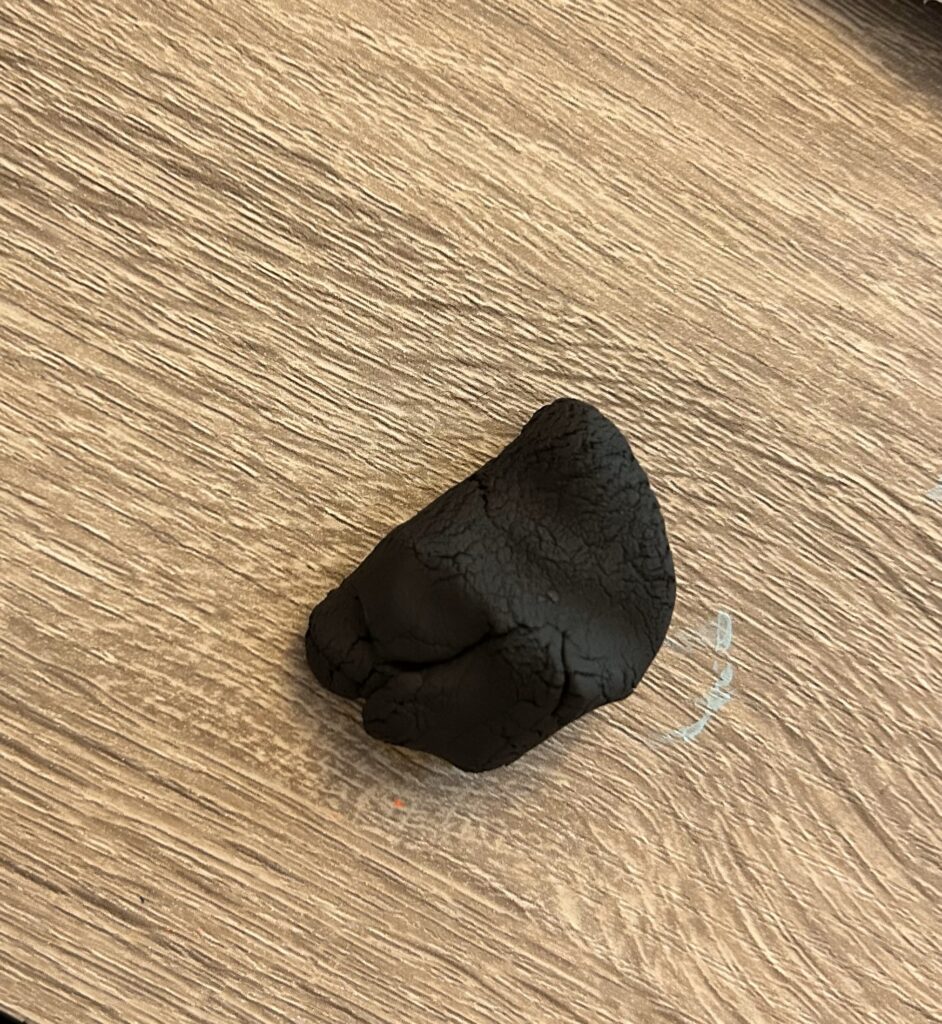
There are so many different kinds of air-drying out there but the one I am using comes from Sostrene Grene but you can find loads of great air-drying clays on amazon or your closest hobby/art store! Once you have your clay you need to know the basics of handling clay. Usually, the clay will soften up once you start rolling it between your hands due to the heat of our body. But if your clay is still cracking then you can introduce a little water, I mean it when I say a little! A little water will help to bind the clay together a little easier but I can’t be sure of the composition of all of the air-drying clays out there so you’ll want to make sure you don’t use too much water, or it’ll take forever to dry or might not dry at all!
2 – Time to Start Crafting!
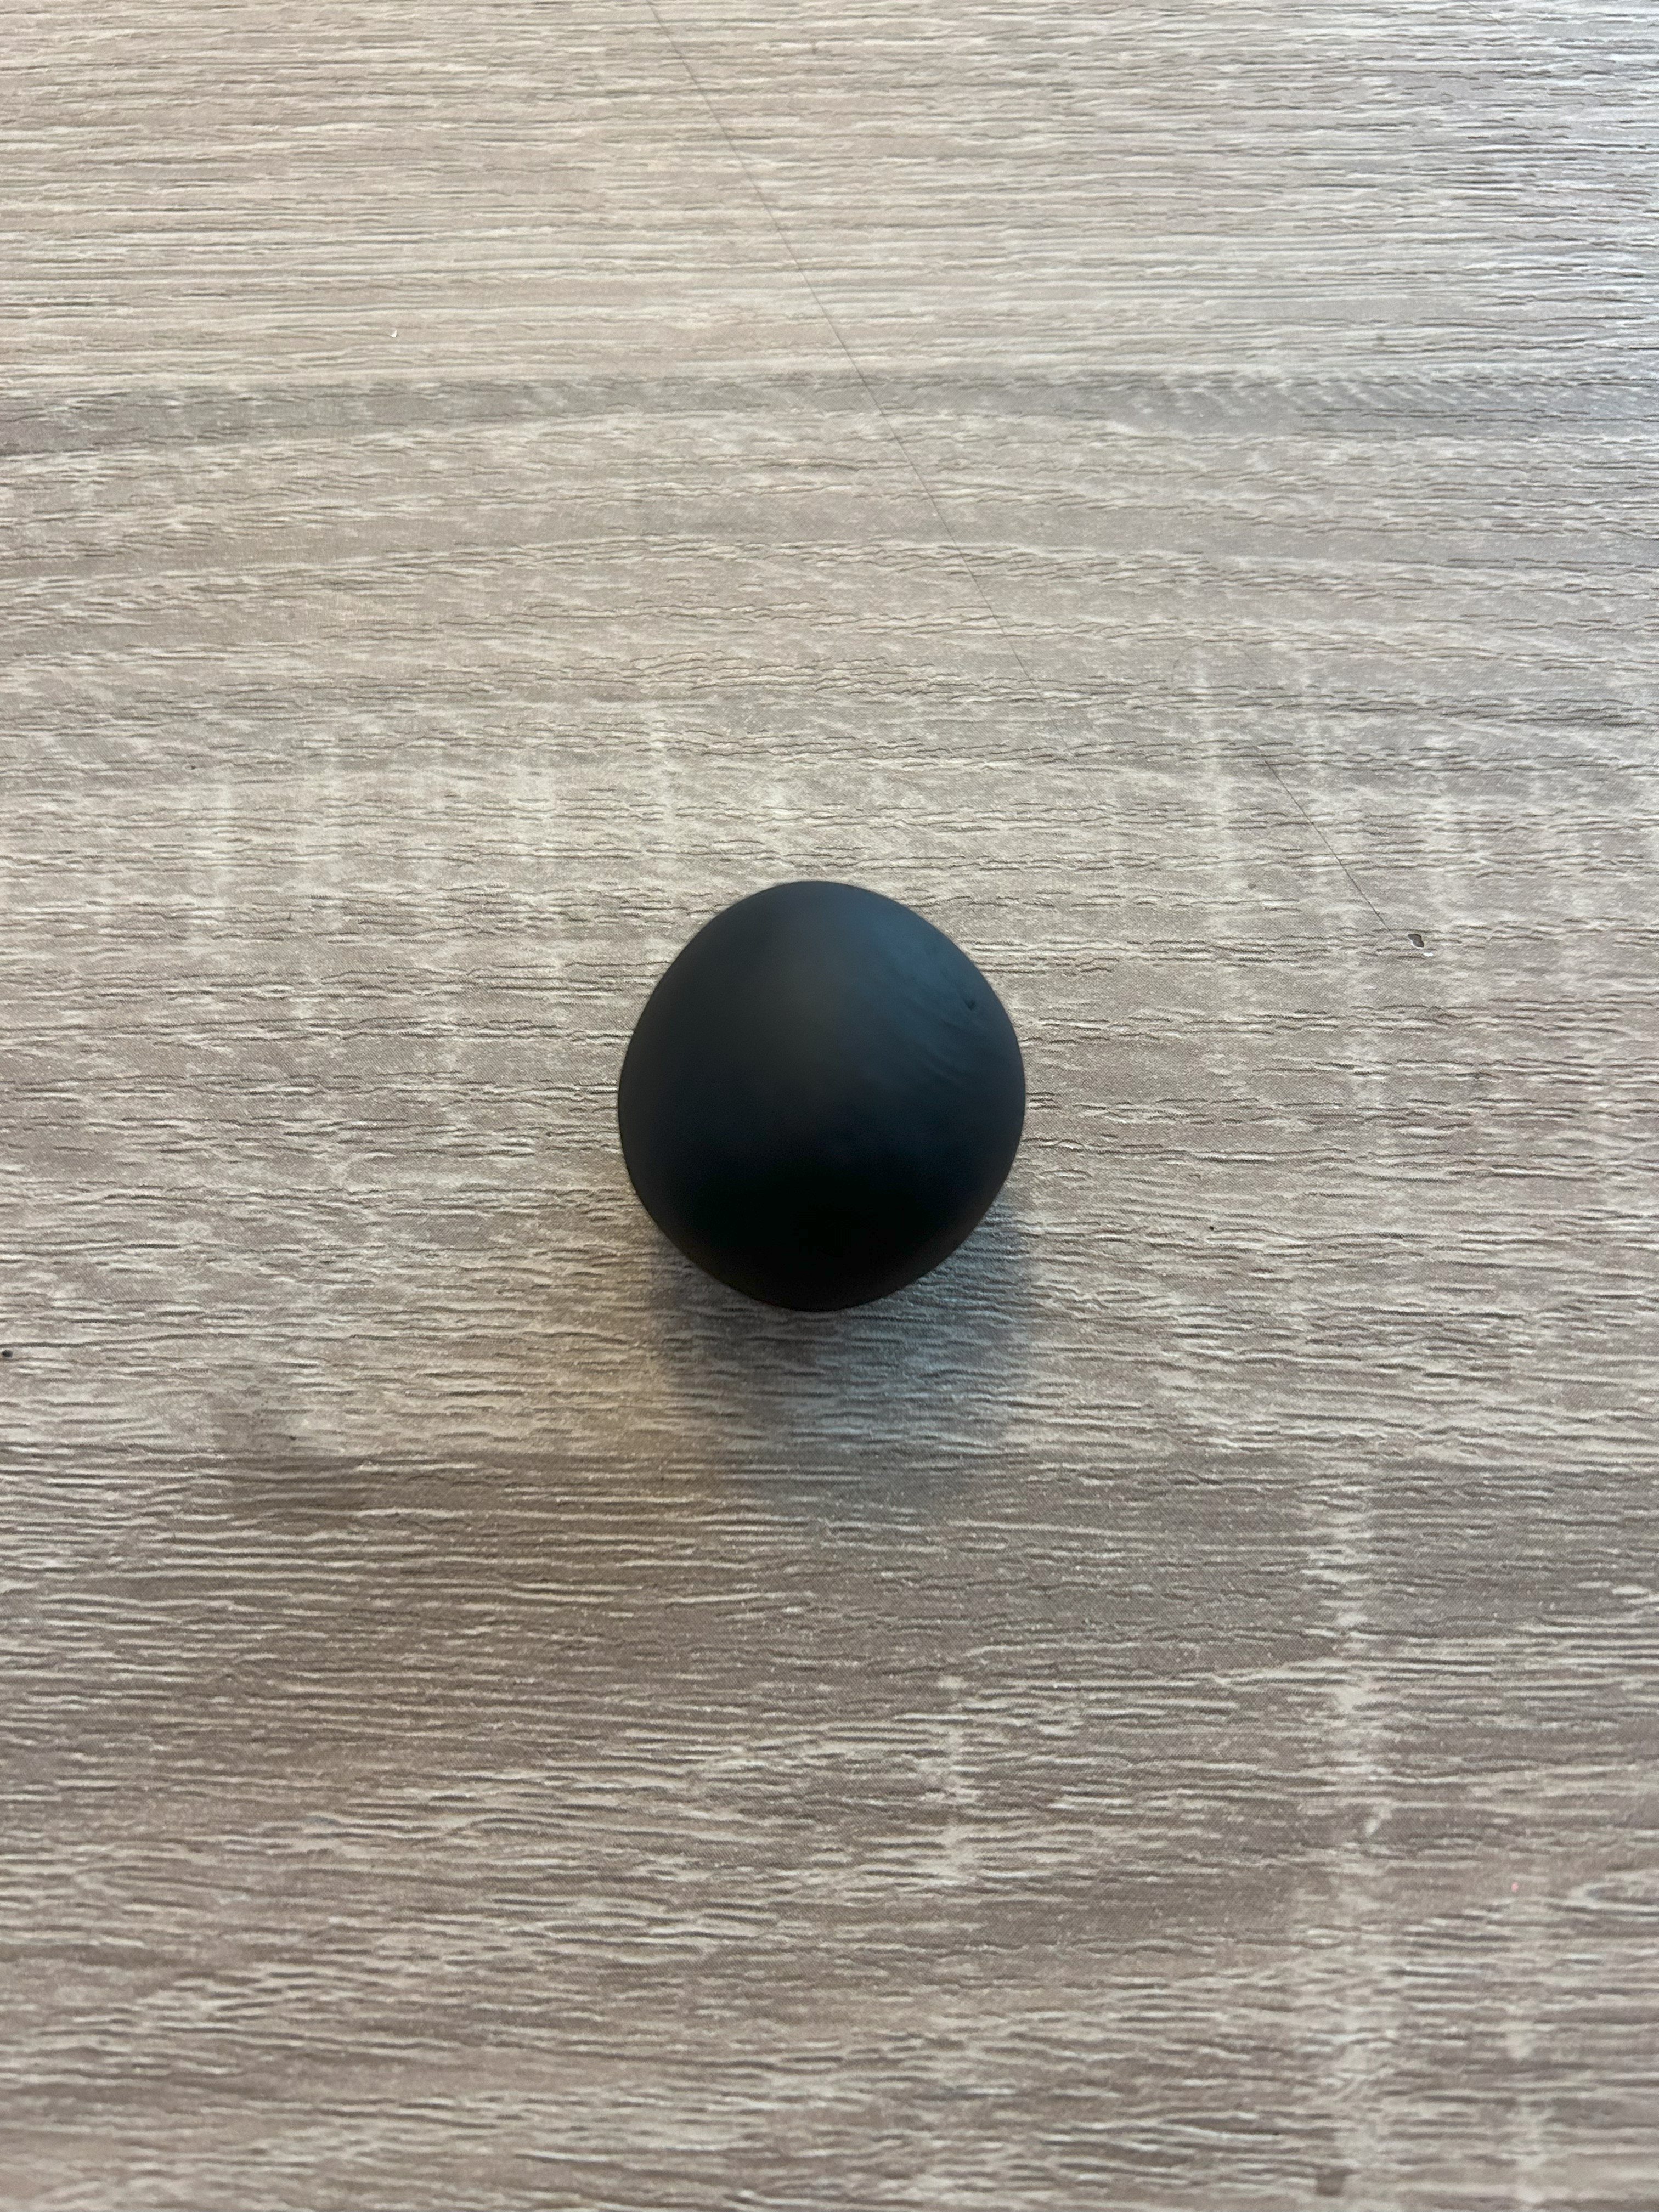
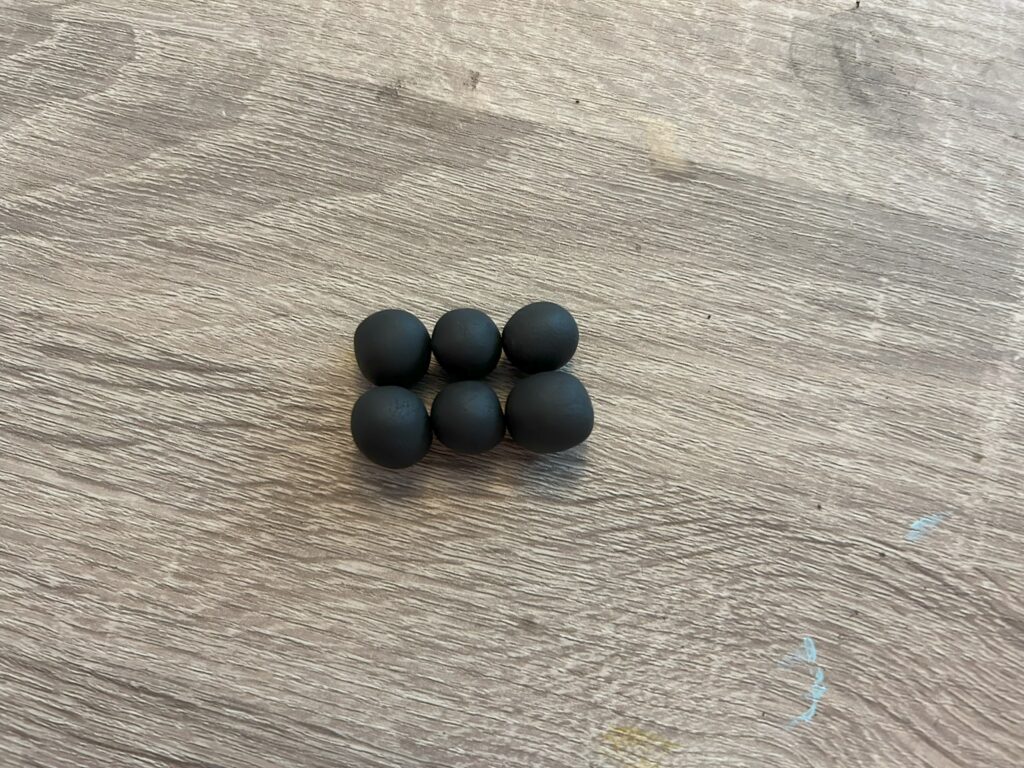
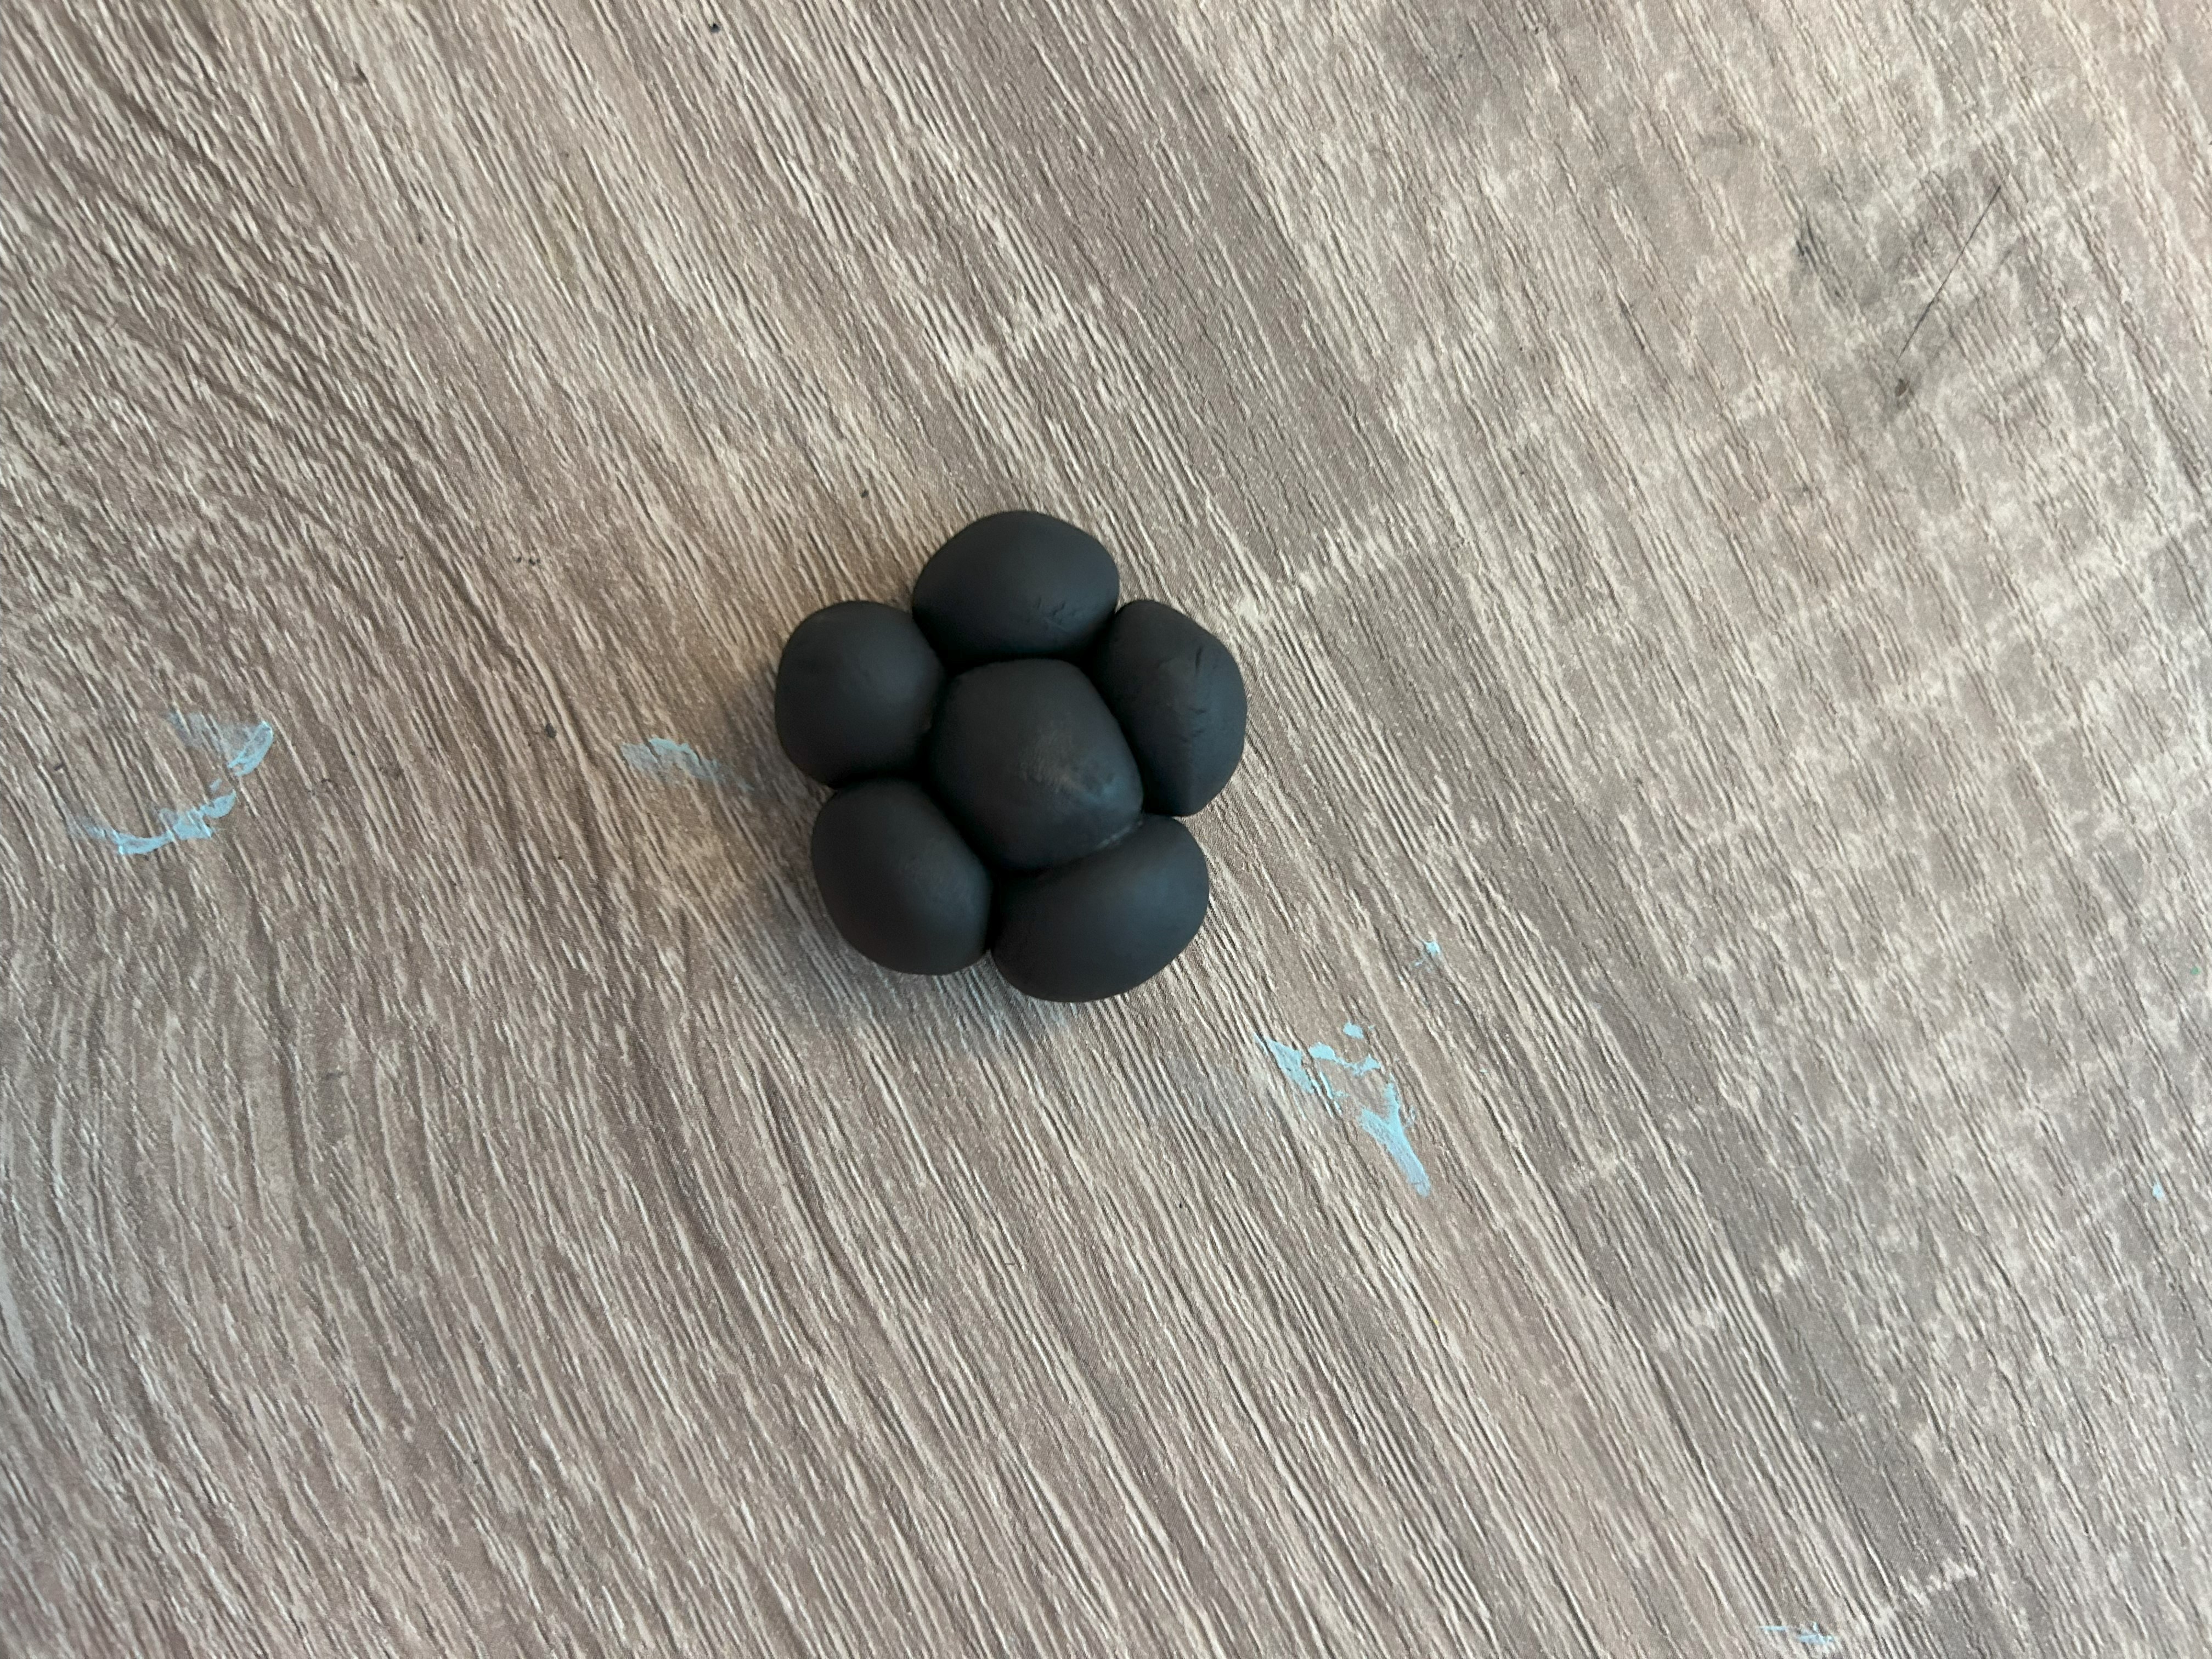
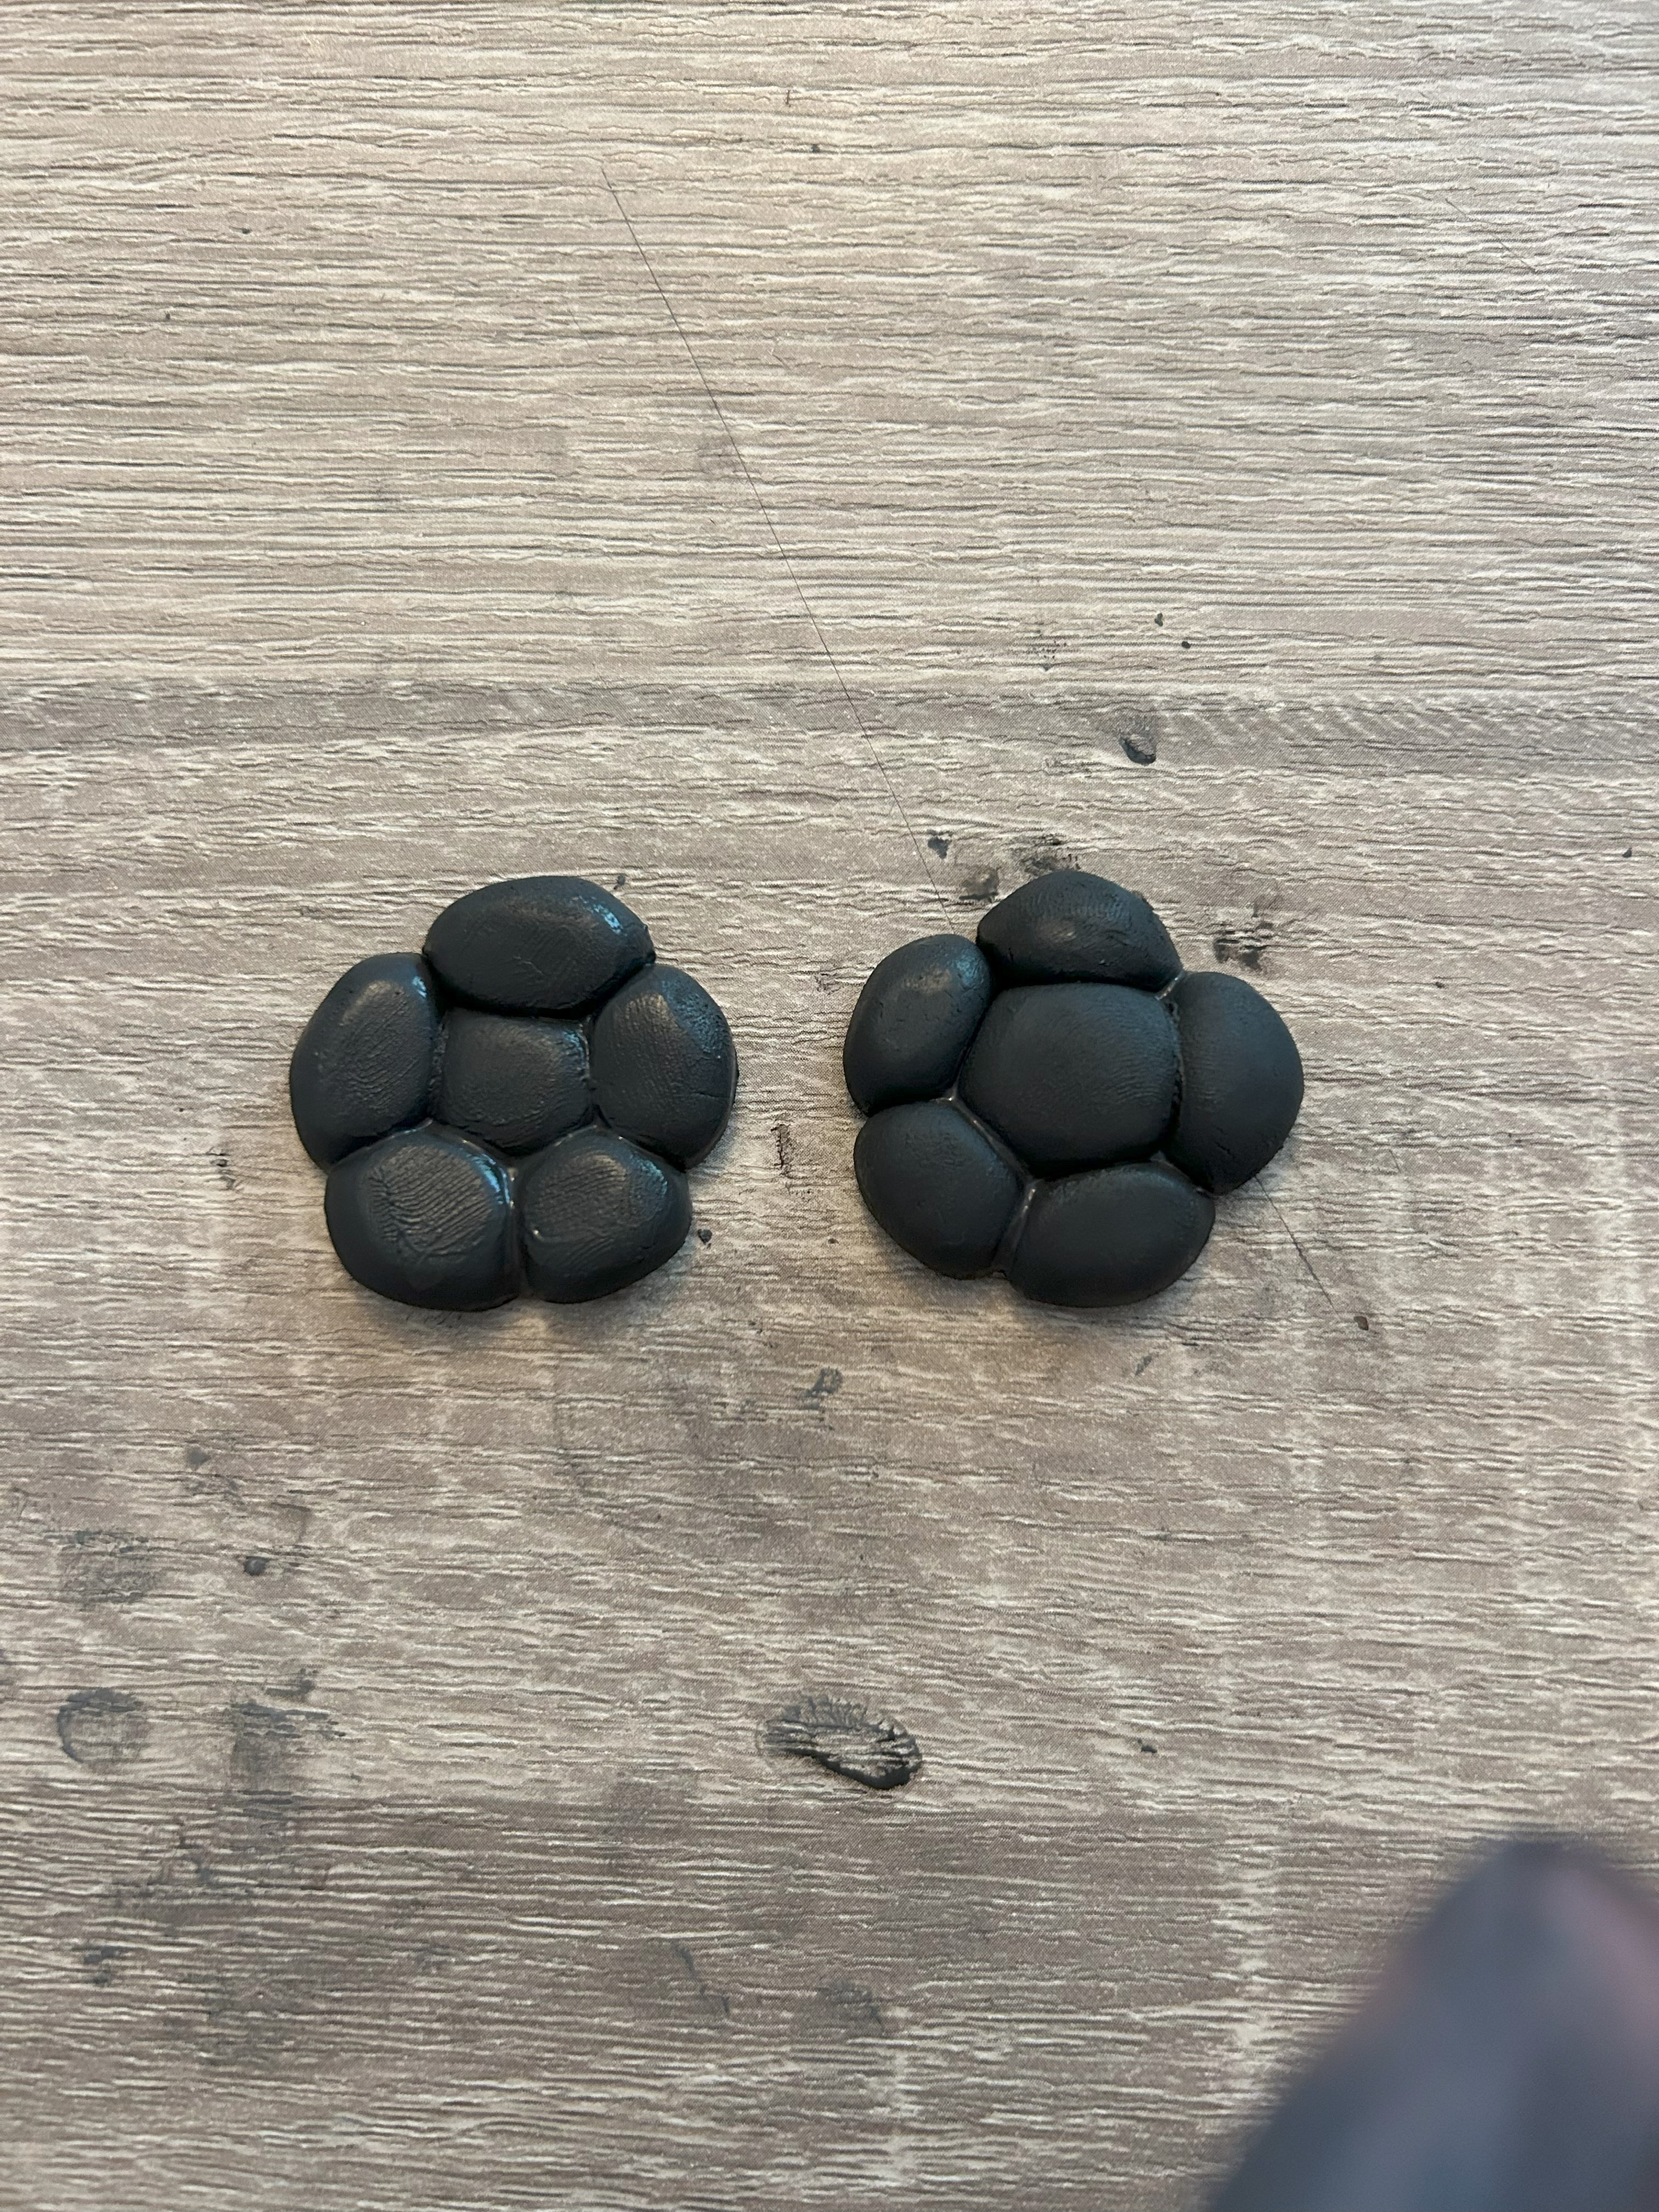
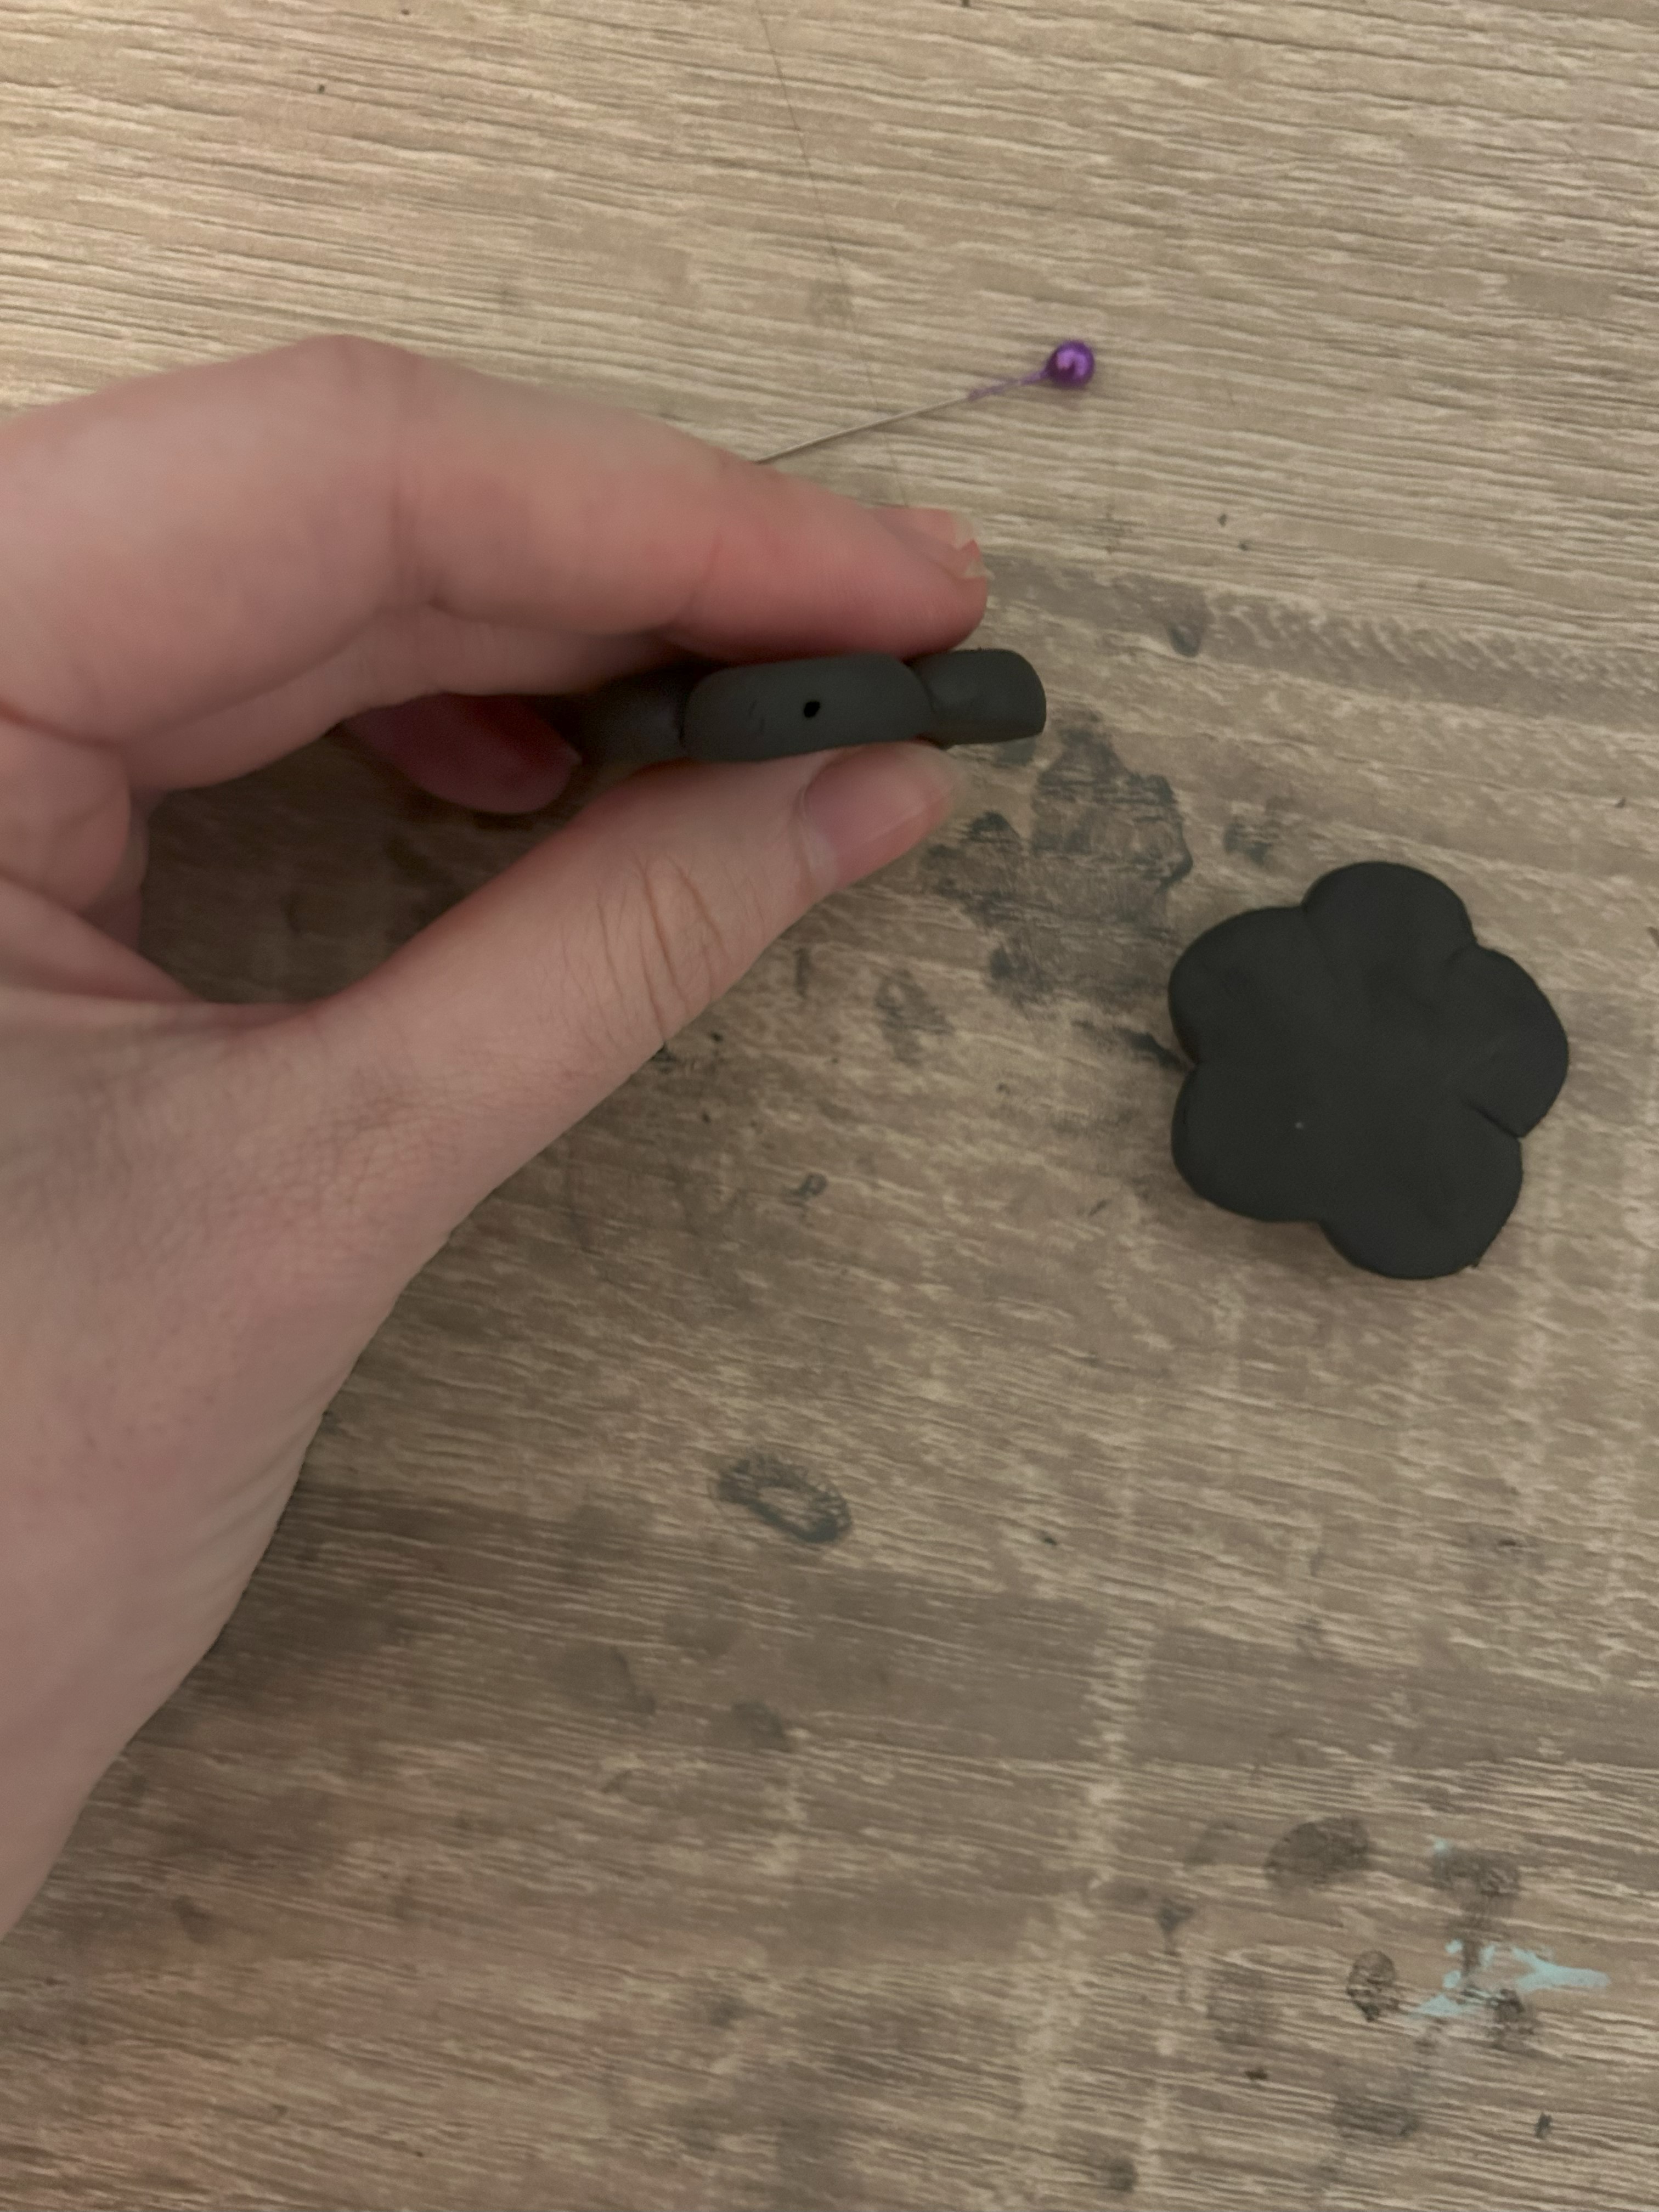
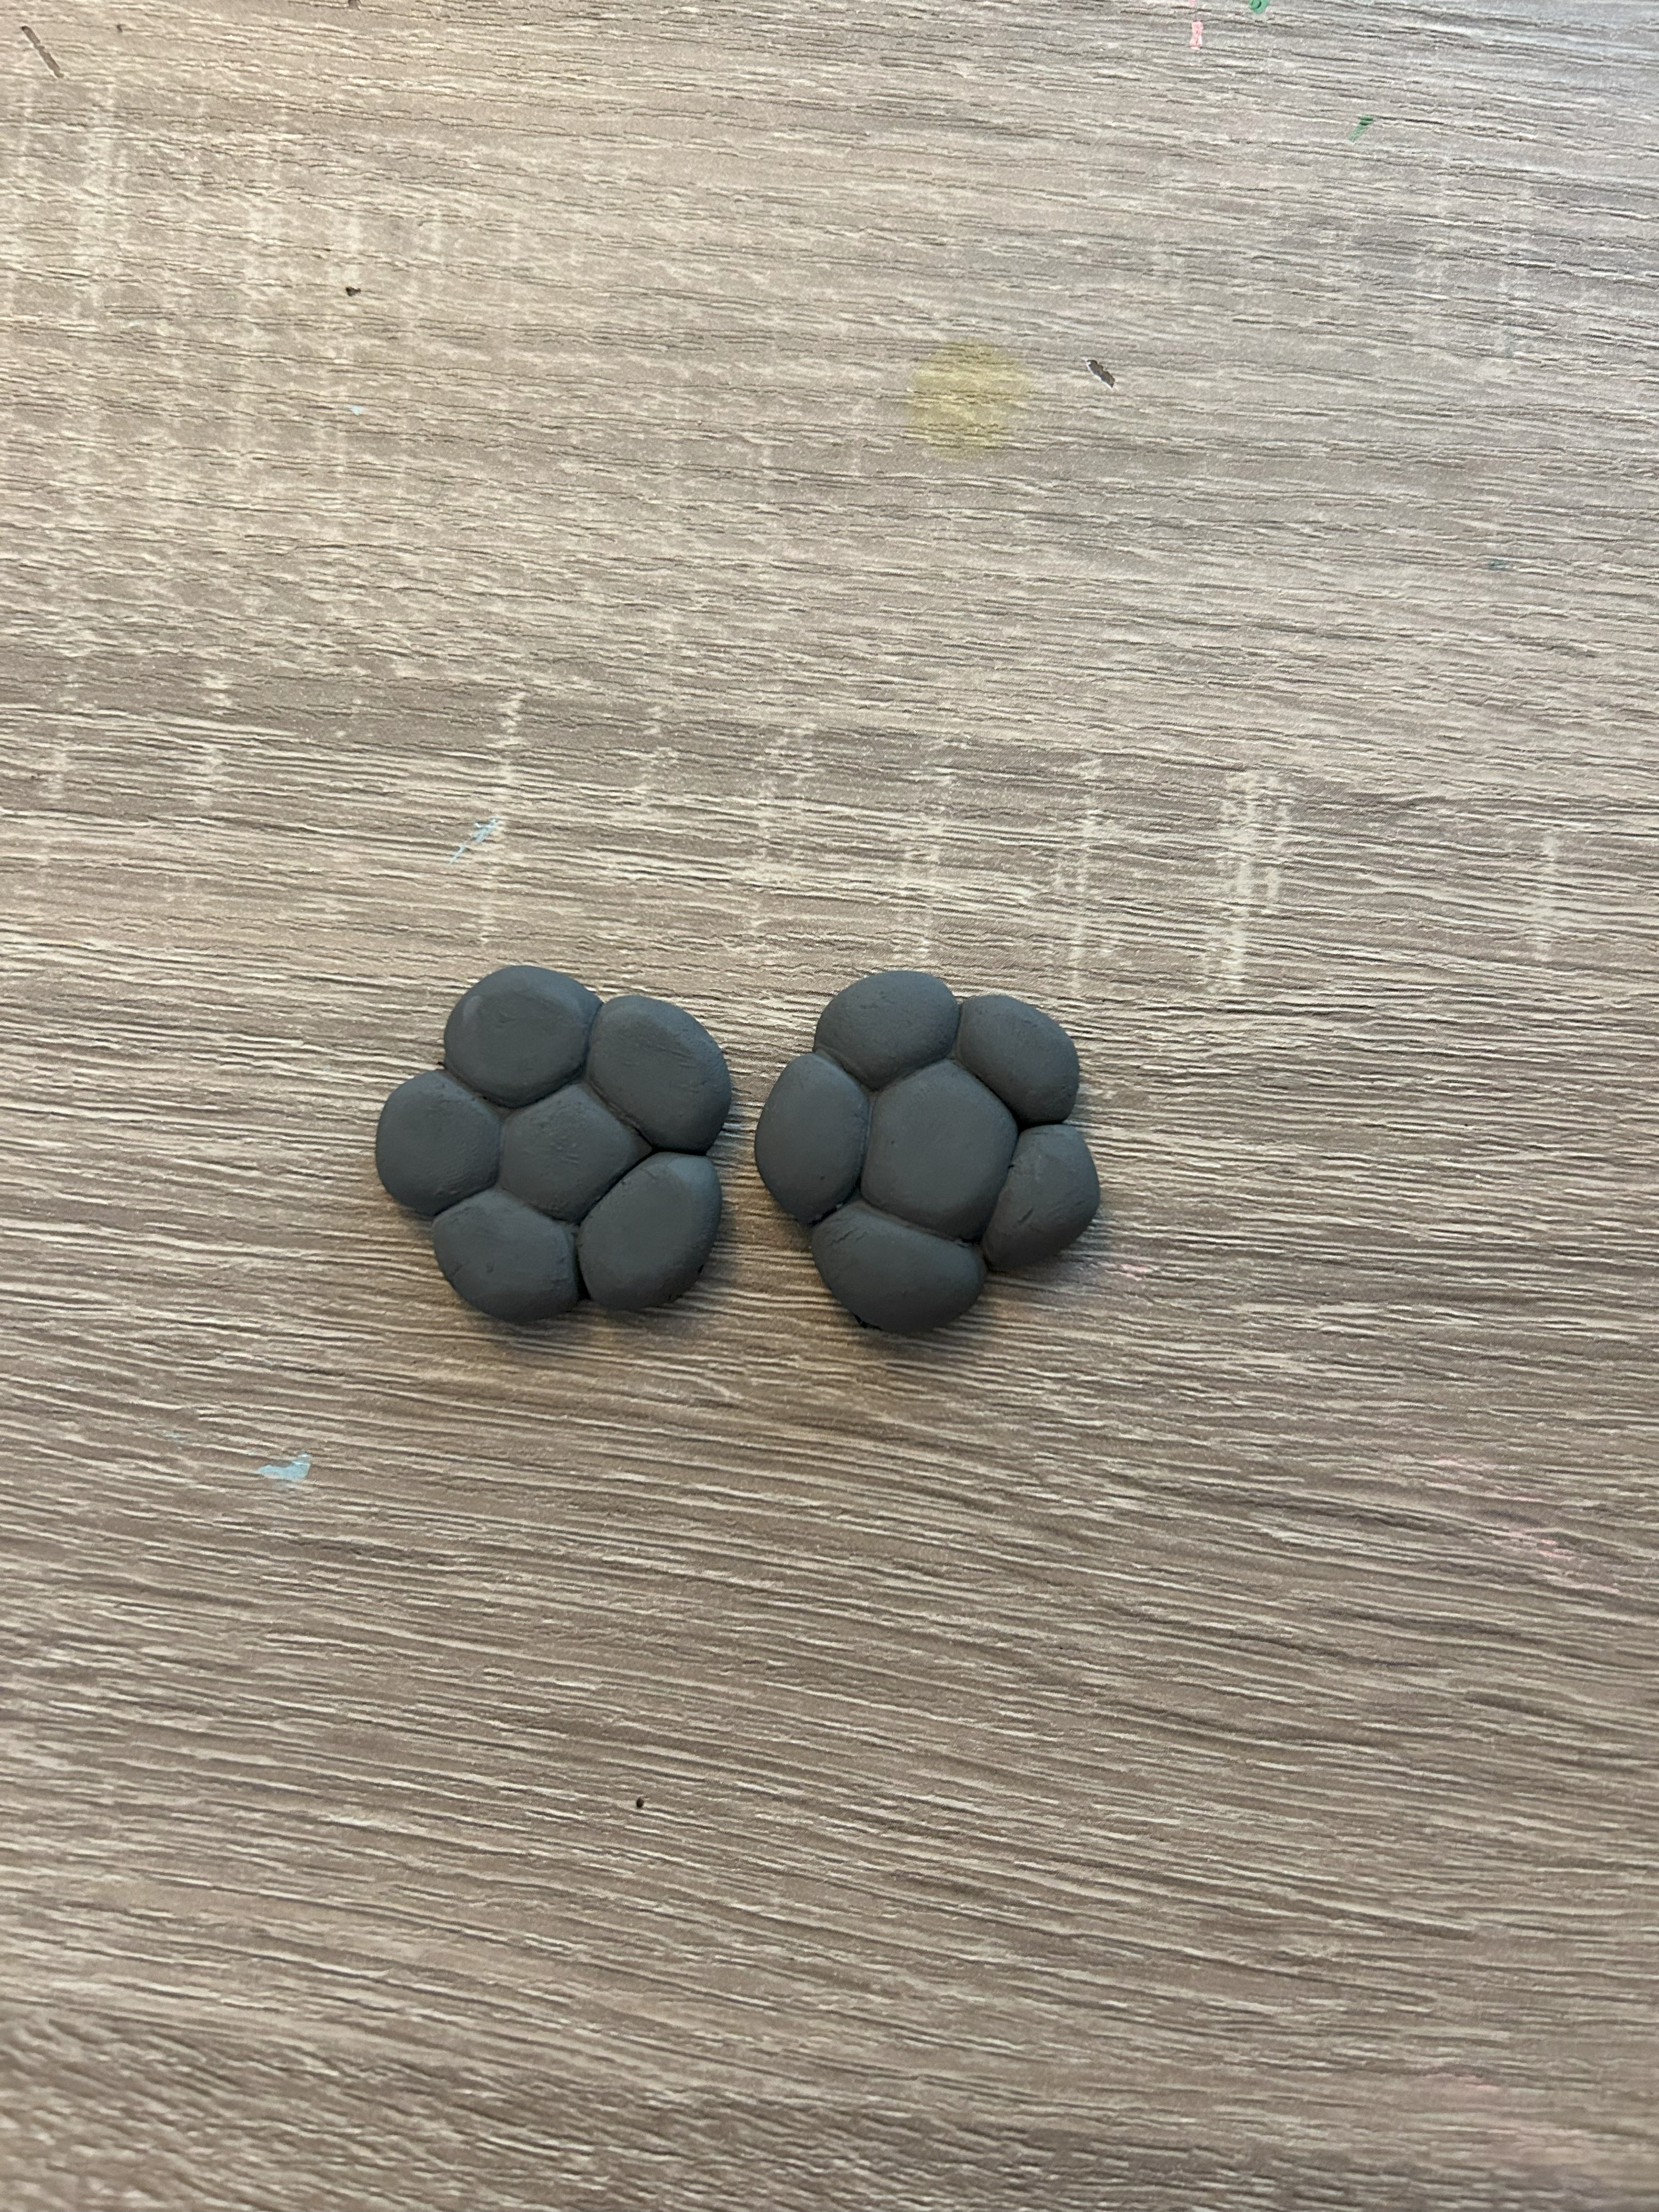
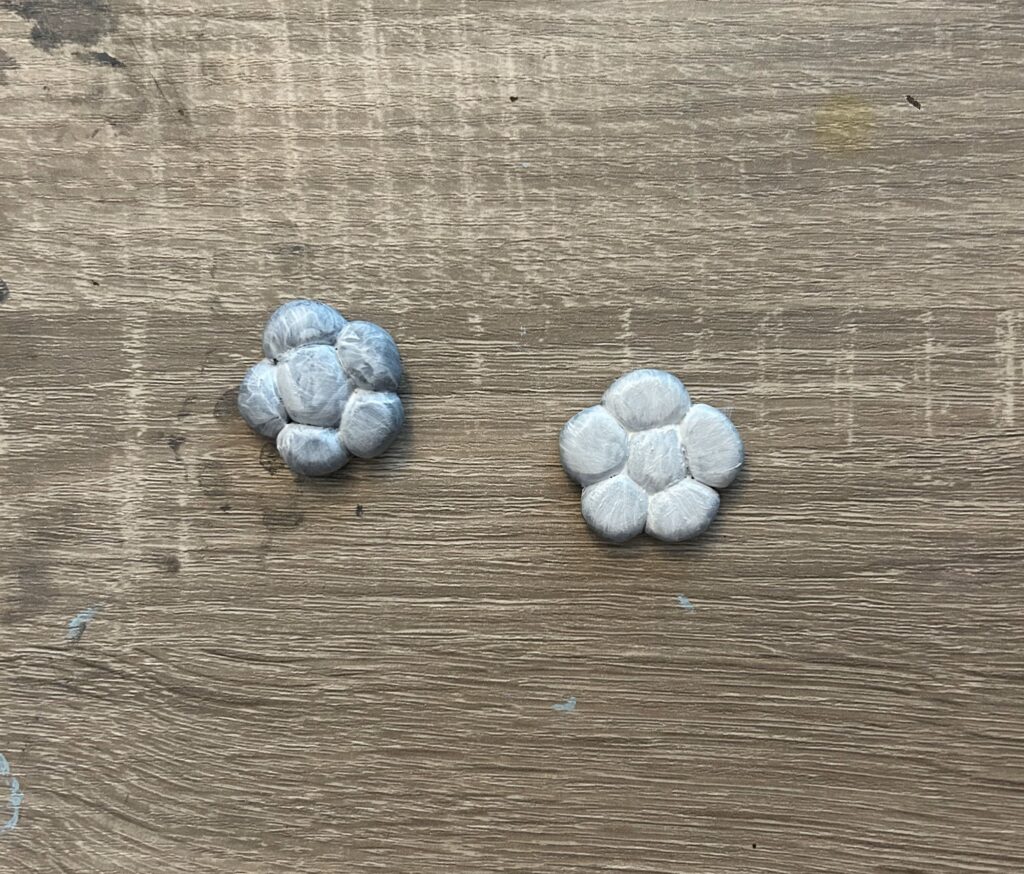
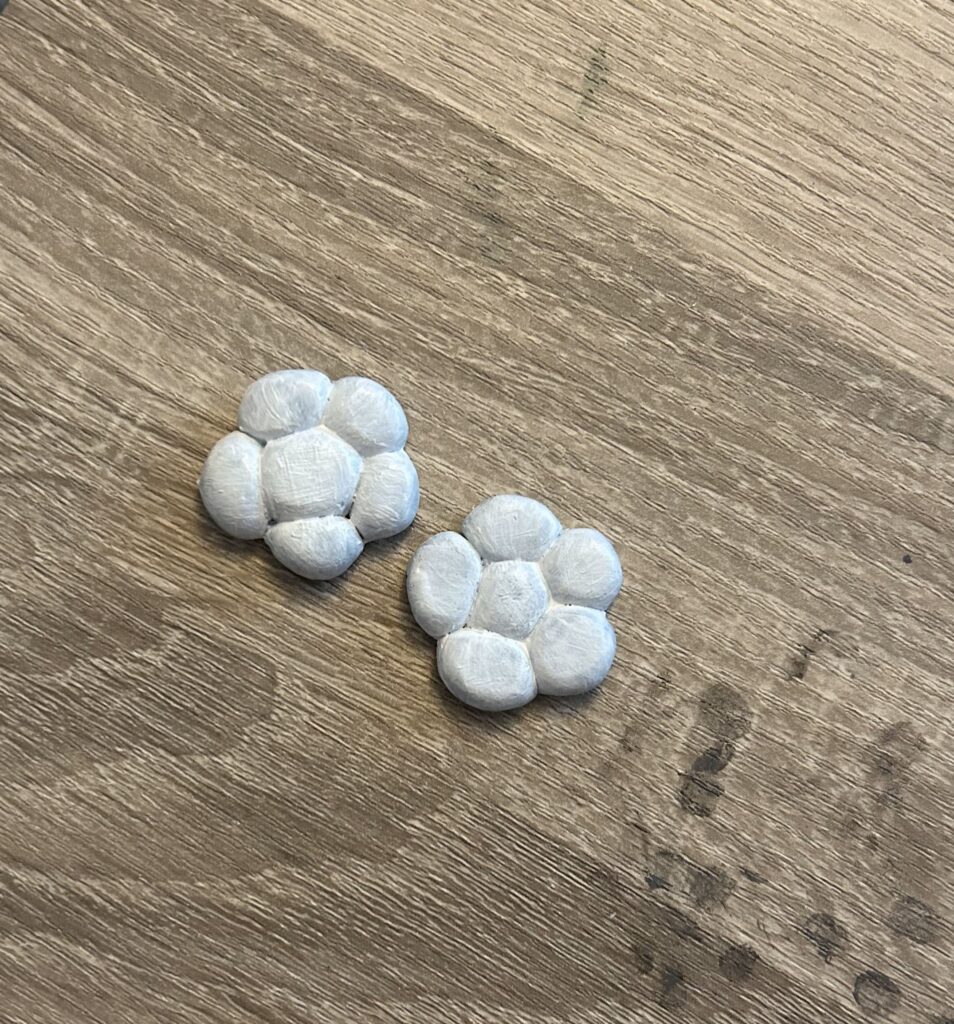
Once you’ve got a good clay consistency you can start forming your clay into your desired shapes! I have decided to start with a flower, so the first step is to decide on how many petals I want my flower to have. For my flower, I have decided on 5 petals, so I will divide my clay blob into 6 equal pieces and work on rolling them all into a ball so I will end up with 6 little balls. Once all the balls are rolled out, I will cut the balls in half to create 12 half circles. The next step is to stick the semi spheres together to form a flower and the flat sides of the flowers will be the back of the flower and will now lie flat. The most important thing to remember when creating clay jewellery is to remember to add your holes! You are going to need to add some holes to your creations so you can get a string or a needle etc through the clay in order to for it to hang if it is to be a necklace etc… Once your clay pieces are molded together and you’re happy with the shape etc, it’s time to dry!
3 – Painting Time!
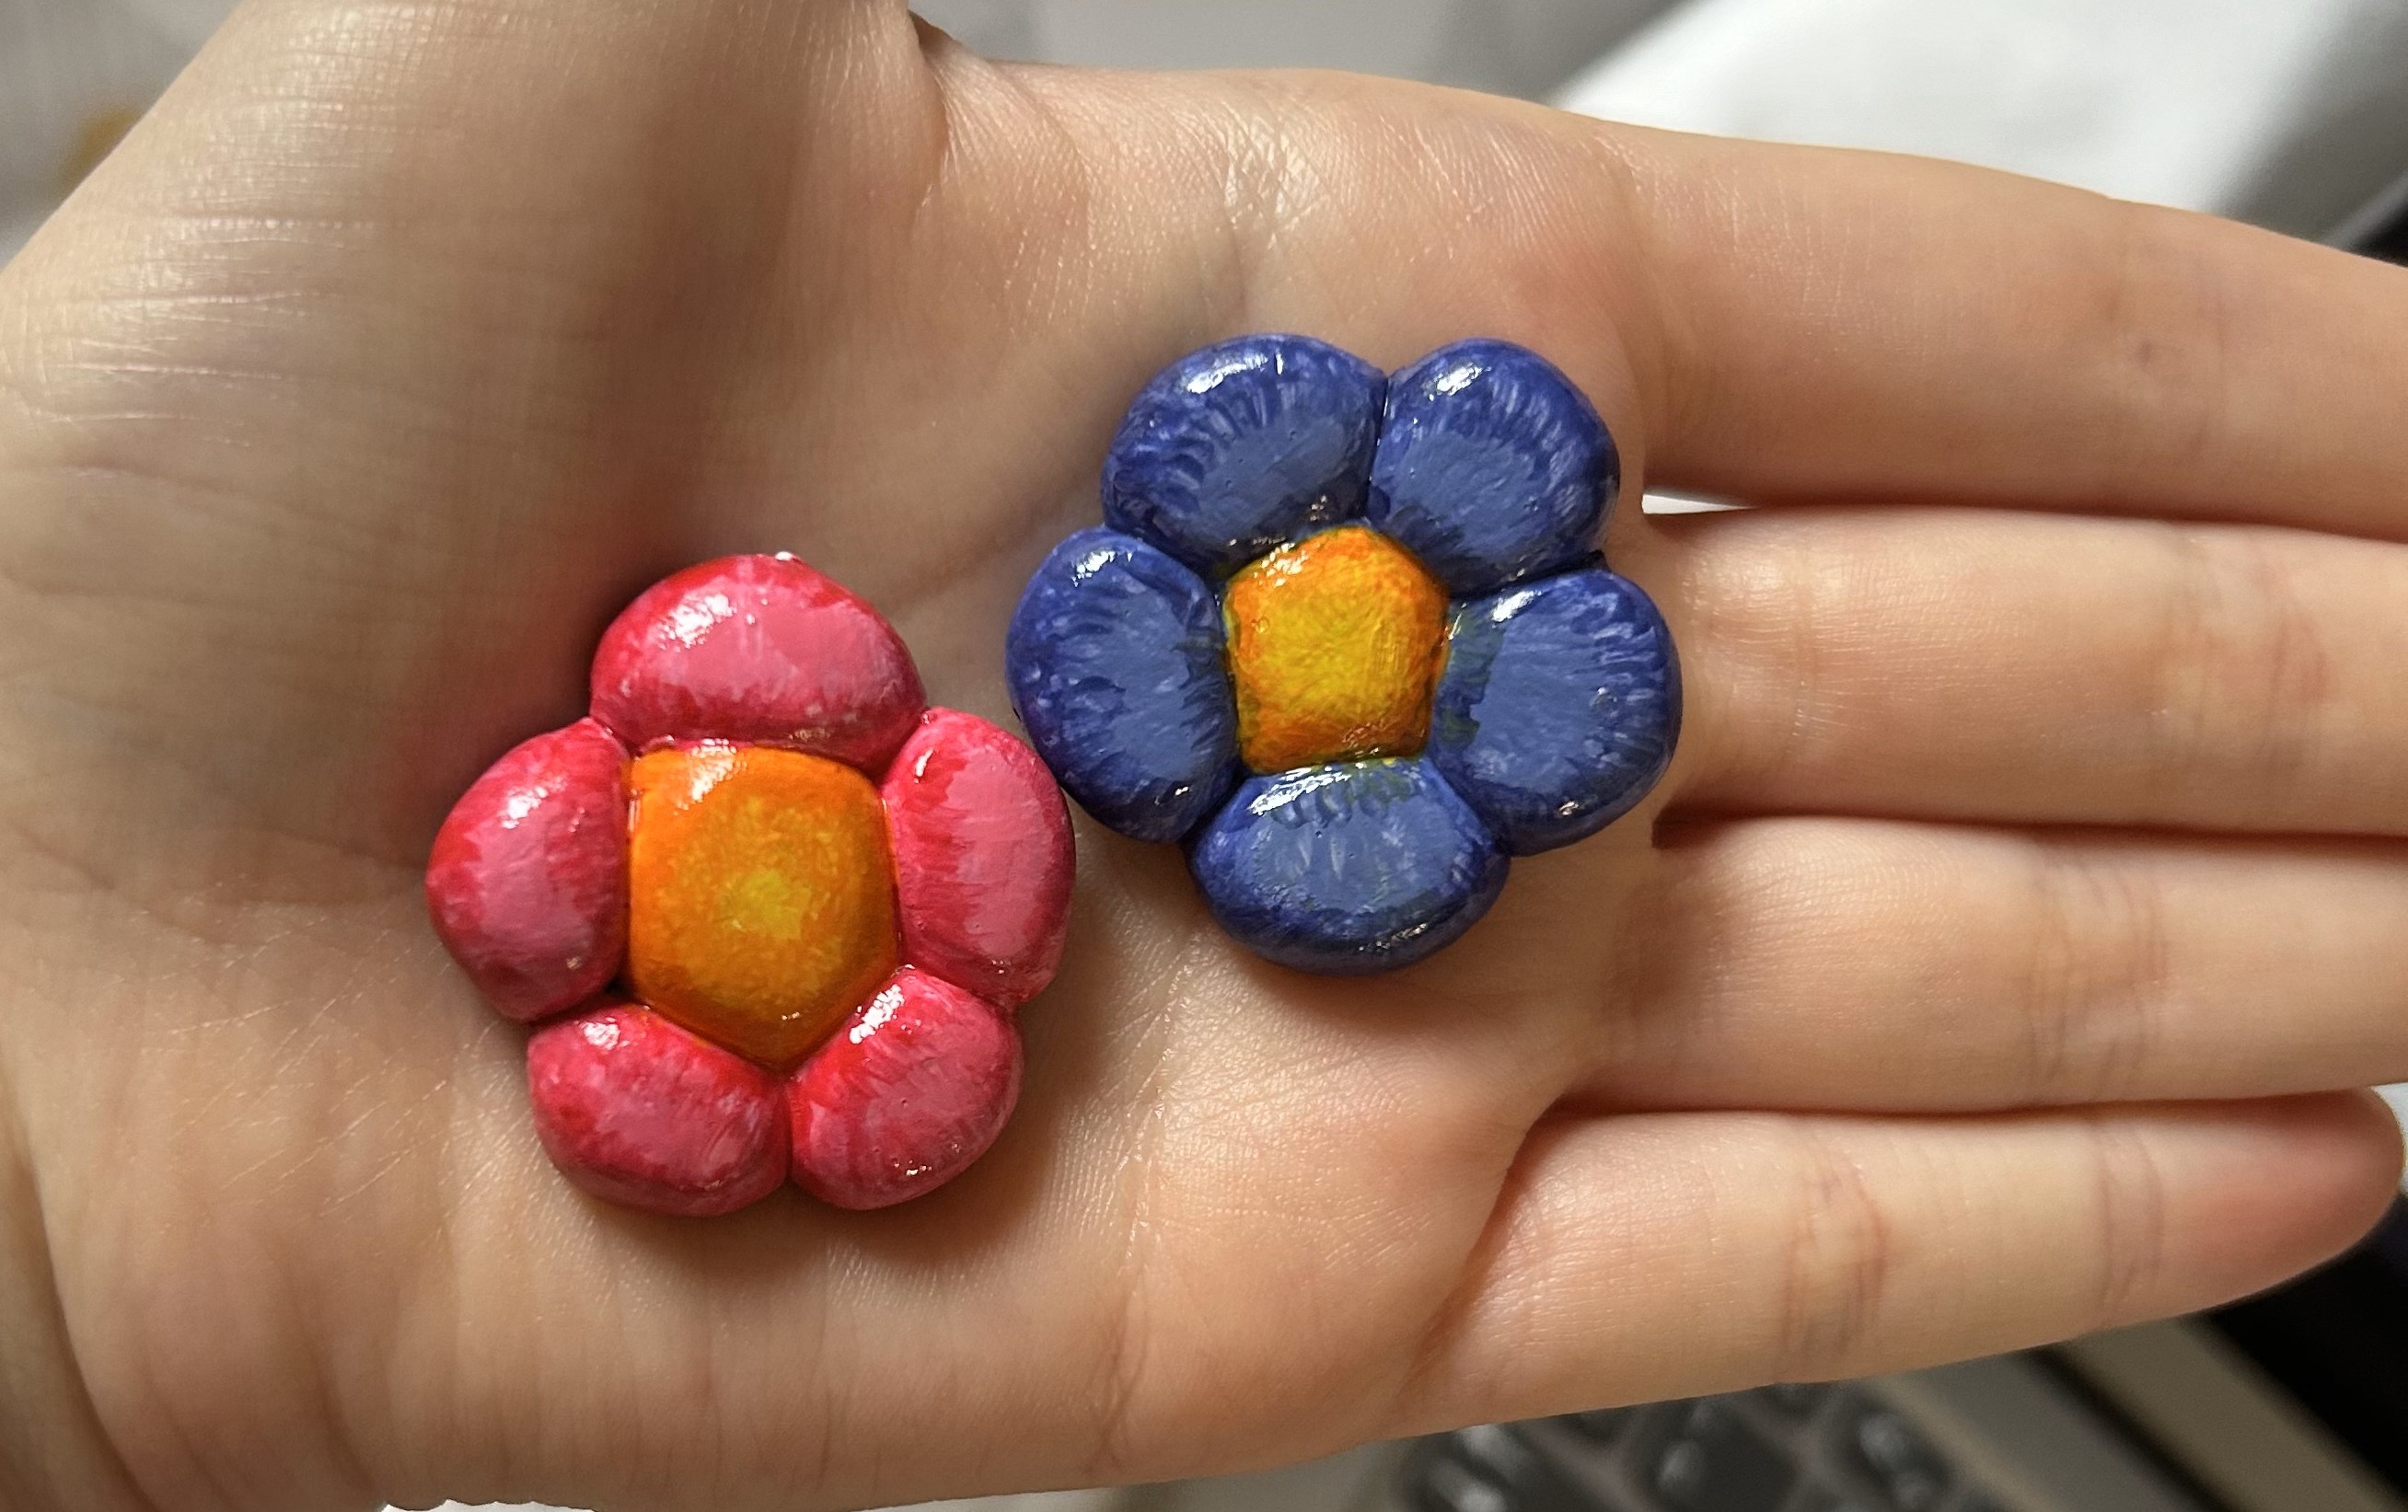
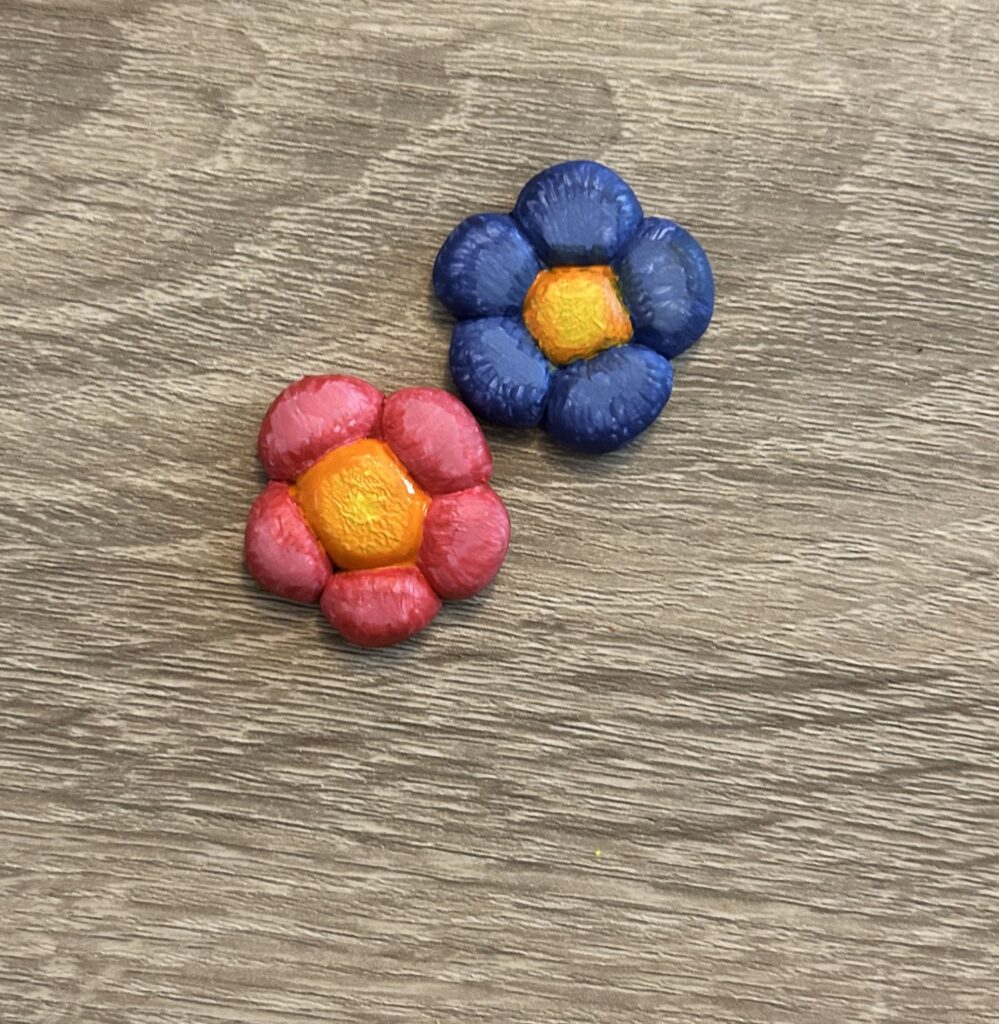
Once the clay is dry, its time to decorate! This is my favourite part! I use acrylic paint but if you have any other kind of paint (except watercolour I would say), it should work! I decided to paint my flowers purple/blue and yellow and pink and yellow (with a little orange) but you can decide your own colours! The most important thing to remember when painting air drying clay is that layers are your best friend. Don’t be scared when after your first coat the clay soaks it up a little and it looks washed out… I would say you need at least 3 layers of white paint first to make the right colour opacity. Then you can go ahead and add the colour of your choice but you may have to add 2 layers depending on the thickness of your paint. Make sure not to fill up the holes you created with paint!
4 – (Optional) Varnish Time!
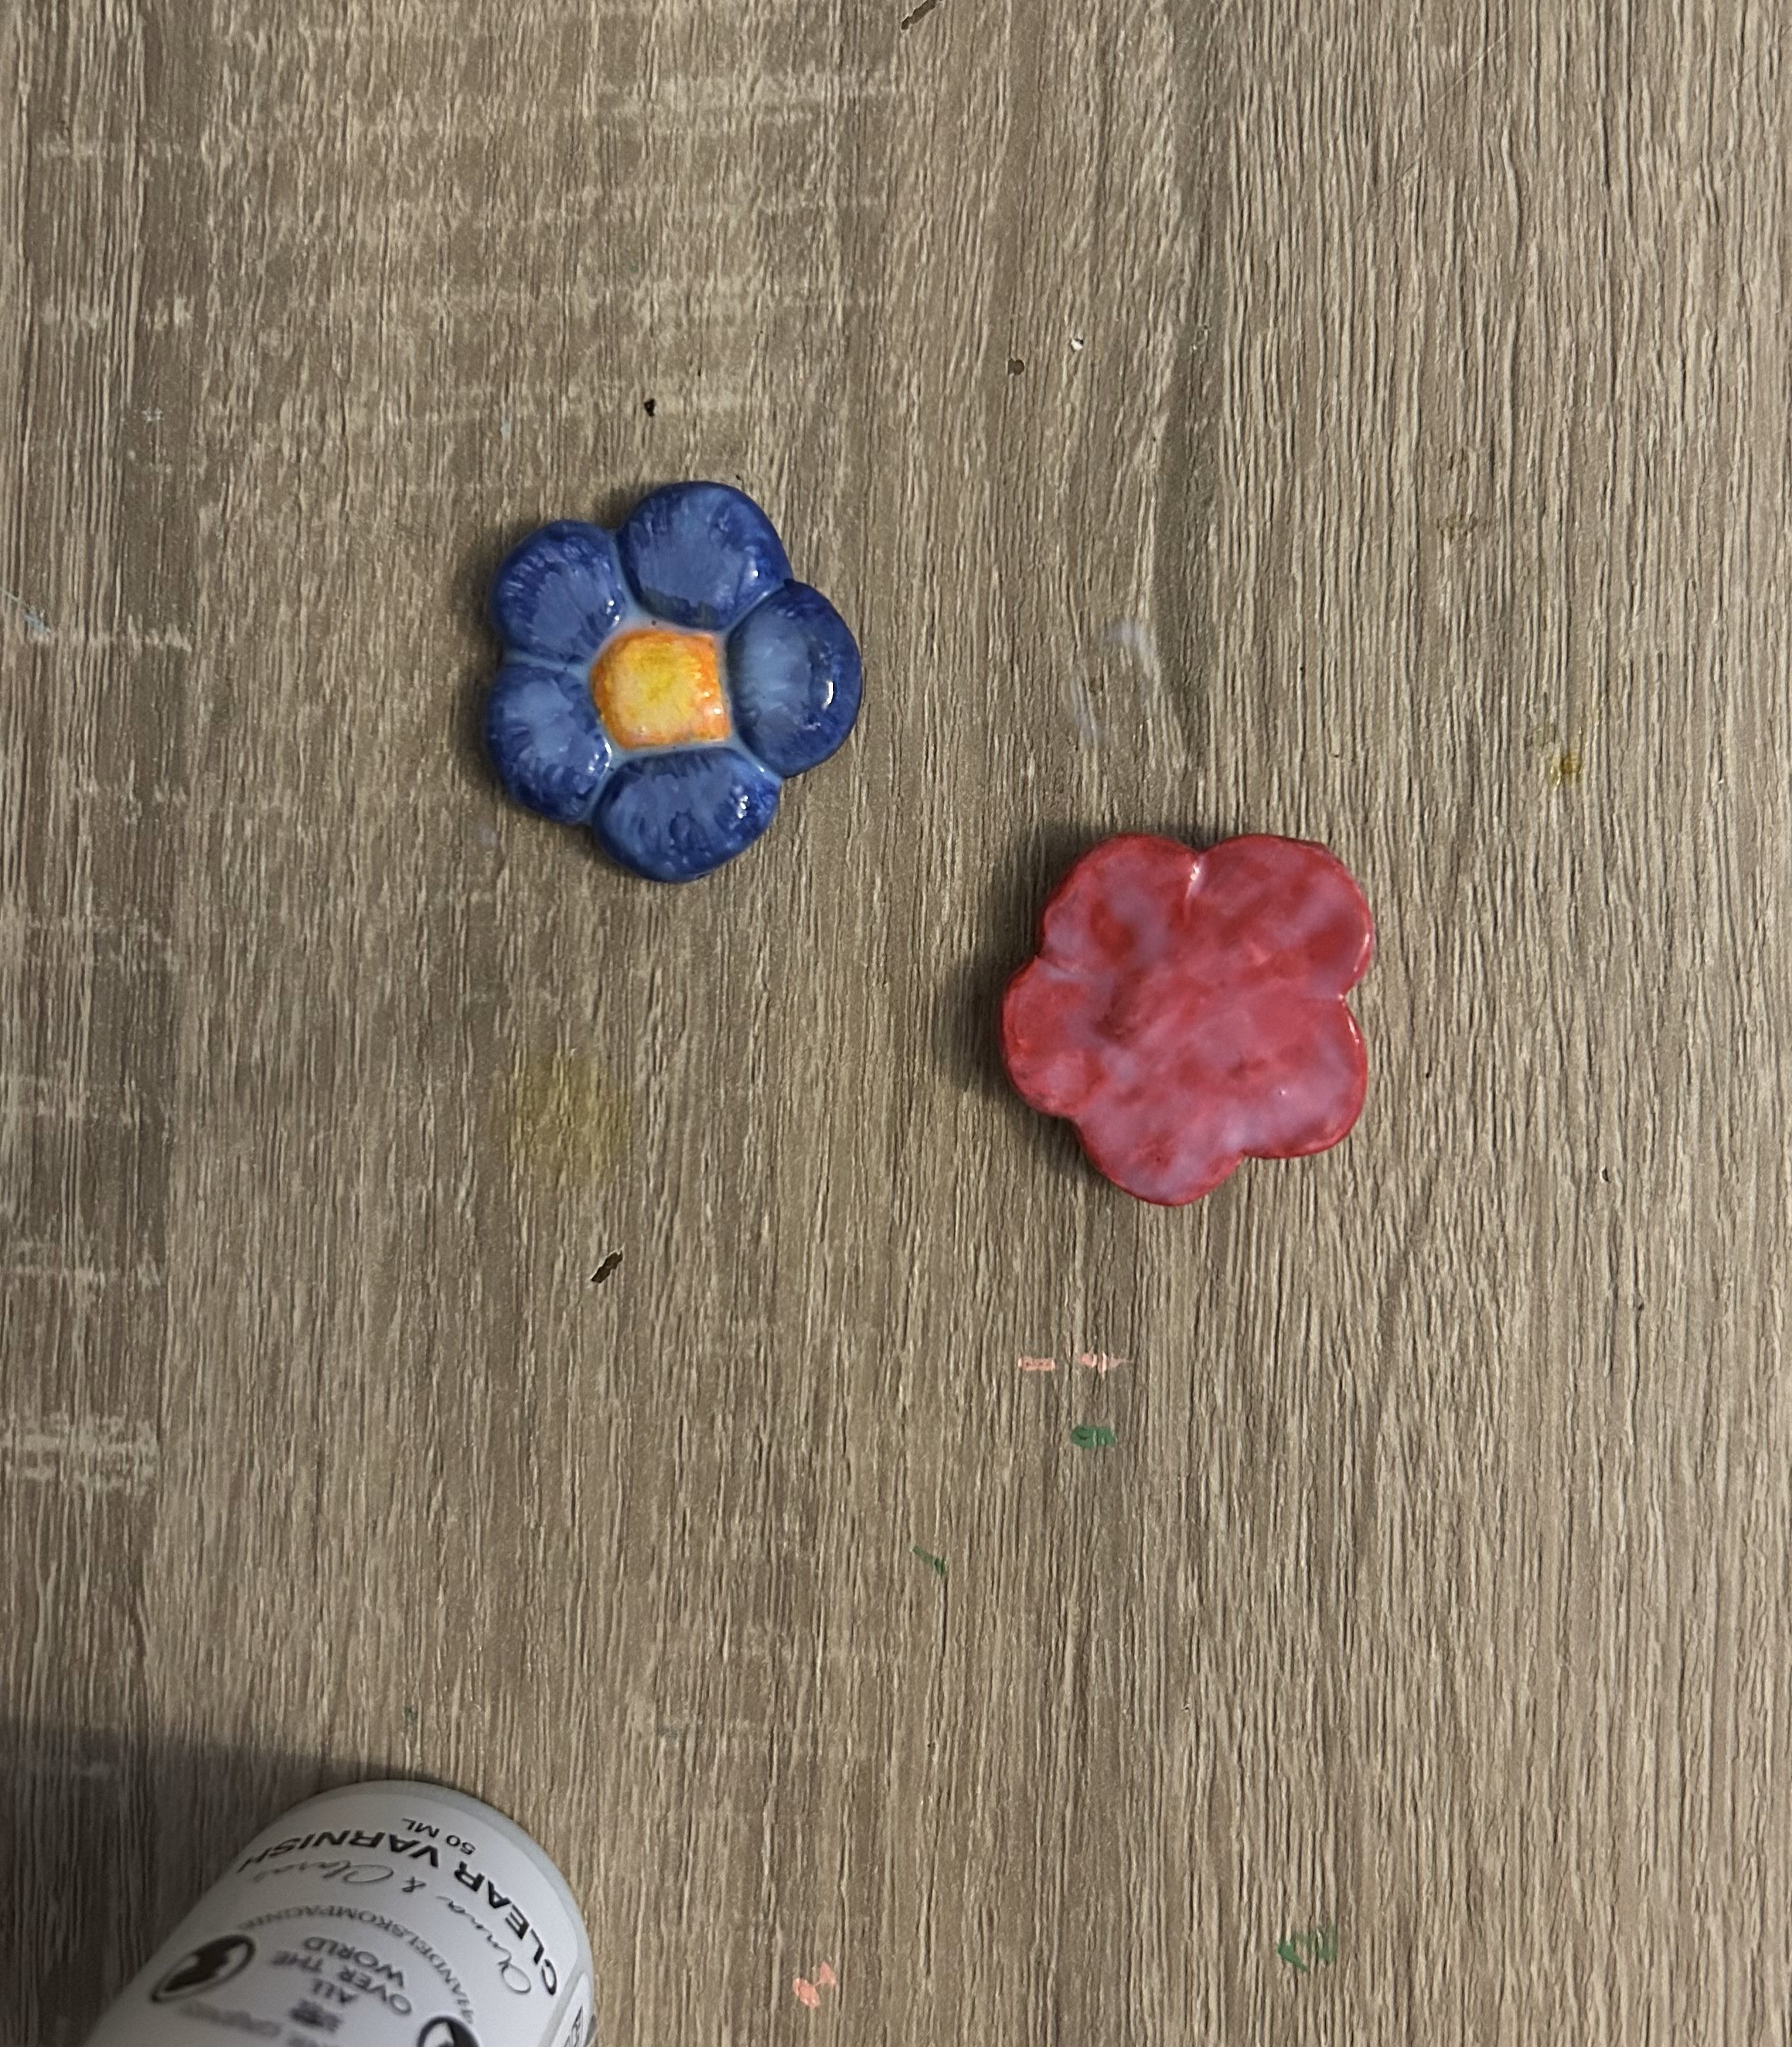
I never used to use a varnish, but I saw one in the shop one day and it was pretty cheap, so I took a chance, and it has really made the difference when it comes to my clay creations! A varnish which is waterproof will act like an insulation of the paint and the clay and will ensure that the paint won’t chip or peel off as it will be “glued” down in a sense by the varnish. Keep in mind that you do not want to cover the holes you created with varnish! Varnishes are used not only with clay but with anything really. If you have a surface that you want to add a waterproofing coat to then varnish is your solution! I have even used varnish as a sealant for when I painted my phone case! If you are thinking of purchasing a varnish for any of your crafting needs then Amazon has a good amount of well-priced options! If you don’t want to use a varnish that is totally fine too!

5 – Time to Decide!
This is now the time to decide what our clay creation will become! I have decided to make mine into a necklace pendant and a brooch as I have recently bought some silver and gold chain from Amazon, so I have a lot to work with! But you need to decide what you want to do with your creations; you could use it like a pendant and use the chain from a necklace you don’t wear anymore, or you could use a bit of string/ribbon and wear it as a choker like the stylish women did in history! Or you could decide to turn them into cufflinks or even into buttons! The sky is the limit when it comes to your creativity and don’t let anyone tell you anything different!