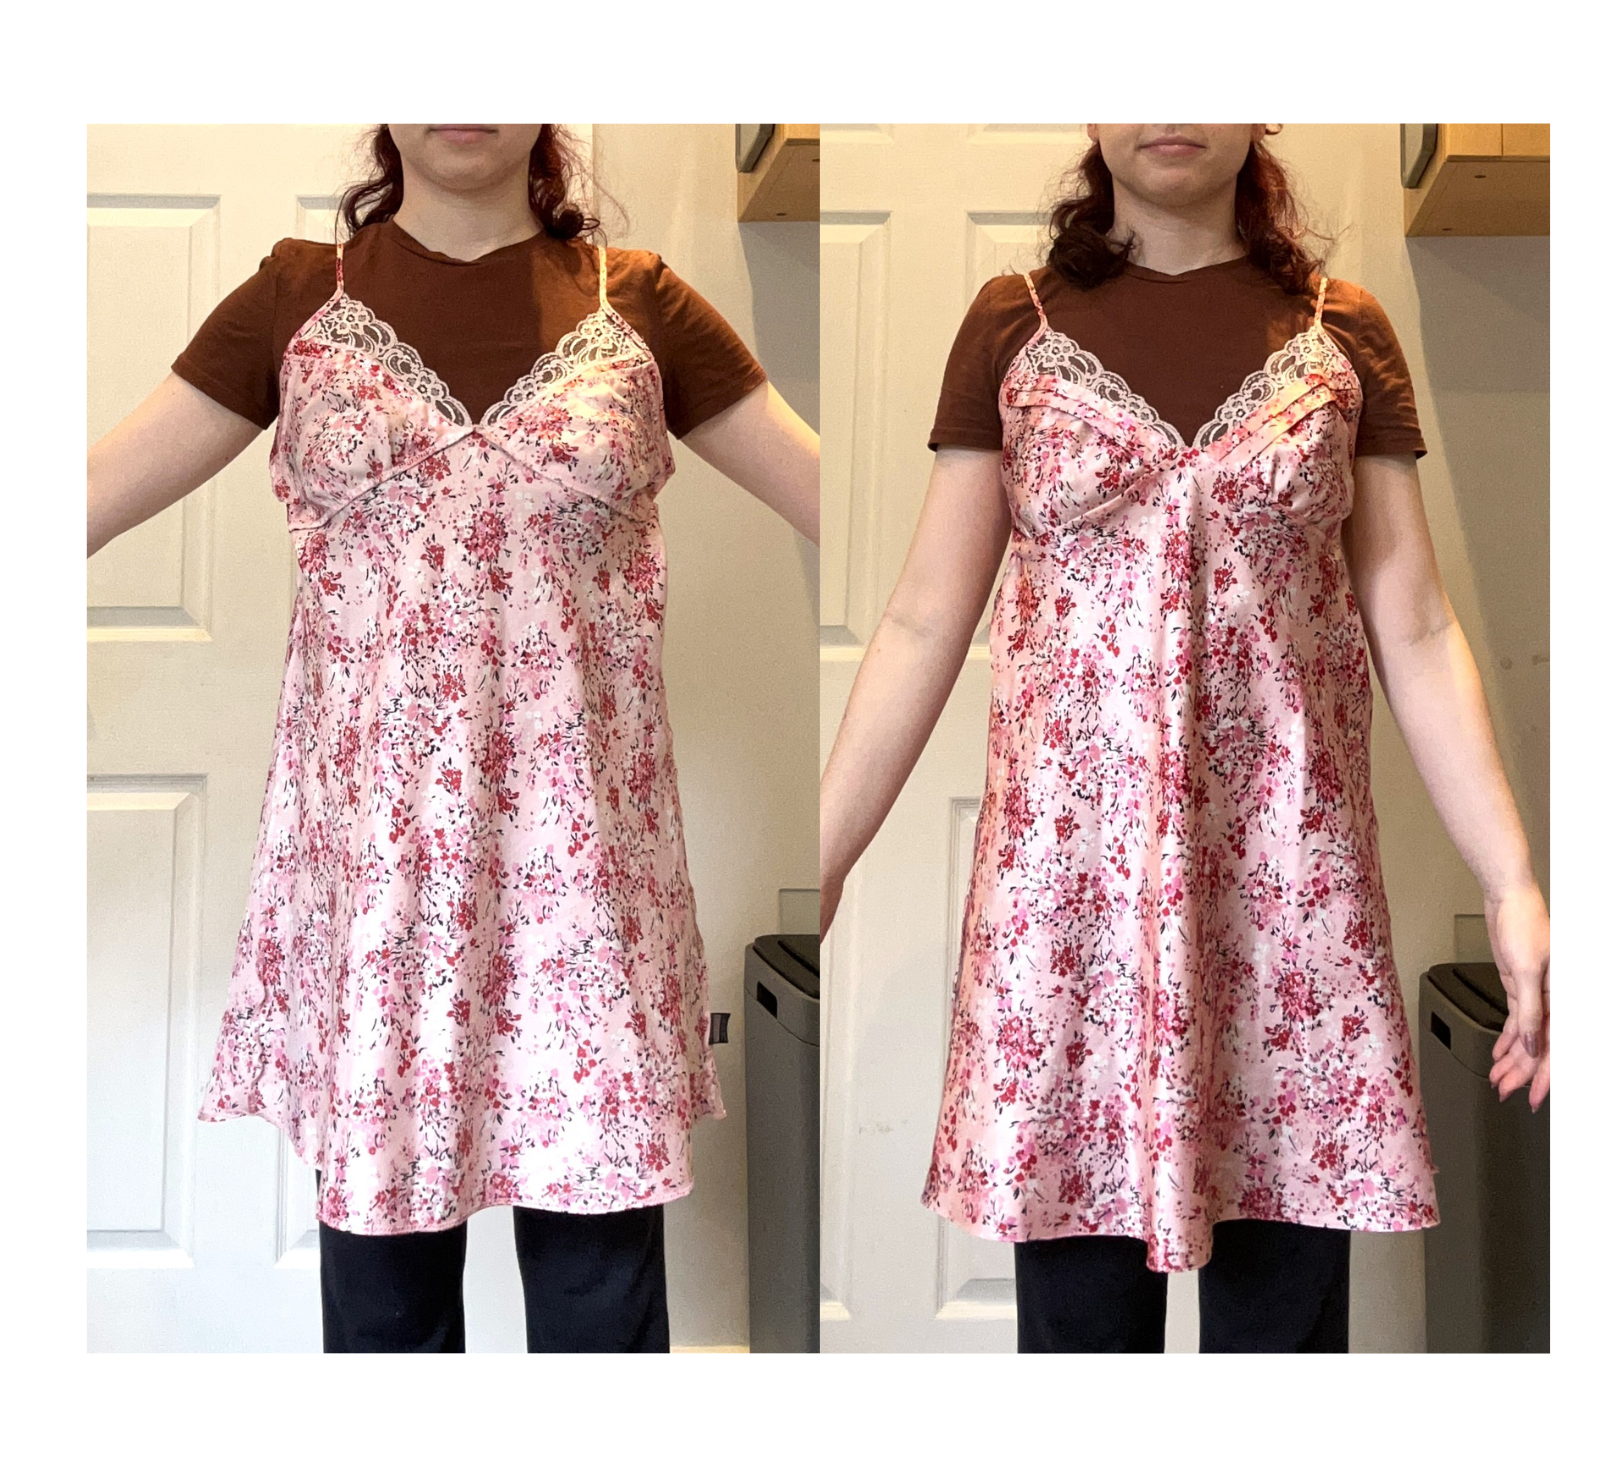
Do you ever find the most perfect slip dress in your favourite colour but realise it’s way too big? If that’s you too, then let me let you in on a secret!
We can fix it! Reworking your clothes might seem intimidating at first but once you approach the project from a place of curiosity, it becomes a lot easier to play around with!
Today’s blog post is going to focus exclusively on how to rework a slip dress to make it fit you the way it’s meant to!
Tools Needed
Safety Pins
Dressmaking Pins
A pen/pencil to mark
Sewing machine
Scissors sharp enough to cut fabric
Measuring Tape
Unpicker
Method:
The slip dress I bought was way too big in the bust area so this blog post will focus on reworking that area to make it fit way better!
Step 1:
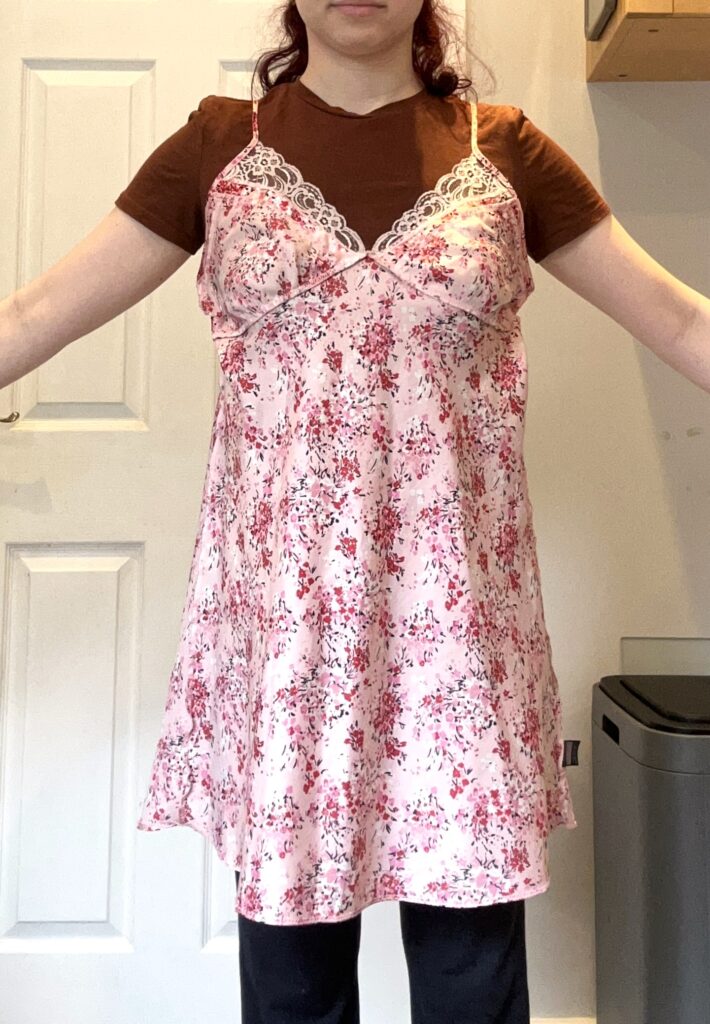
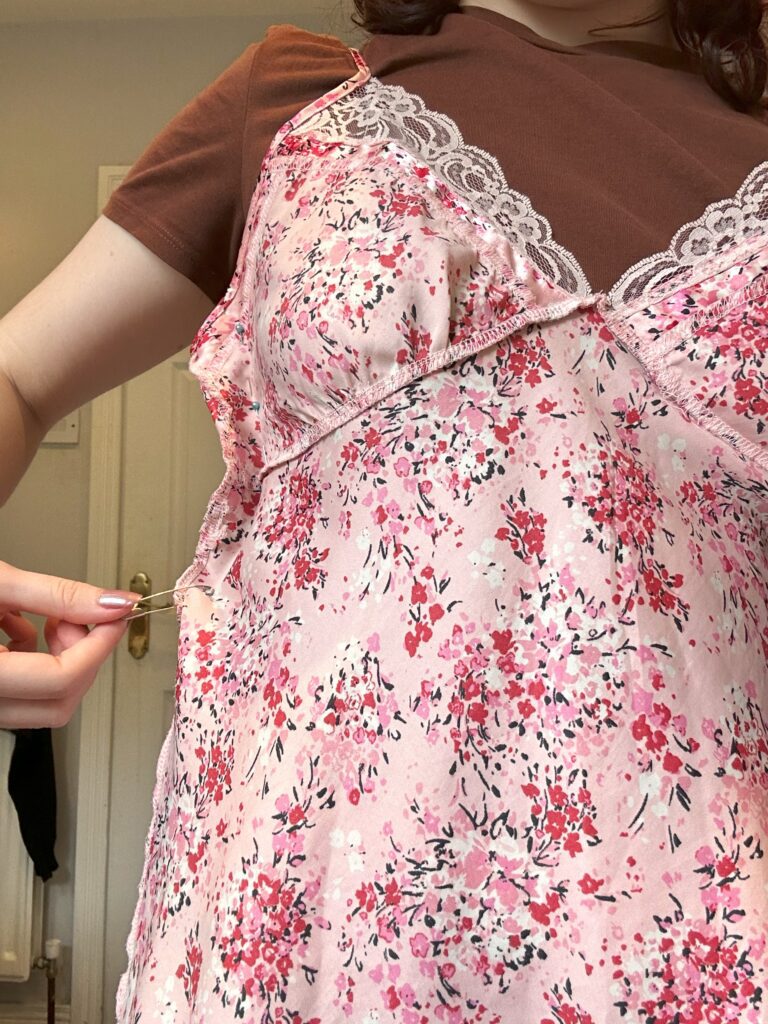
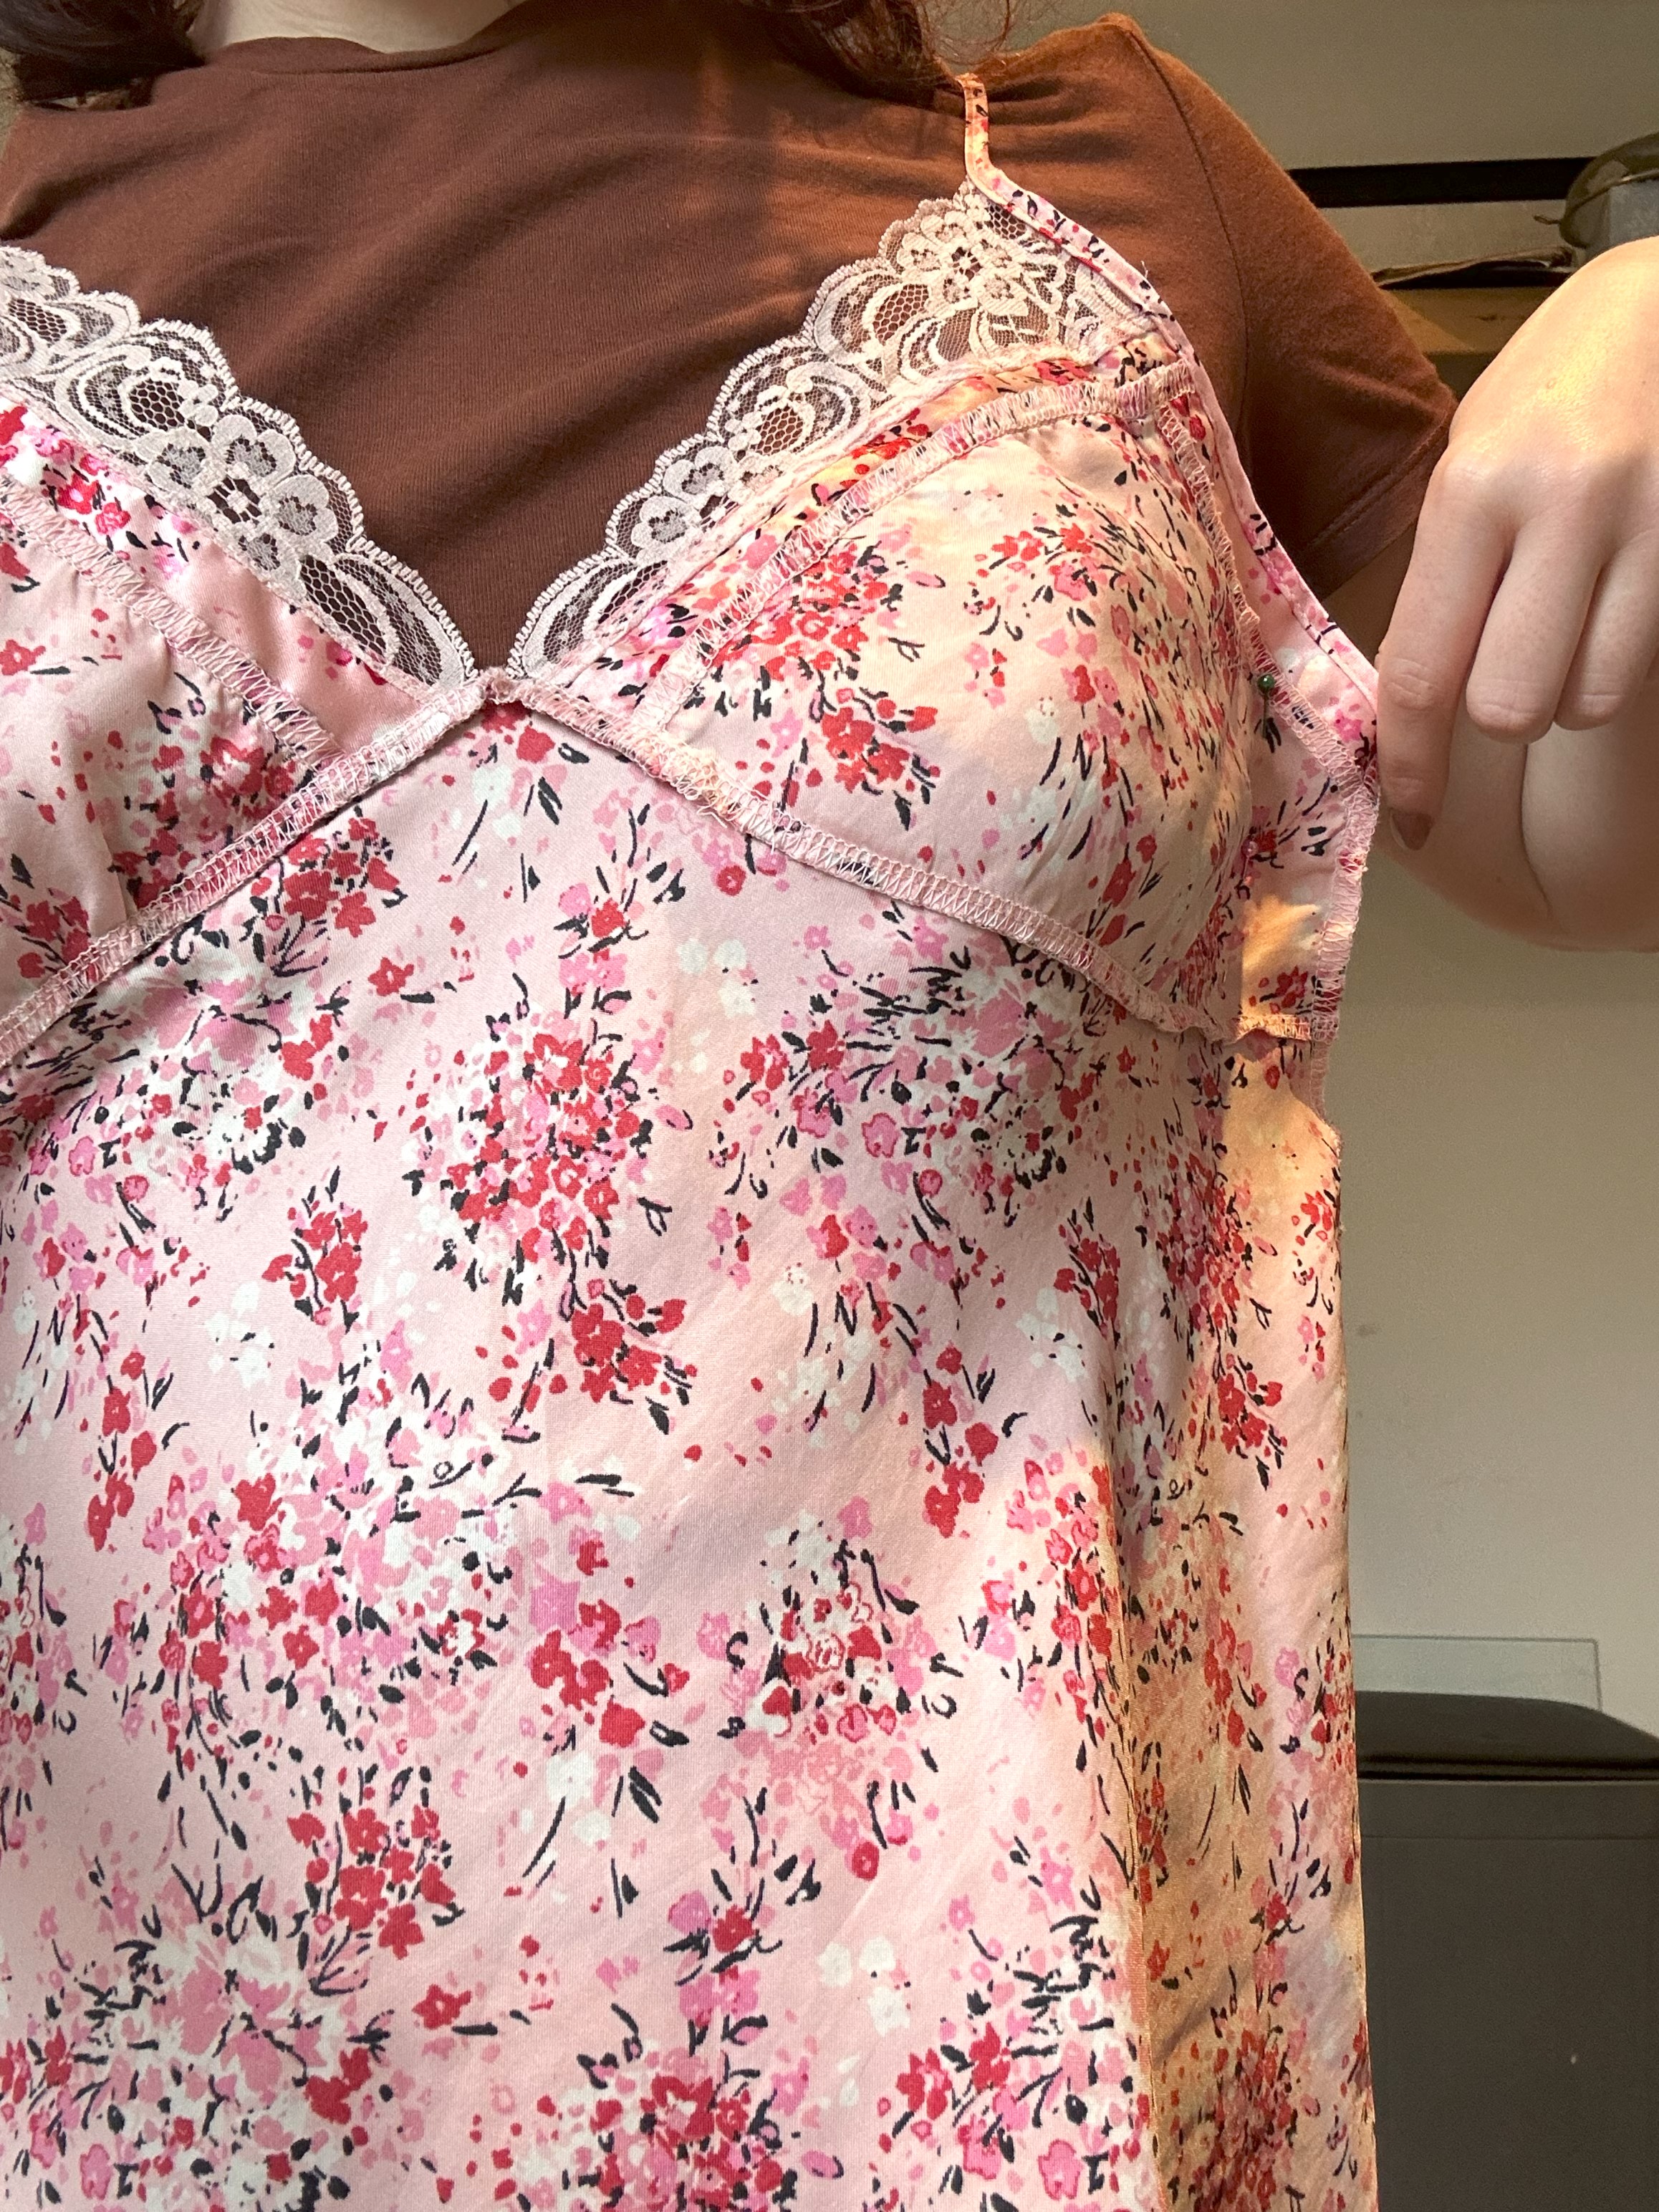
The very first step is to put the dress on inside out. Then you’ll need to pinch the fabric on either side of your bust and attach a safety pin where you want the dress to be sewn in. Using a safety pin just makes it easier to manage with silky materials as normal pins just fall out and it will prevent you from pricking yourself. You’ll need to also attach a pin or make a mark where you want to stop sewing down the sides of the dress.
Step 2:
The next step is to try the dress on right side up to check that you are happy with the placement of the safety pins. If you’re unhappy with the placement, repeat step 1.
Step 3:
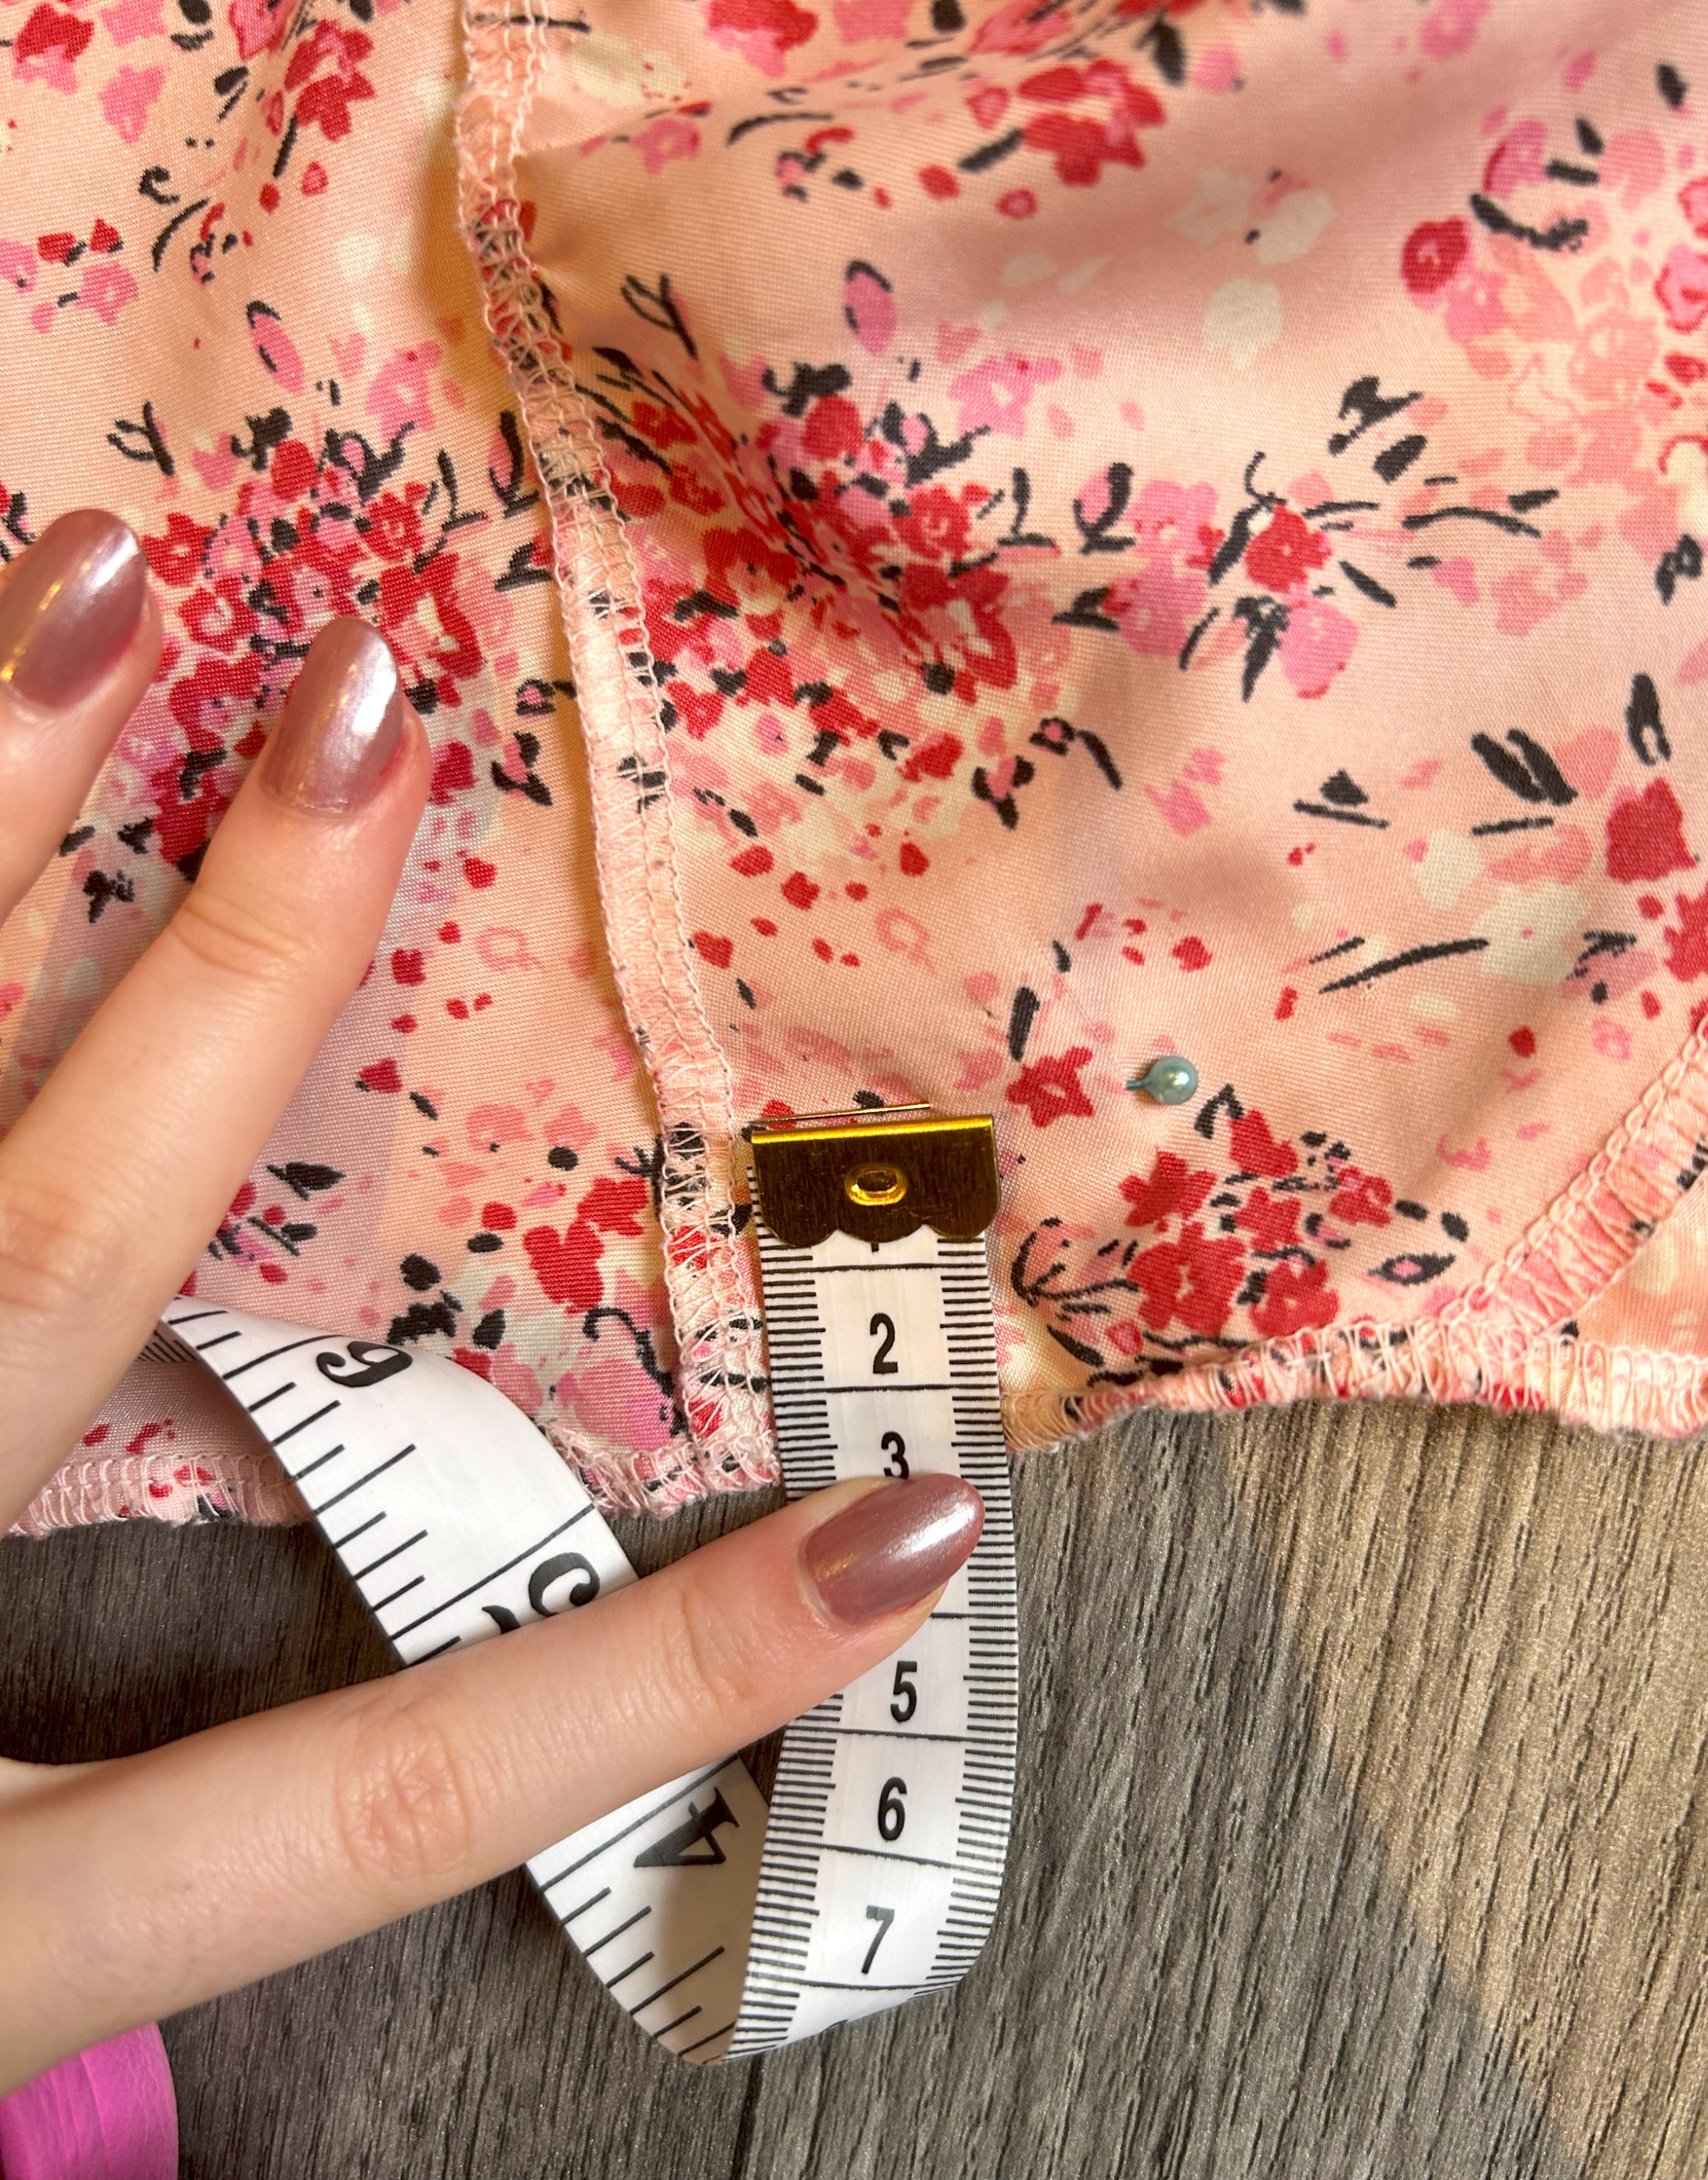
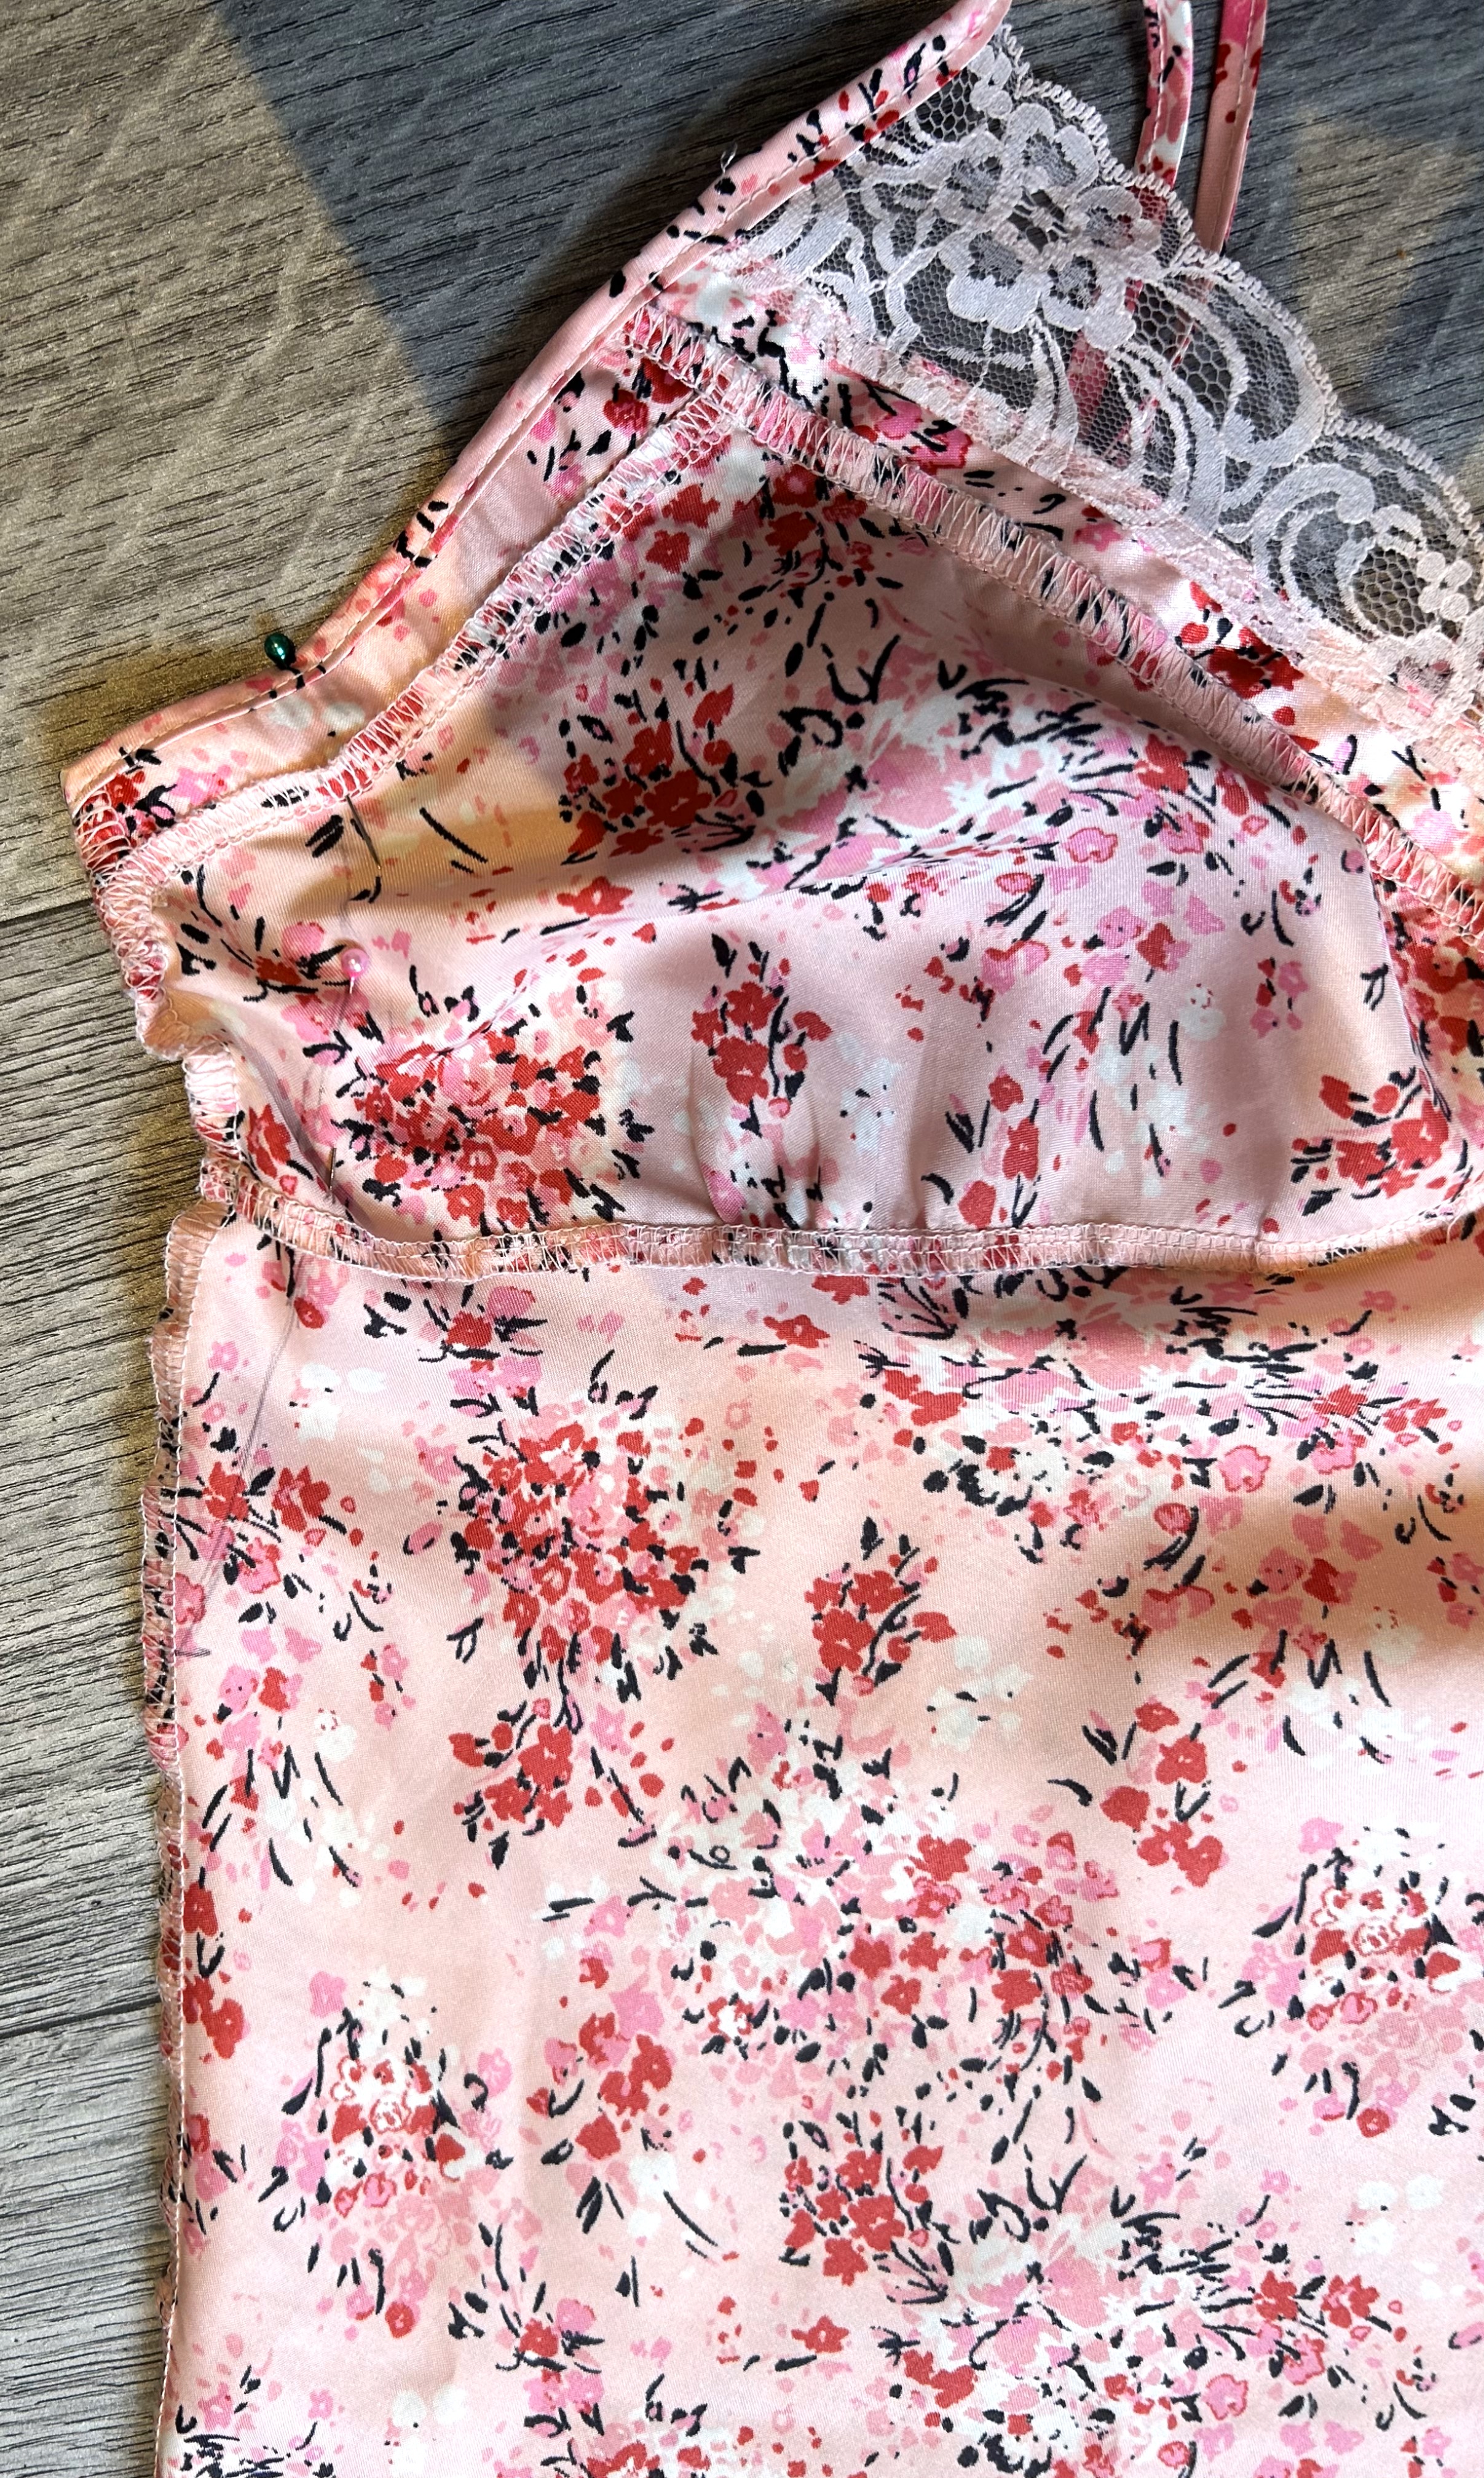
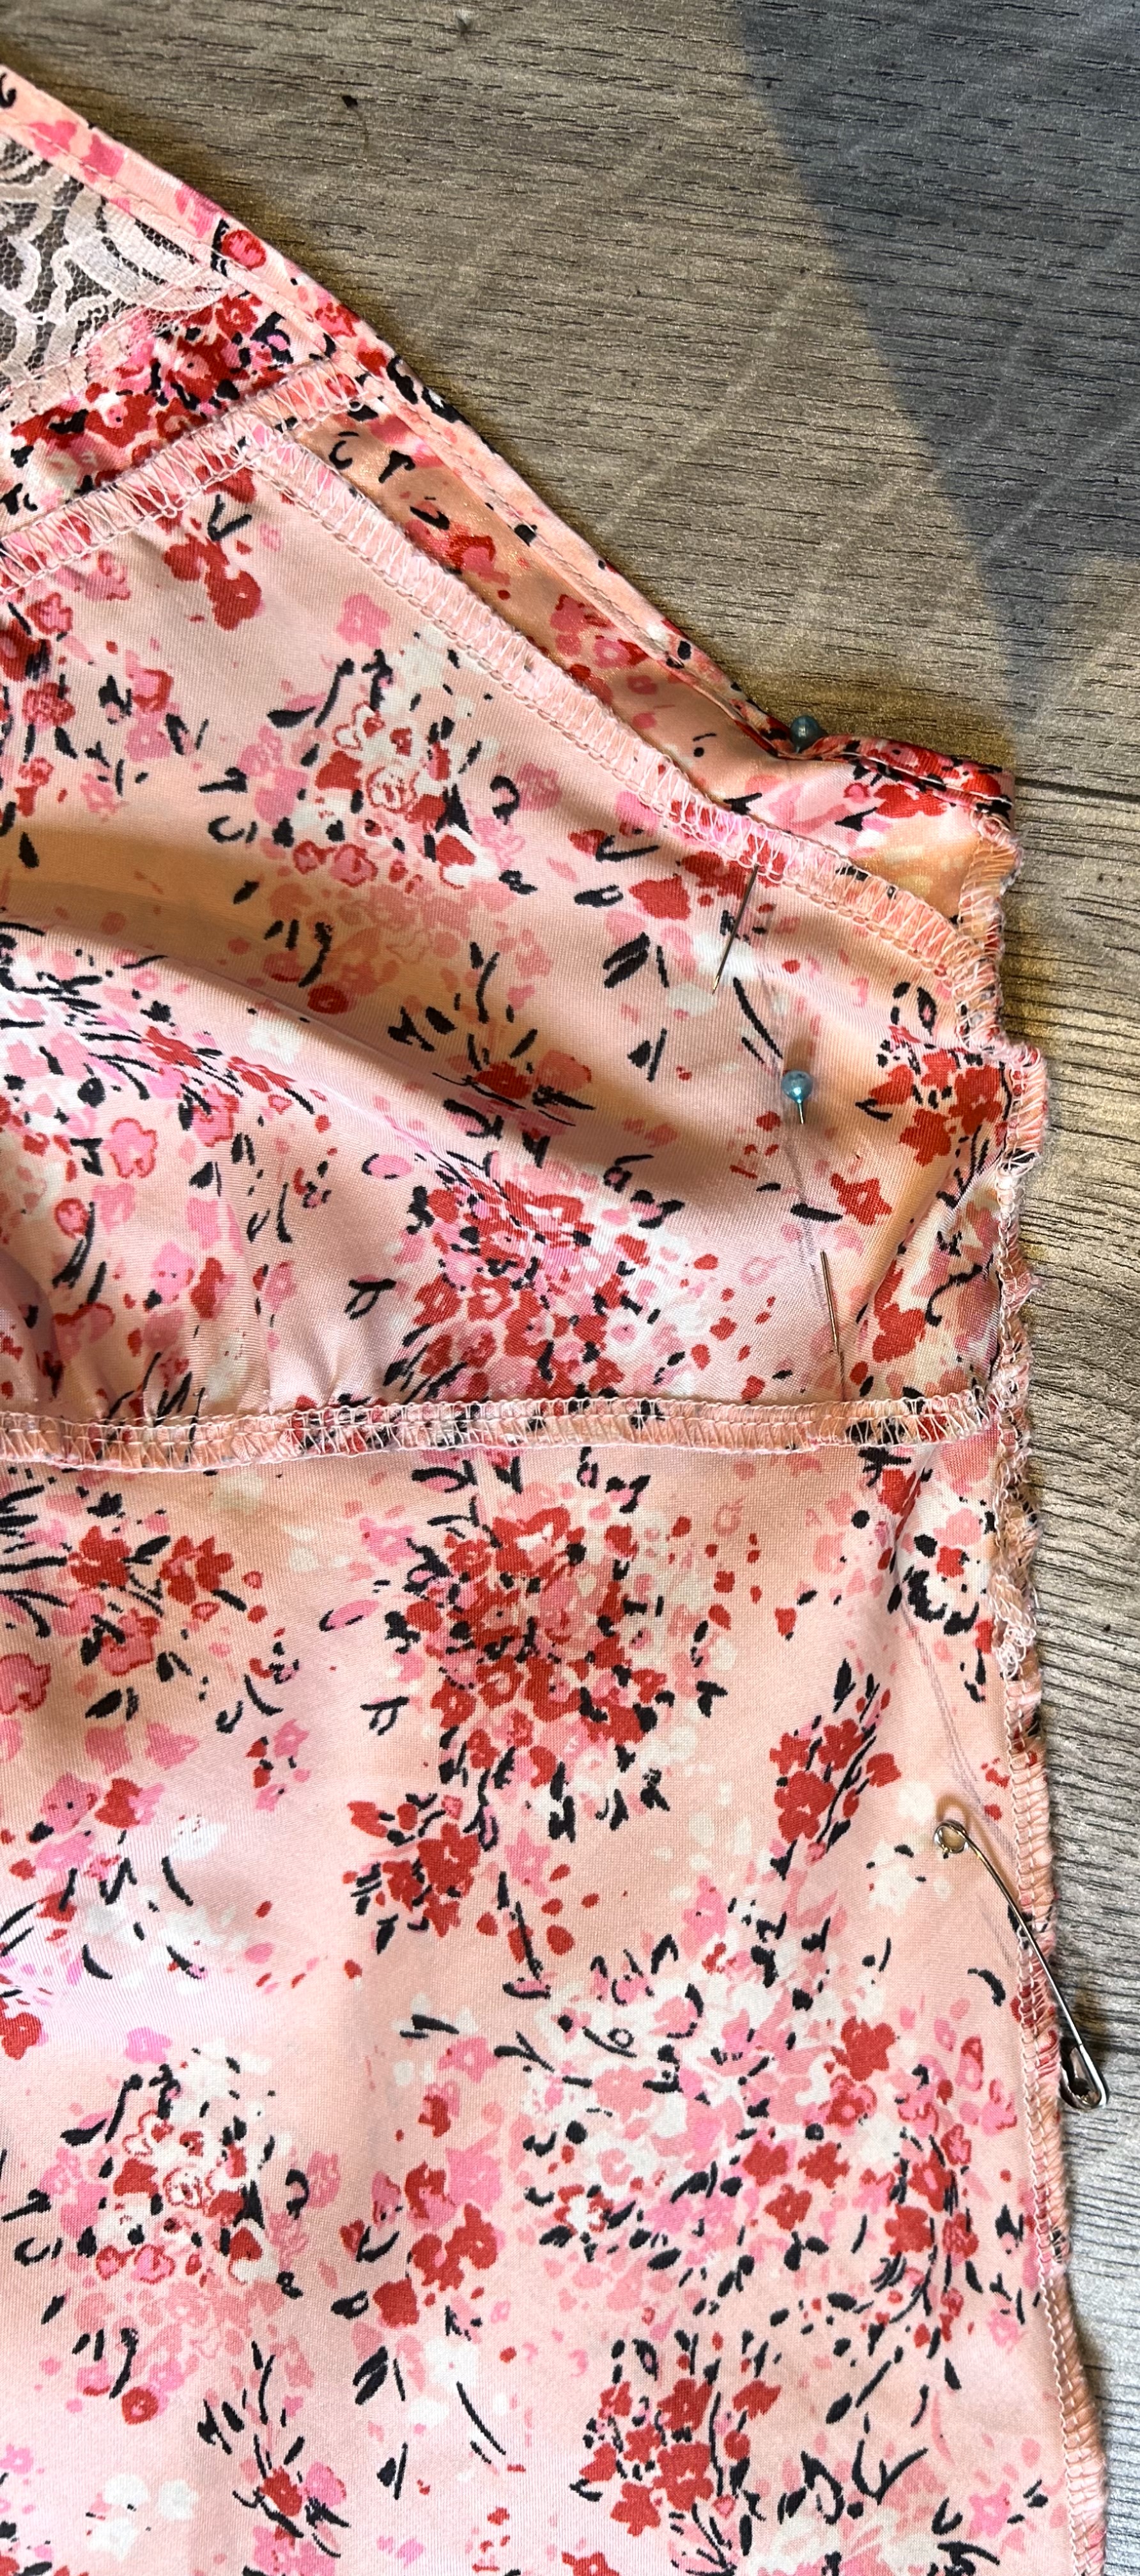
Now that you’re happy with your placements, turn your dress inside out again and place it flat onto a smooth surface. I just used the floor. Now you will need to measure how far you’re planning on sewing the sides in and repeat that number on the other side. My measurement was 2.5cm on each side so I used a pin to mark where I would start sewing from. I then used a pen to create a curved line from the top of the side of the bust and then I connected the line to where the natural side seam of the dress is.
I would recommend using a measuring tape to ensure that you’re making each line equal to the one on the other side of the dress.
Step 4:
A top tip for making the sewing look seamless is to pin the top most point of the dress in the back to the top most point in the front. This will make it so that the bust doesn’t gape at the sides when you’re wearing it.

Step 5:
Now that you’re happy with where you’re going to be sewing and you have a good guide for it, lets get sewing! If you’re using a silky material like I am, you’re going to want to keep your stitch length to a 2 and you might need to loosen your tension as well to avoid puckering etc. I just used a white thread and bobbin to sew my dress but it all depends on the colour of your dress.
Step 6:
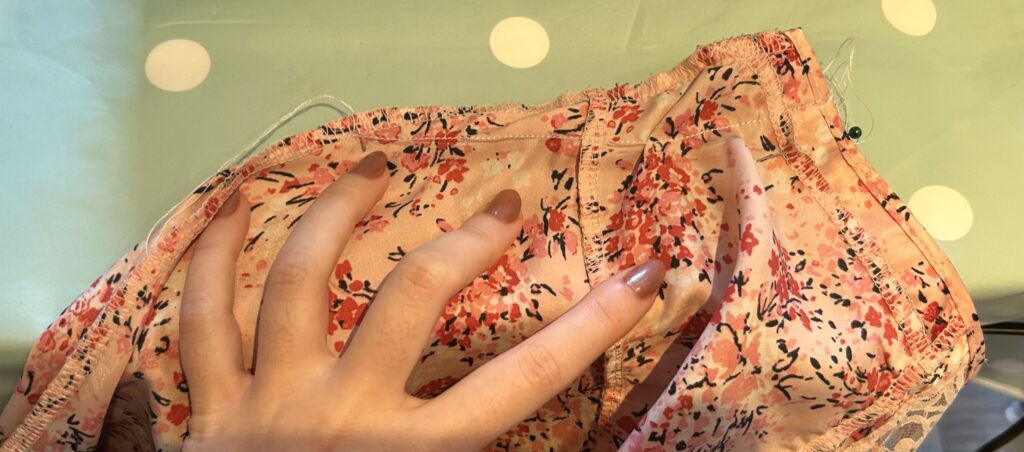
When sewing the dress, make sure your edges are lined up and start very slowly. So start sewing from the line that we created in step 3 and follow it until you get to the side seam of the dress. Now repeat that on the other side.
Note: Make sure your fabric is as flat as can be otherwise you might end up sewing things together that were never meant to be sewn! (speaking from experience)
Step 7:
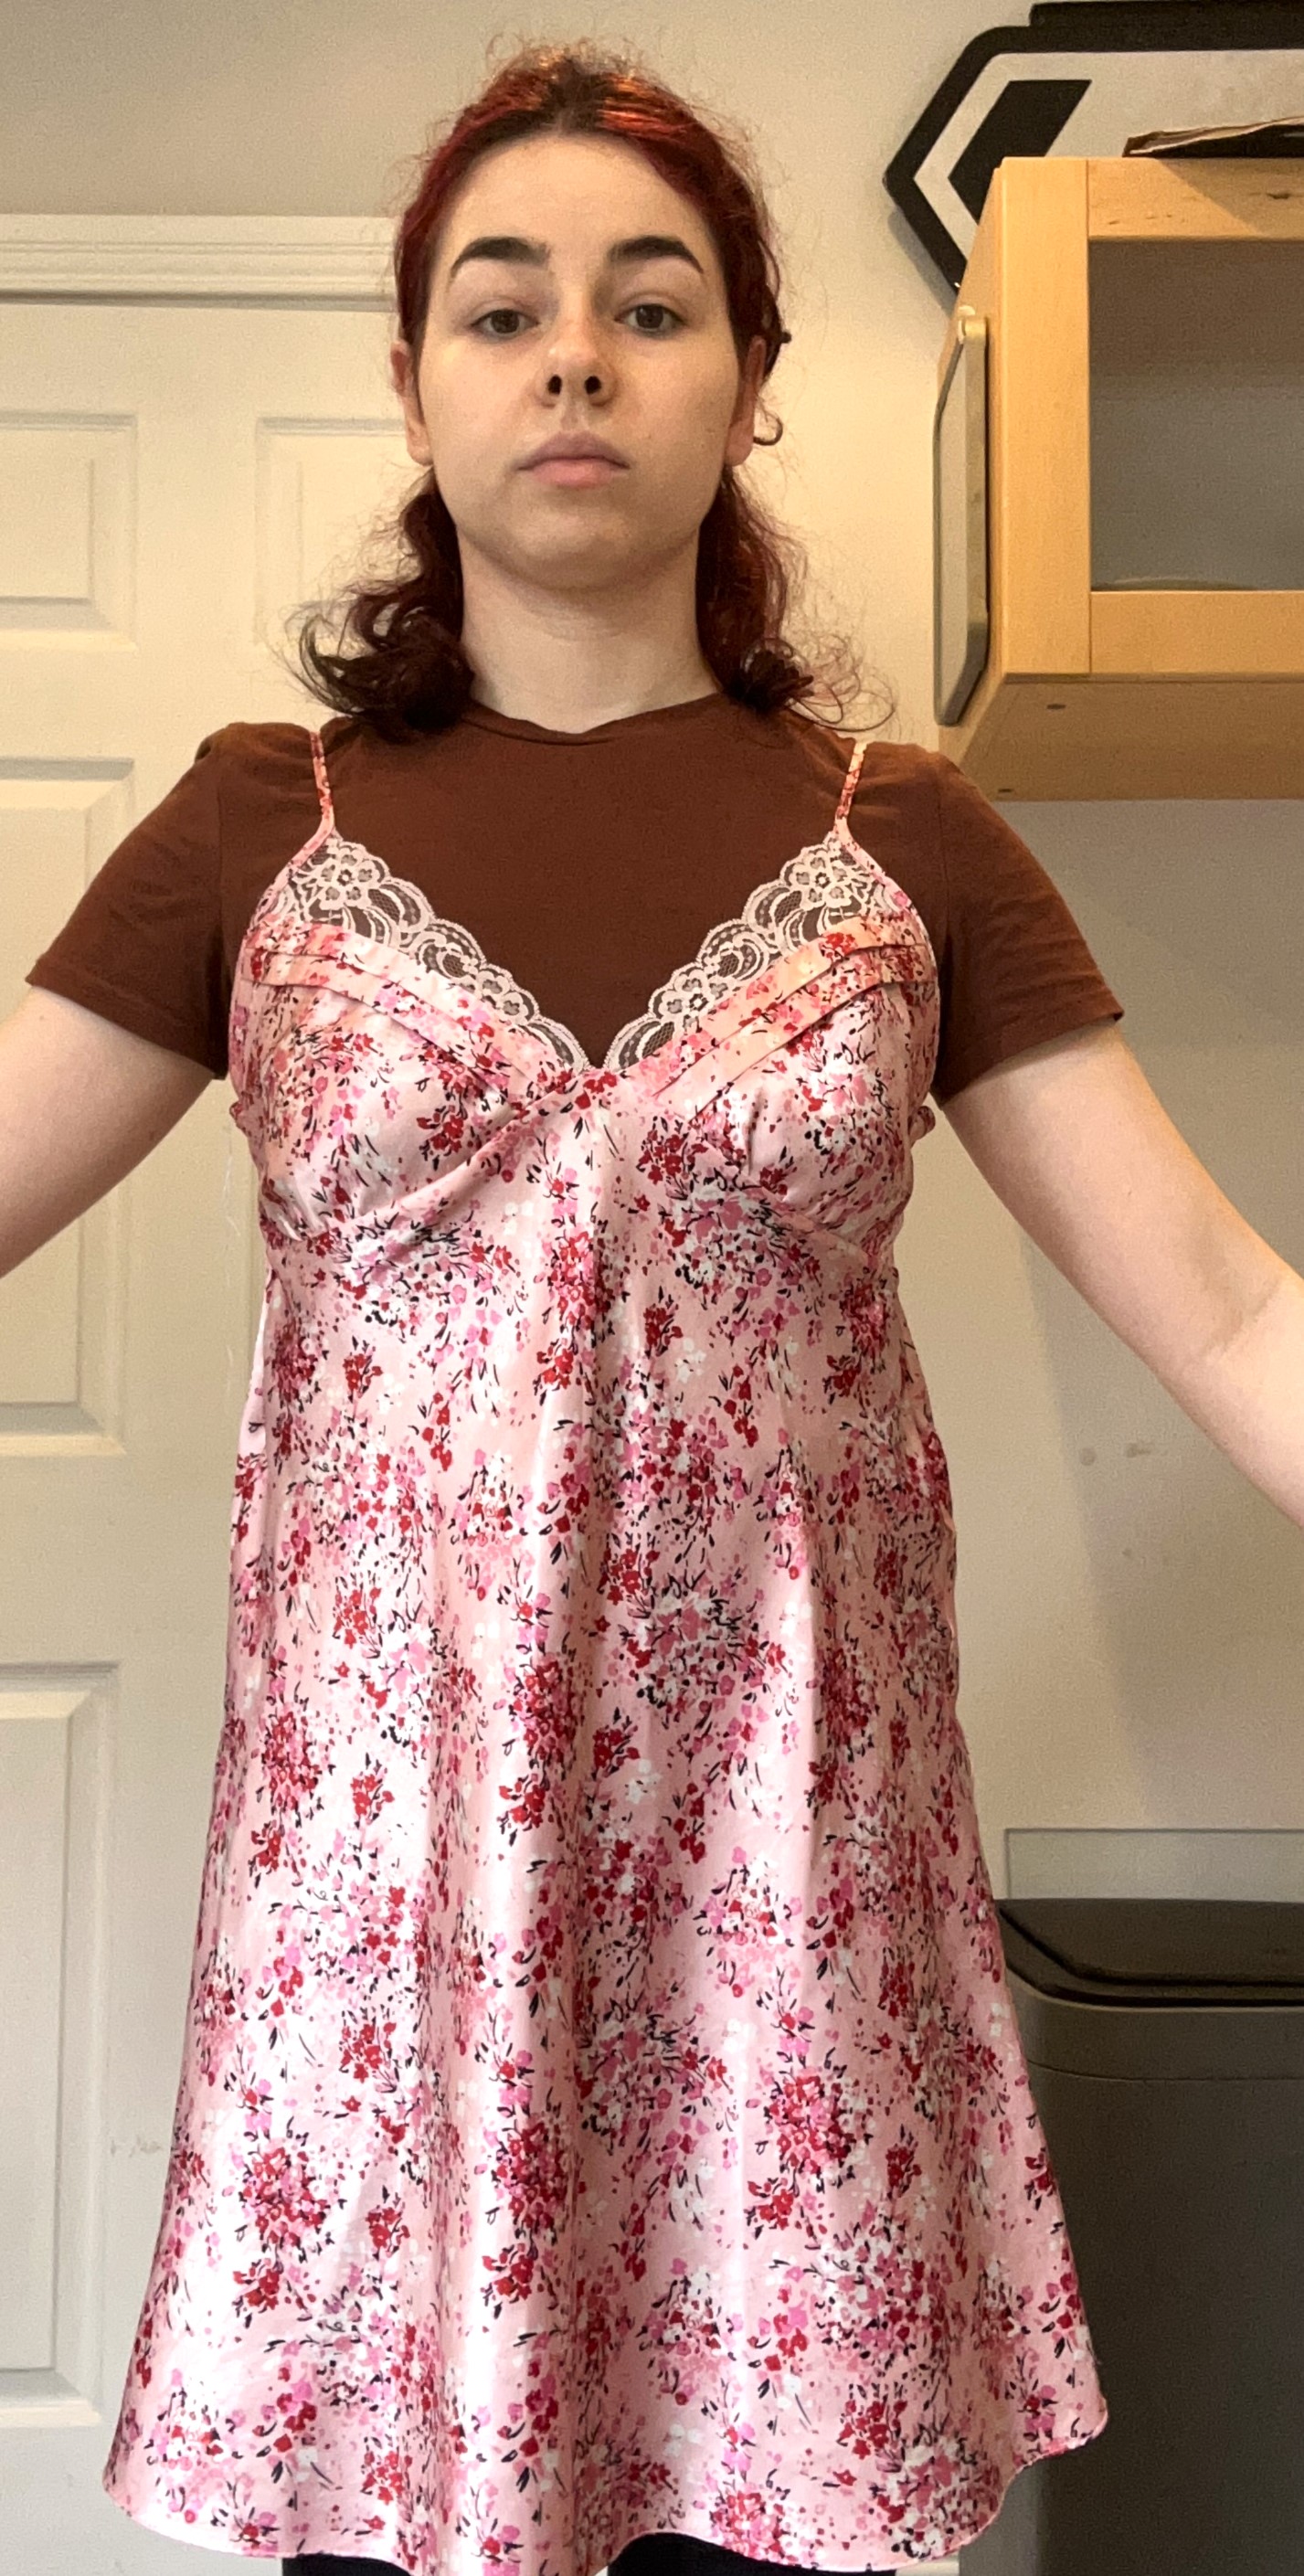
Now that we have our sides sewn smaller, its time to try the dress on again to make sure that the dress fits better. Once you’re happy with that, it’s time to make sure the sides don’t fray.
Step 8:
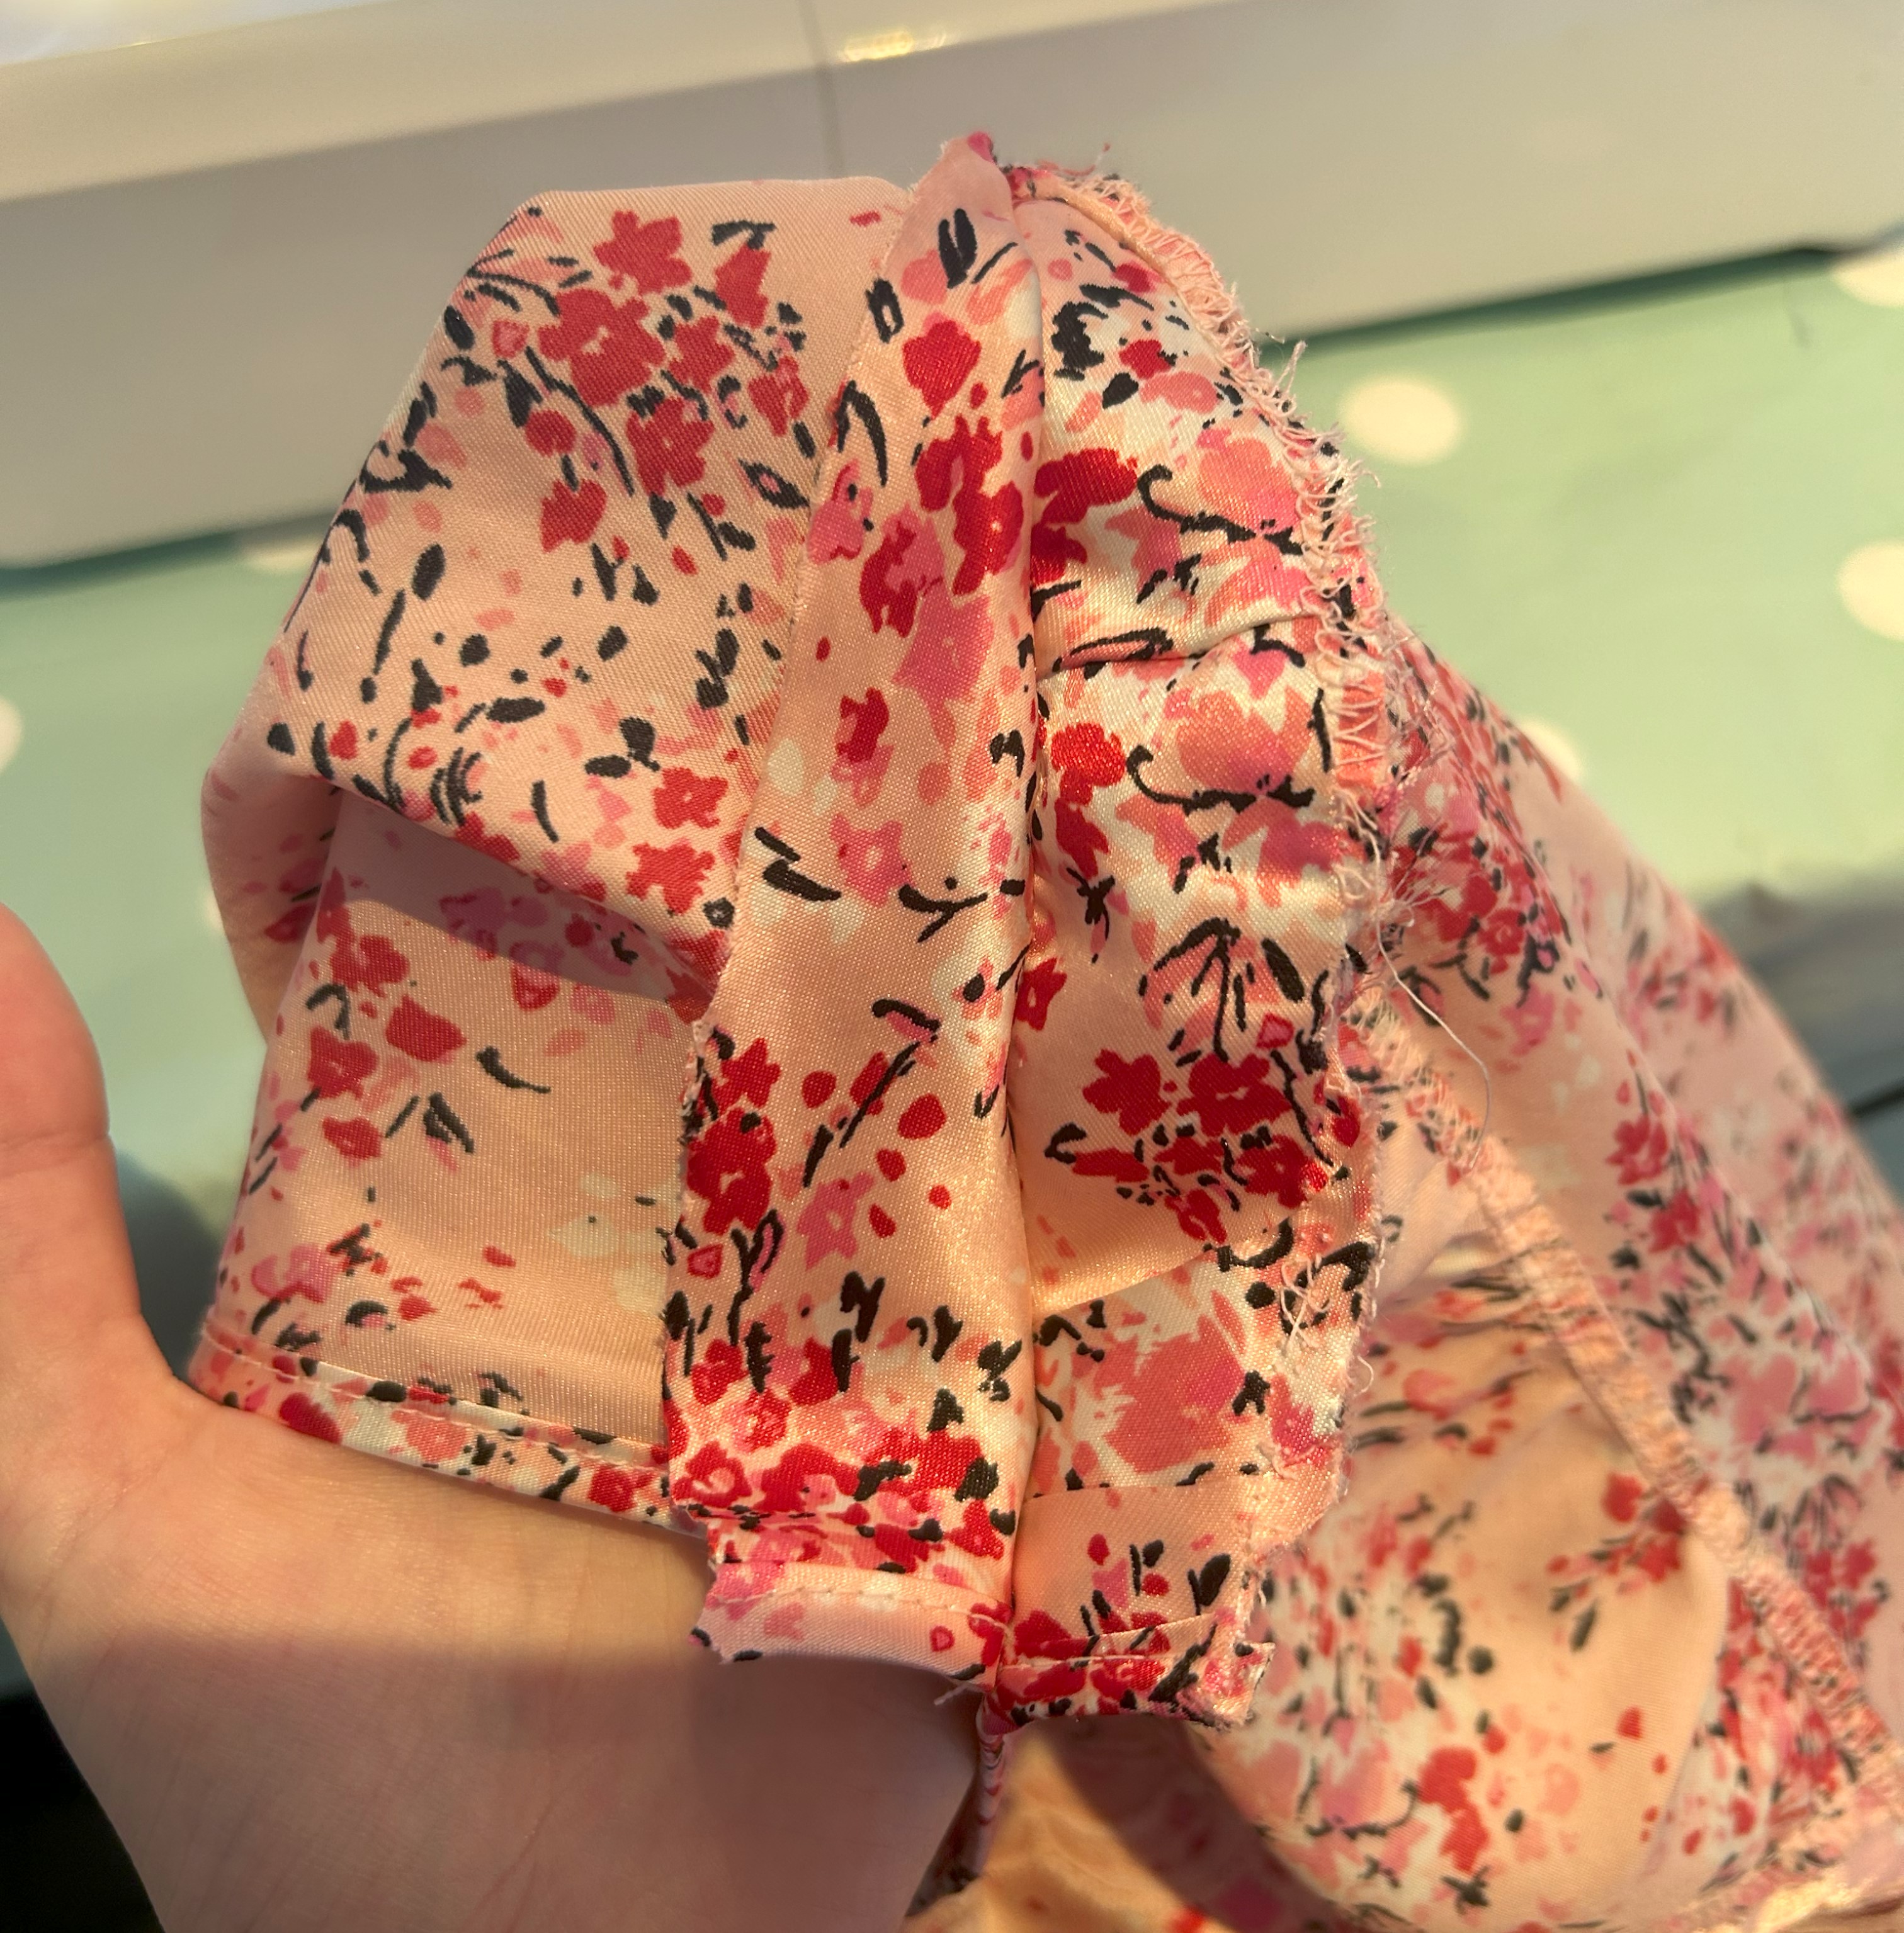
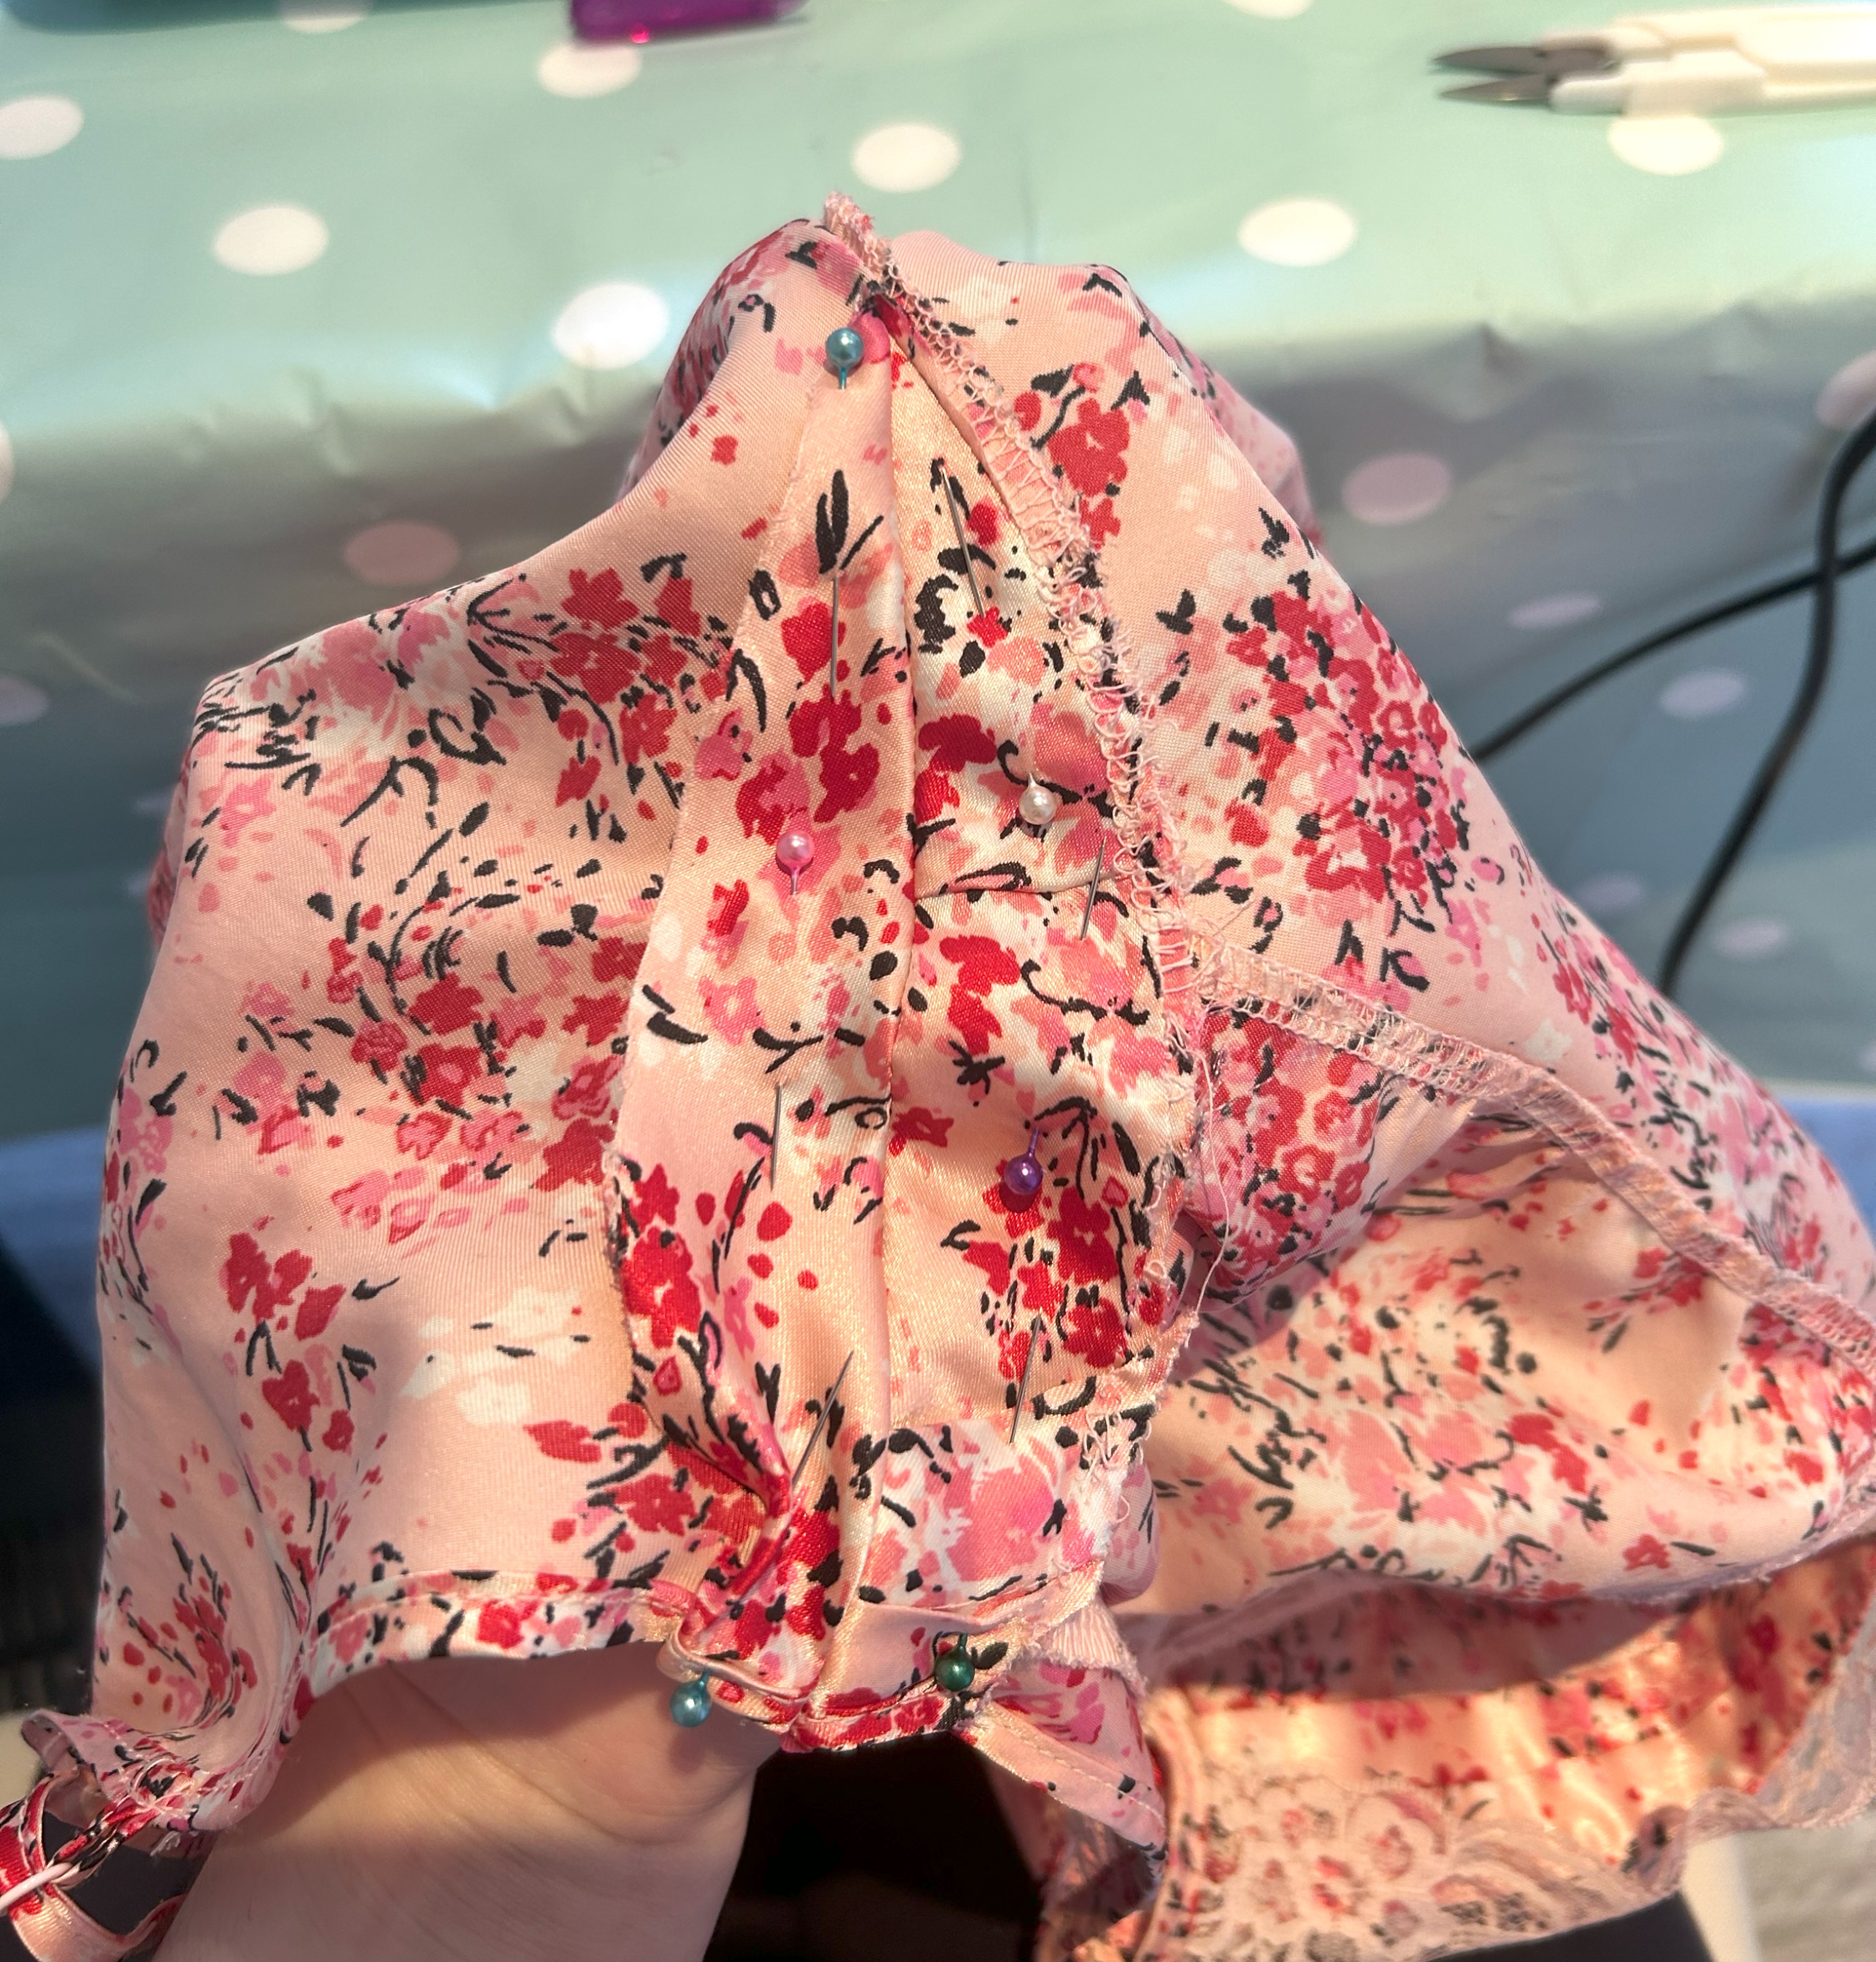
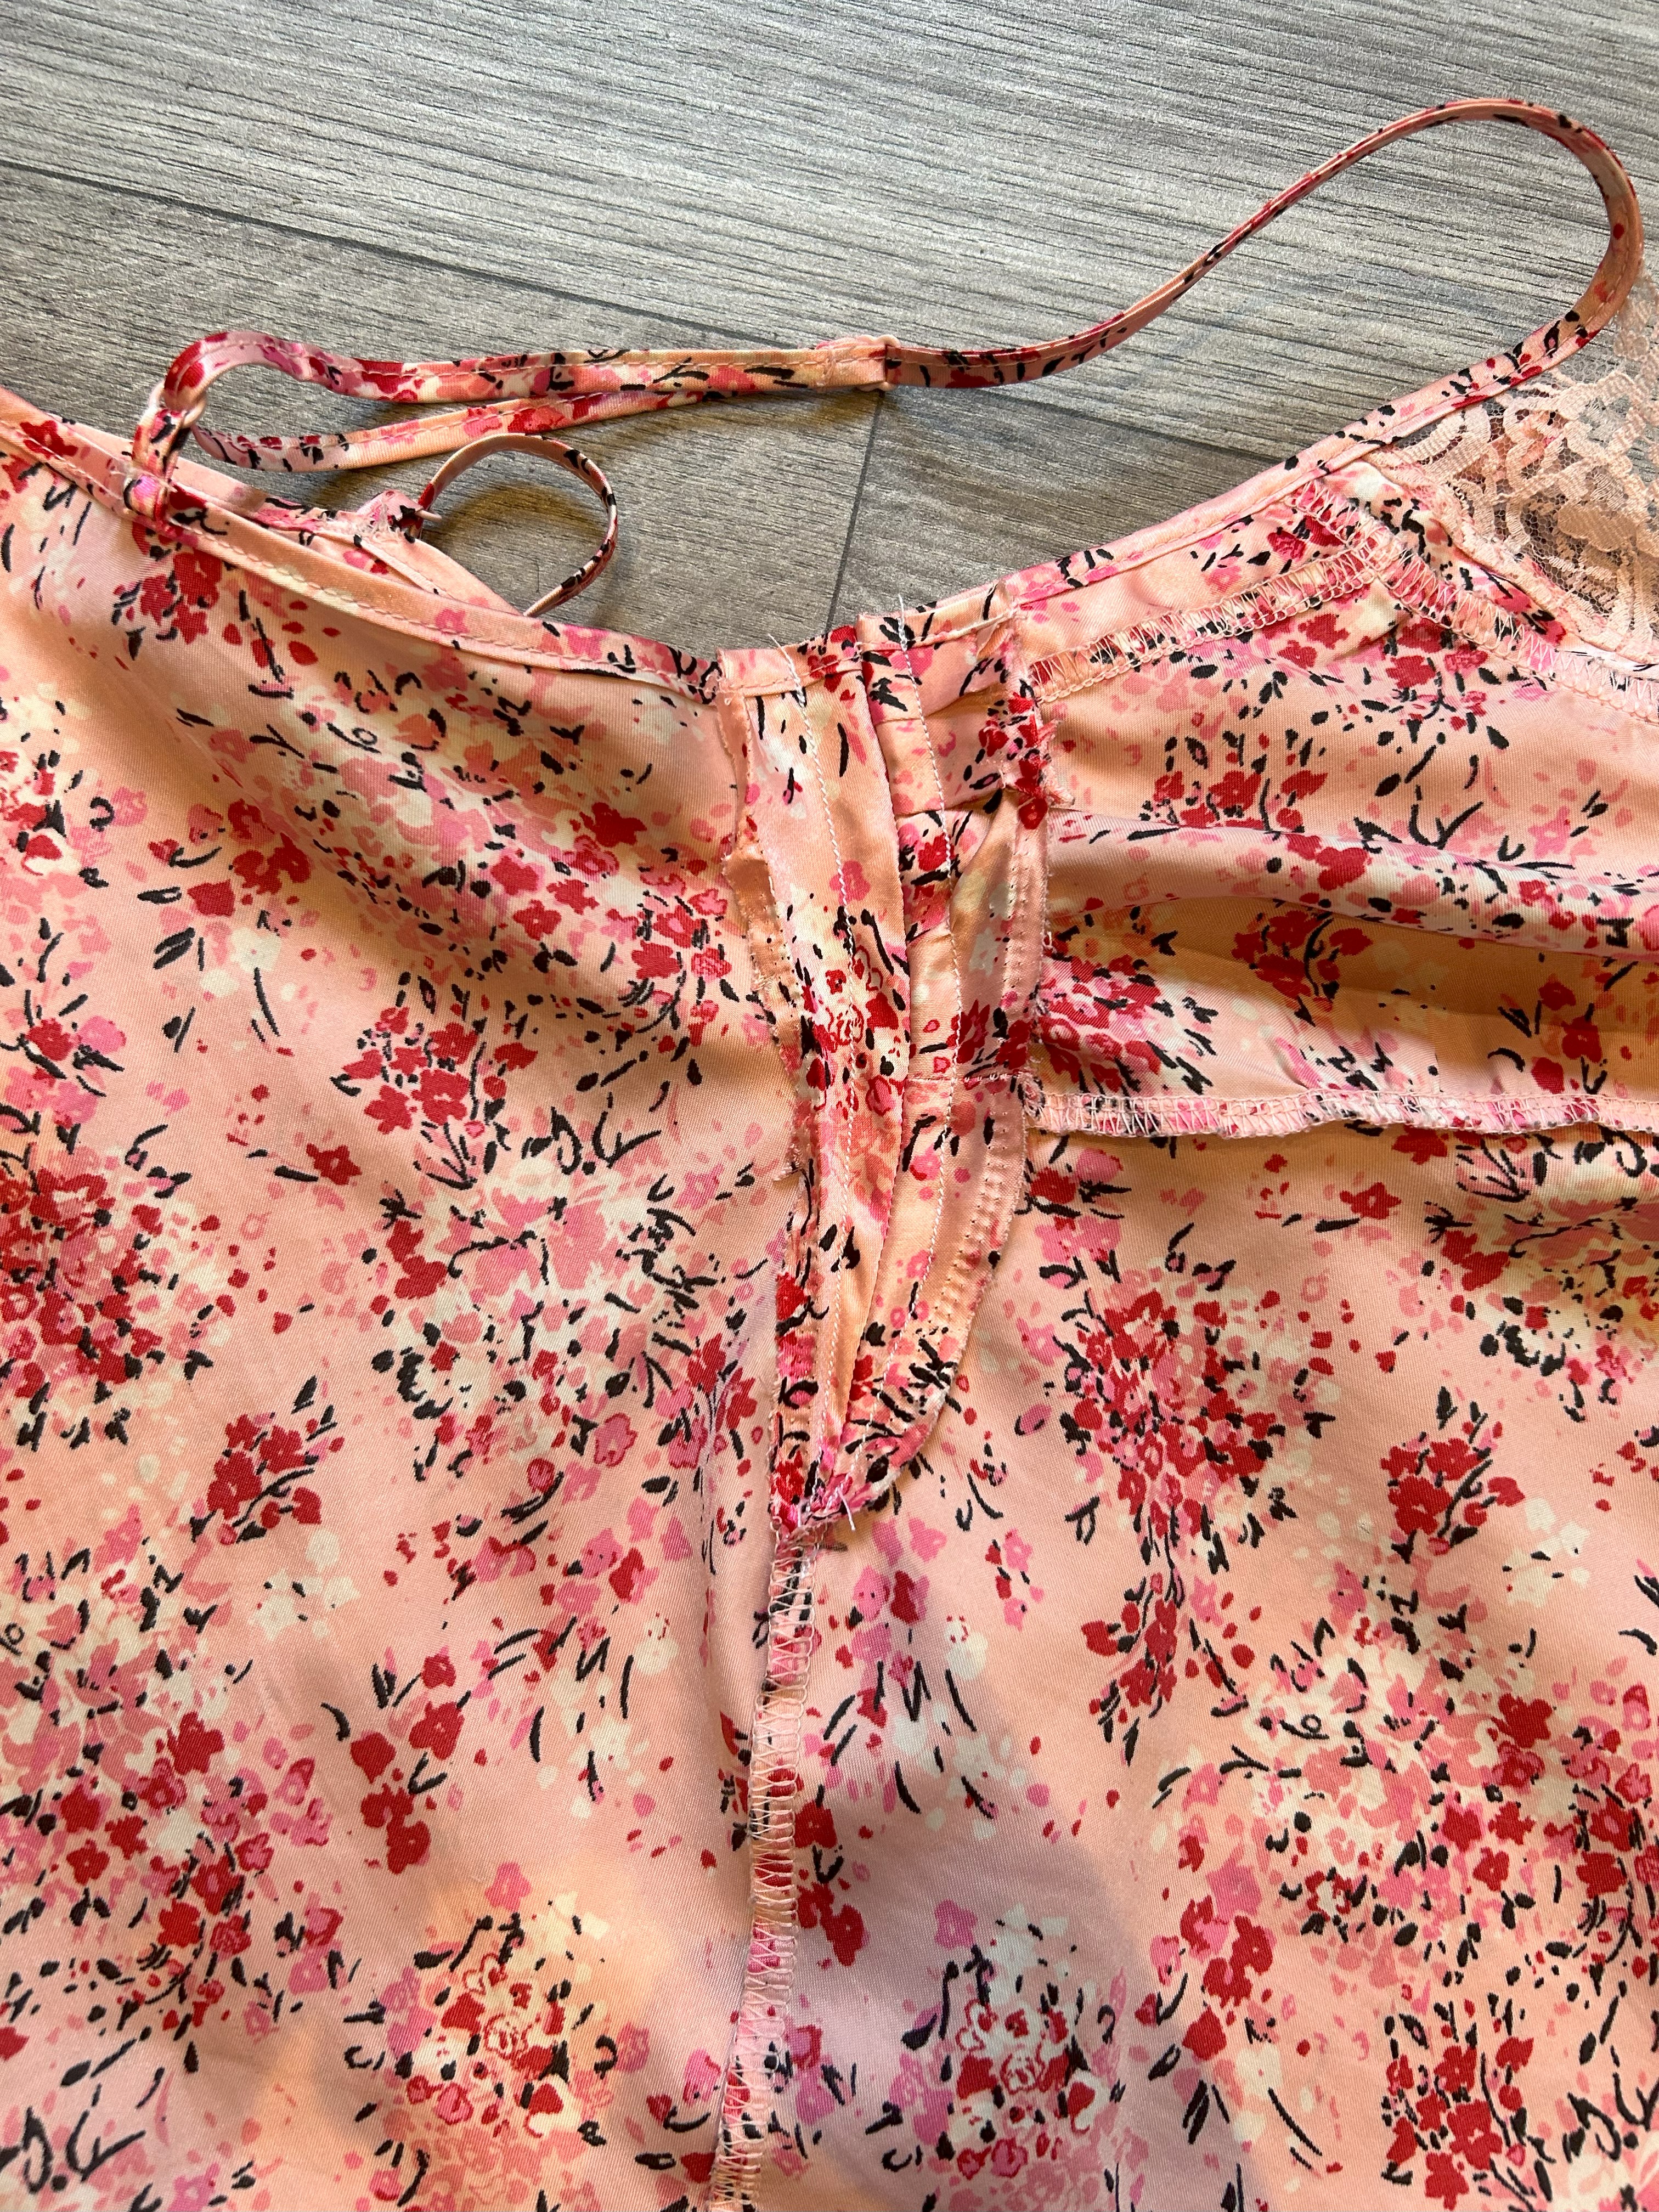
To make sure the sides that we just sewed don’t fray, we’re going to sew them down flat. To do this you need to unpick the original seam until where we sewed to meet the side seam. Once you’ve unpicked the stitches, you can now separate them and lay each side flat to the rest of the dress. Make sure to pin the sides to the dress and then sew them flat until you meet the original side seam that we sewed up to. And then repeat that on the other side.
Step 9:
Now that we have our sides sewn flat, it will make the dress fit a lot better but now we have some excessive fabric. So its time to cut the excess fabric on each of your side seams to about half a centimeter from the stiches.
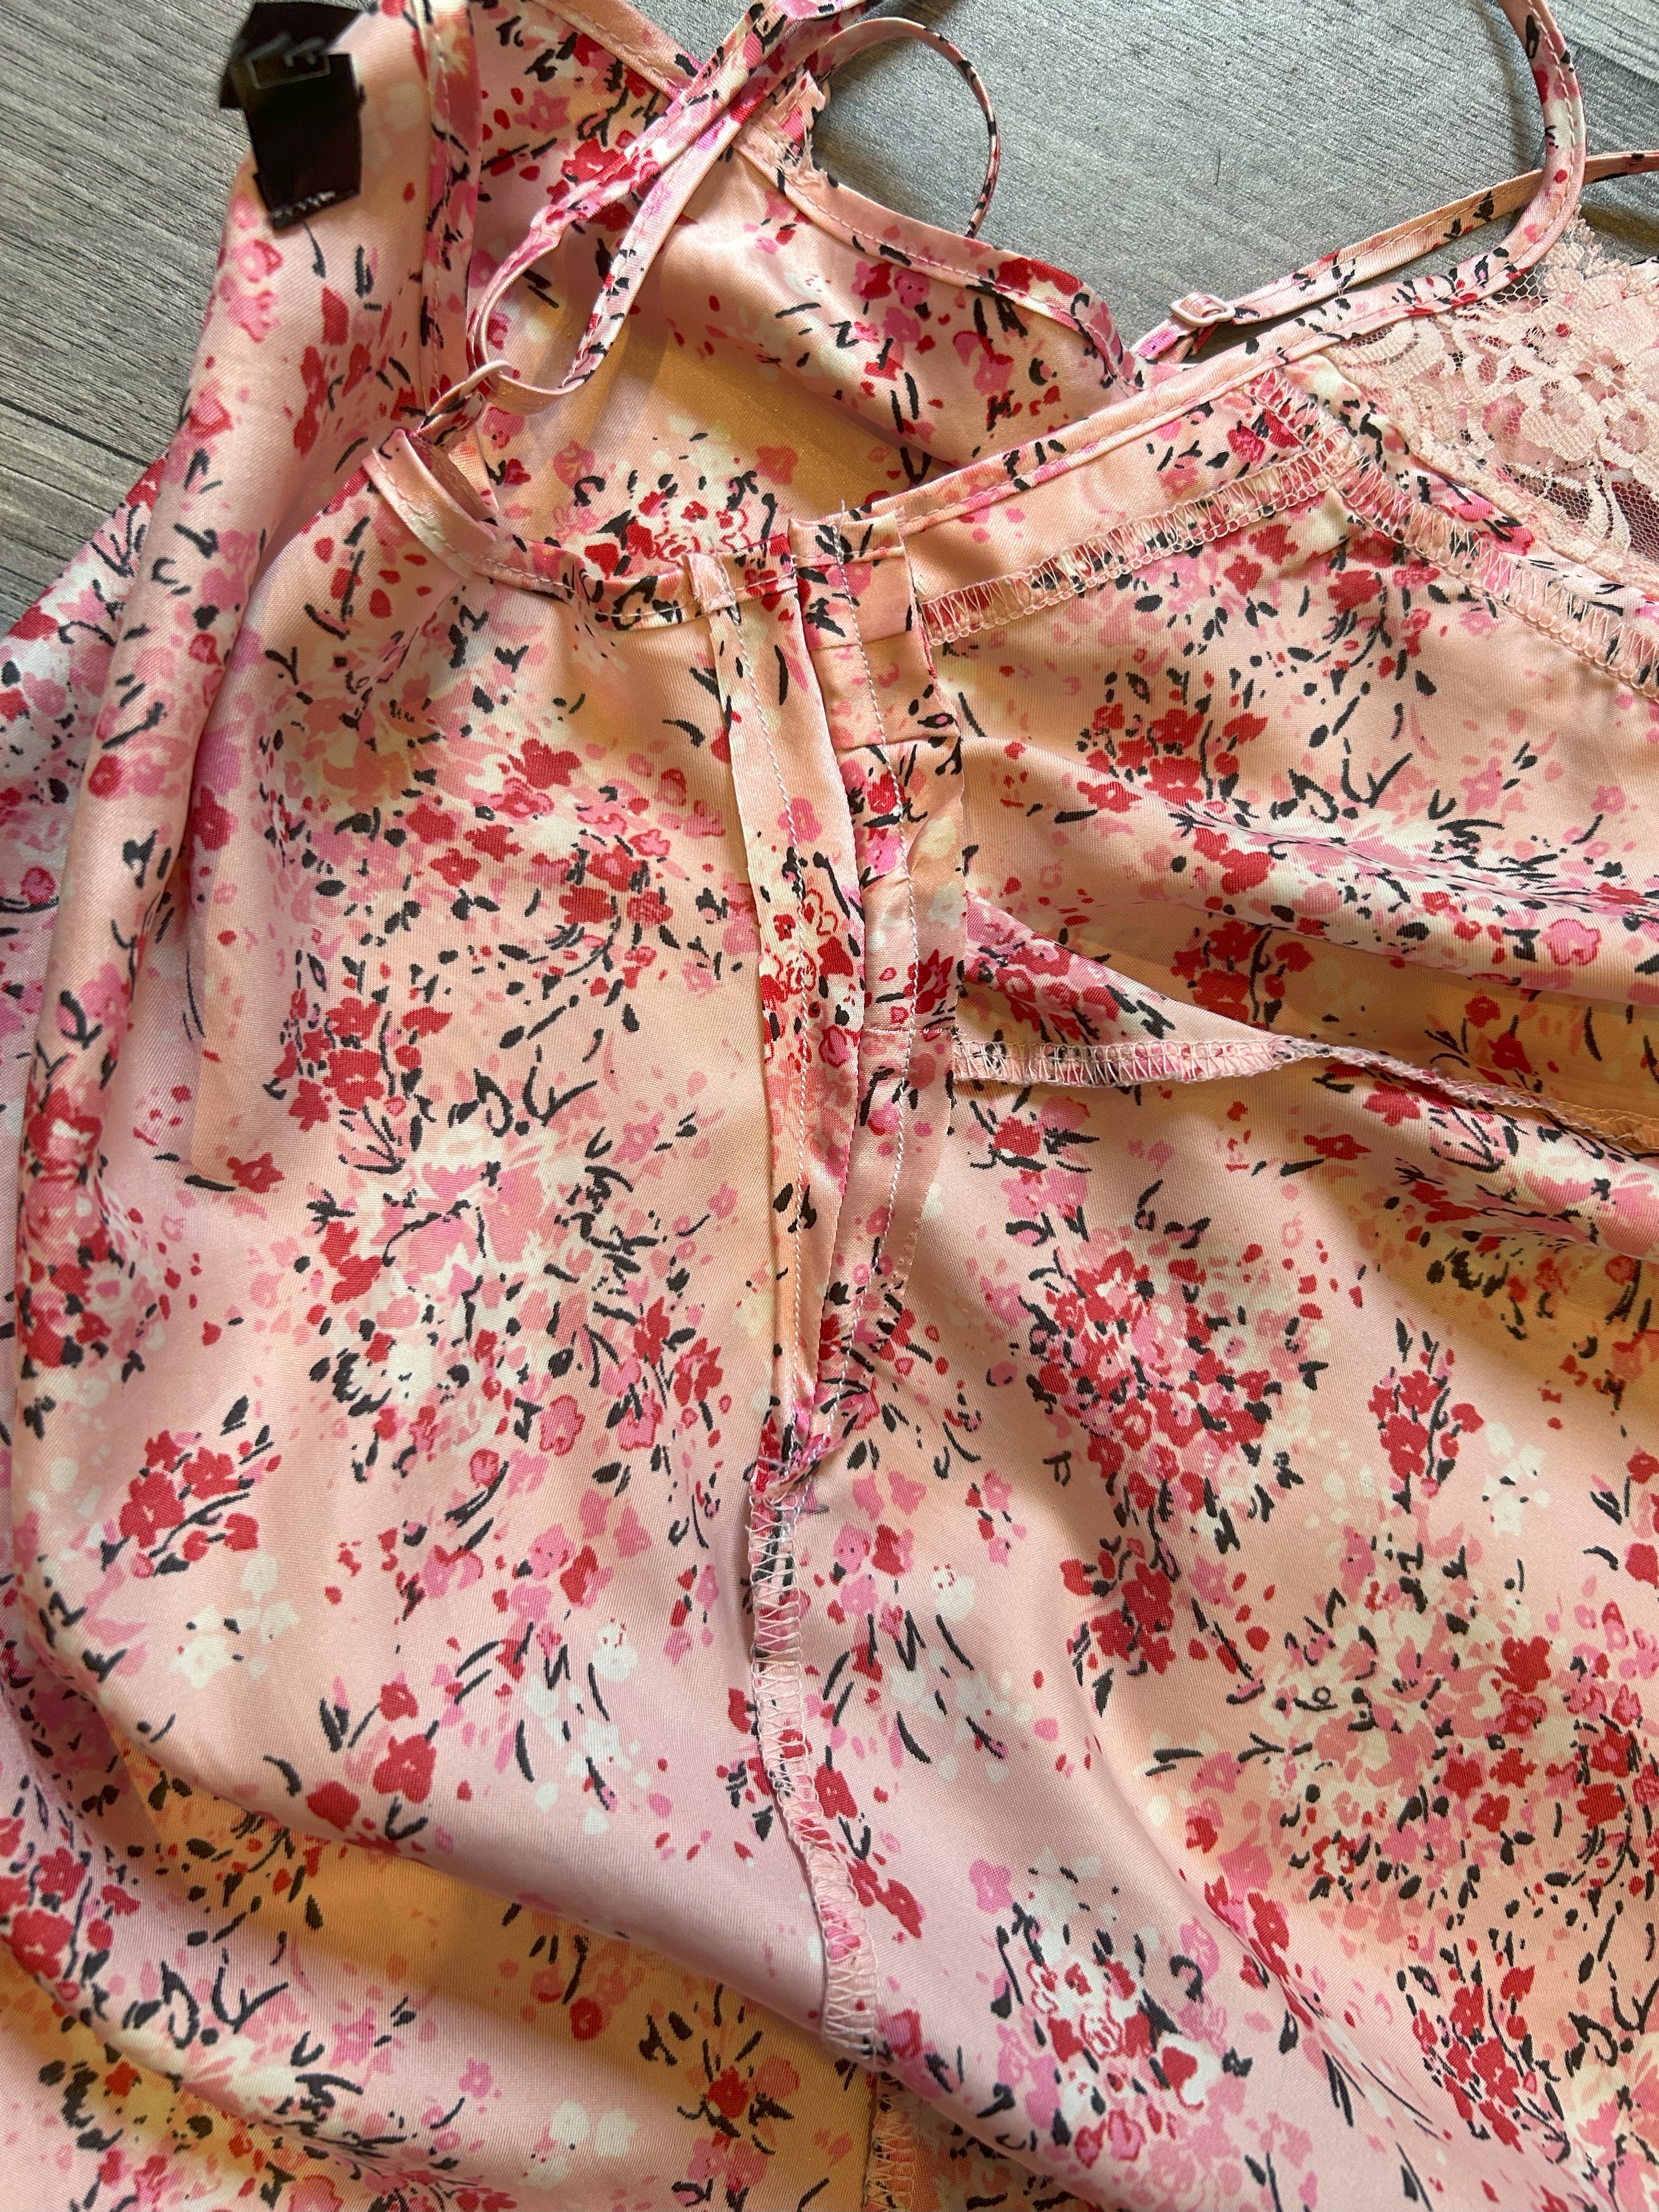
Step 10:
The very last step is to try the dress on one last time and check that it fits perfectly!
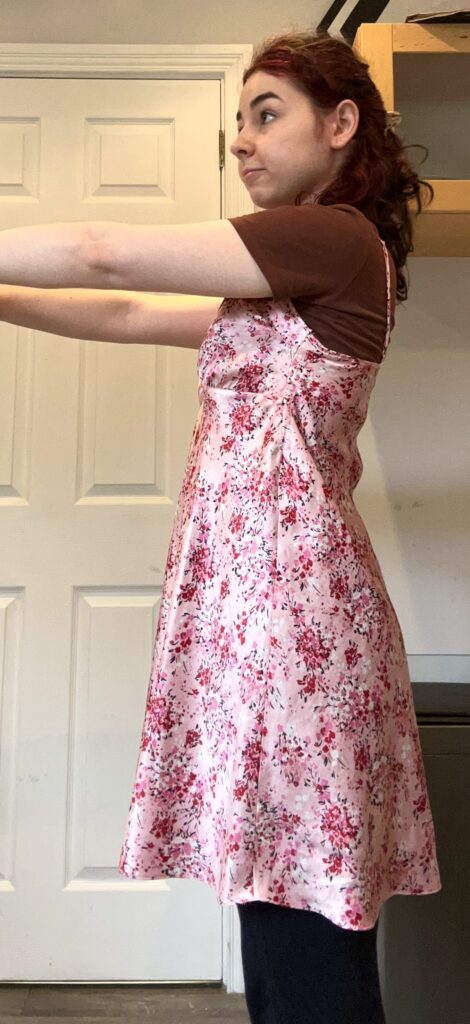
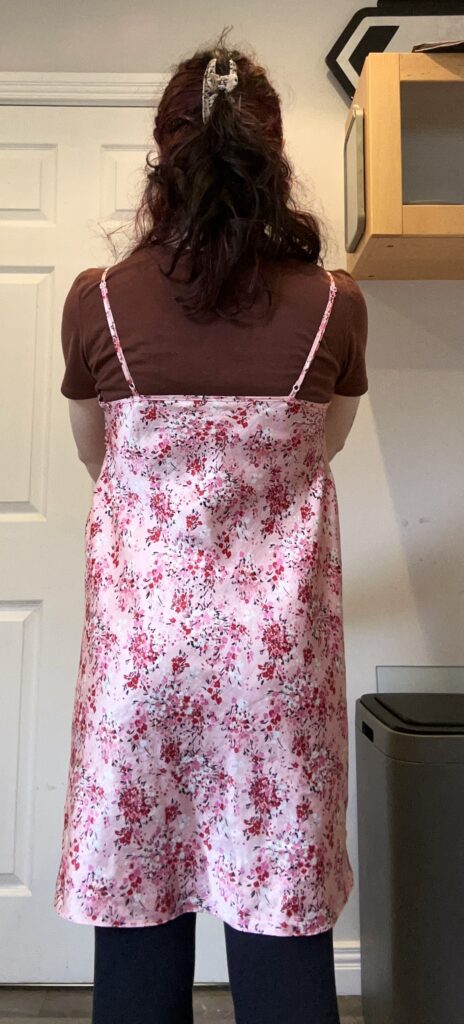
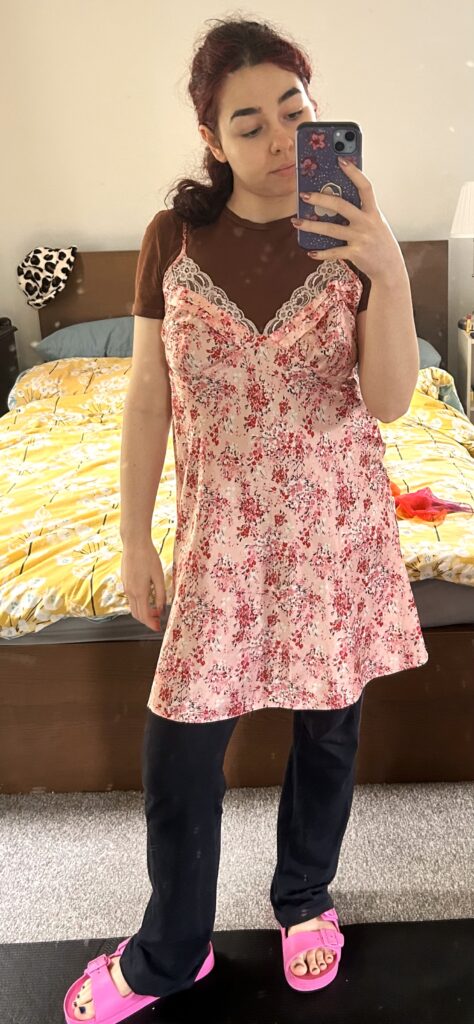
And there we have our perfectly reworked slip dress!